
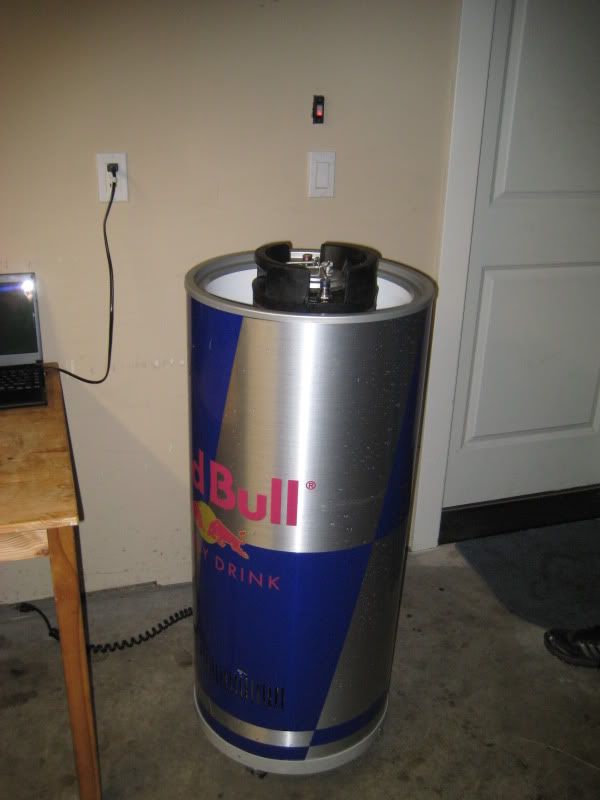
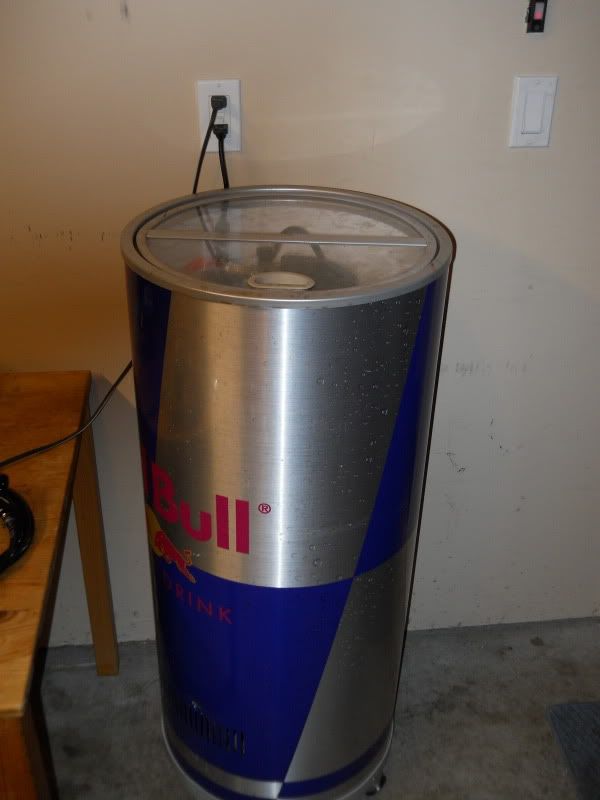
Hey all, I wanted to share the Red Bull fridge I'm using as a kegerator.
It's a little on the booty-fab side, but it works
Initially, the keg was a couple inches too tall.
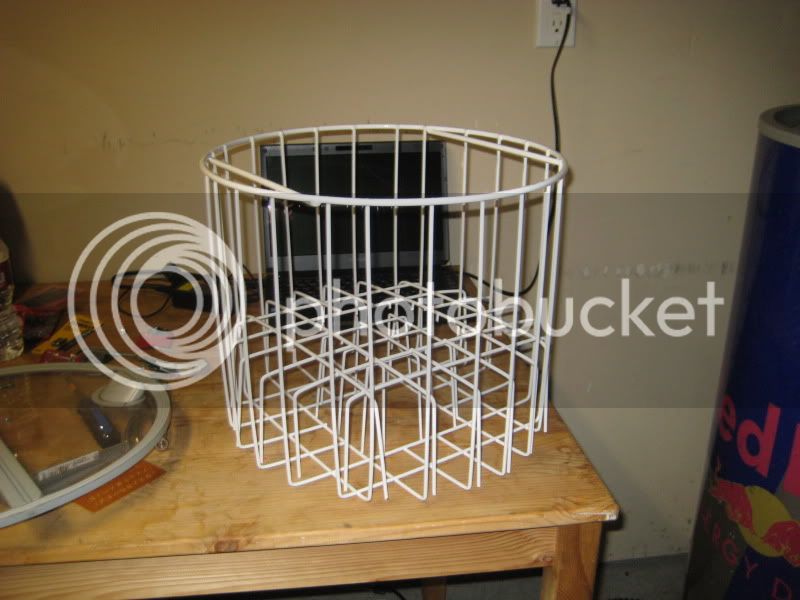
Removed the basket
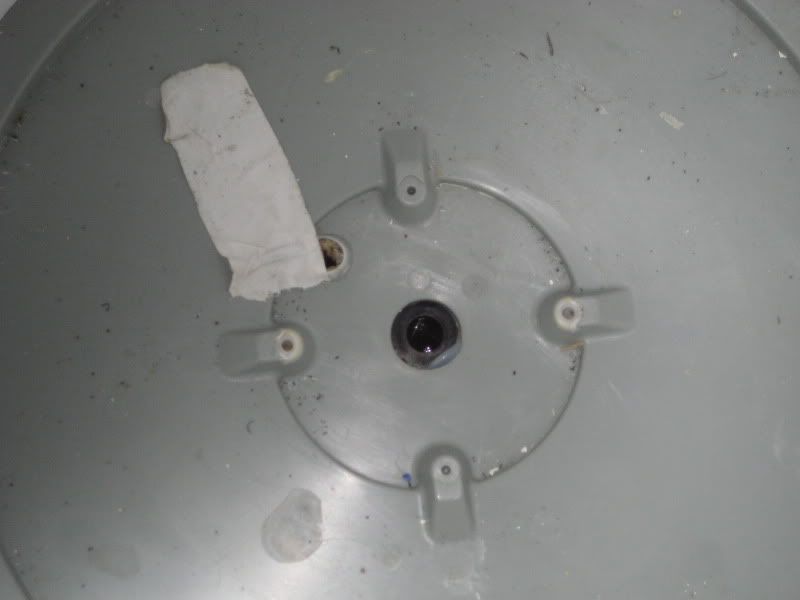
Fan in the bottom
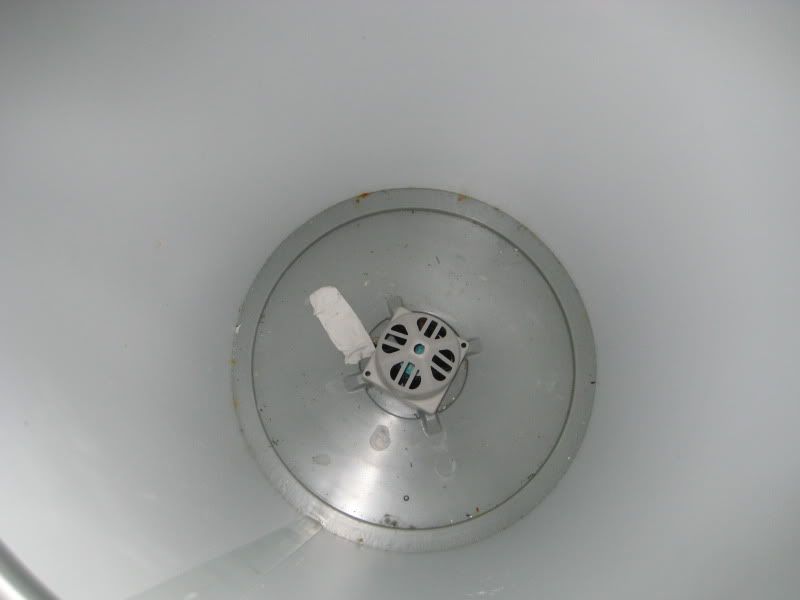
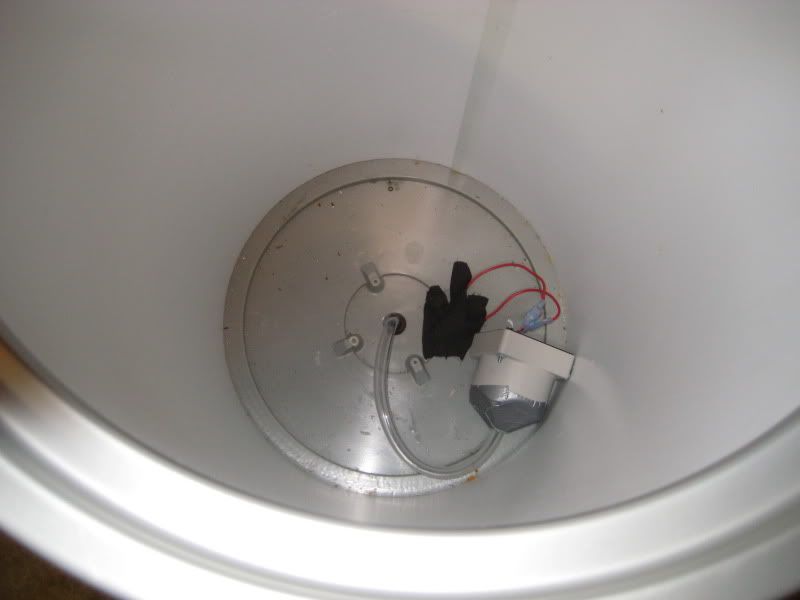
Hole the fan draws air through
I flipped the fan in the case, so it would pull through the hole in the top of the plastic case. I then ran a hose between, the fan will now pull the air through the hose and into the fridge.
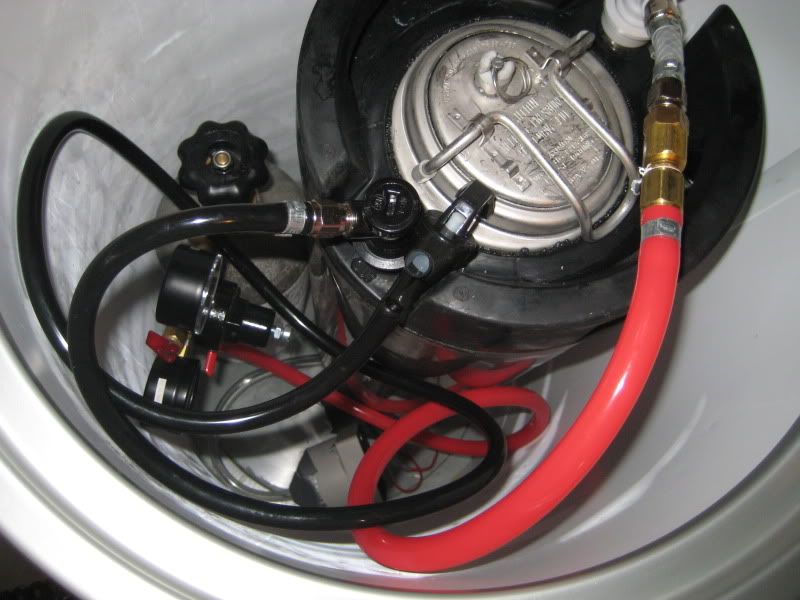
Everything inside
Works like a charm!
Eventually I will get rid of the picnic tap by building a lid and installing a tap
It's a little on the booty-fab side, but it works
Initially, the keg was a couple inches too tall.
Removed the basket
Fan in the bottom
Hole the fan draws air through
I flipped the fan in the case, so it would pull through the hole in the top of the plastic case. I then ran a hose between, the fan will now pull the air through the hose and into the fridge.
Everything inside
Works like a charm!
Eventually I will get rid of the picnic tap by building a lid and installing a tap
")

