OP
OP
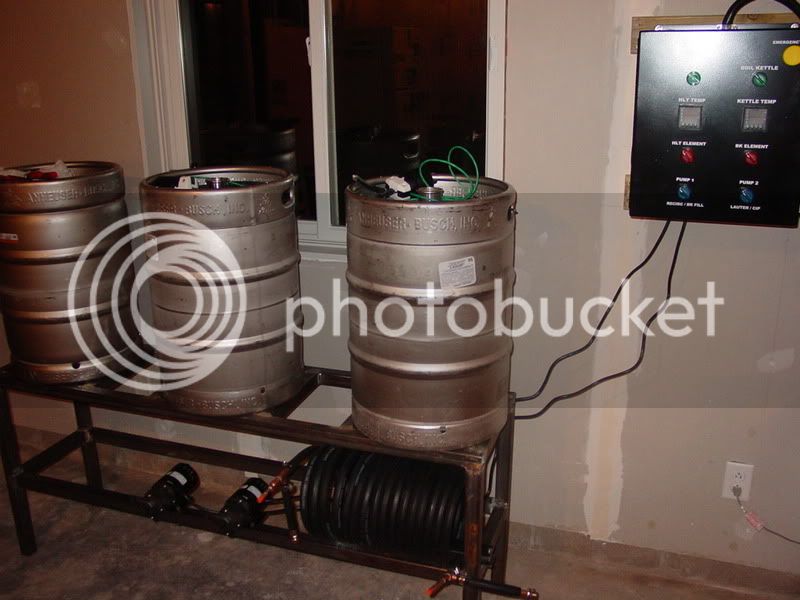
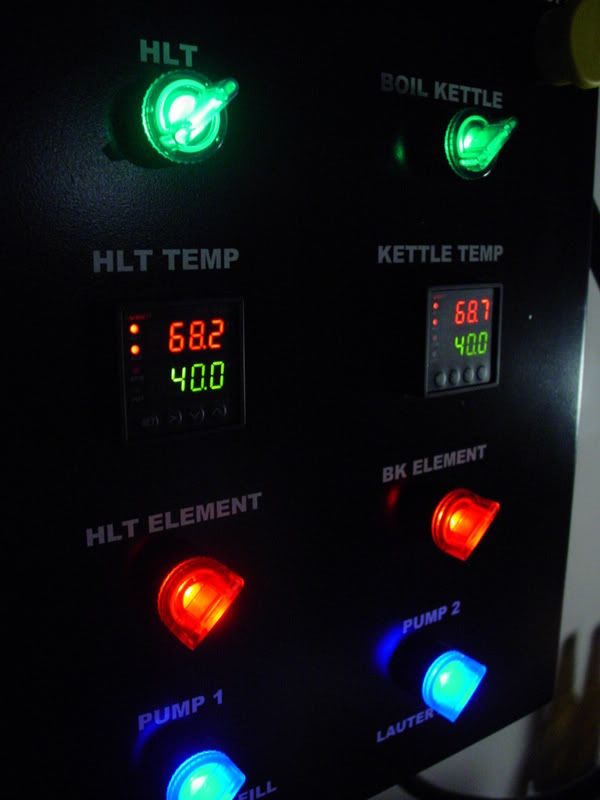
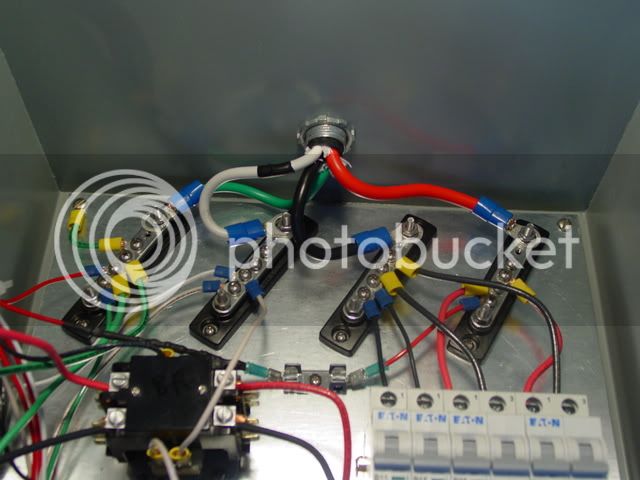
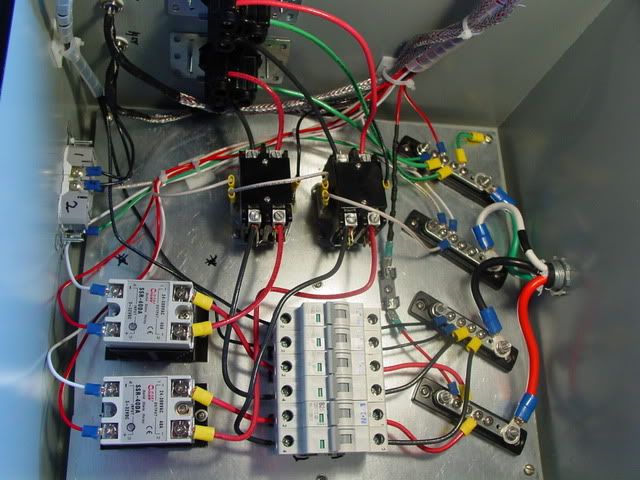
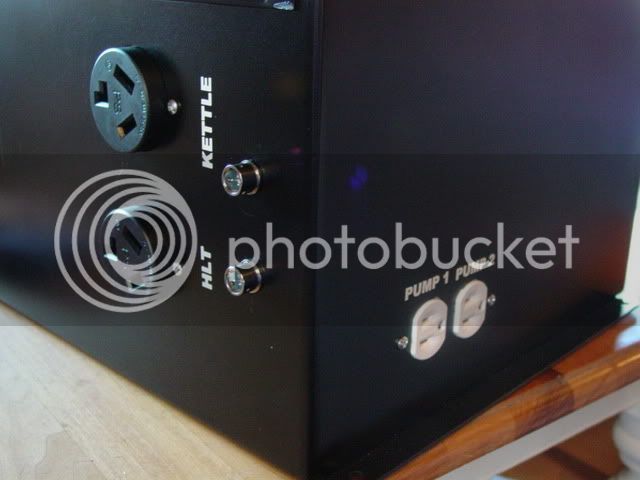
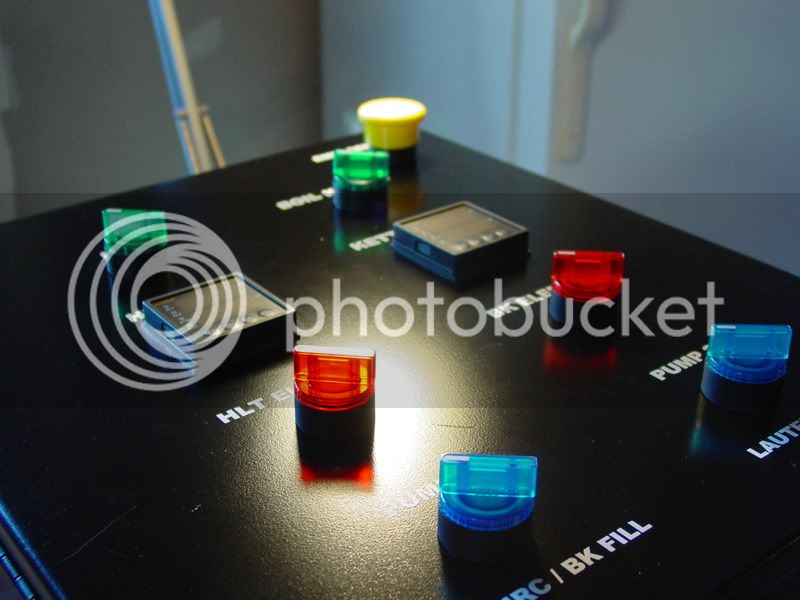
Finished wiring my enclosure finally...
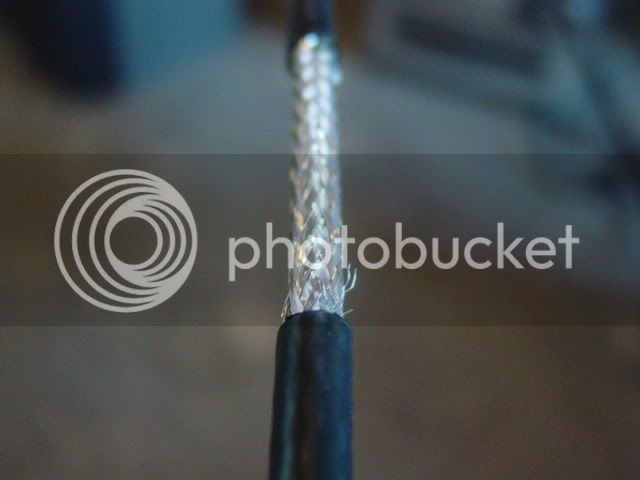
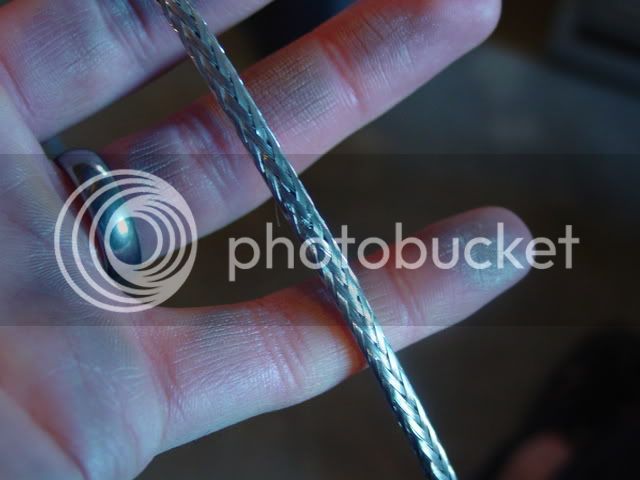
Snaked the shielding from some spare coax cable for the RTD wires inside the box:
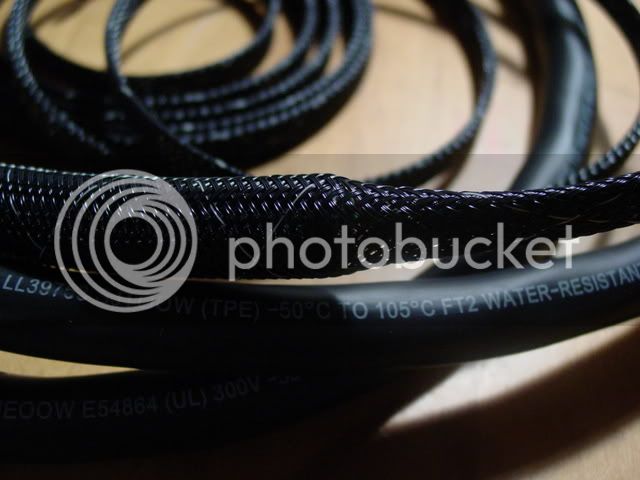
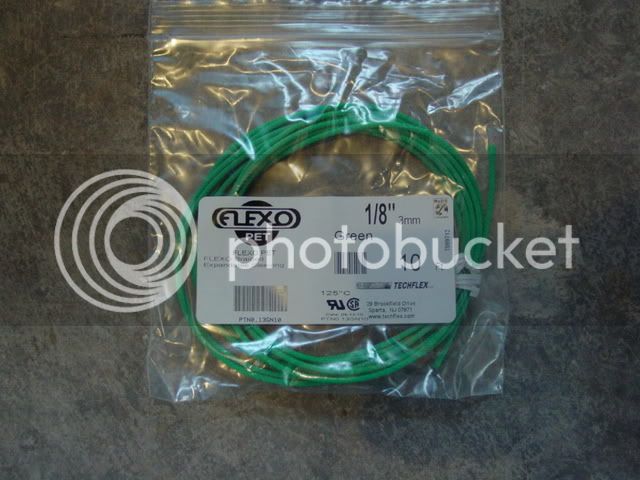
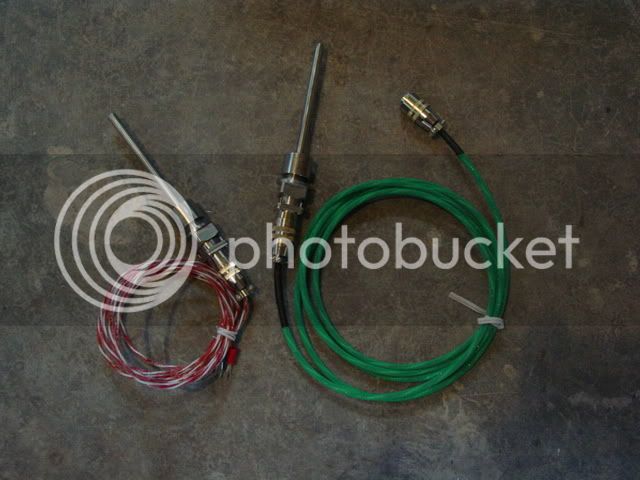
Then I wanted to put some sleeving on the RTD wires outside the box. This is mostly for some level of protection, plus it just plain looks better:
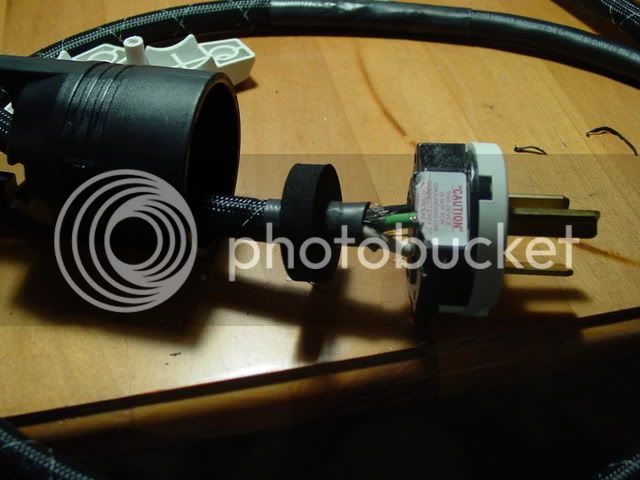
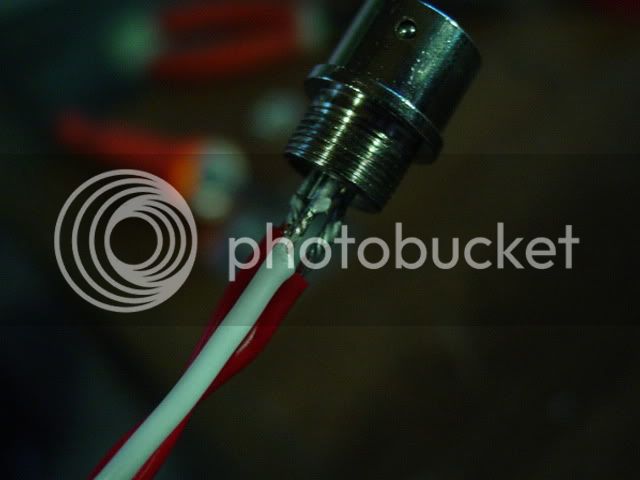
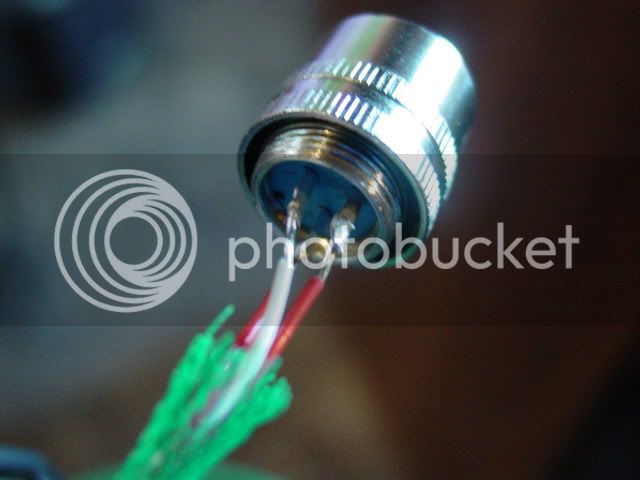
Solder on the RTD wires to the disconnect:
Slide the sleeving on:
Secure with shrink tubing:
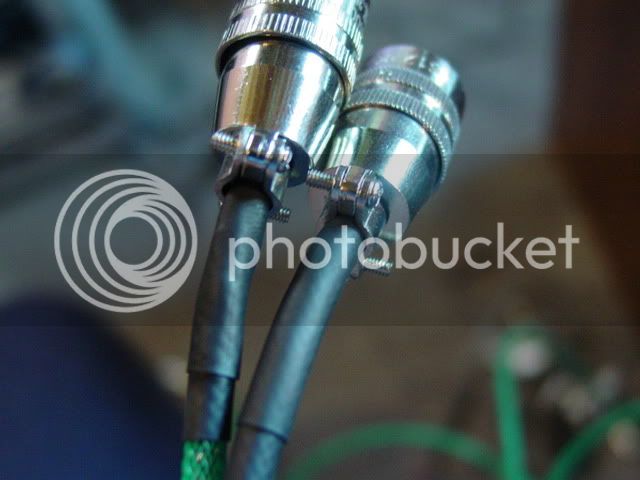
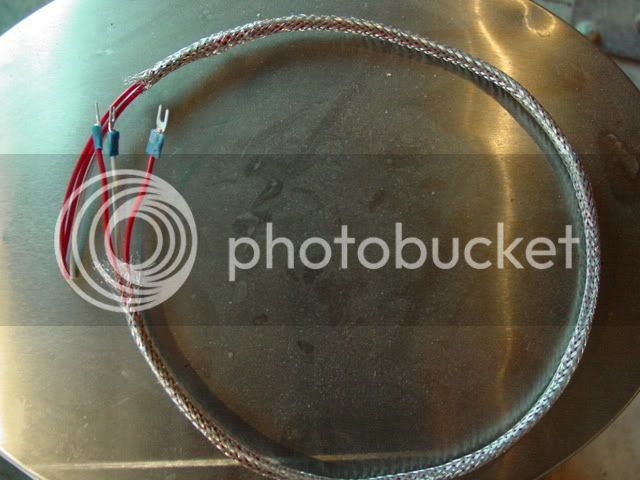
Do the same on the other end, and this is a before and after:
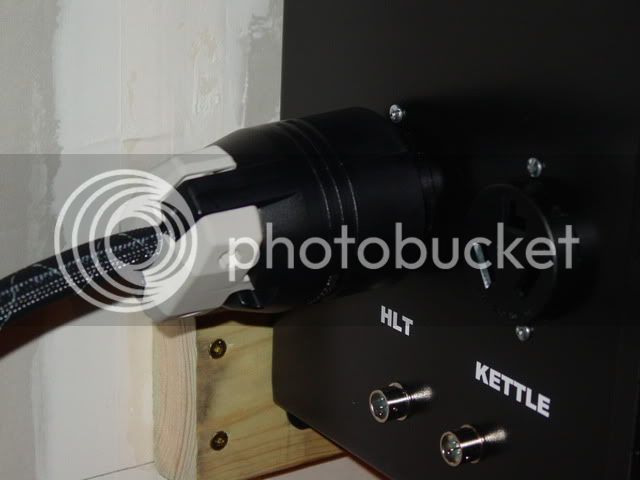
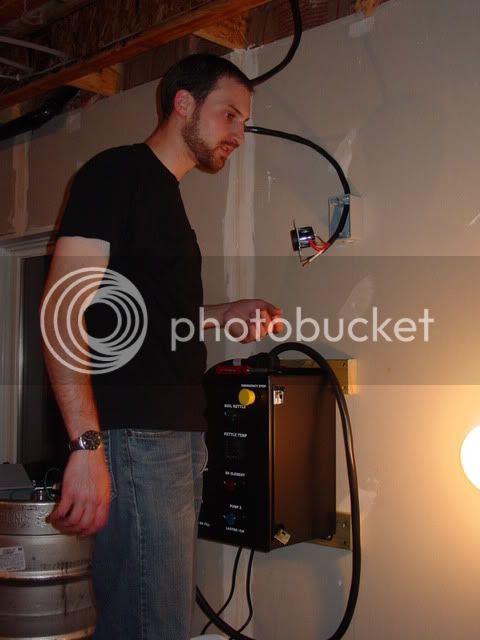
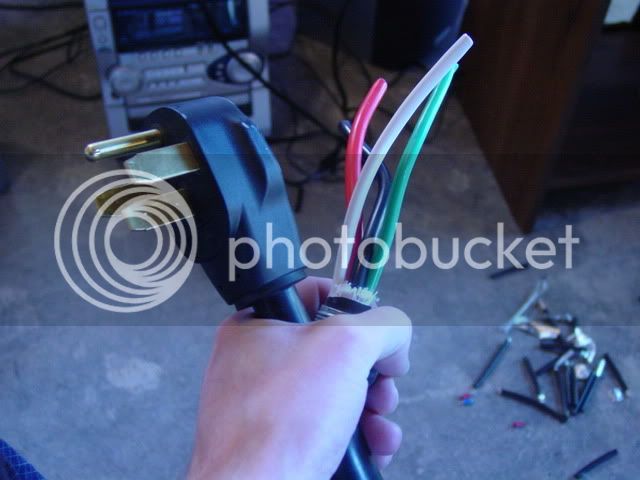
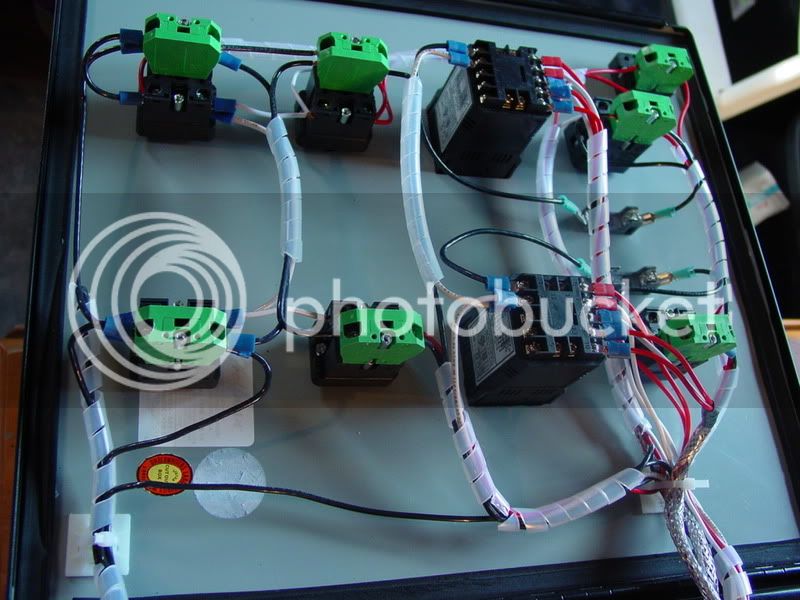
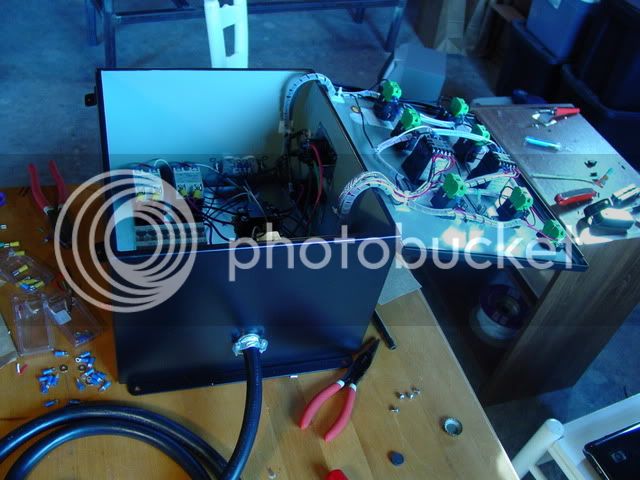
Now to wire this guy into the enclosure:
[Continued on next post]
Snaked the shielding from some spare coax cable for the RTD wires inside the box:
Then I wanted to put some sleeving on the RTD wires outside the box. This is mostly for some level of protection, plus it just plain looks better:
Solder on the RTD wires to the disconnect:
Slide the sleeving on:
Secure with shrink tubing:
Do the same on the other end, and this is a before and after:
Now to wire this guy into the enclosure:
[Continued on next post]

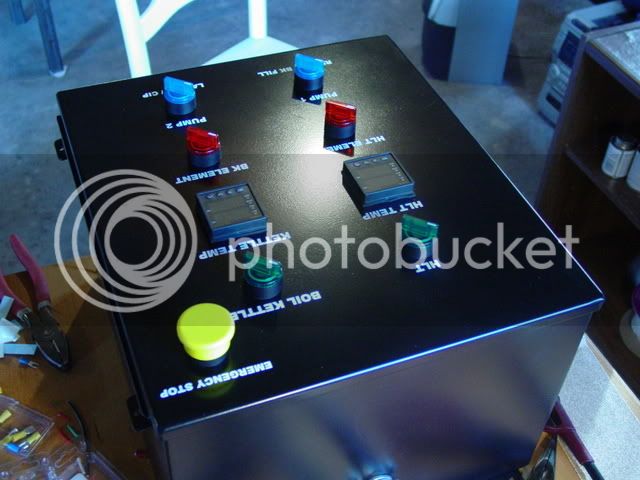
 Ive followed this thread since you started, and you've come a long way. So tell me about this vinyl lettering you have there. If you talked about it before then I missed it. Where did you get it?