OP
OP
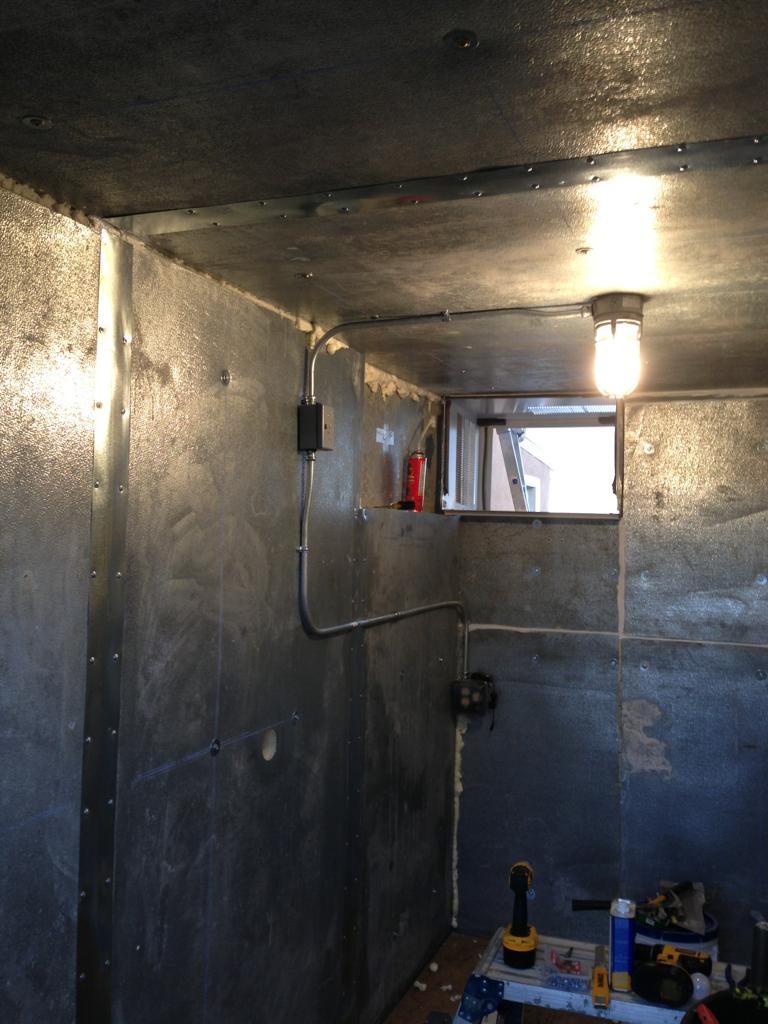
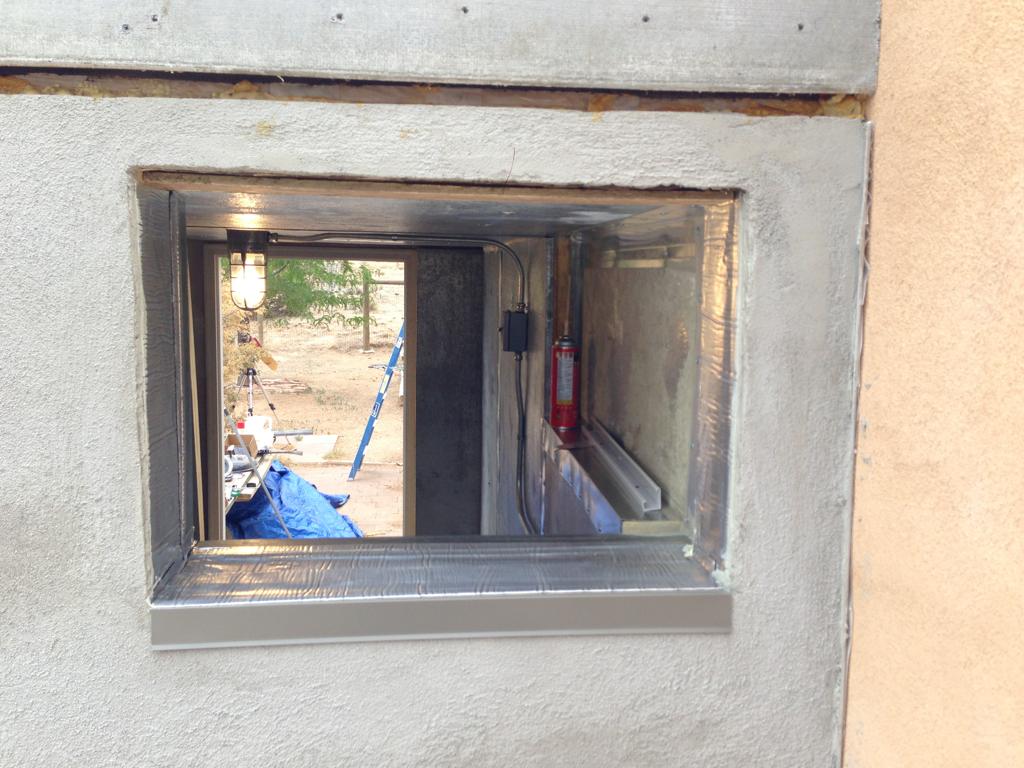
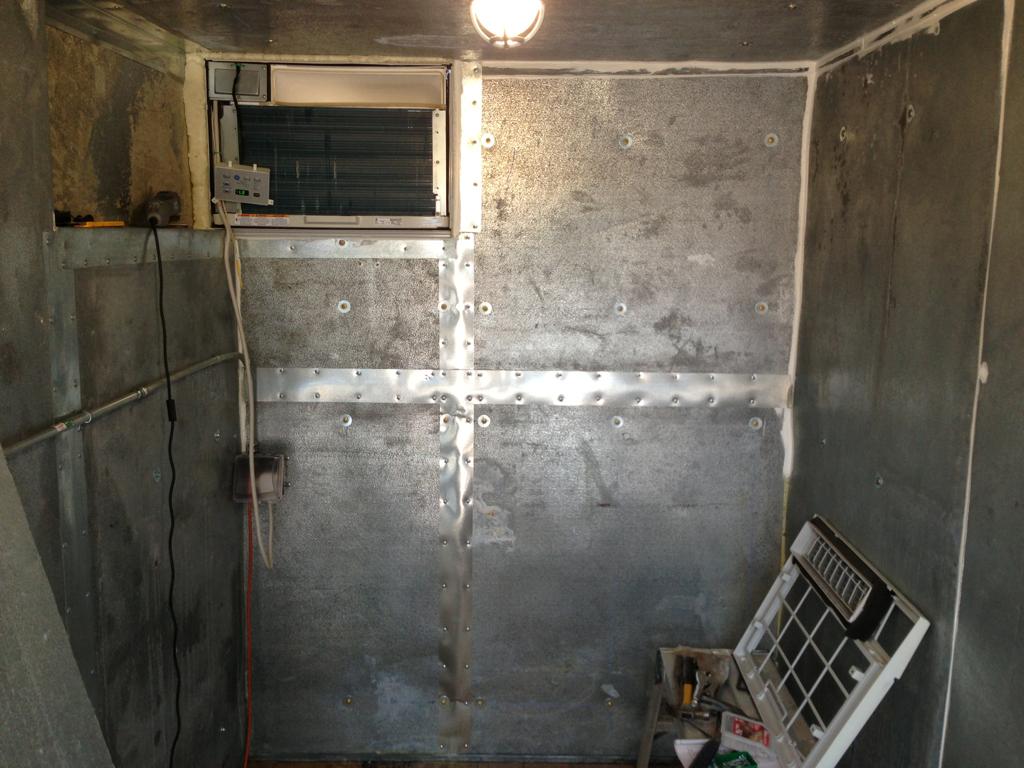
Nice call on the red light. That would be really submarine like. That was the only bulb I had on hand so I do need a better bulb. That's just a plain old 60W bulb.

so i had a slow day at work and managed to migrate all the pics to imgur. It took awhile but i had it down there towards the end. Screw photobucket!
 Good luck!
freedom!!!

Happy Independence Day everyone. Today I have a beer tasting to attend at 5 but in the meantime, I'm returning a bunch of extra stuff to the home depot and picking up some new supplies. I'll probably get some work done this afternoon but I doubt I can get much done today. Greg is tied up with his own projects so his involvement is winding down it appears. We should have a big push this weekend though, even without him.
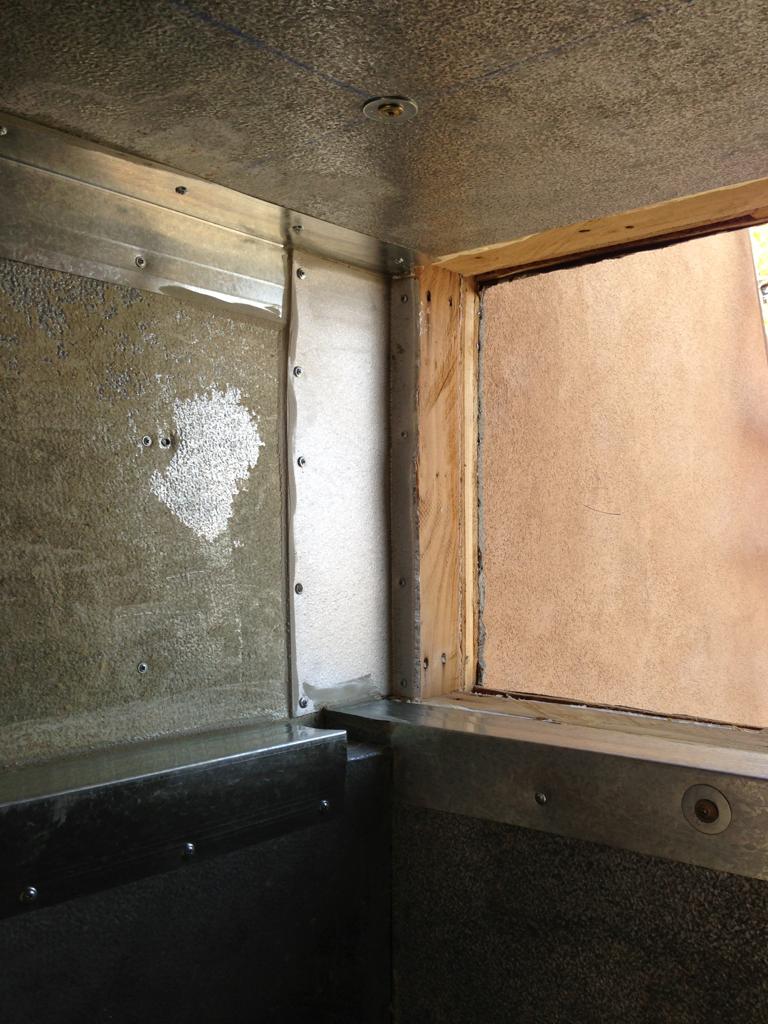
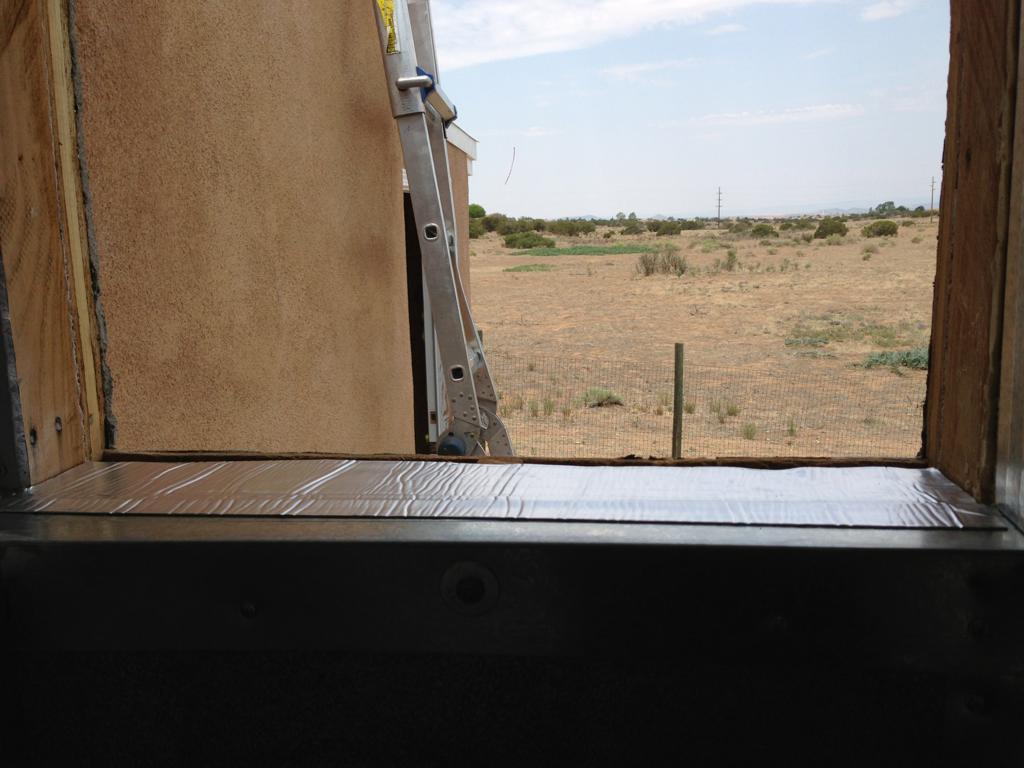
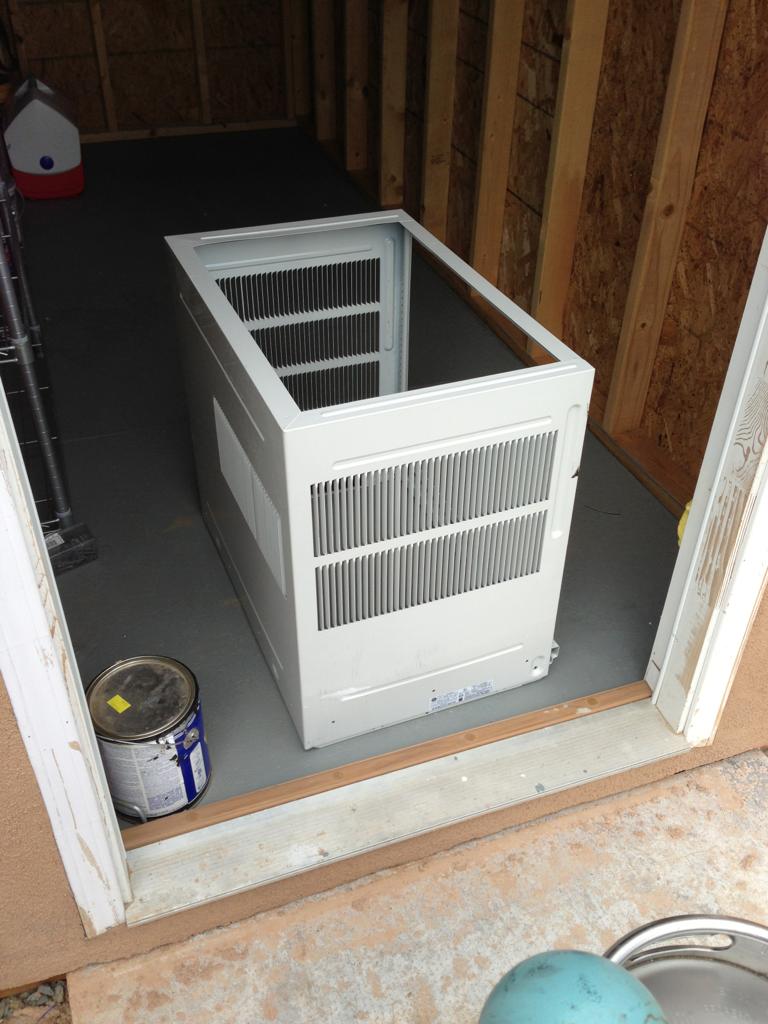
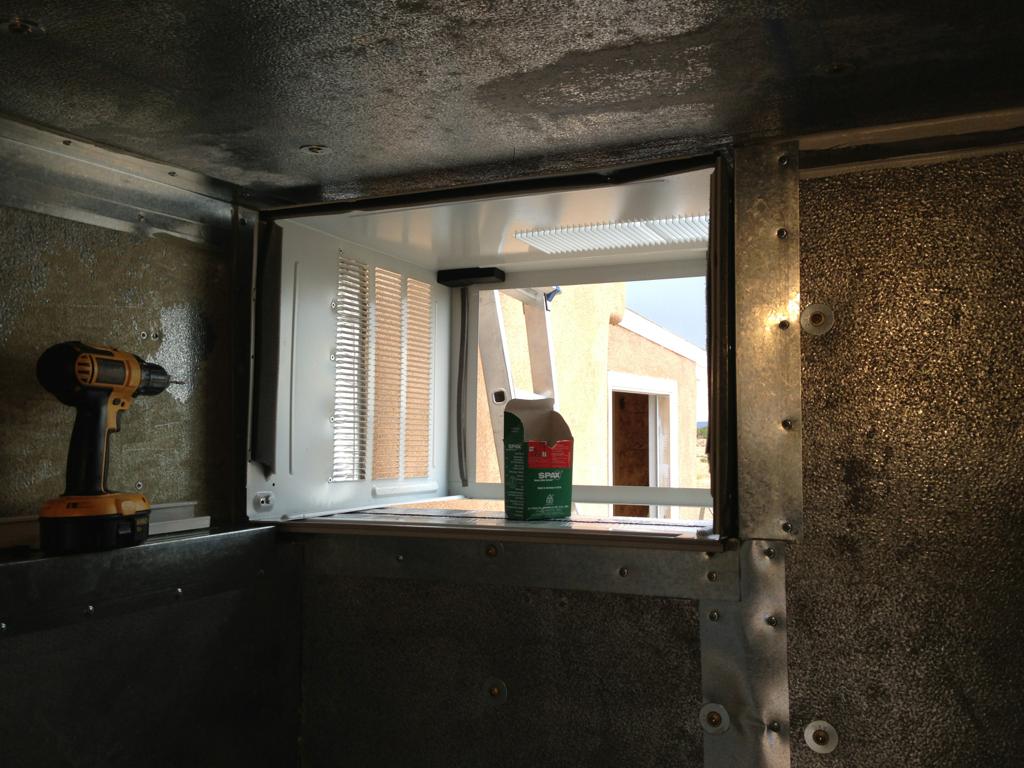
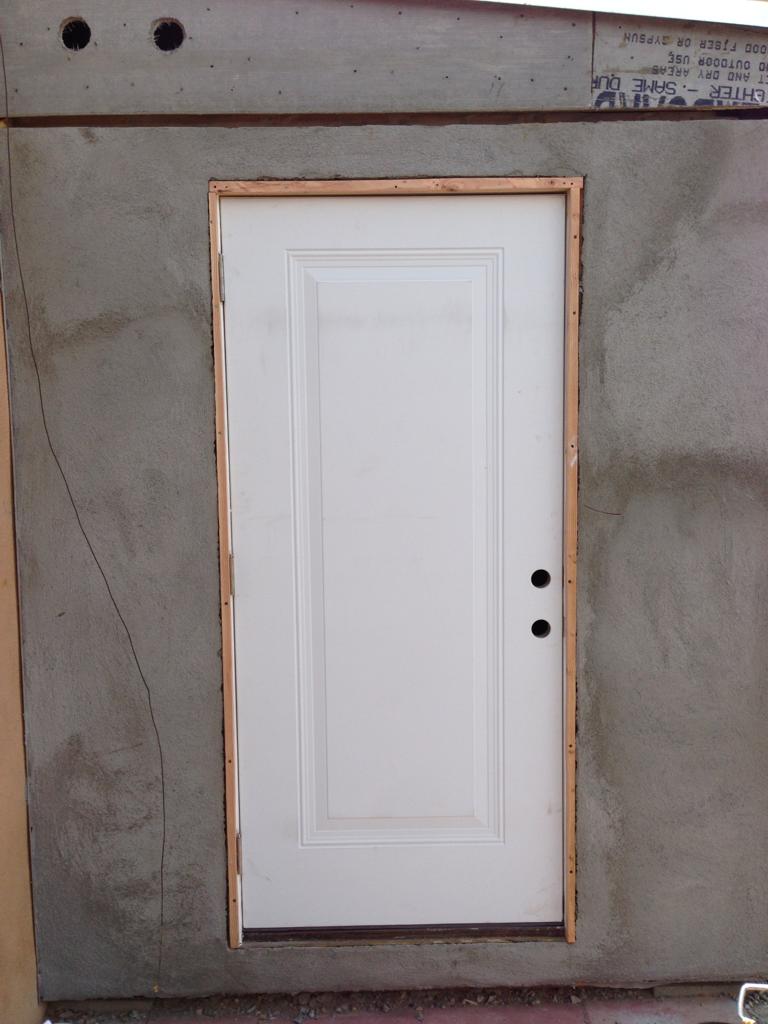
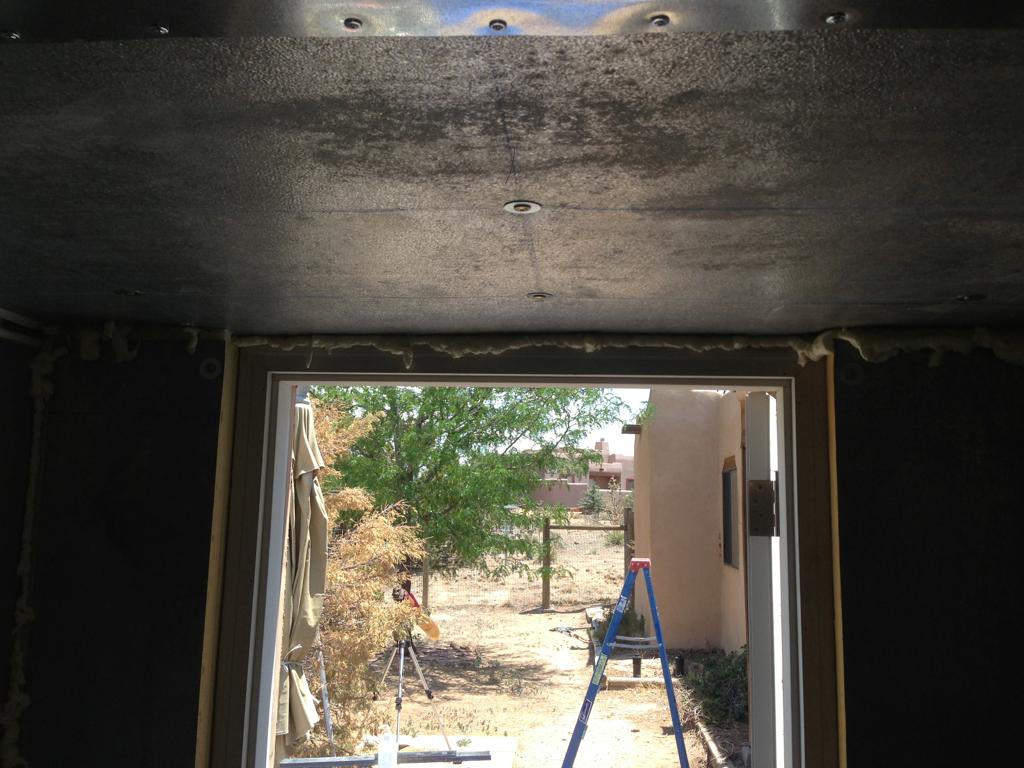
I wanted to ask what people think I should use to bond the wrinkled plastic sheeting to the foam on the back of the door? I like Deep Six's idea of foam on the back of the door but I'm not sure what to use to mount the plastic? I'm thinking PL Premium as this stuff bonds just about everything it seems.
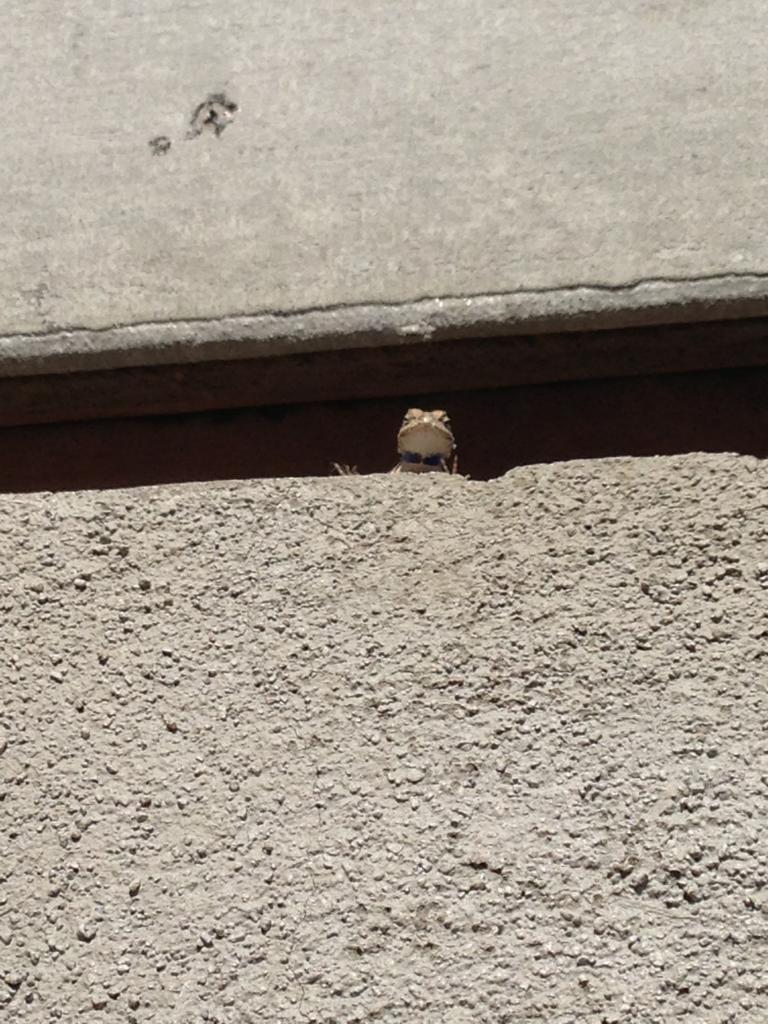
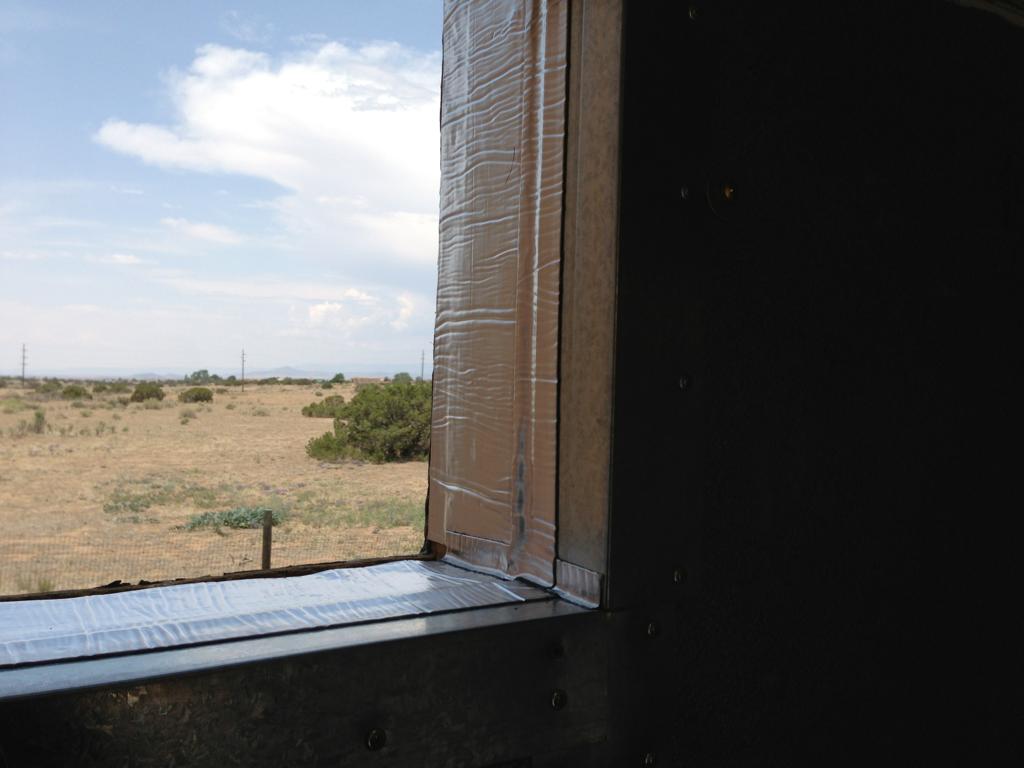
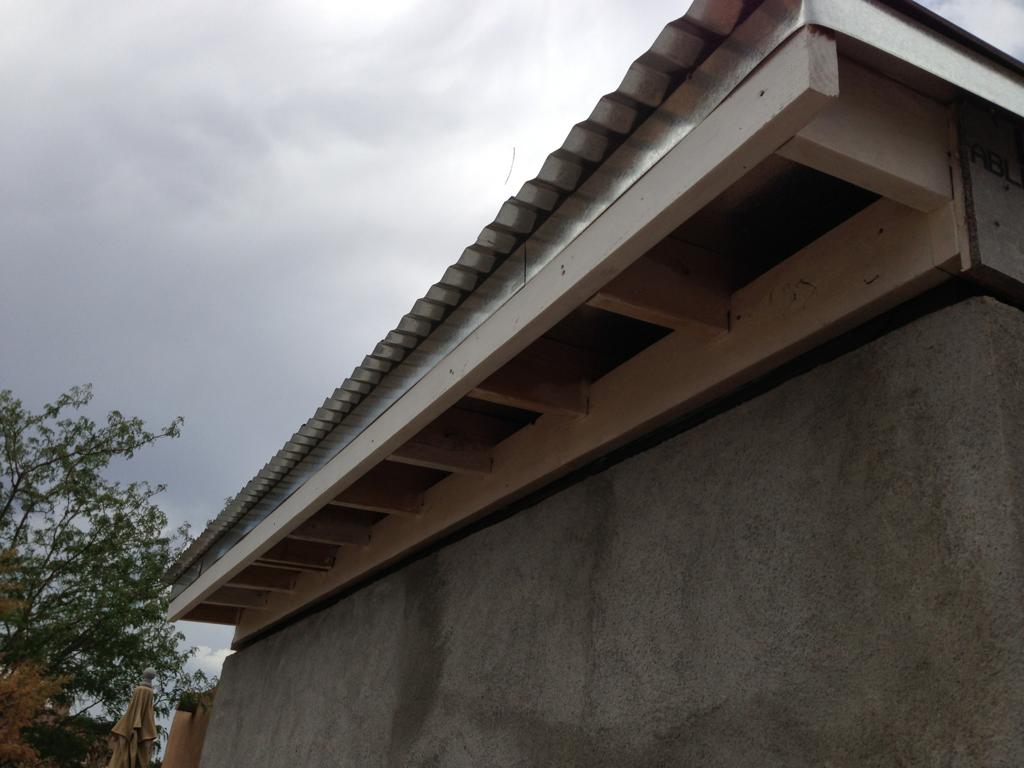
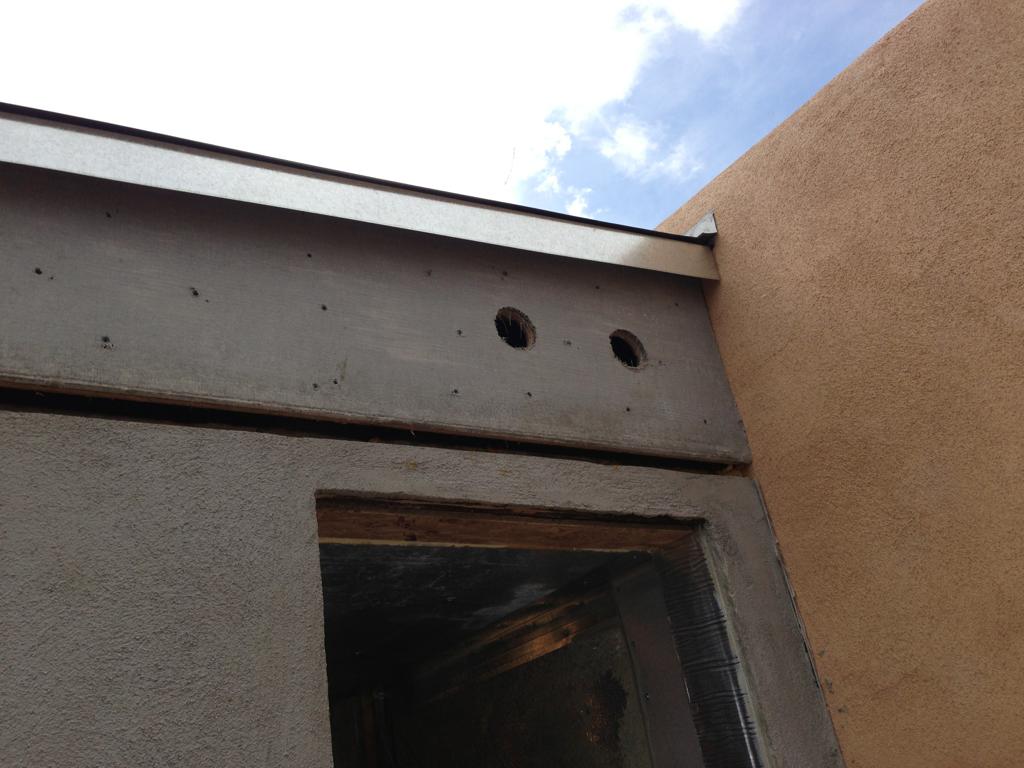
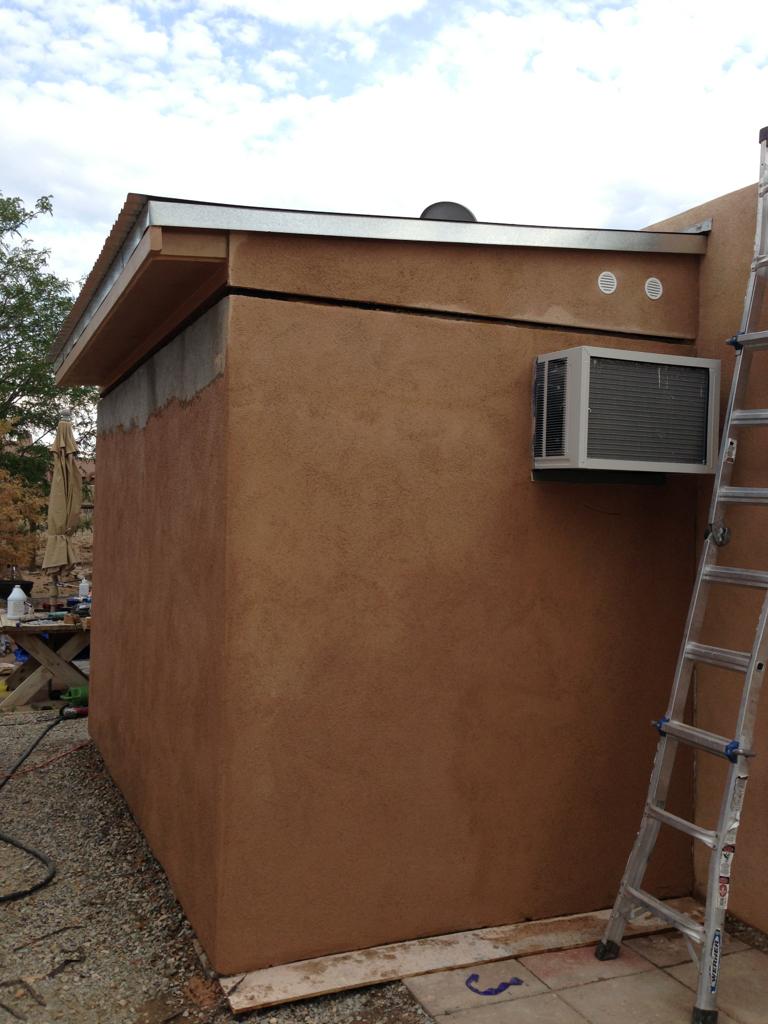
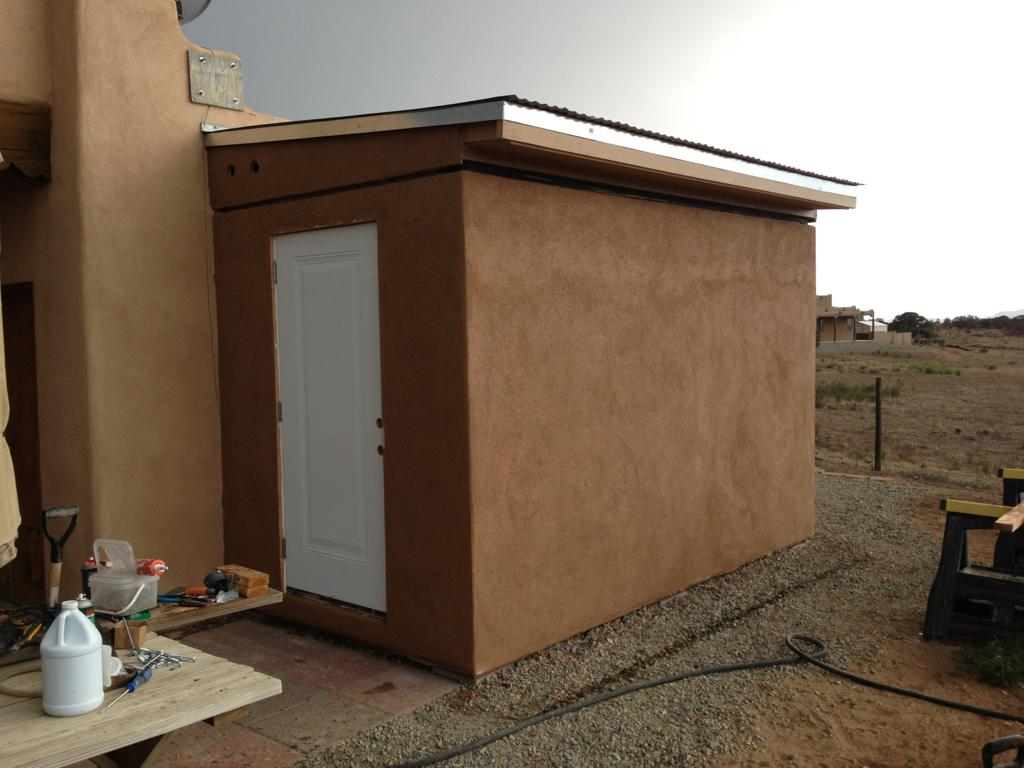
Lizard chillaxin' in the hot air gap where the heat escapes from the inner thermal barrier layer. Didn't expect the reptiles to be hanging out there but it is warm there. On the west AC side wall, you can blow out a match with the thermal exhaust in the peak heat of the day. That stuff is impressive but we still need to cut out a bit more of the stucco scratch and brown to help the intake of air at the bottom. Devil is in the details...

That's damned sexy, if the HOA guy gives you a hard time you could keep him in there for a while till ya get a chance to bury him out in the dessert.
LOL

Will your cooling unit be able to cool the room down. A/C is less efficient when it's hot outside.

Have you thought about putting solar panels on the roof to cut back AC electricity costs? HOA probably wouldn't dog that.
Definitely following this. I've read all 270 posts now and am intrigued! Beautiful work my friend! And here all I want to cool down is an inside bar! lol
I have considered it and it is a possibility as the tax incentives are good. You can write off the entire cost of the cooler as well as it would be considered construction related to the solar power upgrade but I would need to finance about 25K, of which about 10K would be recoverable in about 9 months. The system would definitely be beneficial in the long run. I'd prefer not to have the additional payment at this time but it is definitely something worth considering.
Enter your email address to join:
