
First off, let me introduce myself. My name is Dave and have been brewing for 5-6 years now. Still fairly new to this site, but I am always here using it as a resource for everything brewing.
I've been meaning to post this build as a way to give back to the members on homebrewtalk. I've learned so much from this community and this fermentation chamber was largely inspired by the DIY forums here.
Things I wanted in a fermentation chamber: It had to be able to maintain cold enough temperatures to start making lagers, It needed to be a front opening chamber, and it needed to be cheap, but pretty.
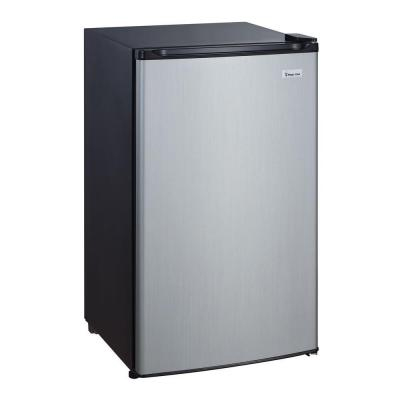
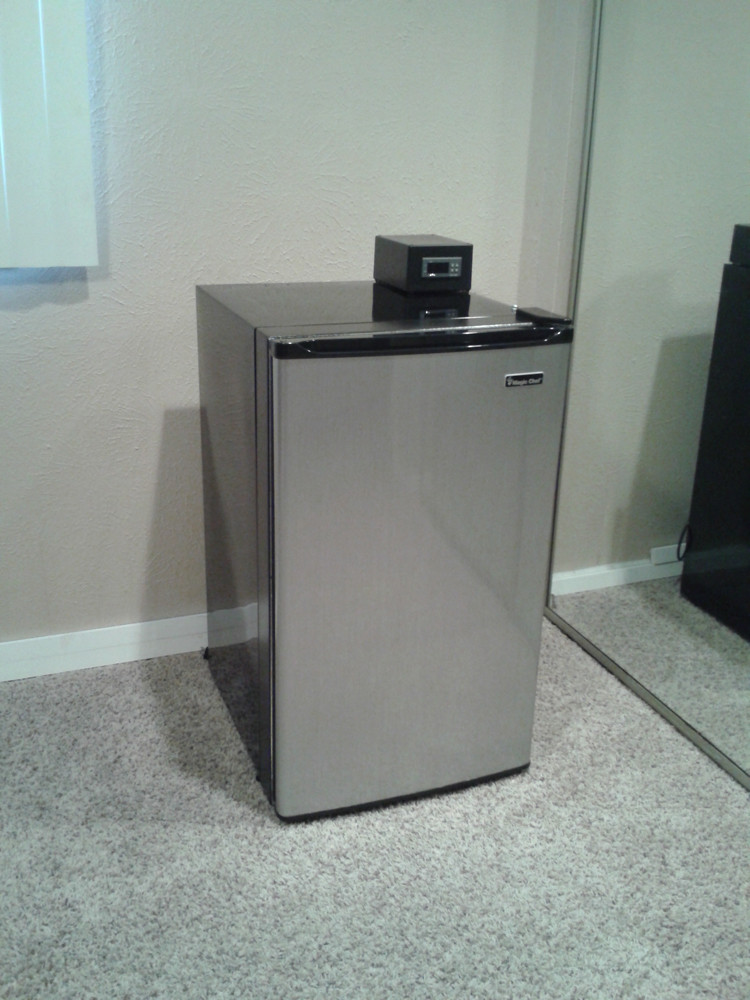
After a lot of research and hunting, I found a Magic Chef 3.5 cu. ft. mini fridge on sale at Home Depot for $97. Had pretty good reviews compared to most of the more pricey mini fridges I researched, so I jumped on it.
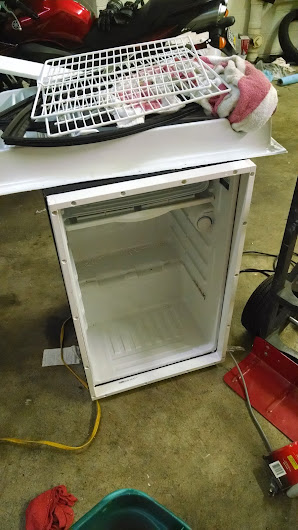
Step 1: Get rid of the door shelving.
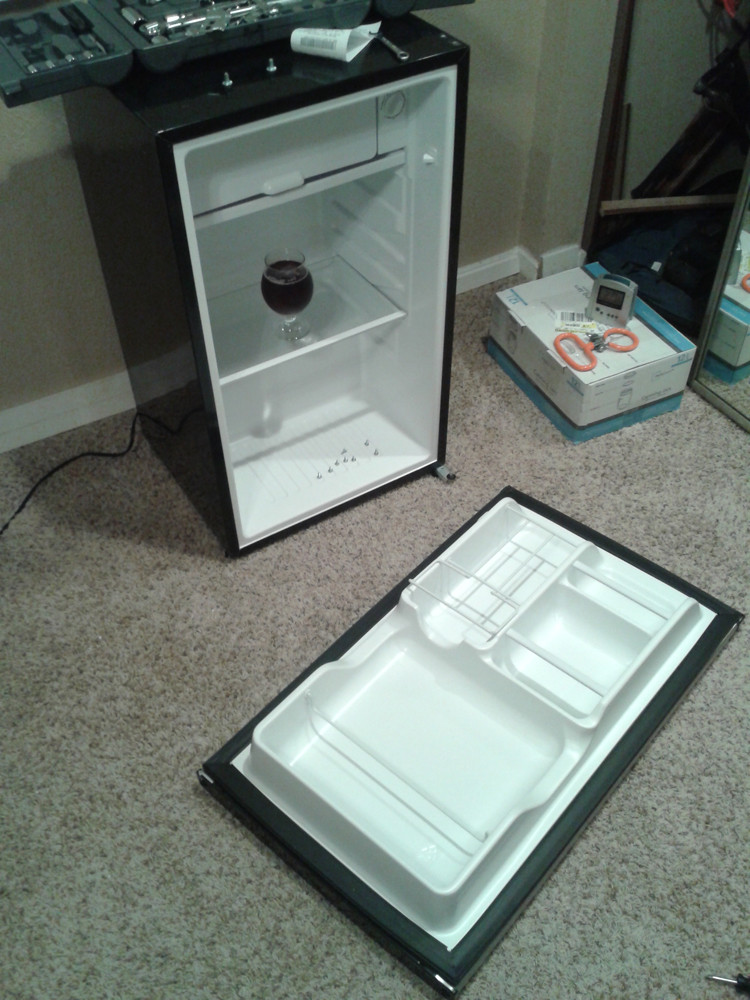
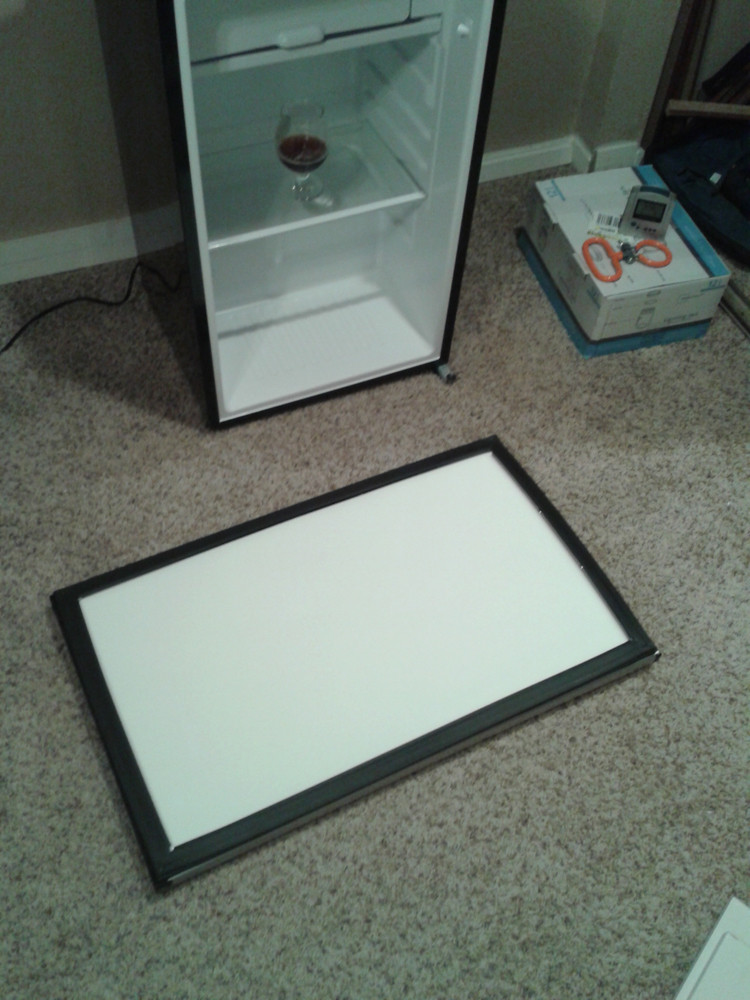
Found a 2'x4' piece of marker board to replace the shelving and cover the foam interior.
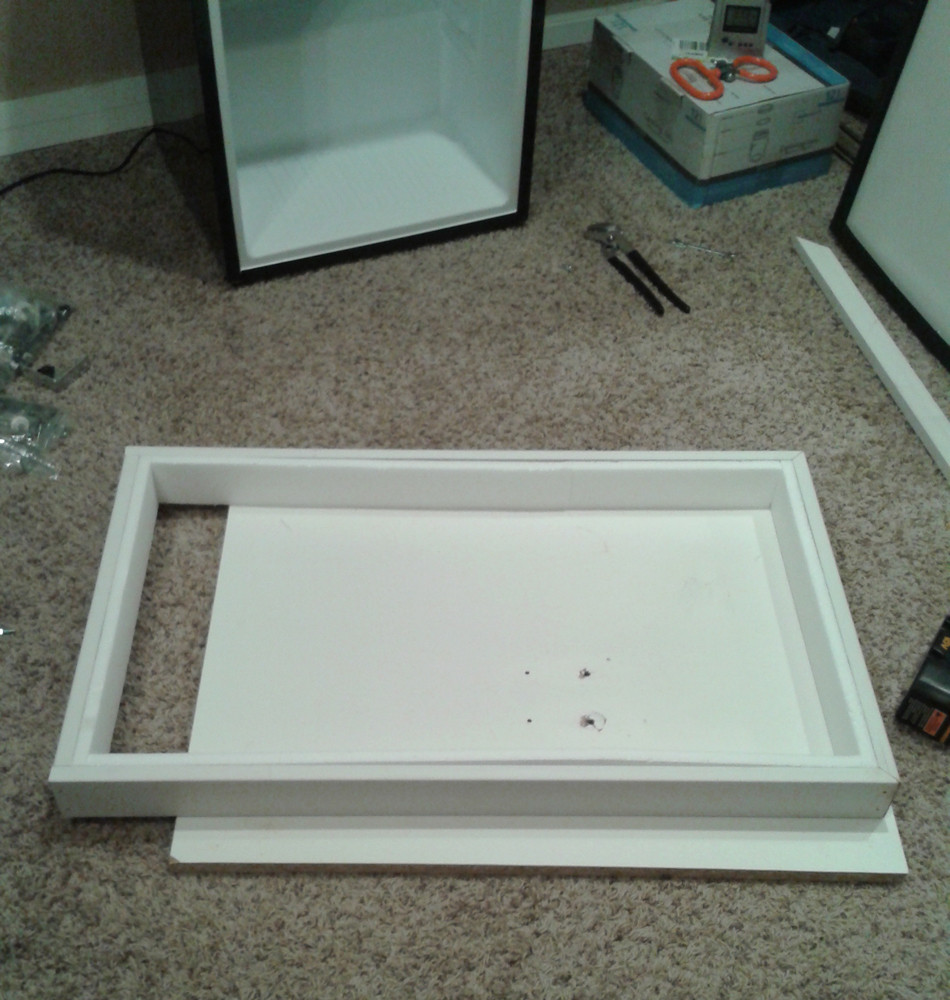
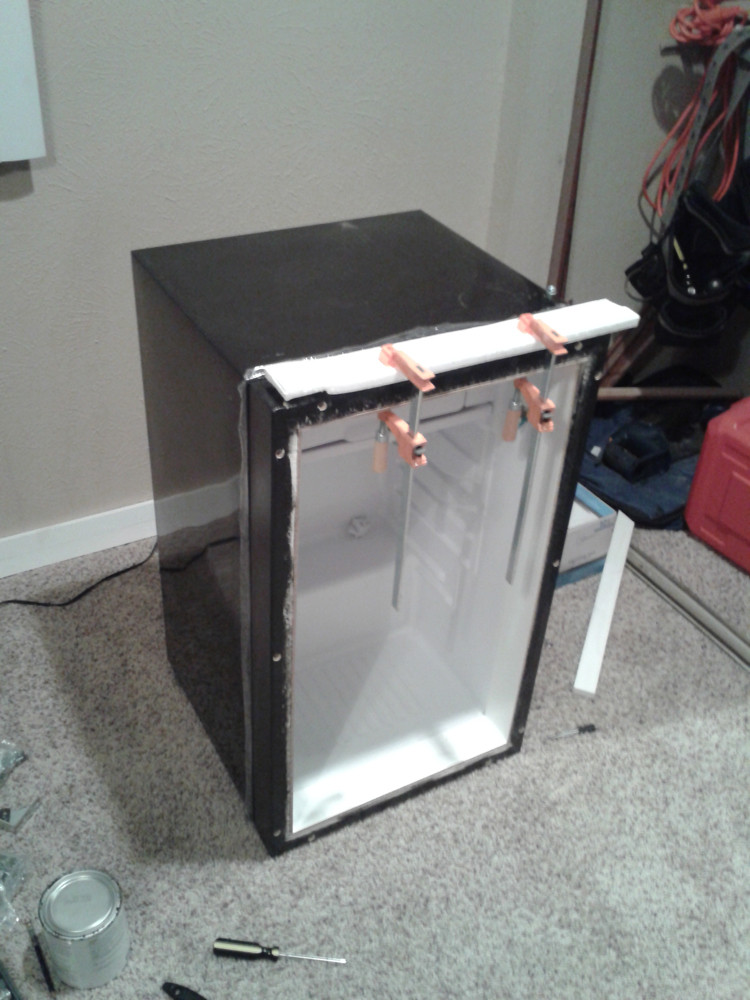
Step 2: Add a collar to the front of the fridge to increase it's depth to accommodate my carboy.
I framed it out with some cheap wood. Then, using the foam sheets from the fridge packaging I lined it along the inside edge as some impromptu insulating.
I mounted it with weather proof silicon caulk and some screws. (I knew I was taking a risk with the screws as I don't know the location of the lines in the fridge, but they were only penetrating the front metal paneling about a quarter inch and luckily didn't hit anything). I lined the collar interior with some marker board left over from the door and sealed it all up with more caulk.
Further sealed the edge with some aluminum tape. Added some magnetic strip to hold the door. Remount the door, and test the perfect fit of my carboy.
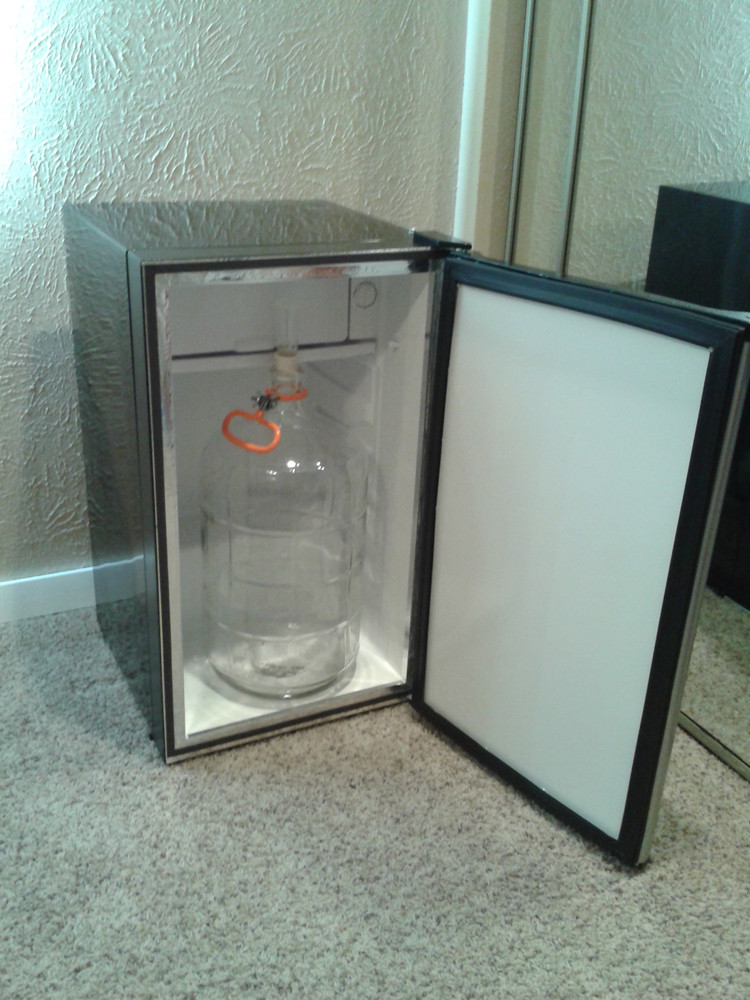
Add a STC-1000 controller and done... Right?
...nope
Step 3: Window? I really like the idea if having a glass door like on those wine chiller fridges, but those fridges are expensive and won't hit lagering temps.
I had a crazy idea though. After everything was assembled, I was looking at the useless glass shelves that came in the fridge and thought, "I can make a window with that."
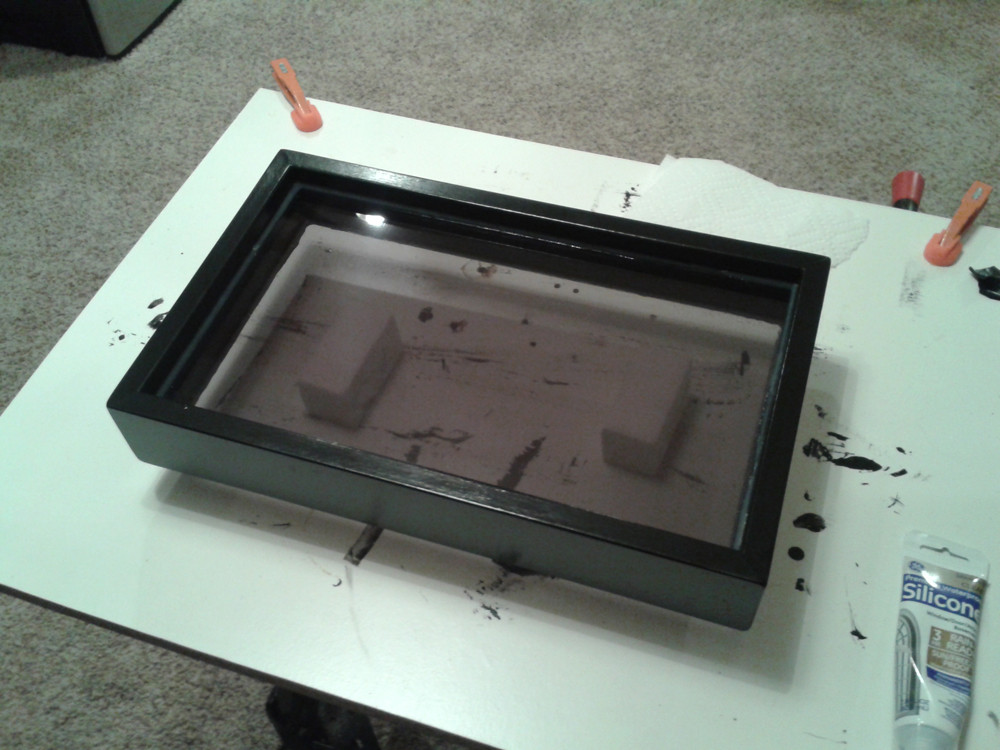
There was wood left over from the collar, so I made a frame for my double pane window.
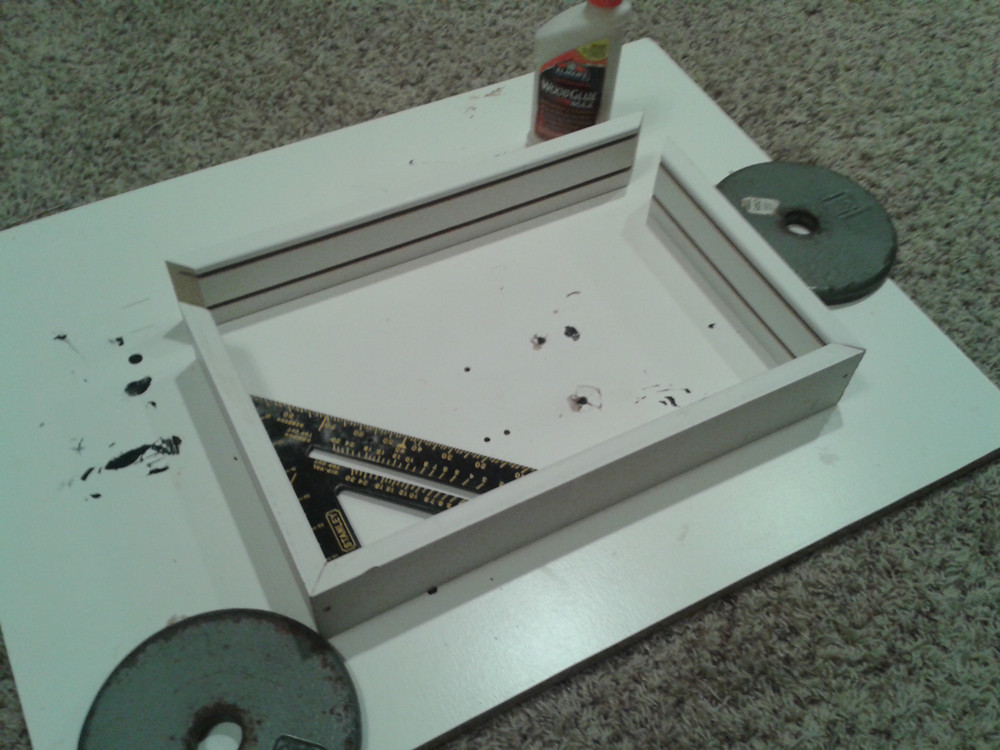
With some cheap headlight tint I coated the glass to help keep light out. I shoved them in my window frame and sealed it all up.
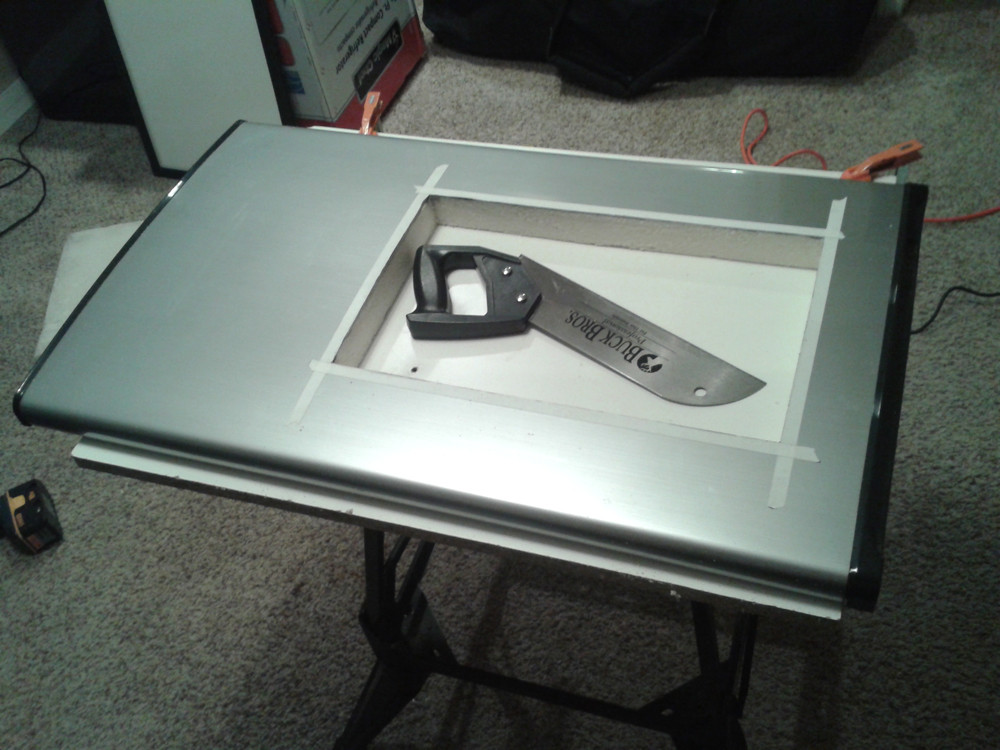
Next was to cut a BIG hole in my door. I only had one shot at this so it was pretty nerve wracking, but it ended up being easier than expected.
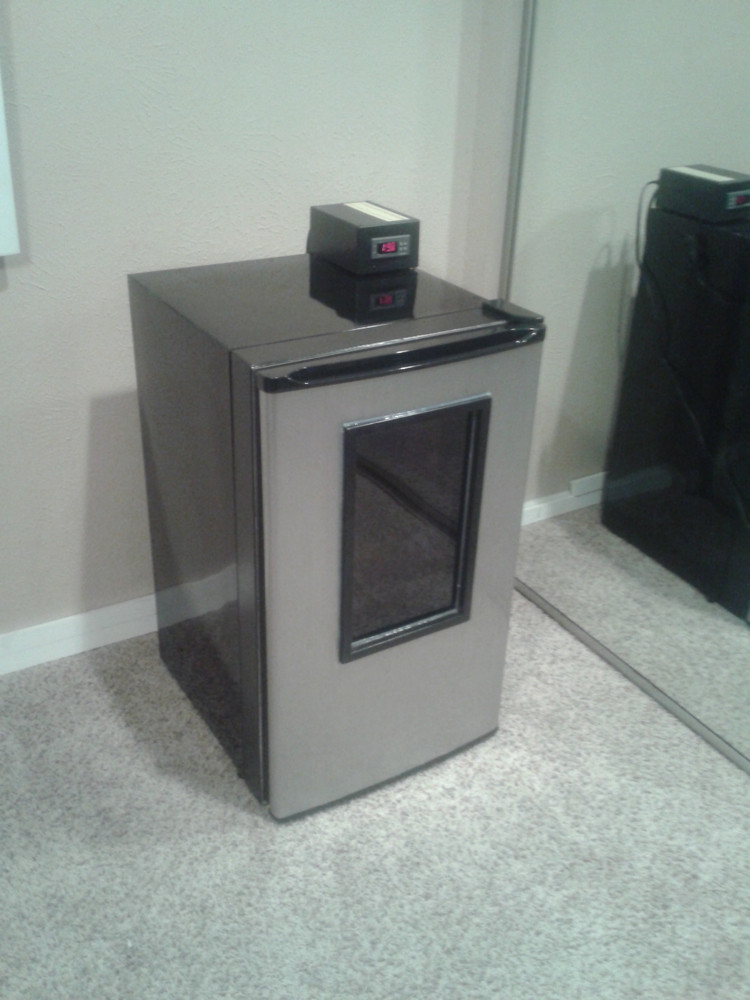
Everything mounted and sealed with more silicon caulk.
Not too shabby, but what good is a window you can't see through?
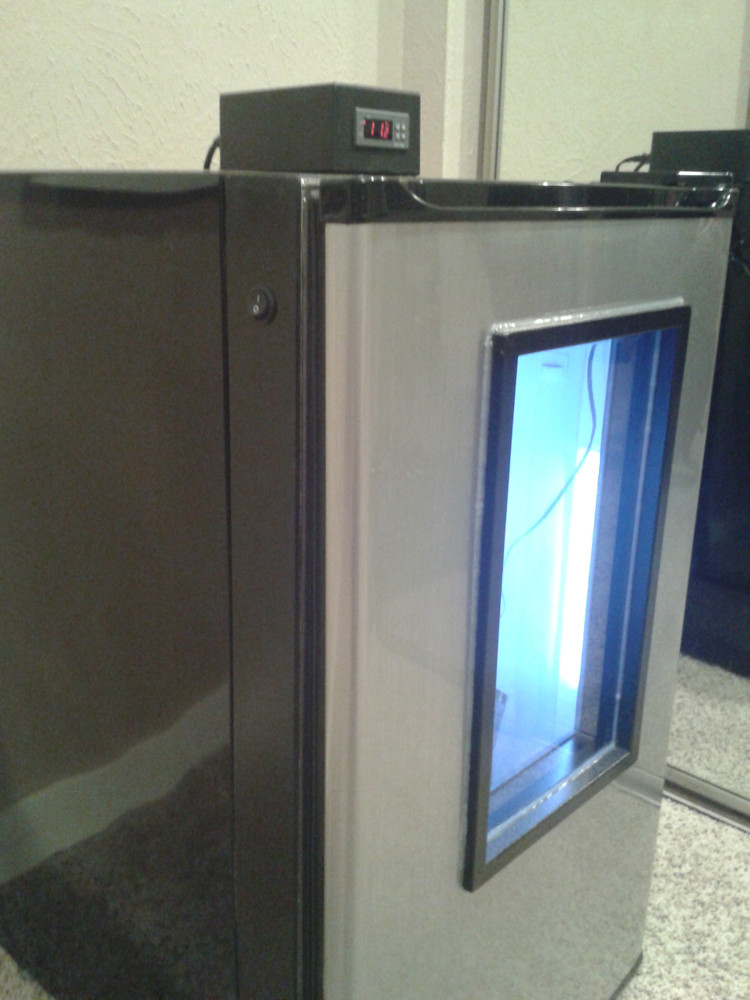
Step 4: Light.
I found some weather proof LED strips meant to "pimp your ride", and figured they were way better suited for my fermentation chamber.

Wired them up to an old 12v adapter I had and an on/off switch.
And that's it!
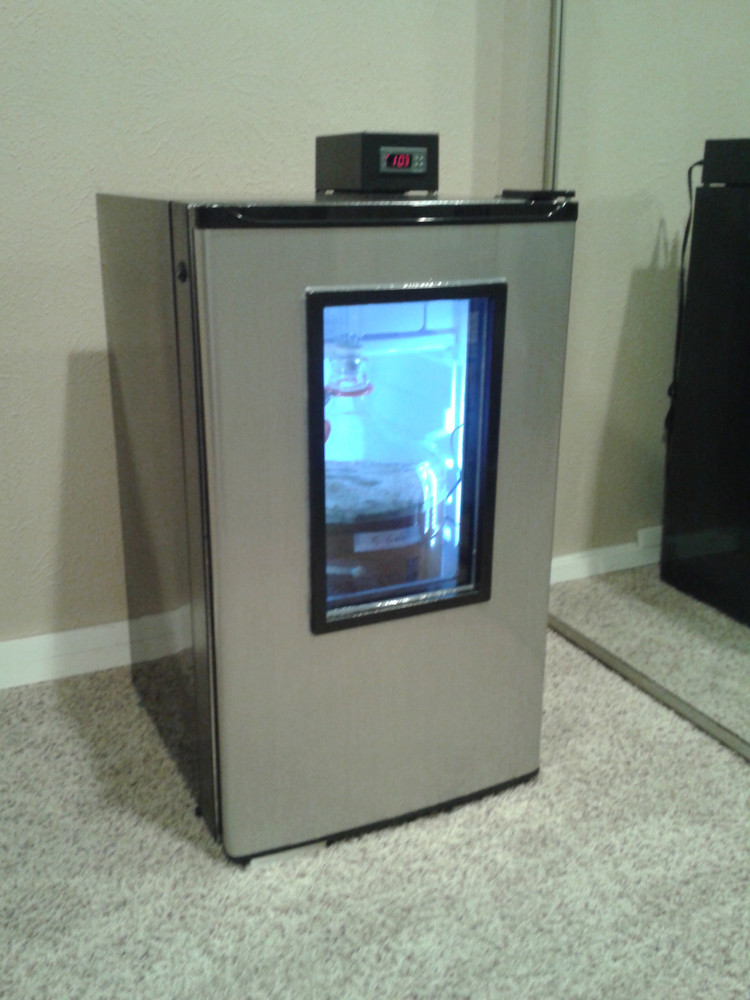
The whole thing, including the STC-1000 temperature controller build cost me under $200. Holds temperature perfectly, and I'm very happy to say my first lager was a success.
I hope sharing this serves to inspire people as I have been by these forums.
I've been meaning to post this build as a way to give back to the members on homebrewtalk. I've learned so much from this community and this fermentation chamber was largely inspired by the DIY forums here.
Things I wanted in a fermentation chamber: It had to be able to maintain cold enough temperatures to start making lagers, It needed to be a front opening chamber, and it needed to be cheap, but pretty.
After a lot of research and hunting, I found a Magic Chef 3.5 cu. ft. mini fridge on sale at Home Depot for $97. Had pretty good reviews compared to most of the more pricey mini fridges I researched, so I jumped on it.
Step 1: Get rid of the door shelving.
Found a 2'x4' piece of marker board to replace the shelving and cover the foam interior.
Step 2: Add a collar to the front of the fridge to increase it's depth to accommodate my carboy.
I framed it out with some cheap wood. Then, using the foam sheets from the fridge packaging I lined it along the inside edge as some impromptu insulating.
I mounted it with weather proof silicon caulk and some screws. (I knew I was taking a risk with the screws as I don't know the location of the lines in the fridge, but they were only penetrating the front metal paneling about a quarter inch and luckily didn't hit anything). I lined the collar interior with some marker board left over from the door and sealed it all up with more caulk.
Further sealed the edge with some aluminum tape. Added some magnetic strip to hold the door. Remount the door, and test the perfect fit of my carboy.
Add a STC-1000 controller and done... Right?
...nope
Step 3: Window? I really like the idea if having a glass door like on those wine chiller fridges, but those fridges are expensive and won't hit lagering temps.
I had a crazy idea though. After everything was assembled, I was looking at the useless glass shelves that came in the fridge and thought, "I can make a window with that."
There was wood left over from the collar, so I made a frame for my double pane window.
With some cheap headlight tint I coated the glass to help keep light out. I shoved them in my window frame and sealed it all up.
Next was to cut a BIG hole in my door. I only had one shot at this so it was pretty nerve wracking, but it ended up being easier than expected.
Everything mounted and sealed with more silicon caulk.
Not too shabby, but what good is a window you can't see through?
Step 4: Light.
I found some weather proof LED strips meant to "pimp your ride", and figured they were way better suited for my fermentation chamber.
Wired them up to an old 12v adapter I had and an on/off switch.
And that's it!
The whole thing, including the STC-1000 temperature controller build cost me under $200. Holds temperature perfectly, and I'm very happy to say my first lager was a success.
I hope sharing this serves to inspire people as I have been by these forums.


.jpg")

 Time to enjoy my beer!


")
