• Please visit and share your knowledge at our sister communities:
  • If you have not, please join our official Homebrewing Facebook Group!

    Homebrewing Facebook Group

Wyowolf Coffin Keezer build thread....

Homebrew Talk

Help Support Homebrew Talk:

This site may earn a commission from merchant affiliate links, including eBay, Amazon, and others.

wyowolf

Well-Known Member
Joined
Jul 10, 2012
Messages
935
Reaction score
160
Location
Atlanta
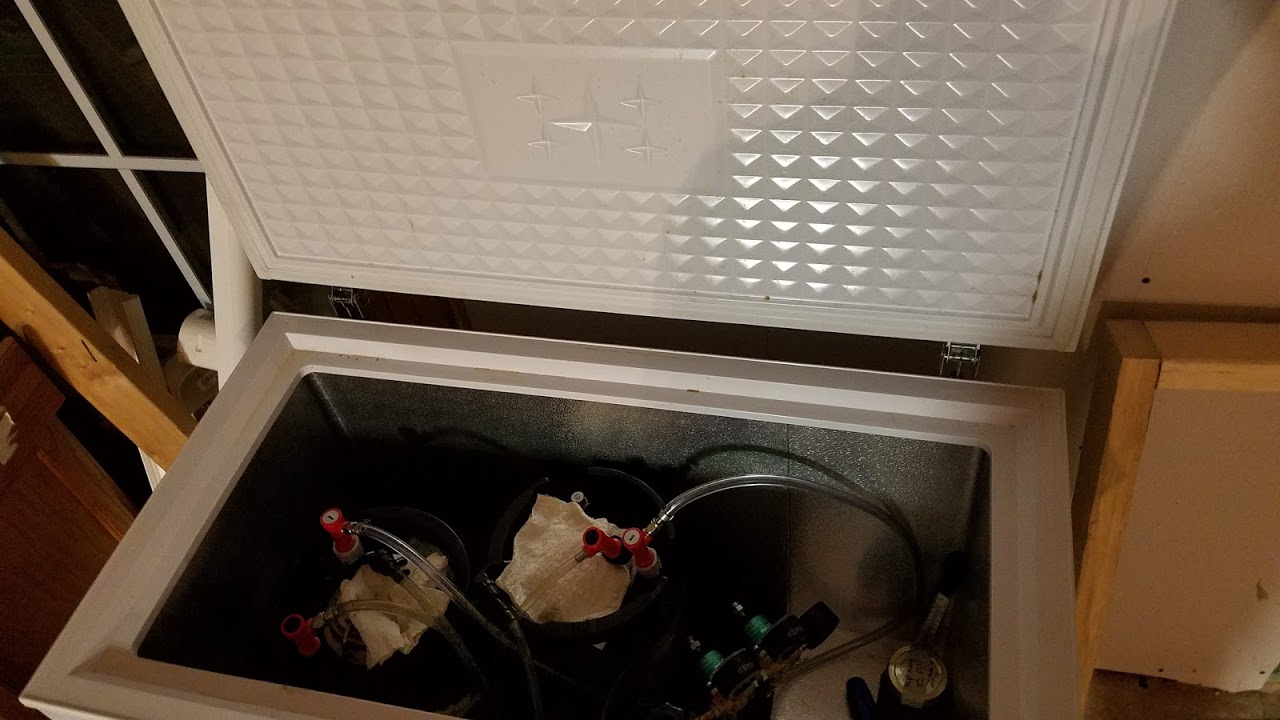
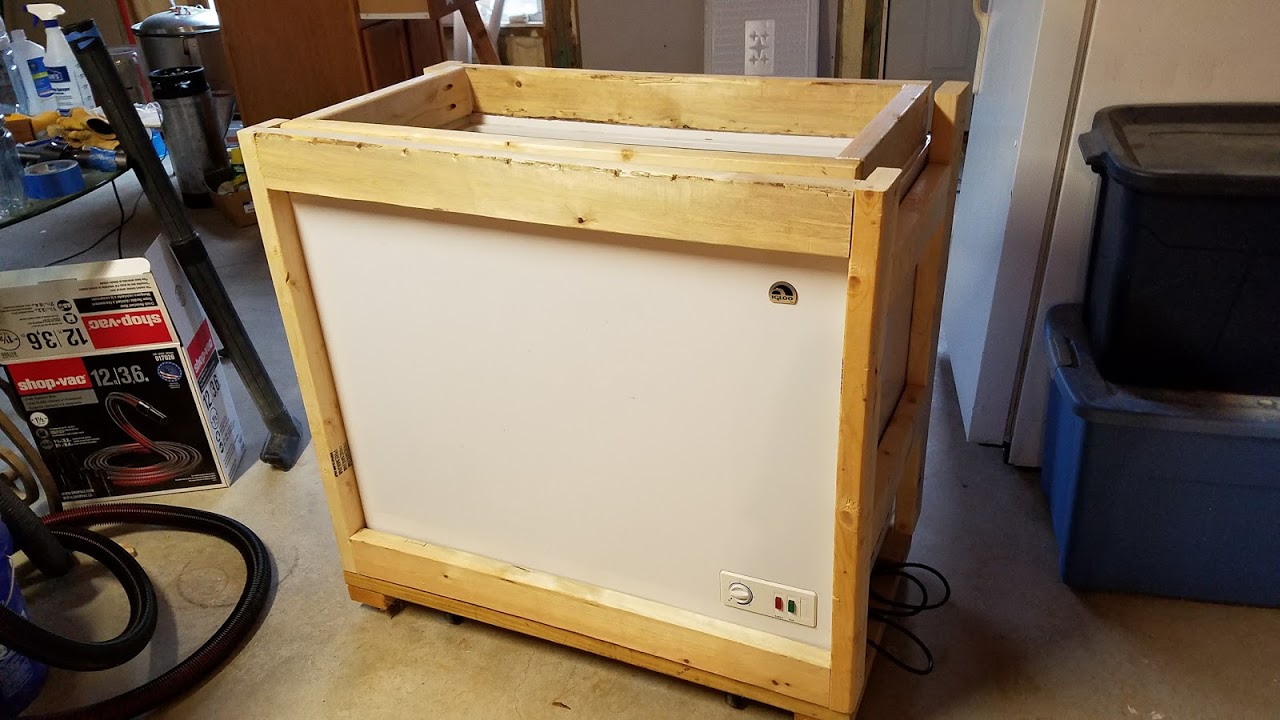
After stupidly waiting a year with the completely worthless picnic taps I finally decided I actually needed to finish this. I started a year ago with the freezer, I should have gotten a bigger one, but oh well... the one for the basement bar will be better... this is just for upstairs.

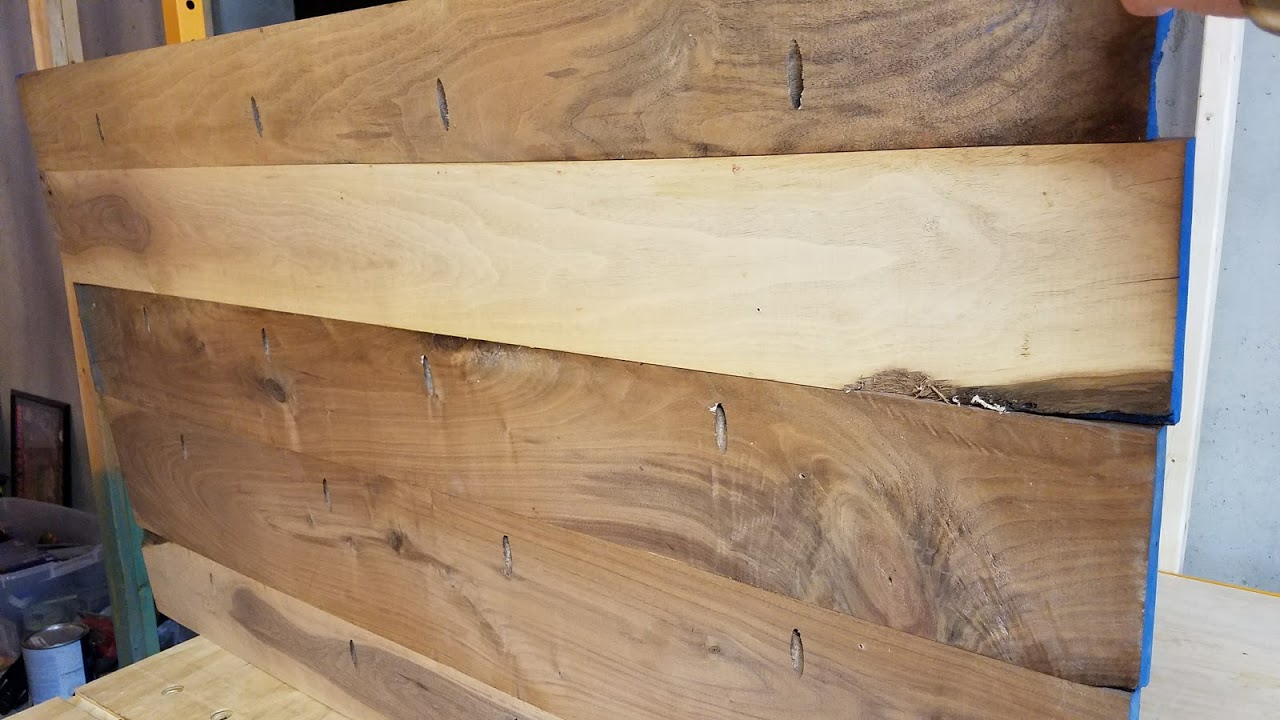
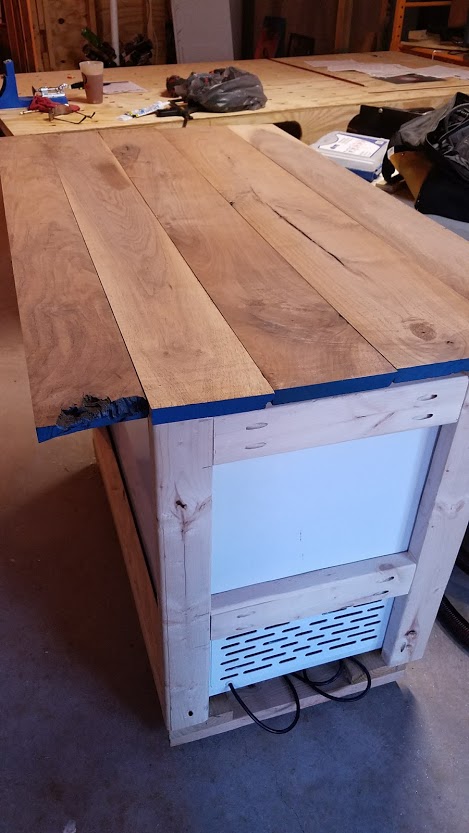
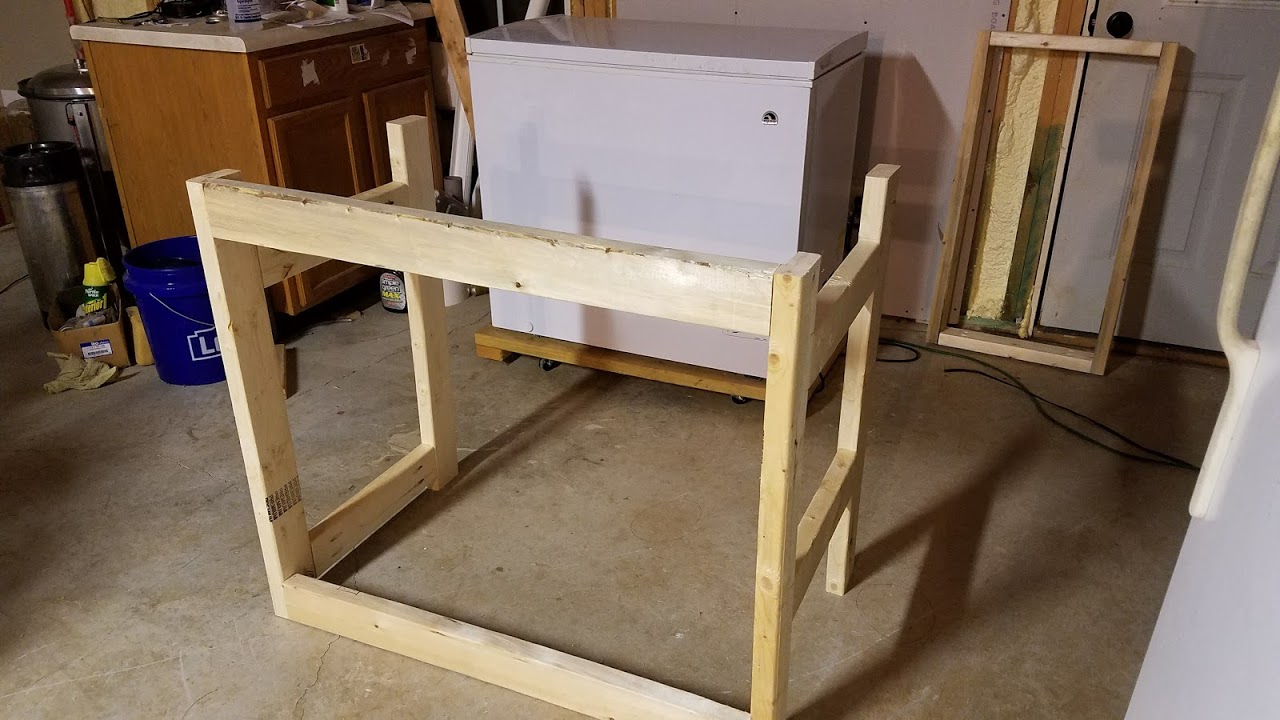
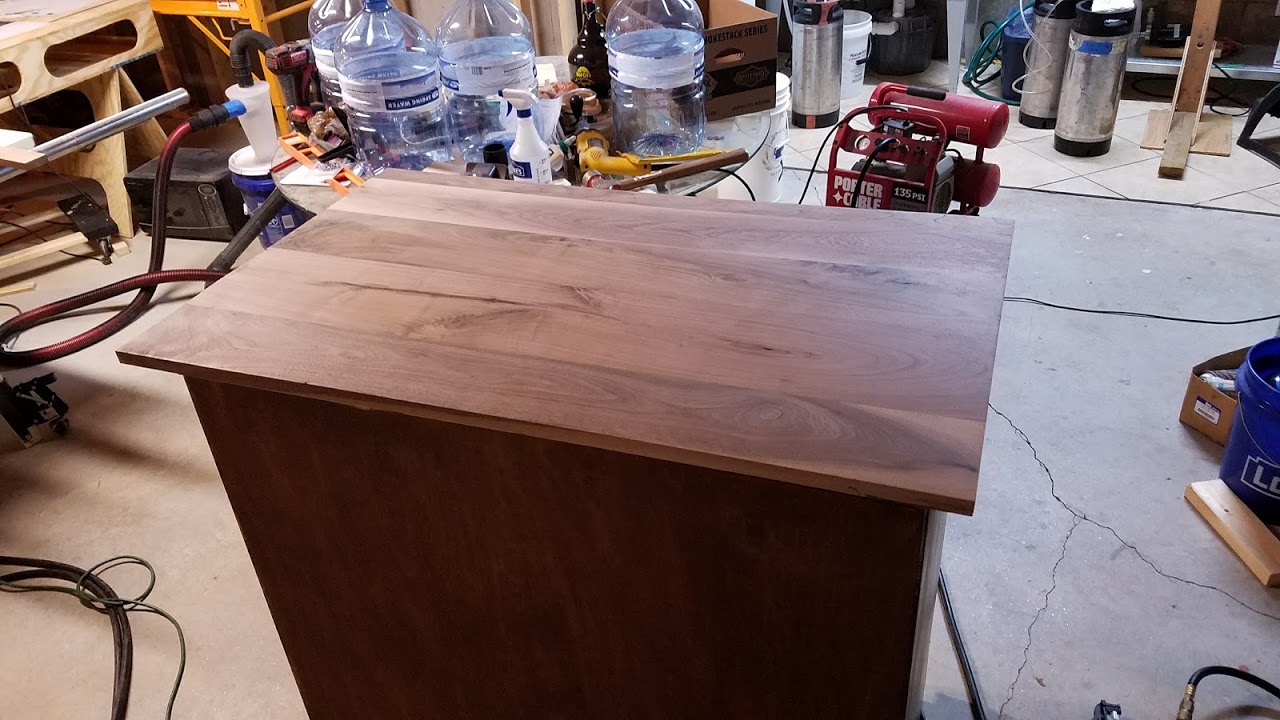
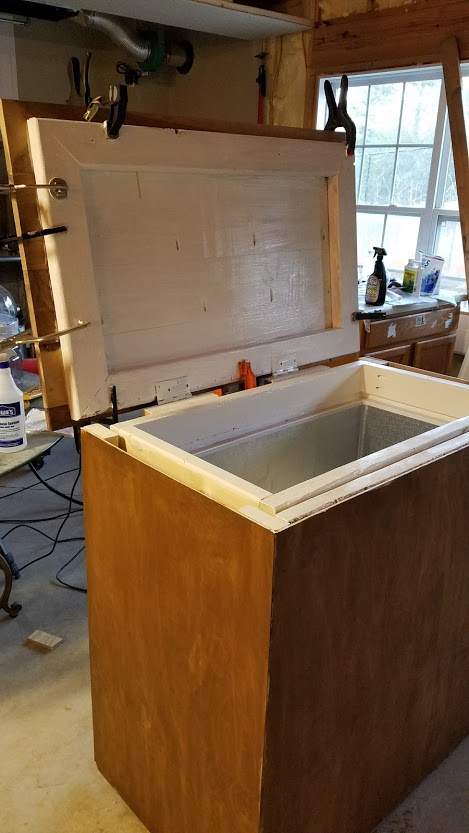
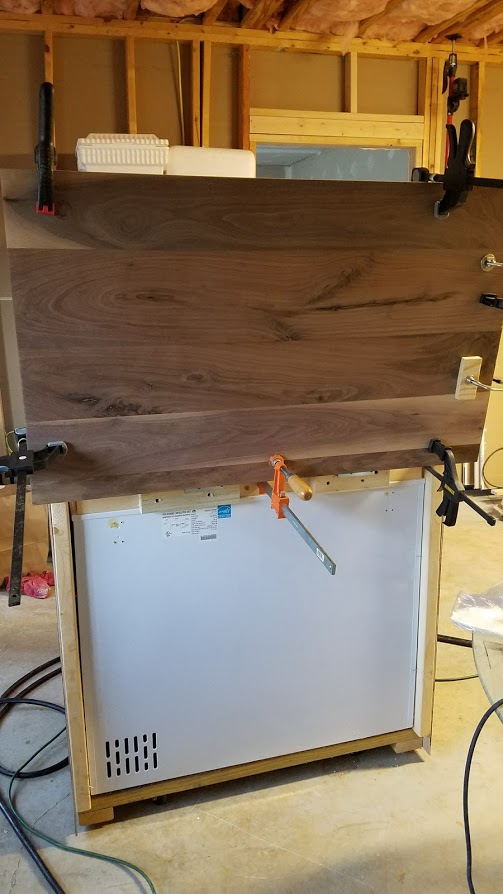
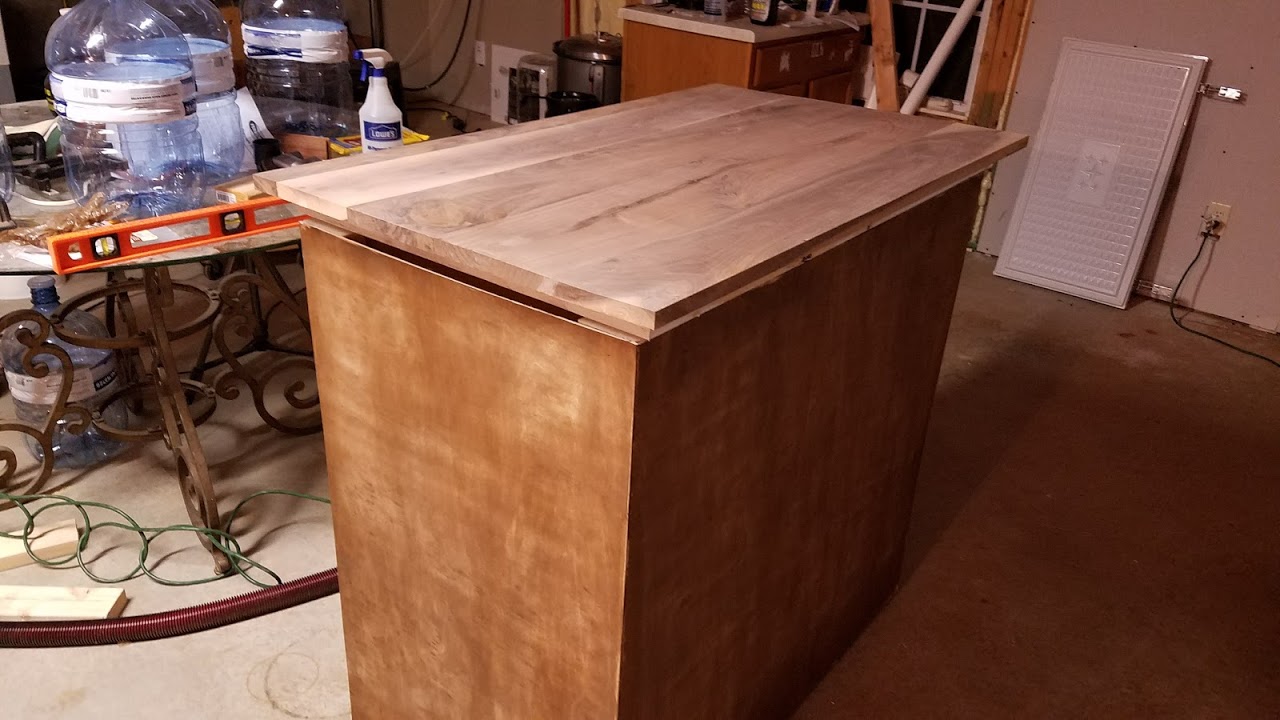
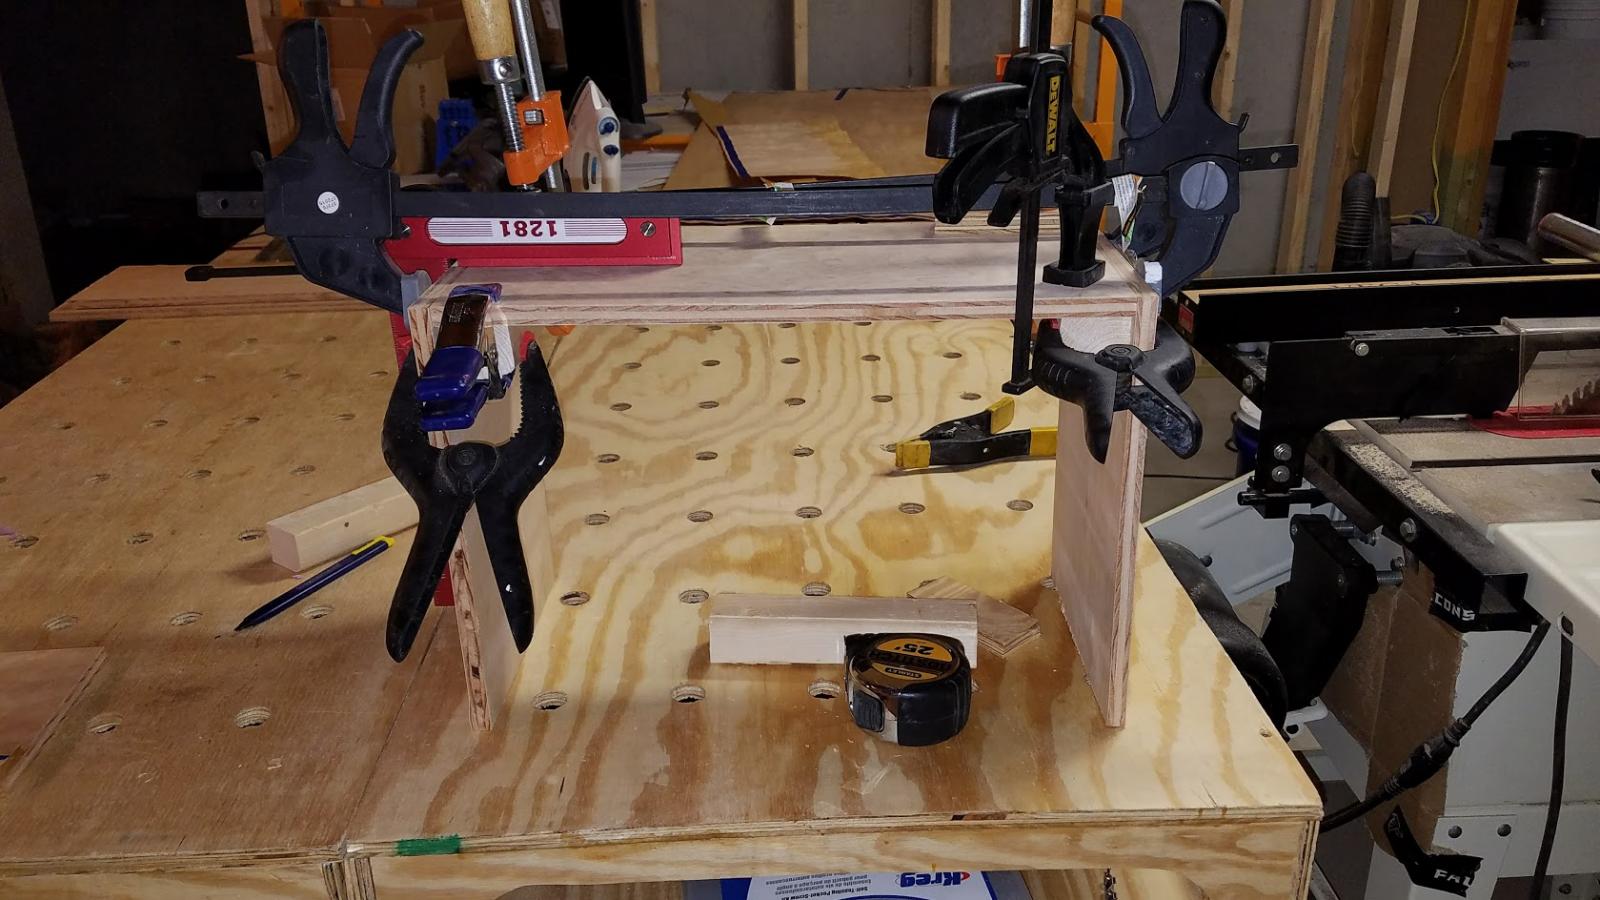
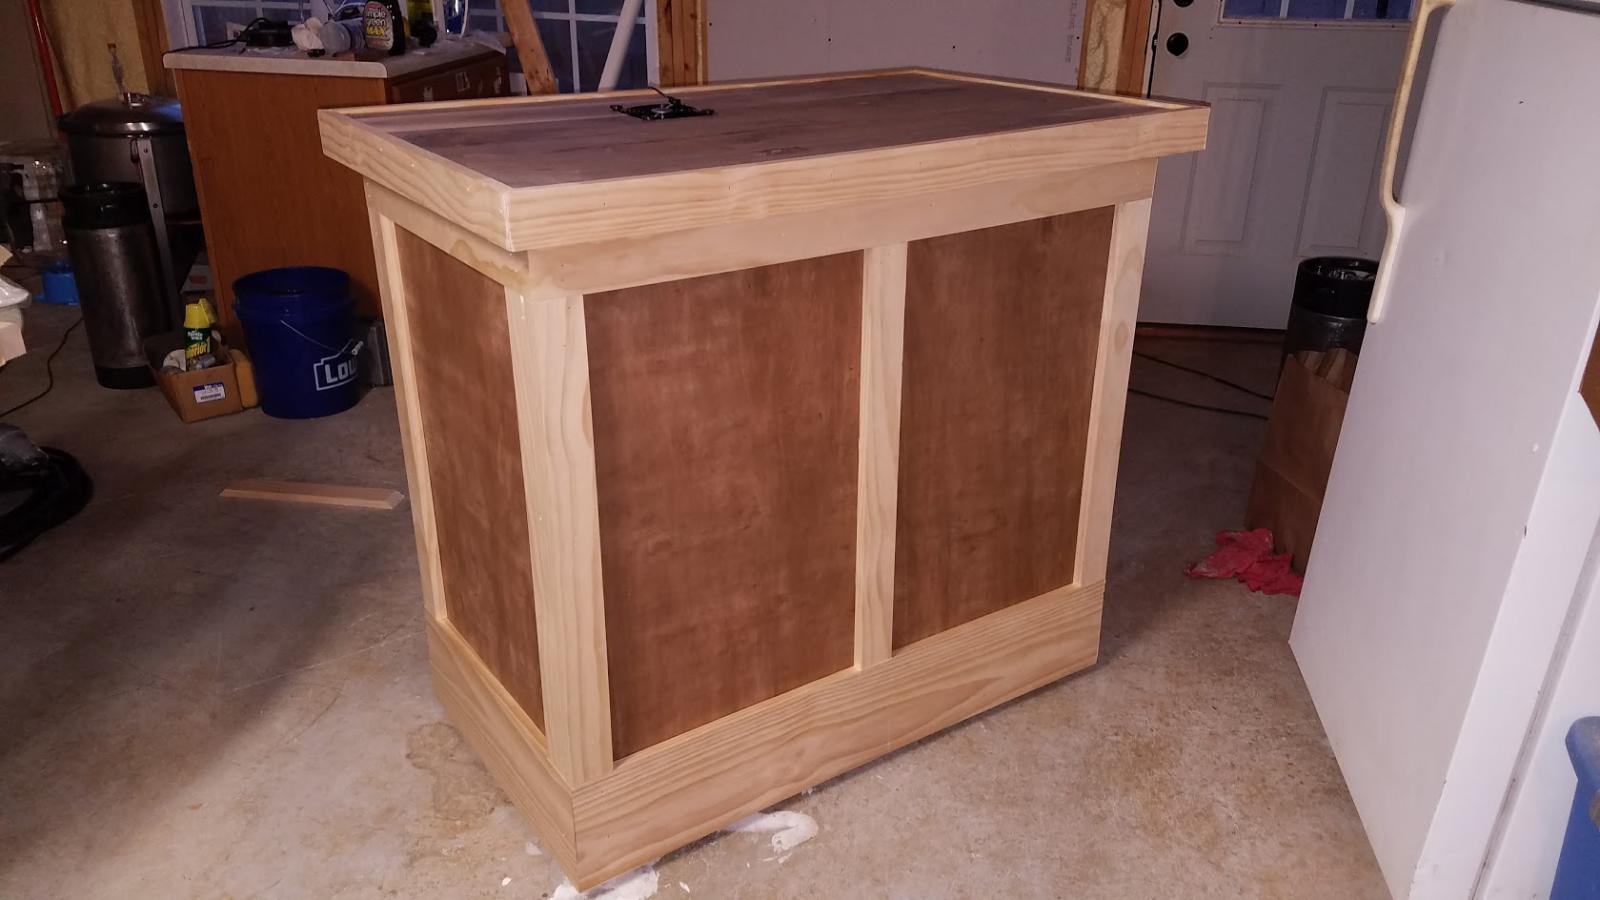
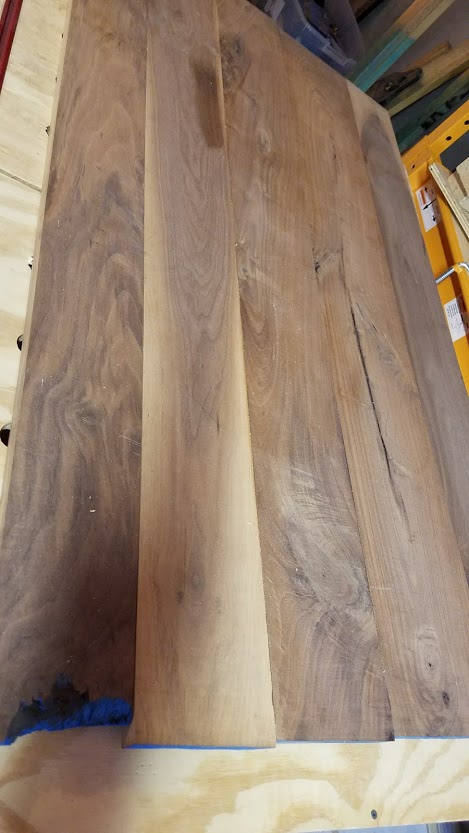
7.1CF... built the frame out of 2x4s. I had some 4/4 walnut I didnt know what to do with, so made the top out of that. I was going to use the lid, but I figured if I ever wanted to use the freezer again I would need it...I adj the internal temp sensor to about 37 degrees... hoping thats good enough without ext controller...

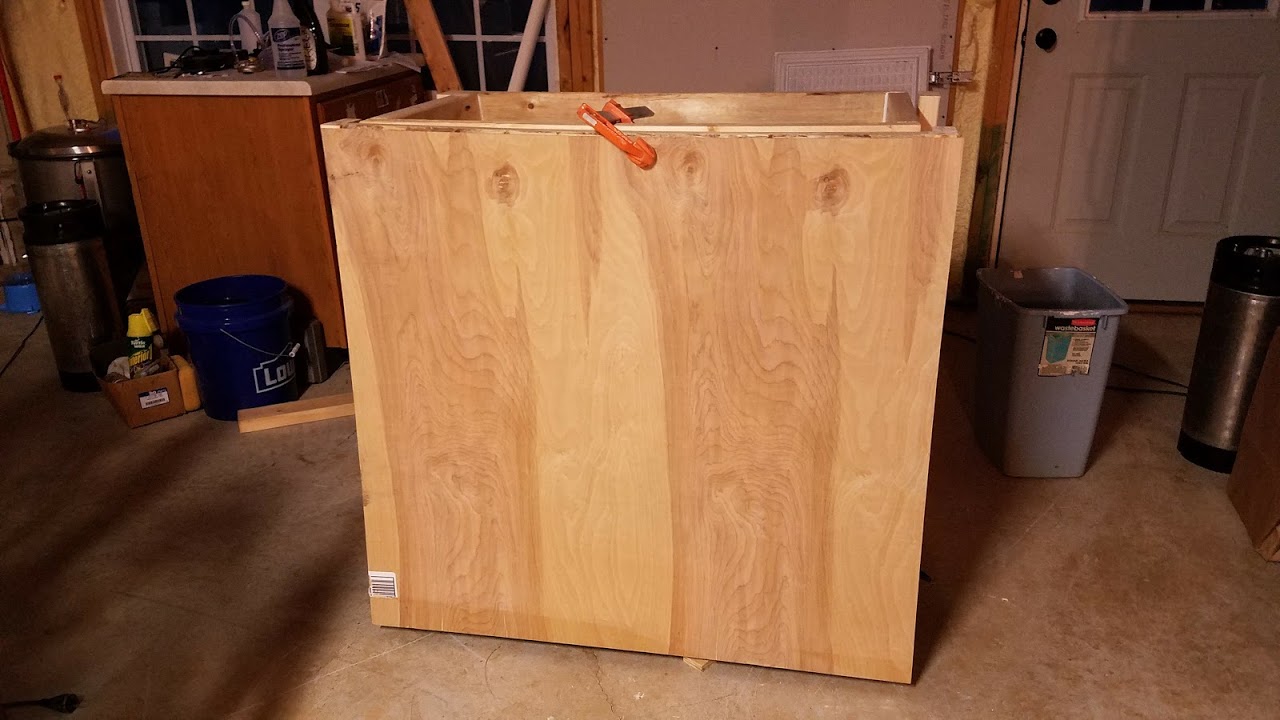
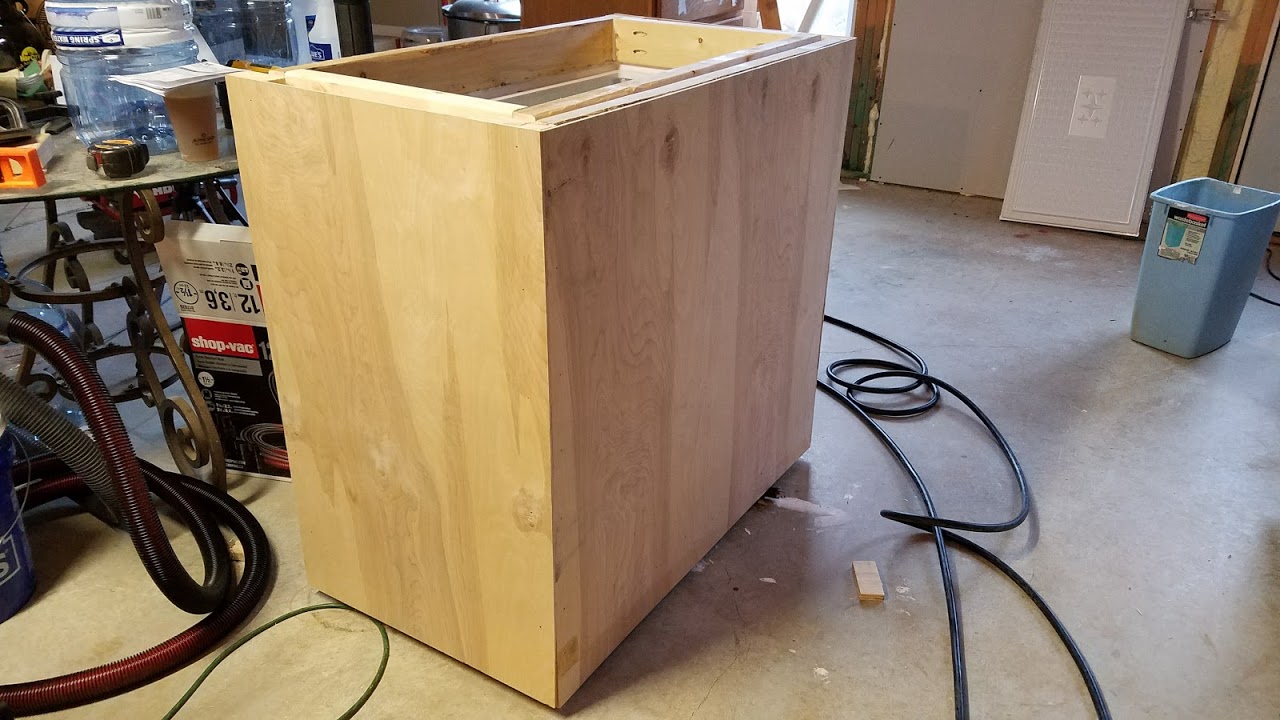
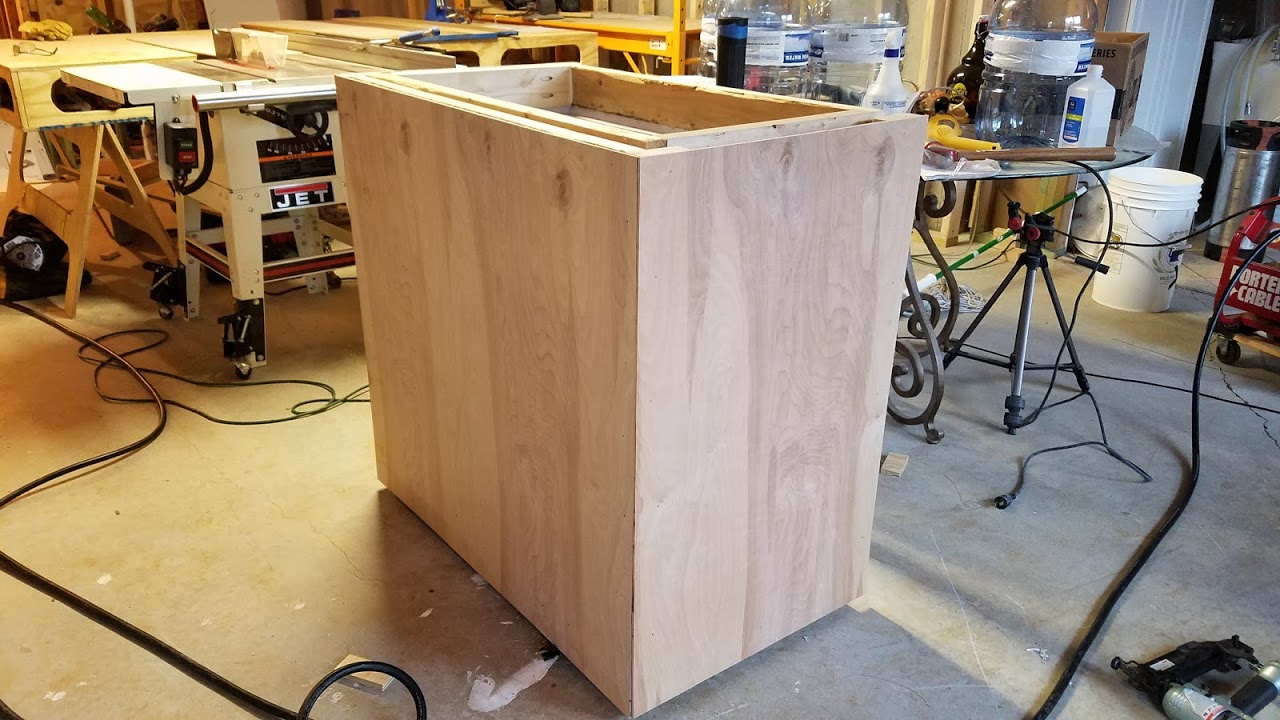
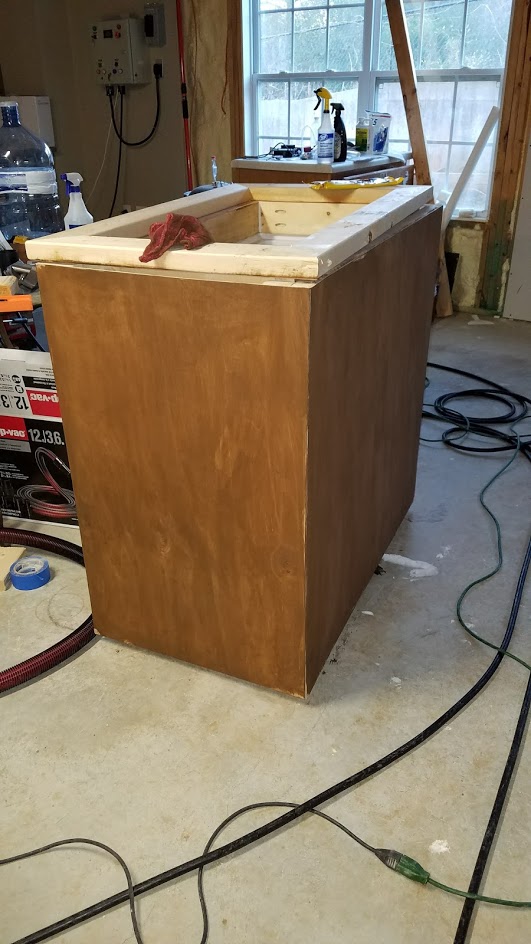
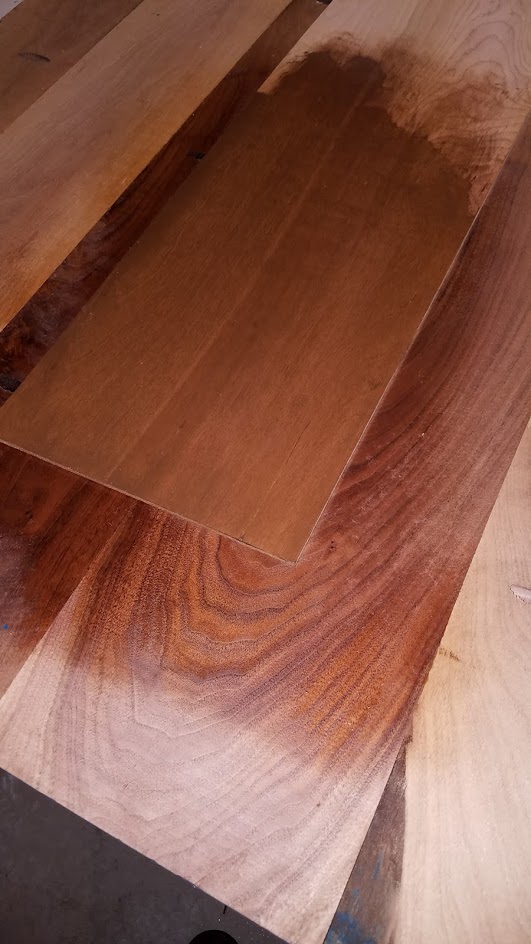
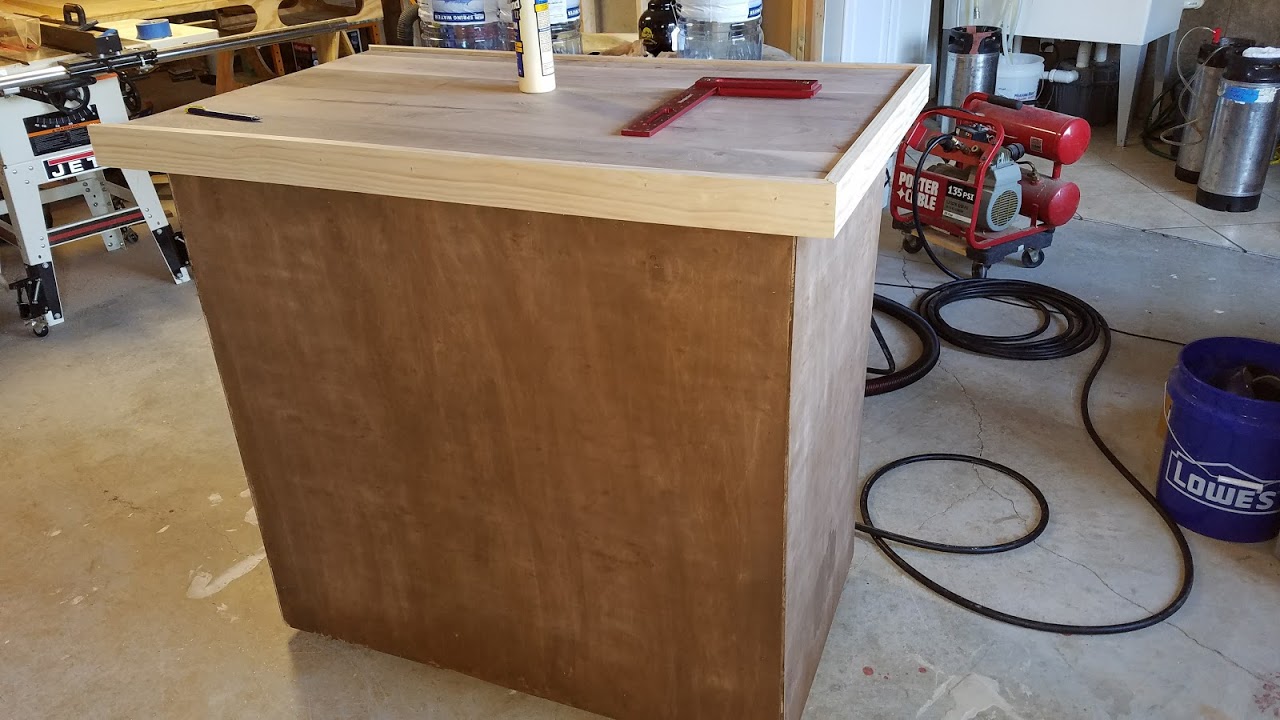
made the main body out of 1/4 poplar I think I will stain to match the walnut top... I was going to epoxy the top and put some grains or something in it, but I came up with a different Idea... so will see how it goes...

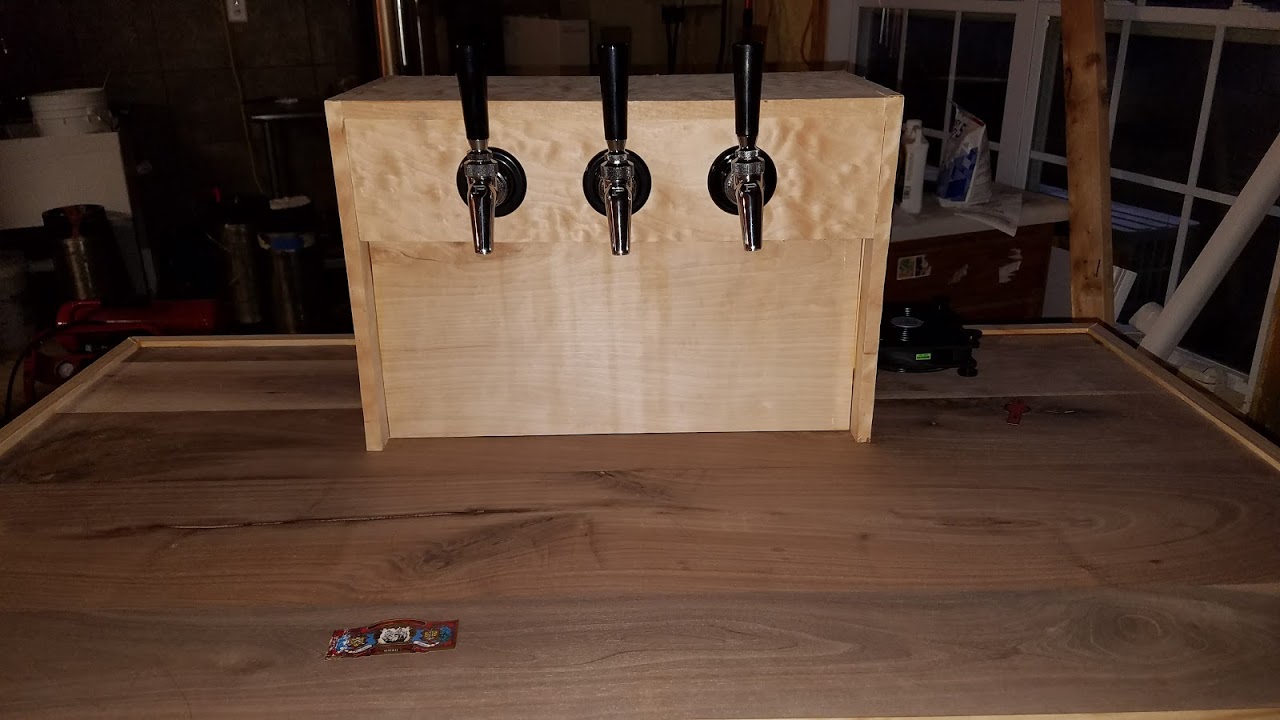
Still debating on how big the coffin top has to be, there are only 3 kegs so just 3 taps... i figure about 4 in between taps? I am using perlick 630ss...
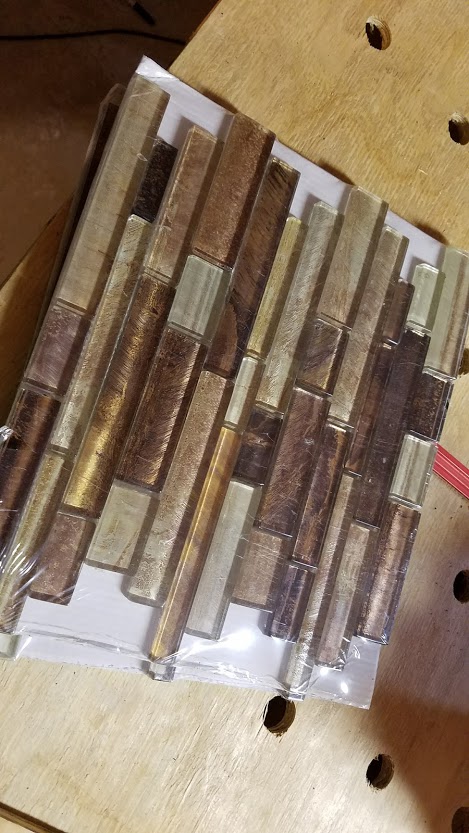
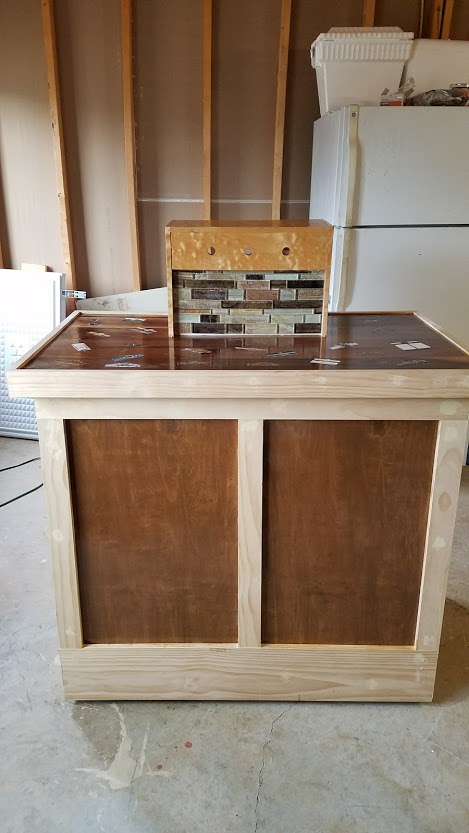
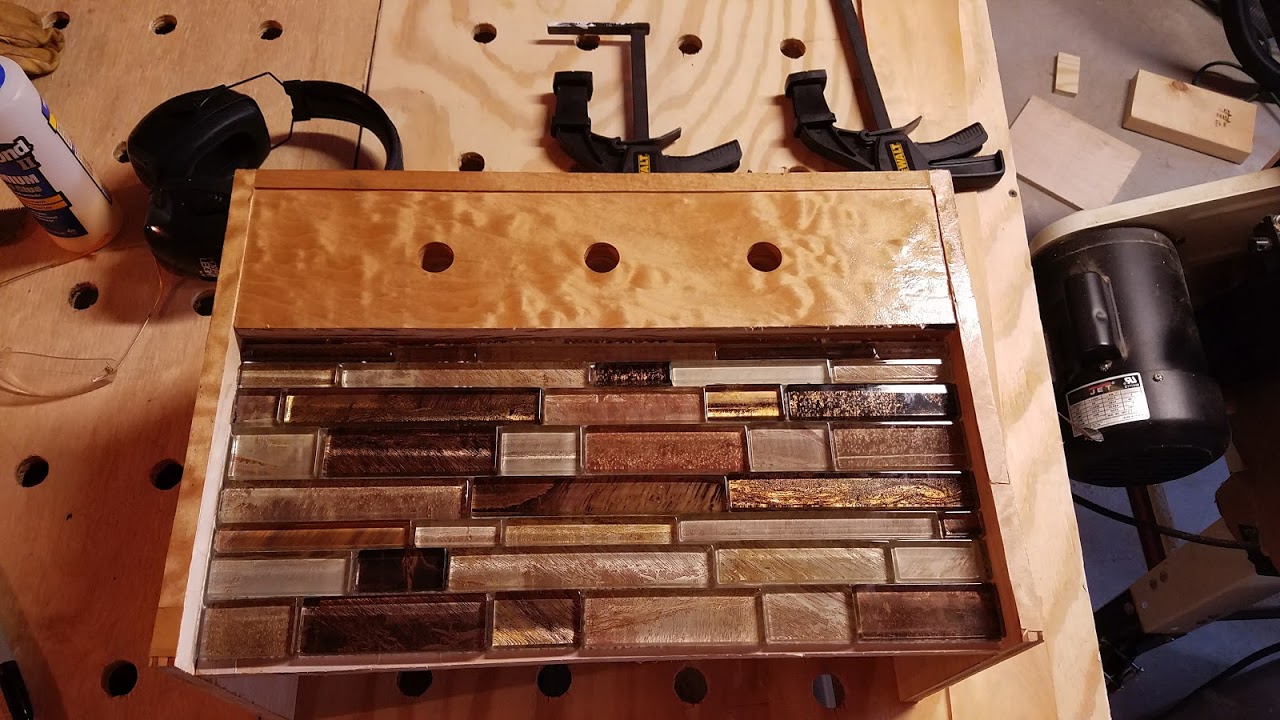
some small tiles for the back splash and led lighting for the top...

this is in progess, and it might be slow... :)
20170118_165822.jpg


20170118_165851.jpg


20170118_170541.jpg


20170118_182010_001.jpg


20170119_172736.jpg


20170119_172757.jpg


20170111_183827.jpg


20170111_185457.jpg


20170112_185618.jpg


20170116_172254.jpg


20170111_184036.jpg
 
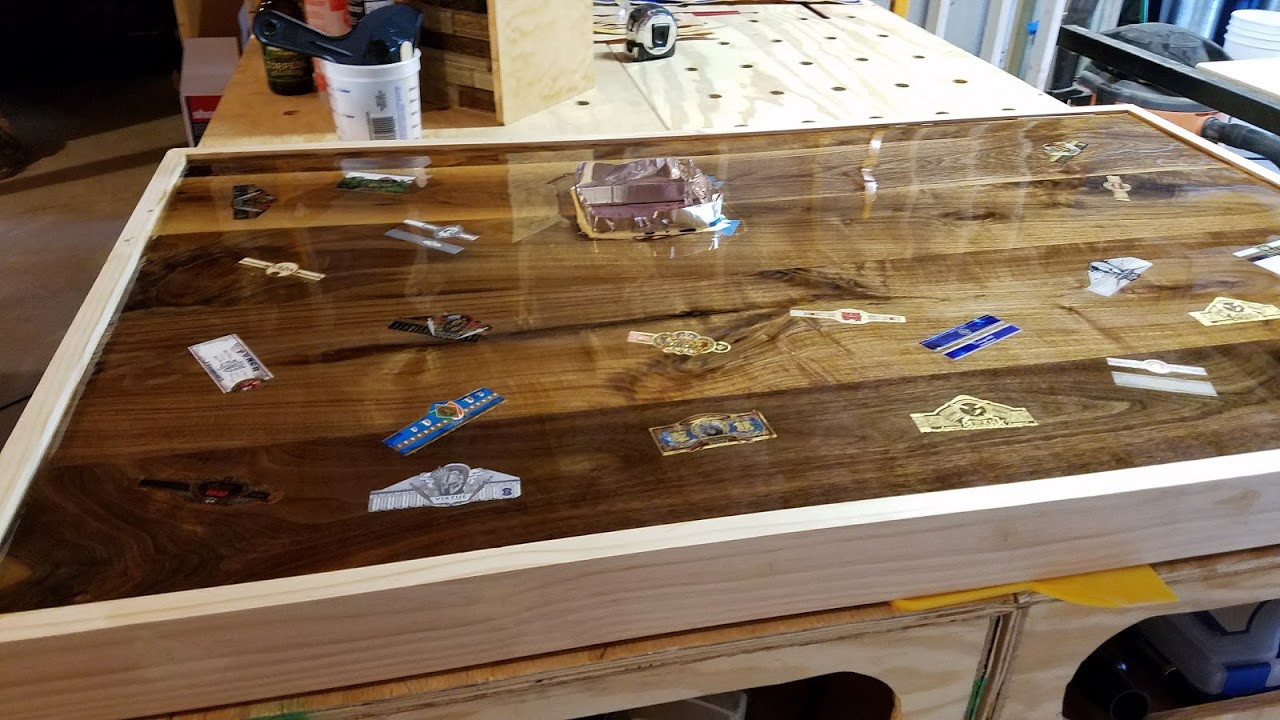
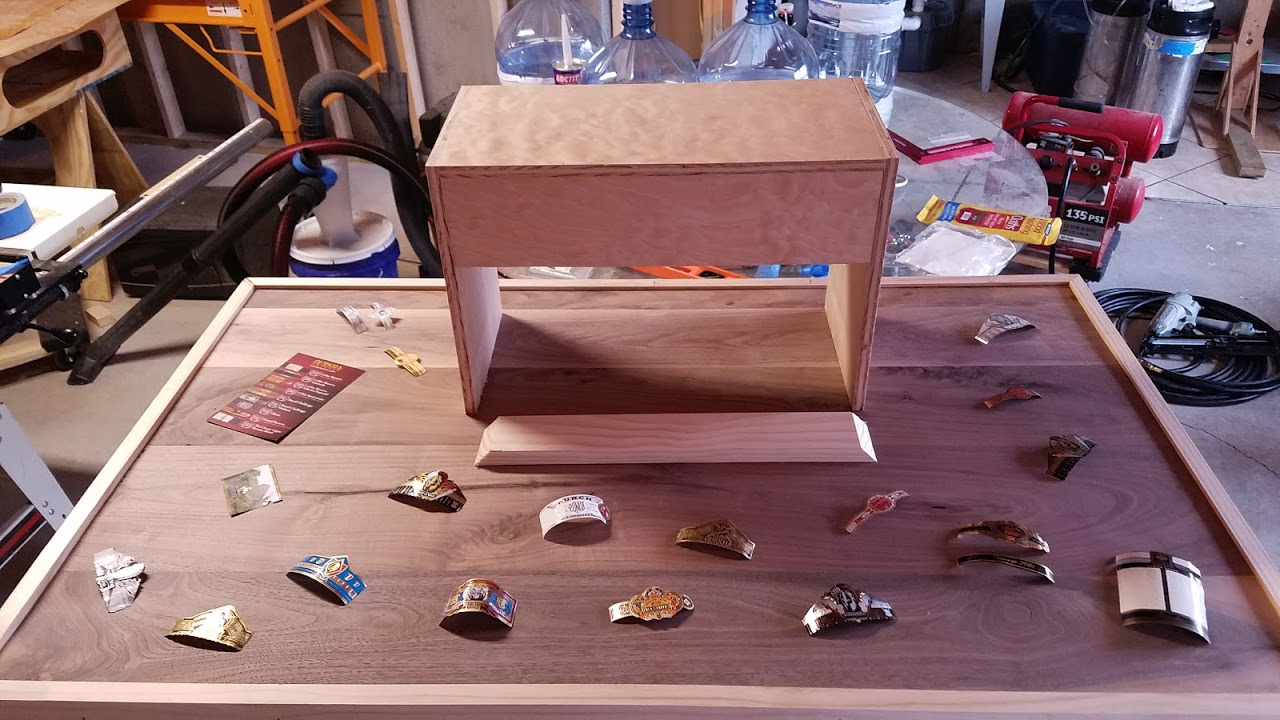
I still have to sand and finish and cut the walnut for the top... will be covered with gloss poly to make it shiny, hopefully the poly will cover my wrappers I plan to place under it...

This is going in dining room so has to look somewhat nice... :)

will start putting on the trim pieces and then stain them walnut and poly that first I guess... freezer is made to slide out the back... left the compressor side open, since it will be in the corner... also left a 3/8 gap around it for cooling.. hopefully that will be enough...

thoughts comments welcome...
 
Looks good! I'm in the same boat and I'm buying supplies for mine tomorrow morning. I'm really sick of picnic taps.

Are you concerned about your freezer overheating at all? I don't see much in the way of ventilation.

Also digging your frame, it's different than most and looks easier to put together.

I'm going to do Italian tile set into a wood frame for my top, similar to the original jester version.

Looking forward to more pics!

Edit: nvm about the cooling question, you answered it as I was commenting.

View attachment ImageUploadedByHome Brew1484913496.406054.jpg

Getting all my parts and dimensions setup in Inventor. It helps me a ton to make sure its all going to fit together before I start cutting. I have a bad habit of cutting twice and measuring once.
 
I have a 3/8 gap, and i drilled holes between the frames to allow more air to move... it never seemed to get that hot to me when it was running. will keep an eye on it... the back is completely open as well... and the pics where I cut out the compressor side are missing as well...

i've lost more beer to those worthless taps than anything!! i cant believe someone cant make a better one... yes I've modded them and they STILL leak!!
 
Made some more progress today...

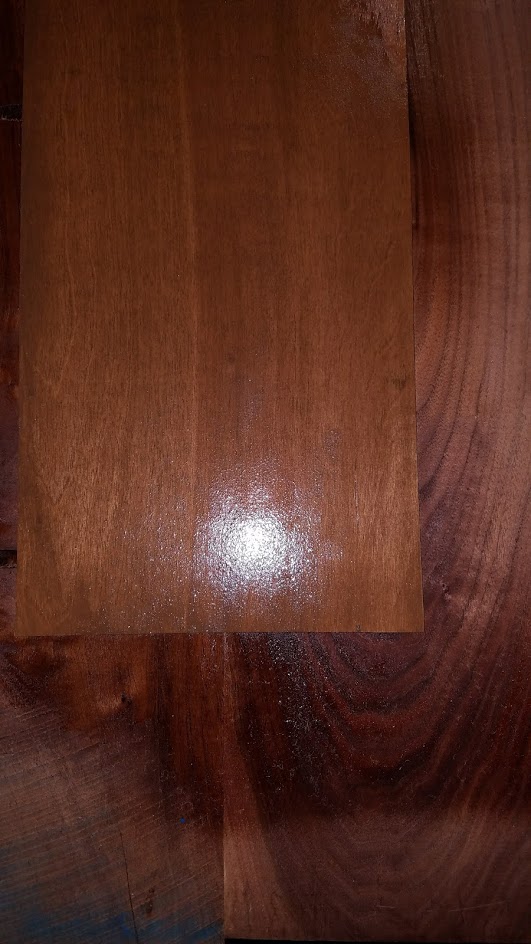
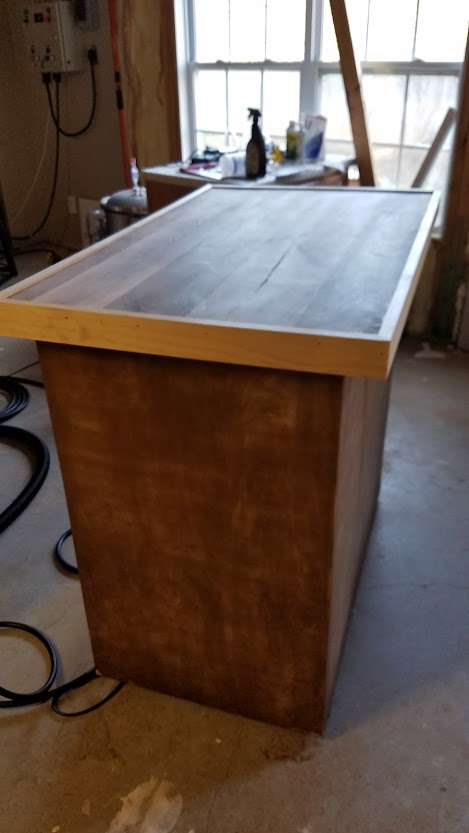
stained the test peices to see how they looked... seems pretty close to the walnut top..

made the top brace for the walnut top, got the hinges... now just need to install the trip pieces on the bottom...

still waiting for the other two Perlicks and the accu bev seal line... everyone says to make them long... so i see about 10-12 feet each? does that sound right?

20170120_174714.jpg


20170120_151330.jpg


20170120_151340.jpg
 
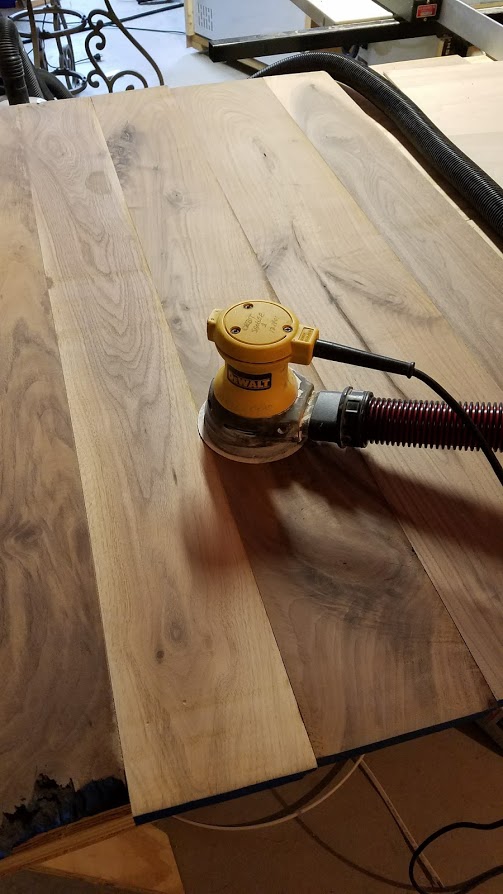
Made some more progress today... Got the top sanded and leveled. Would have been nice to use a planer :)

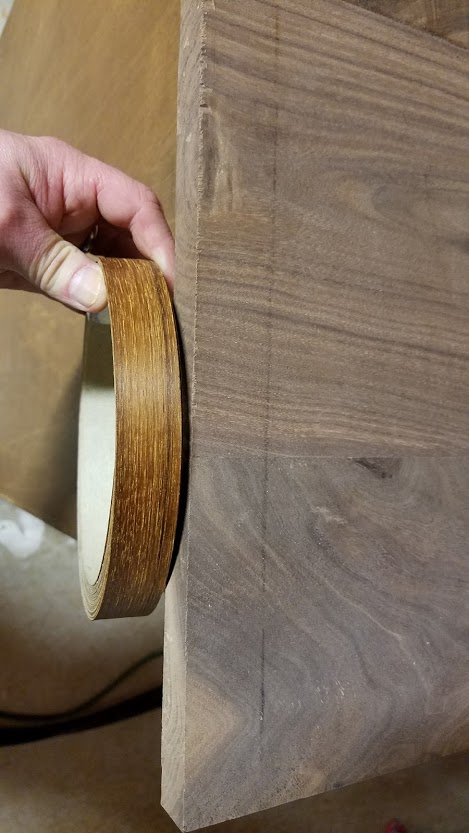
Then I was wondering what to use for trim and remembered I had some Teak veneer, so im going to try that. Next up is to paint all the inside wood white so its sealed up, install the insulation.

Got the rest of the taps and dist block today so will get to that I hope... hoping to be up and running this weekend...

Now I just have to figure out the tower part...

20170123_184151.jpg


20170123_185034.jpg


20170122_112403.jpg
 
Looking good! I went out and got some red oak for all my hardwood, and I'm going to do a tile bar top. I'm following your build for motivation and inspiration, keep yo the good work!
 
Looking good! I went out and got some red oak for all my hardwood, and I'm going to do a tile bar top. I'm following your build for motivation and inspiration, keep yo the good work!

I thought about tile, then I realized I had this 4/4 walnut boards laying around for a few years... so glued them up. I was going to use some grains and epoxy the top, but then I had a different idea and didnt want to totally copy someone else... so will see how this turns out.

I wish I had more 4/4 walnut for the top, but its pricey... I only bought these boards a few years ago because I got them cheap...

yes, im cheap...lol

Aren't we all!

How did you join the boards? Just glue? or did you do biscuit joints or tongue and groove?
 
Aren't we all!

How did you join the boards? Just glue? or did you do biscuit joints or tongue and groove?

glue and I used a Kreg jig. First I evened up the edges on the table saw.. I could have been a little more careful about putting the outside sapwood closer to the parts I had to cut off...

I wish I had a planer... but some quality time with the sander leveled it out nicely...
 
Finally got the top all leveled out... here I am bonding it to the keezer top. I hinged the top to swing back.... painted the inside, seemed a shame to paint the pretty walnut, but I guess it will be covered with foam anyways...

20170124_174927.jpg


20170124_174943.jpg
 
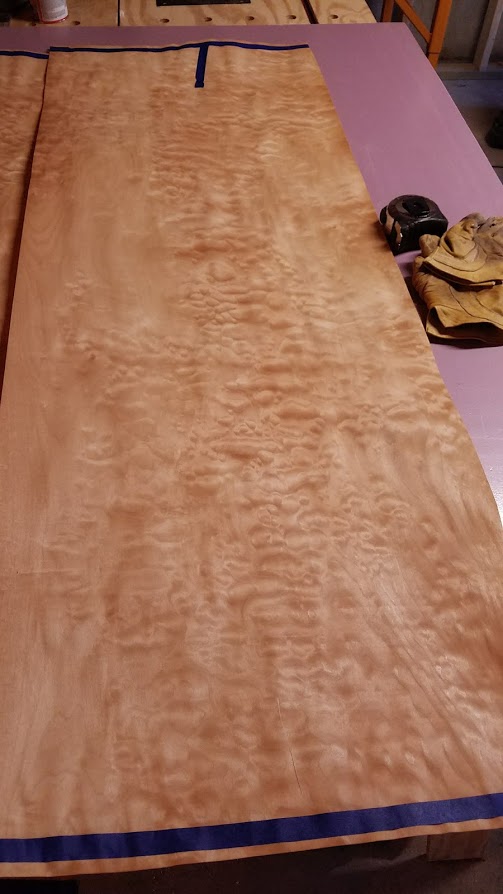
I was going to use teak veneer to trim it out, but went ahead and ordered some quilted maple veneer for the tower and the trim pieces...
 
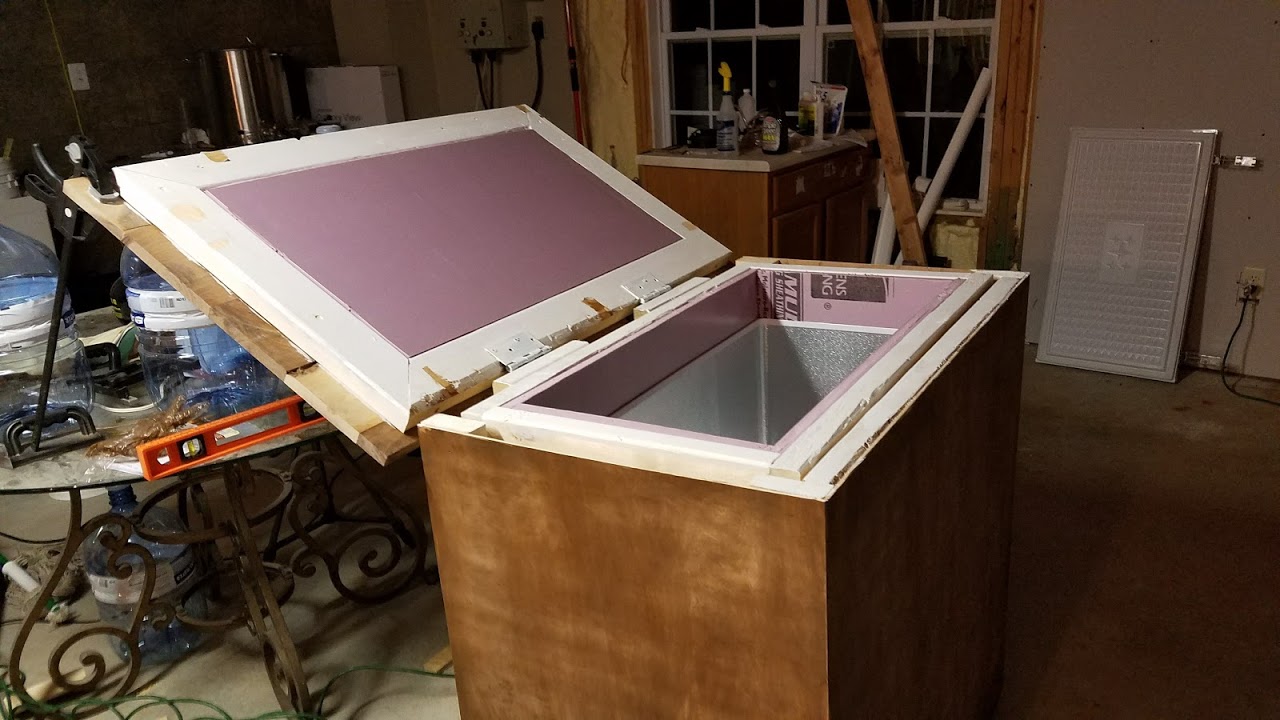
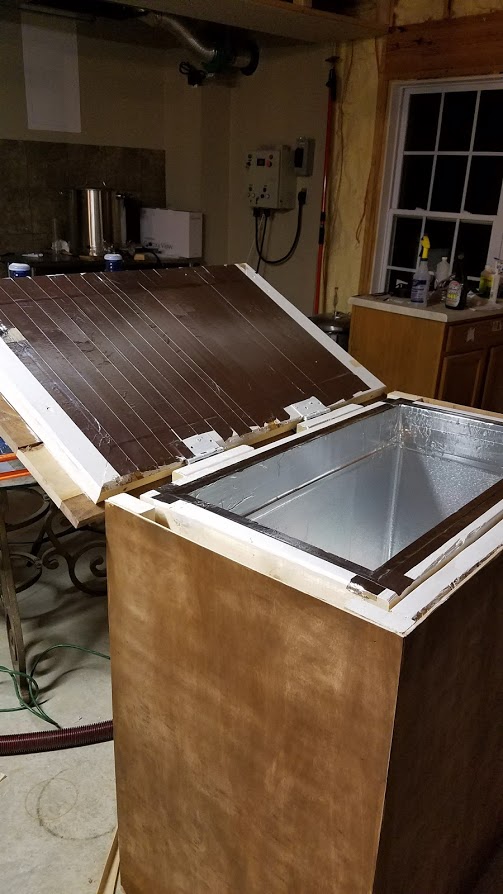
Got a little more done today, mostly just the insulation. added two layers of foam and then taped it up with foil tape. Man that stuff is super sticky!!

The veneer should arrive today so I can glue it up and start building the tower and trim pieces...

20170125_200338.jpg


20170125_205703.jpg


20170125_200407.jpg
 
Mobile like!

I'm debating a couple minor details on mine, but I'm going to get started this weekend, I'll start my own thread haha
 
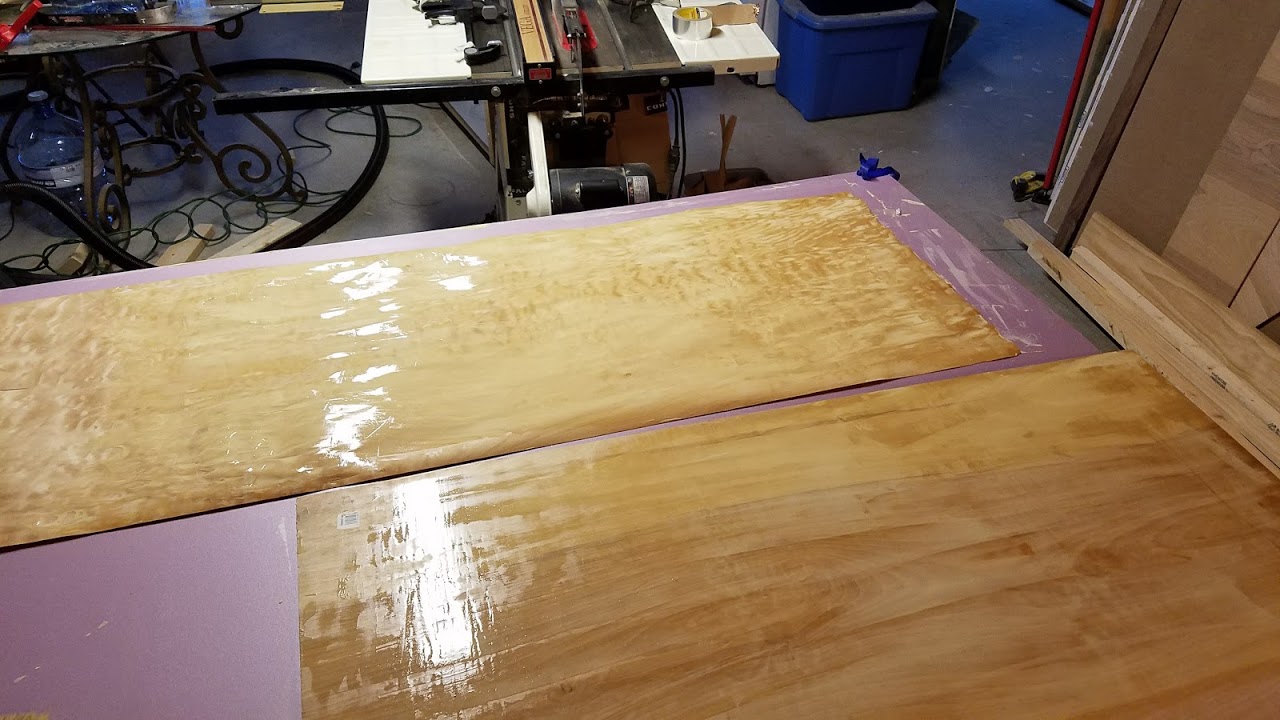
I was going to put the trim on then veneer, but thought it would be easier to veneer then cut and put it on after... I still have to get the epoxy from Lowes...

dont worry, I changed my mind like 10 times on mine... including halfway through!
 
Well the veneering didnt go quite as smoothly as I had hoped, but its good enough for what I needed it for. I only intended to use the middle section for the tower build...

I should have just cut the parts for the tower and veneered those I think... oh , lessons learned...

20170126_165247.jpg


20170126_180005.jpg
 
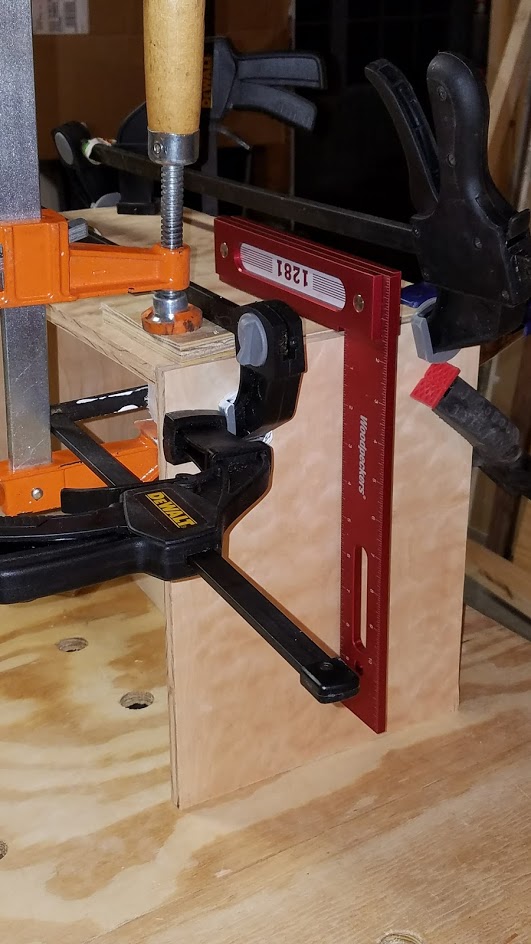
Started on the tower with the Maple veneer, Hopefully I can finish up this weekend. I stil have to get the epoxy from Lowes....

20170127_183504.jpg


20170127_183523.jpg
 
didnt get near as much done as I had hoped :( just some trim, more building the tower and playing with layouts for the top...

20170129_103616.jpg


20170129_104256.jpg


20170129_162809.jpg
 
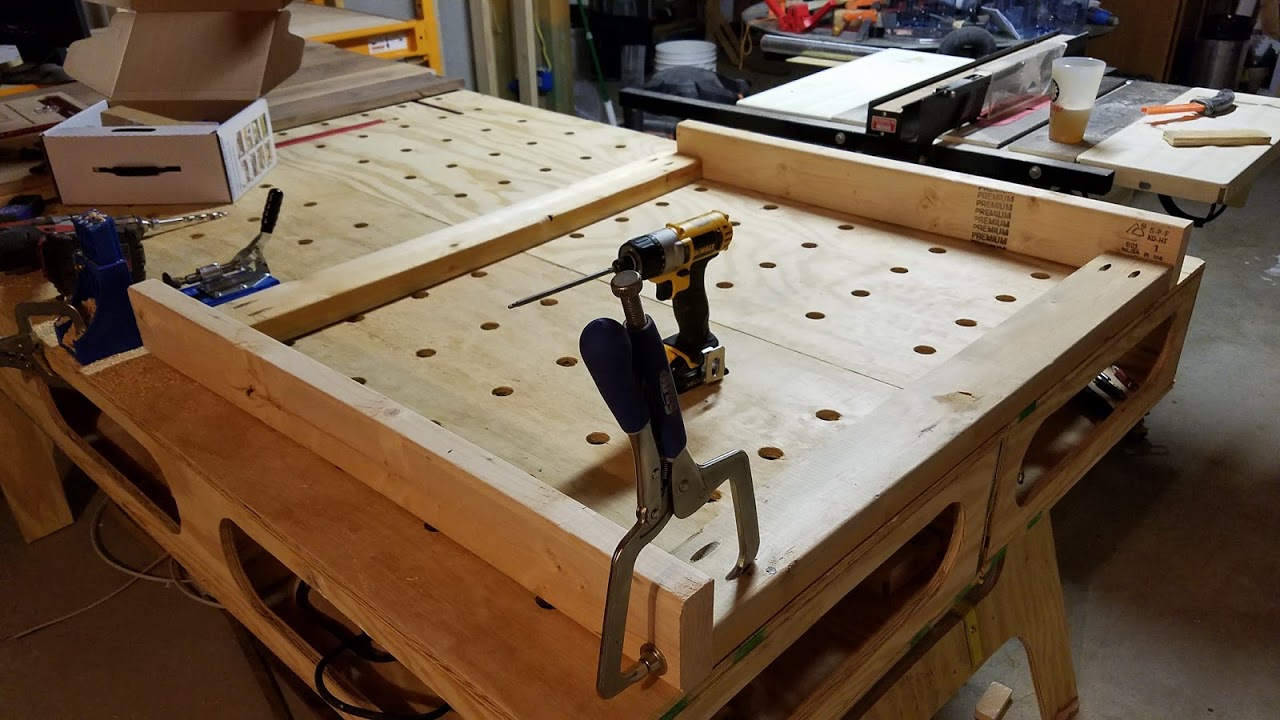
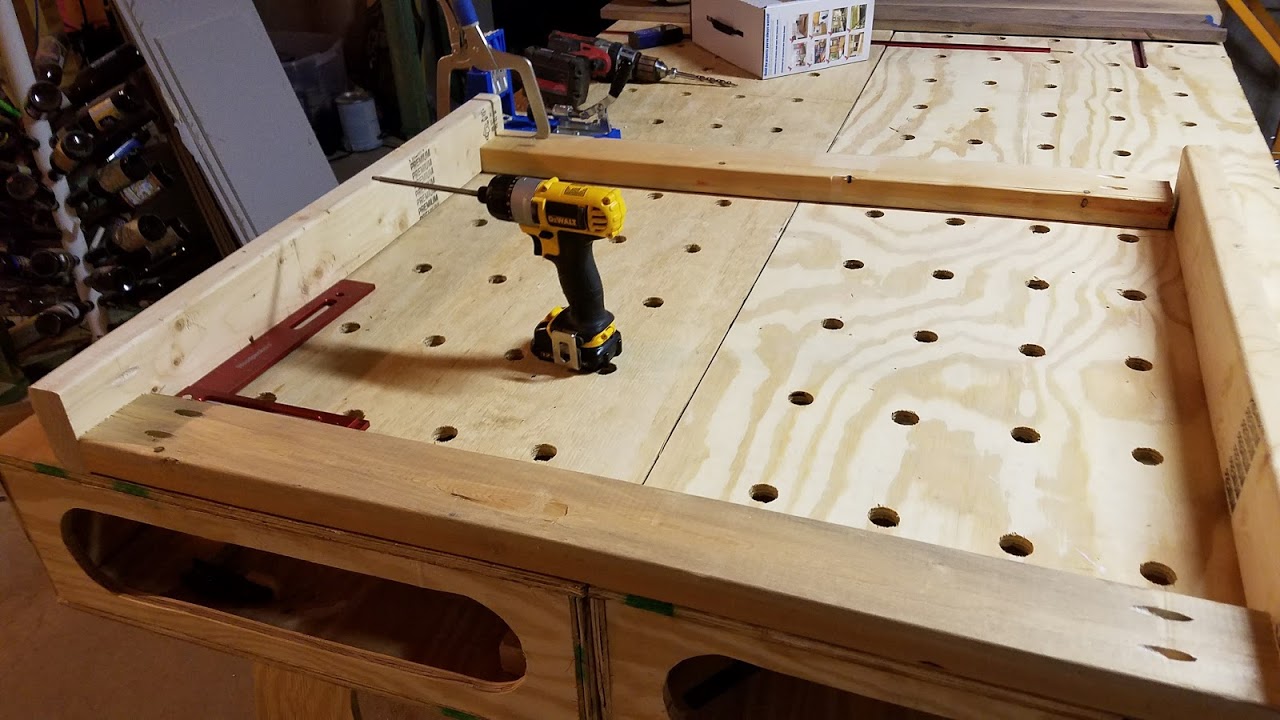
I'm liking the keezer build but also digging your Paulk workbench. I have had my workbench cut out for about 2 years and have yet to put mine together.

Not to steal your thunder on your keezer build, but how do you like your workbench? Sturdy? Easy to assemble?
 
I'm liking the keezer build but also digging your Paulk workbench. I have had my workbench cut out for about 2 years and have yet to put mine together.

Not to steal your thunder on your keezer build, but how do you like your workbench? Sturdy? Easy to assemble?

I love it!! Now he has come up with a "total station" you can look at also...
im building the Miter saw station he has now...

building it was pretty easy, just make sure you get plywood thats FLAT, I had some that warped a bit and made the edges a little uneven... 3/16 or so in the middle... not a huge deal but annoying...
 
Thanks for the info. I will continue to watch this keezer come to life.

Trying to decide where to put my money next. I have a small kegerator with 1 tap and that's sufficient for the moment. Trying to get my "Honey Dews" completed before I really get cranked back up on my brewing days.

Keezer is looking great so far.
 
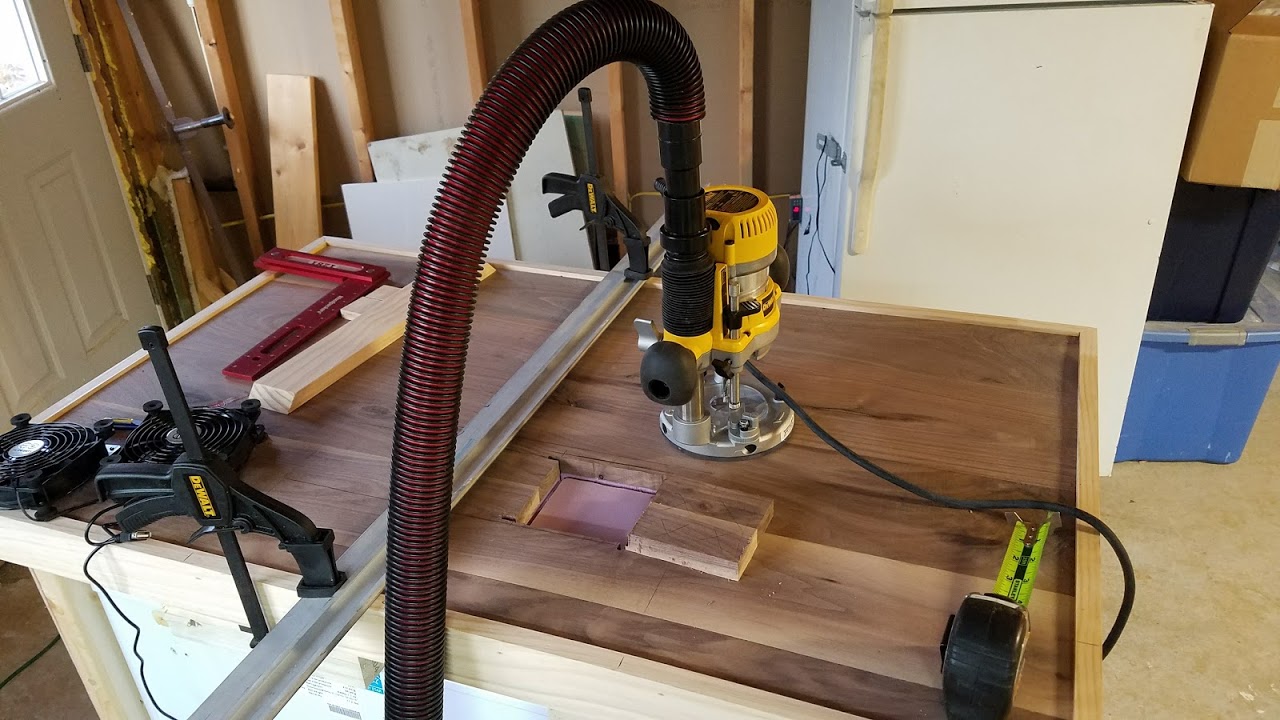
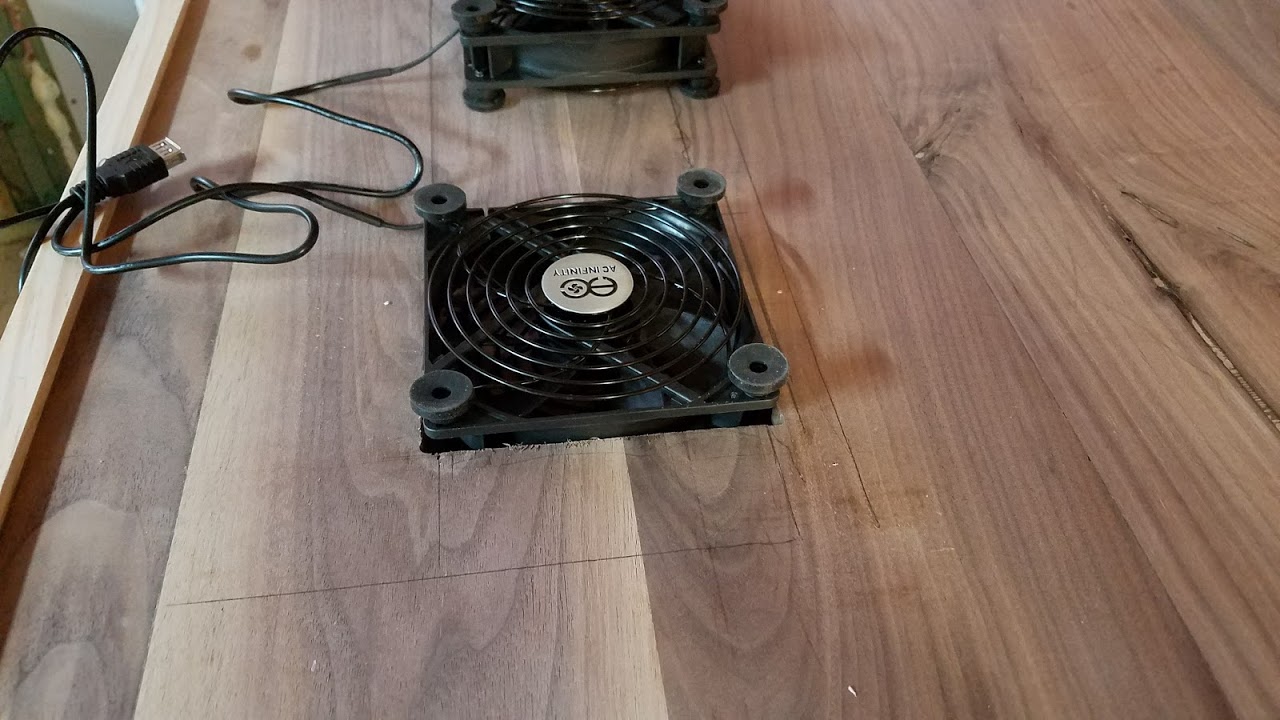
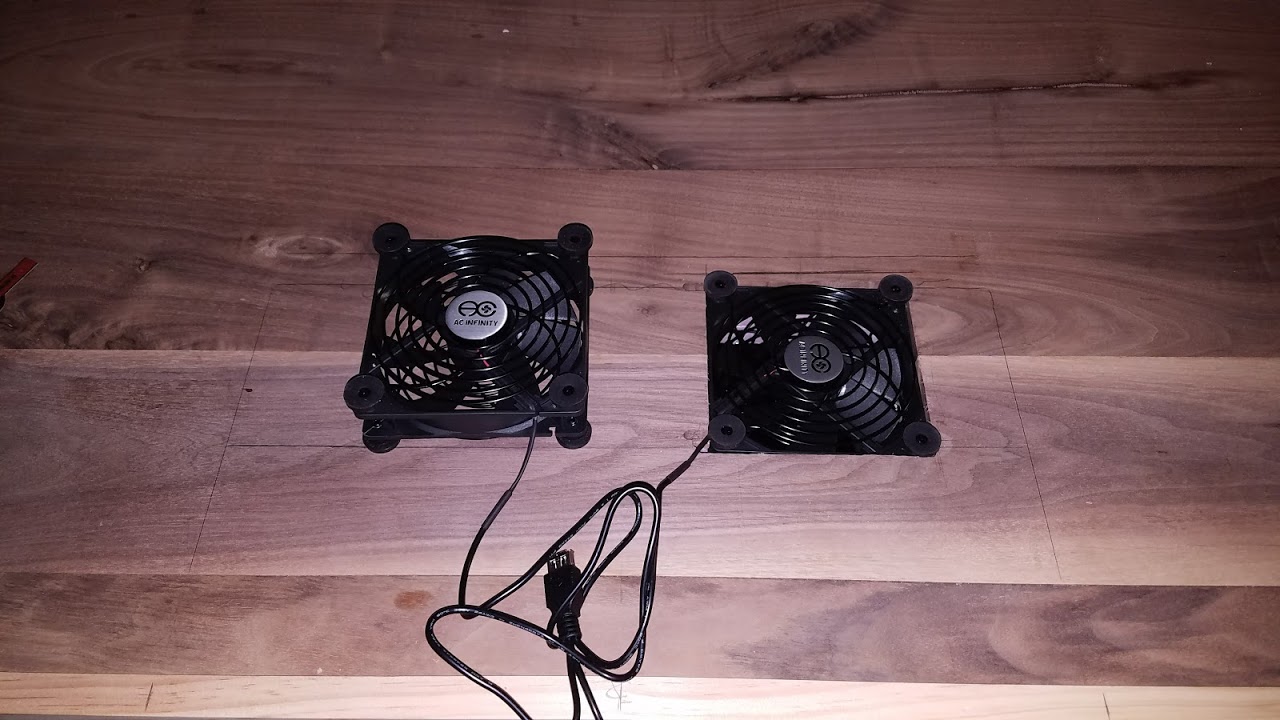
Still going slower than I would like... but did get a little done to today on the tower and fan installation. Still debating whether I should put the other inside the keezer to stir the air around that way? or in the top doing push pull? I plan to run a duct to the bottom of the keezer to pull the coldest air up into the tower with the fan I routed out today...
The fan and lights are all run off USB power.

20170131_175947.jpg


20170131_181818.jpg


20170131_185535.jpg


20170131_190426.jpg
 
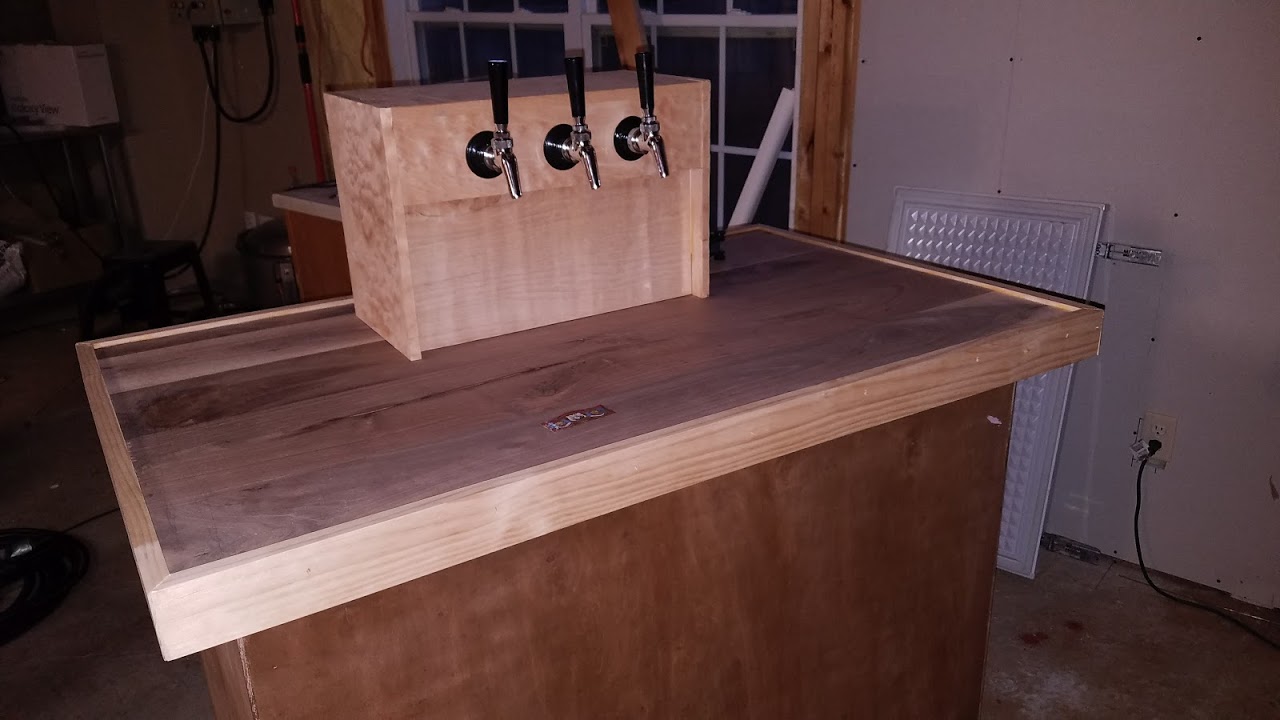
Another SLOW day of not getting as much done as I had hoped. Got most of the tower finished and drilled. Now I just have to make the back, and insulate it.

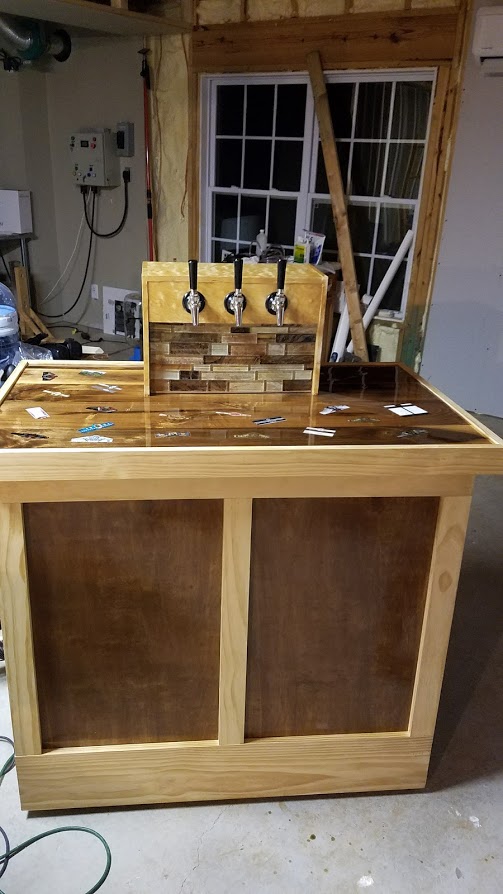
Installed the taps temporarily... looks like something that least. Now i just need to finish trimming out the bottom, and finish the tower and base, then pour the epoxy...

20170201_182609.jpg


20170201_182639.jpg
 
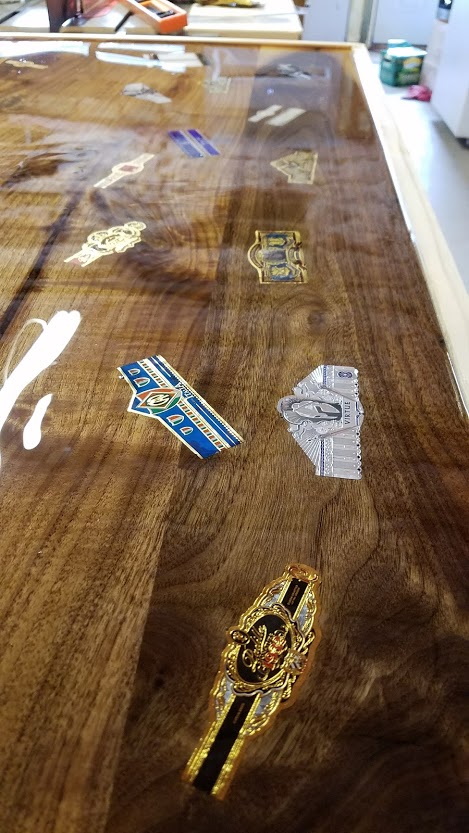
Got some more work done this weekend... glued all the labels on the top, and put on the epoxy, put some poly on the body of the keezer. The putty I used to fill the nail holes is taking forever to dry. Hope to get that coated soon.

I had to redo the top, I stupidly used spray poly, I should have just brushed it on. The base came out far far better than the tower...

laid down the epoxy on the top... was fairly easy. Not sure if I will do two coats or just leave it...

20170205_125830.jpg


20170205_143959.jpg


20170205_144147.jpg
 
Got the tower nearly finished, routed out another sqaure for the other fan, I decided to go with a push pull set up...will rig up a duct to pull air up from the bottom of the keezer...

Another idiot moment, two of the taps have barbs, one is flat on the back. the quick connect fittings only work on the flat ones :( thinking about just taking the shanks to work and machining off the ends...

now just have to install the lights under the taps and install the bev seal tubing. I also got a couple small thermometers to measure tower and keezer temps... then take apart and carry it all upstairs to see if it all works :)
20170208_192414.jpg
 
Looks good! That backslash came out great!

I've never seen a quick connect shank before, can you post a picture? I had to buy threaded barbs for all of mine.
 
Back
Top