• Please visit and share your knowledge at our sister communities:
  • If you have not, please join our official Homebrewing Facebook Group!

    Homebrewing Facebook Group

What Duty Cycle % for Boil Element

Homebrew Talk

Help Support Homebrew Talk:

This site may earn a commission from merchant affiliate links, including eBay, Amazon, and others.
Hope to post positive results on Monday on my pick up ring. I think I'll be OK, but if not then some form of sock/screen will be applied. There are 70+ .250" holes on the bottom perimeter. My "sanitize coil" state starts with 7 min left in the boil. The boil action should still be moving the hop debris around when this starts. Once the whirlpool rotation starts it should all start to gather in the bottom center of the keggle. There's plenty of real estate there for hop debris and trub.


Will test with 7.5 oz of pellet hops in a 5.5 gal pale ale if I can find the time to brew this weekend.


Are you saying 1/4 inch holes? Or did you mean 0.025"?
 
I have a 5500W straight element and have settled on this routine: 100% to 207F, then I drop to 65%. This is for boiling a ~7.5 gal batch down to about 6 gal in 1 hour. (My first trial used 85% cruise power and that gave me a scorched spot on the element.)

My boil temperature barely exceeds 210F though, and I am at sea level. I can't figure that out. I even did all kinds of tests to make sure my system wasn't screwed up. Maybe there's a bug in the controller and at 65% power it is putting out less than 65% power... but at 100% power I get temperature changes as calculations forecast.

Then, I remembered they can still make beer in Denver where boiling is 203F and I stopped worrying about it.


Did you use a calibrated thermometer to check it? Once the liquid starts boiling, it will start to dump tons of heat. Remember 212 is the boil temp so you shouldn't be able to measure that exactly. 211+ is the best you'll get at standard pressure (and with water).

But like you said, if it boils, it's good!
 
Yes, I have a Thermapen and checked with that. The Thermapen agrees with the brew kettle's RTD sensor. The Thermapen gets closer to 212 as I get it closer to the element (which does produce bubbles and motion).

It is also true that I have been brewing when it is cool outside and this 7.5 gal wort is in a 20 gal pot which probably radiates a ton of energy away. So this may all be completely normal.
 
Remember 212 is the boil temp so you shouldn't be able to measure that exactly. 211+ is the best you'll get at standard pressure (and with water).

oh yeah, maybe in the glorious sea level paradise that is florida. :D

a mere 500 ft increase in elevation of sea level drops the boiling point a degree fahrenheit. i'm rolling at 211 here in wisconsin, no problem. i also operate my boil pid in manual mode at 100% until i start breaking, then use the hlt/boil select switch on my panel to turn the element off as the break foam gets too gnarly. repeat a few times and the break is gone, off to the races at 80-85%.
 
Are you saying 1/4 inch holes? Or did you mean 0.025"?

Sorry. Busy day yesterday. Moving a little too fast.

Holes are spaced .250" apart. Hole size is somewhere between 1/8 (.1250") and 5/32 (.1563"). Been a while since we fabricated it and can't recall exactly. Don't have the ring with me to measure.

.250" holes would be awfully large.

If some hop and trub do get sucked up in the ring my theory is they will eventually settle out in the whirlpool.

Sorry for the :off: everyone...
 
Great thread! This was one of the things I was curious about when testing out my boil off rate the first time.

When switching to duty cycle, it's normal to only see boiling bubbles breaking the surface only when the element is on, correct?

Let's say I am using a 70% cycle
1-2 seconds - Element comes on and starts to bubble right around 2 seconds.
3-7 seconds - I get a good boil primarily around the element with wort churning and bubbling.
7-10 seconds - Element turns off and bubbling disappears but I still have wort churning around the kettle from the previous activity.

Then start all over.

I was a little nervous about hovering around 209-210 and getting the action described above and not sure if I should see a boil 100% of the time. But is that considered normal when in duty cycle mode?
 
If you are on 70% power the element should be pulsed at a very high rate that averages out to 70% continuous output. It doesn't run at 100% for seconds at a time. The sequence you describe doesn't match my observations.

On 65-70% power, I see a strong boil right around the element, and I see the surface roiling right over the element, and it just maintains that state without variation.
 
I run mine at 65% which gives a good vigorous boil. ULWD 5500 W ripple element and I'm at 3000' so water boils at 206 F here.

That boils off about 1 gallon in my 15 gallon kettle. For a 5.5 gallon batch that's 15%. Thinking of dropping the power back to try and get my boil off in the 10% range on advice from a couple other threads here.
I actually went the other way to ensure I drive off the DMS... I used to boil at 70% with my old 4500w element and now do 75% with a 5500w element but I vary it depending on the boil off rate I'm after.. the stronger boil seems to help with the hop utilization with my stainless hop spider too.
 
Great thread! This was one of the things I was curious about when testing out my boil off rate the first time.

When switching to duty cycle, it's normal to only see boiling bubbles breaking the surface only when the element is on, correct?

Let's say I am using a 70% cycle
1-2 seconds - Element comes on and starts to bubble right around 2 seconds.
3-7 seconds - I get a good boil primarily around the element with wort churning and bubbling.
7-10 seconds - Element turns off and bubbling disappears but I still have wort churning around the kettle from the previous activity.

Then start all over.

I was a little nervous about hovering around 209-210 and getting the action described above and not sure if I should see a boil 100% of the time. But is that considered normal when in duty cycle mode?


Remember that the percentage we are discussing is a percentage of ON time during a total cycle. The cycle is programmable just like the duty % itself. Longer cycles are better for the electronics as the ON/OFF switching occurs less frequently, but then heating and cooling variation occurs too widely, as you are experiencing. Shorter cycles works better physically but puts more stress on the electronics.

The thermal mass of the element plays a role here because it doesn't heat up or cool down instantly. Practically speaking, a duty cycle for our applications is best from 1-3 seconds. I personally use 2, so at 50% duty, the element (via supporting electronics) is powered for one second and off for one second. At 90% it would be on for 1.8 seconds and off for 0.2.

Anyway, all that noise means you should lower your cycle time.
 
^ exactly why I like using a shorter 1 second cycle time because it results in a smoother boil instead of a noticable on off pulsing boil some experience with much longer cycle times.
 
Remember that the percentage we are discussing is a percentage of ON time during a total cycle. The cycle is programmable just like the duty % itself. Longer cycles are better for the electronics as the ON/OFF switching occurs less frequently, but then heating and cooling variation occurs too widely, as you are experiencing. Shorter cycles works better physically but puts more stress on the electronics.

The thermal mass of the element plays a role here because it doesn't heat up or cool down instantly. Practically speaking, a duty cycle for our applications is best from 1-3 seconds. I personally use 2, so at 50% duty, the element (via supporting electronics) is powered for one second and off for one second. At 90% it would be on for 1.8 seconds and off for 0.2.

Anyway, all that noise means you should lower your cycle time.

Thanks! I checked around and couldn't really find what people were using for the total cycle and just left it at 10 seconds going off of the example in the 4.0 docs.

I'll give 2 seconds at 50% a shot this weekend and see how it goes.
 
Sorry. Busy day yesterday. Moving a little too fast.

Holes are spaced .250" apart. Hole size is somewhere between 1/8 (.1250") and 5/32 (.1563"). Been a while since we fabricated it and can't recall exactly. Don't have the ring with me to measure.

.250" holes would be awfully large.

If some hop and trub do get sucked up in the ring my theory is they will eventually settle out in the whirlpool.

Sorry for the :off: everyone...

I actually think you would be better off with bigger holes, but these are probably big enough. You *want* pellet hops to fit through the holes, get pumped through, and let them settle out in the whirlpool. What you NEVER want is to have the holes plug up. Once one starts to plug, the others will also as they are responsible for more and more volume. And that is a situation that is not fixable during a brew. Plus your pump will cavitate, and you will generate lots of air bubbles as the near boiling wort's pressure drops downstream of the ring.

If your goal is to be a strainer, I don't think you should, or anything will do it. Even massive filters get clogged easily. That's the beauty of a whirlpool - done right you will not have much hop or break going into your fermenter. Its either whirlpool or hop bags/baskets. Some have claimed success with the hop stopper or hop blocker, but the results are mixed.

On my rig, I whirlpool "fast" and then I whirlpool "slow". The difference is my pair of chillers, which introduce a pretty good restriction. So I run 10 minutes without them and get a pretty ripping whirlpool, then bring the chillers back in the loop and run for another 5. I get pretty clean wort as a result and probably could do better with more time. The real issue is at the end, when the top of the trub cone gets exposed... and it starts to "ooze" toward the edges.

Which leads me to a thought - your ring might be better if the holes were facing up (assuming they are facing down currently). If they are facing out, then you should be good to go. But you don't want to suck off the bottom - that will be the base of the cone.
 
I set my pid to go to 207 degrees then stop so it doesnt boil over unattended... thenI set it to about 75% for boiling 12.5 gallons or so or higher depending on how much boiloff I want to lose in the hour... 60% will give you a boil in most cases and 80% gives a strong rolling boil. Your kettle dimensions also have some impact on how vigorously it will boil and how efficiently the element will do it.

as mentioned above an ULWD 5500w ripple is not really the same as the straight ones.

Pretty much the exact same.. 75 - 80 %.
My buddy's 1BBL system uses 2 5500 watt elements and 50 - 60 percent produces a pretty rolling boil. Check out this recent brew day video at the 11:00 mark when it comes to a boil on 11000 watts @100% https://youtu.be/NdDSqlIqnsM
 
Here's my datapoint: Guestimate 75% duty cycle at 1023 ms cycle time. 5500 watt ripple element, 15.75" diameter pot, ~6.5 gallons of wort.

Yesterday was my first time brewing in an electric kettle, about 75% was a fairly vigorous boil. I'm estimating 75% because I dial in the heat with an analog linear potentiometer. I haven't yet bothered with any readouts on the arduino boil controller, and I may not.
 
oh yeah, maybe in the glorious sea level paradise that is florida. :D

a mere 500 ft increase in elevation of sea level drops the boiling point a degree fahrenheit. i'm rolling at 211 here in wisconsin, no problem. i also operate my boil pid in manual mode at 100% until i start breaking, then use the hlt/boil select switch on my panel to turn the element off as the break foam gets too gnarly. repeat a few times and the break is gone, off to the races at 80-85%.

As a reminder* - even at sea level, the air pressure can change by about 3% with the weather. That can change the boiling point of pure water from a bit below 211 F or so to 213 F or so at sea level.

The boiling point of wort is also a tiny bit higher than that of pure water.

*I've banged on about this before. More than once.
 
Curious what others are using for a duty cycle percentage for their element during the boil.

I have a 5500 ULWD element in a keggle. Hoping to lean on other's experiences in preparation of my first brew day on a new rig.

I use the same element. 100% while heating and then turn down upon the initiation of boil. I used to boil with my kettle partially covered with the lid. The crescent-shaped opening was about a max of 6" wide. My power setting was 45% to produce a lightly rolling boil and about 15% evaporative losses.

Now that I understand that 15% is WAY too high and that you can actually degrade your wort by boiling too hard, I've recently moved to less power and covering the kettle much more. With about a 1" crescent opening, I've been able to reduce the power setting to about 20% and reduced the evaporative loss to about 10%. Pro brewers aim for evaporative losses in the 6 to 10% range. Their kettles are typically completely covered and have a vent stack connection.

The problem with boiling too hard is that it creates a compound Thiobarbituric Acid that is a precursor for oxidation damage in beer. Pro brewers actually monitor their beer's Thiobarbituric Index (TBI) as a sign of quality. The only time that a brewer might want to boil harder, is in styles that benefit from an aged or oxidized character such and Barleywines and Old Ales. Most other beers do benefit from being gentle with your wort boil. Don't worry so much about DMS since the pro's have proven that 6 to 10% evaporative loss is enough to eject the DMS in a 60 min boil. I've found the same in my system...even when using Pils malt.

What batch size?

Do you still bring up to temp with 100%? Do you recirculate or anything to prevent wort that's right at the element from getting too hot? Is the % evaporation arbitrary, just a side effect of the gentle boil? Or does that sub 10% apply to any scale?

(micro rant: I've never been a fan of stating evaporation rate as a %)

Oops! 5.5 gal batch and typically a 6 to 6.5 gal pre-boil volume.

I don't like expressing evaporation RATE as % either, but I'm referring to TOTAL EVAPORATION expressed as the percent loss from the original pre-boil volume.

The element can't get any hotter than the local boiling temperature. In addition, as the wort boils, it creates a massive convection current above the element. That easily moves enough wort past the element to prevent burnt wort on the element. However, this isn't to say that you can't burn wort onto your element. I have a probrewer friend that wasn't cleaning the electrical elements in his pro kettle after each batch and he ended up creating batch after batch of 'smoked' beers. He learned the hard way that you do have to clean off your element after each beer batch. Under that condition, you don't have to worry about burning wort. This is especially true when you cover the kettle adequately and your power requirement goes way down. You DON'T need to have Vesuvius in your kettle for good results!
 
Which leads me to a thought - your ring might be better if the holes were facing up (assuming they are facing down currently). If they are facing out, then you should be good to go. But you don't want to suck off the bottom - that will be the base of the cone.

Worked like a champ! I can also quickly open/close the butterfly valve at the bottom to dump trub and hop debris if the cone is large and oozes onto the pickup ring (bottom two pics show debris exiting via butterfly valve).

Completed my first brew on the system yesterday. Maybe did too much at one time but made 5.5 gal of beer and 4.5 Gal of wort starter... I'll post an overview of my system some time this week.

TNQE9090.jpg
 
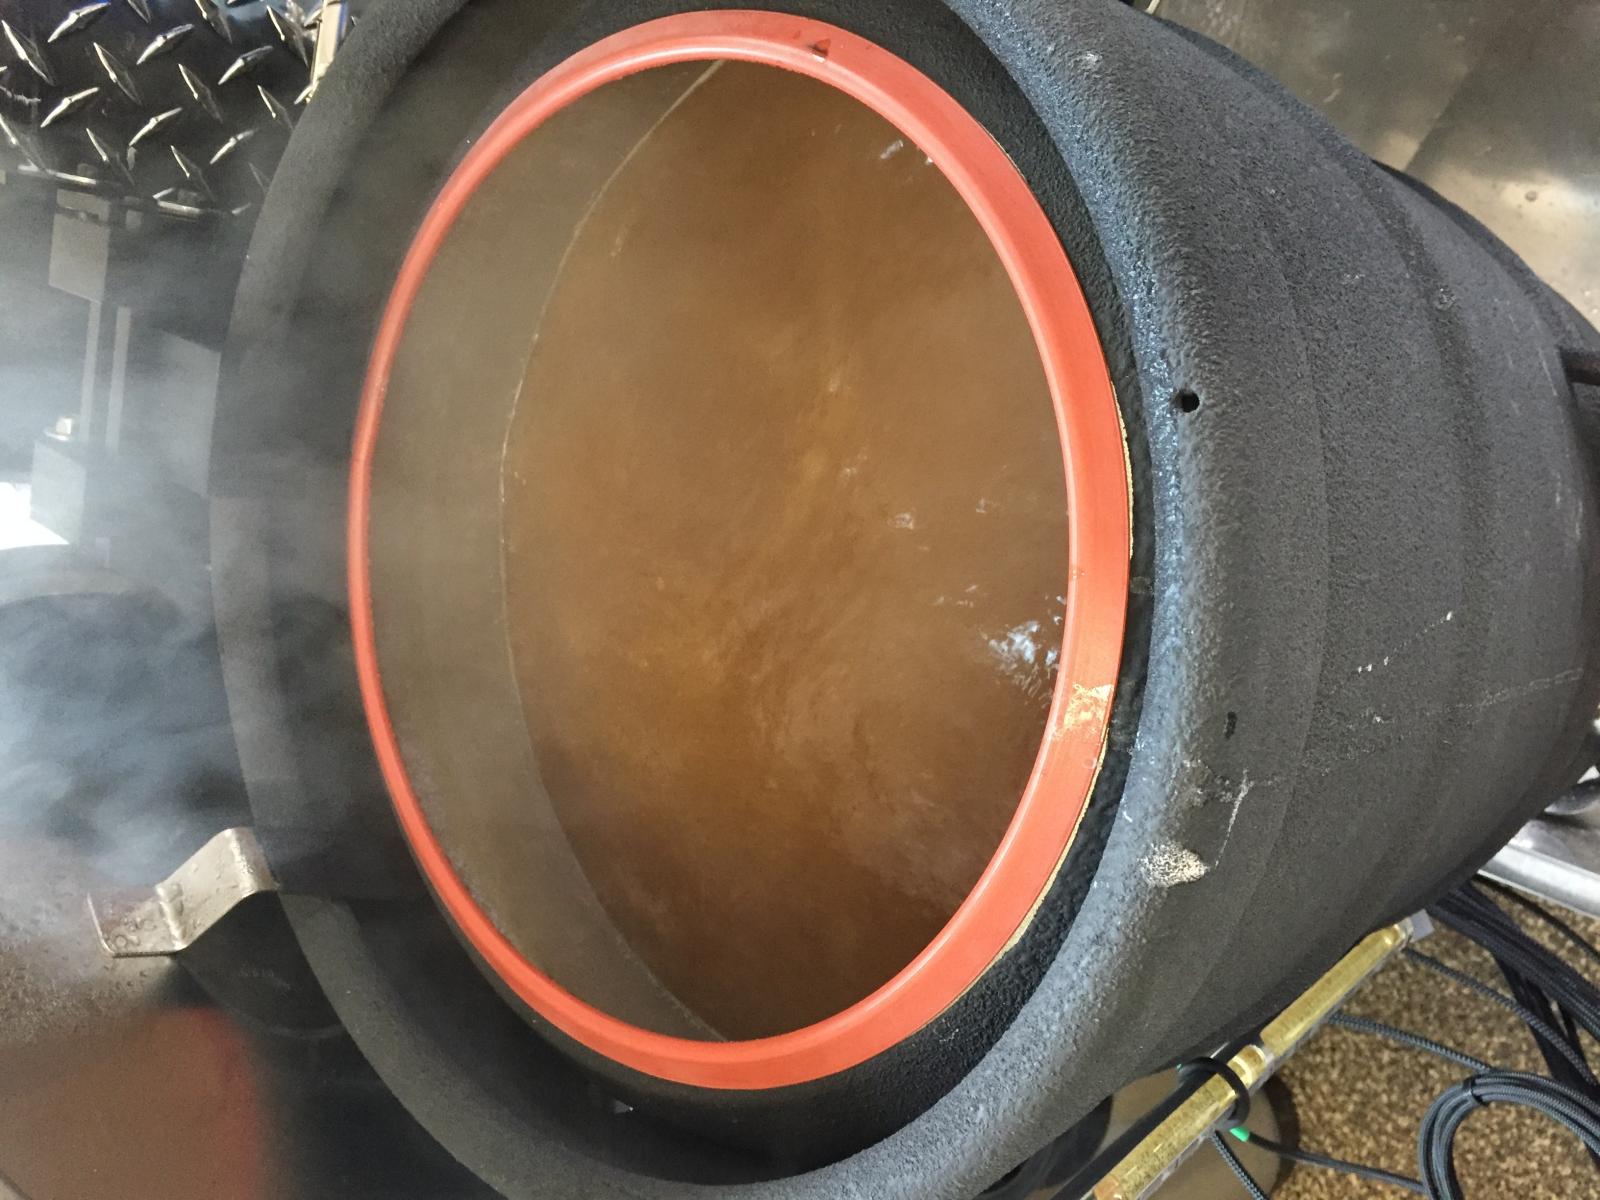
Thanks everyone for your input and suggestions. I successfully avoided boil over and had a nice gentle boil throughout at 60%.

My process for 13.5 Gal is:
Pre-Heat Boil during last 30 minute of sparge: 100% Duty to 208
Hold Pre-Heat at 208 until I've switched over to boil: PID at 208
Bring to Boil: PID to 211
Boil: 60% Duty
Sanitize Coil last 7 min of boil: 80% Duty (compensate for heat loss in system)

Can't say for sure what my total evaporation rate is, since 30 min into the boil I collected 4 Gal of wort for starter beer, but think I'm in the 12% range. I wound up with 7.5 Gal of beer at the end.

IMG_6285.jpg
 
Now that I understand that 15% is WAY too high and that you can actually degrade your wort by boiling too hard, I've recently moved to less power and covering the kettle much more. With about a 1" crescent opening, I've been able to reduce the power setting to about 20% and reduced the evaporative loss to about 10%. Pro brewers aim for evaporative losses in the 6 to 10% range. Their kettles are typically completely covered and have a vent stack connection.

For your case it occurs to me that if you had a 120/240 volt selector switch on your boil element you could just flip to 120 volts and be at 25% power and not have to worry about a controller/ssr. You lose flexibility but gain in KISS... worth exploring? (edit) From there maybe just adjusting your lid opening would provide enough control over boil intensity. Just a thought.
 
For your case it occurs to me that if you had a 120/240 volt selector switch on your boil element you could just flip to 120 volts and be at 25% power and not have to worry about a controller/ssr. You lose flexibility but gain in KISS... worth exploring? (edit) From there maybe just adjusting your lid opening would provide enough control over boil intensity. Just a thought.


Interesting idea but you trade components, making KISS equal. Plus losing adjustability. Ambient temperatures, batch sizes, recipes all have an impact on boil power needed and change batch to batch. Personally speaking I wouldn't want to lose that control.
 
Interesting idea but you trade components, making KISS equal
Is it equal? I would think a toggle switch -> heating element would be simpler than electronic control box (with temp probe?) -> ssr with heat sink (and possibly a fan) -> heating element
 
Going from 240v to 120v is a pretty coarse adjustment with respect to power. Simple, yes. But I don't think that it's workable or desirable. I love this boil controller:

http://www.auberins.com/index.php?main_page=product_info&cPath=2_30&products_id=444

At $34 bucks, its reasonable and it includes that digital readout so that you can easily go directly to settings that work for your setup. Of course, you have to add the cost of the SSRs on the power leads.
 
Back
Top