• Please visit and share your knowledge at our sister communities:
  • If you have not, please join our official Homebrewing Facebook Group!

    Homebrewing Facebook Group

vonZwicky's Mill Build

Homebrew Talk

Help Support Homebrew Talk:

This site may earn a commission from merchant affiliate links, including eBay, Amazon, and others.

vonZwicky

Well-Known Member
Joined
Nov 18, 2009
Messages
350
Reaction score
12
Location
Covington
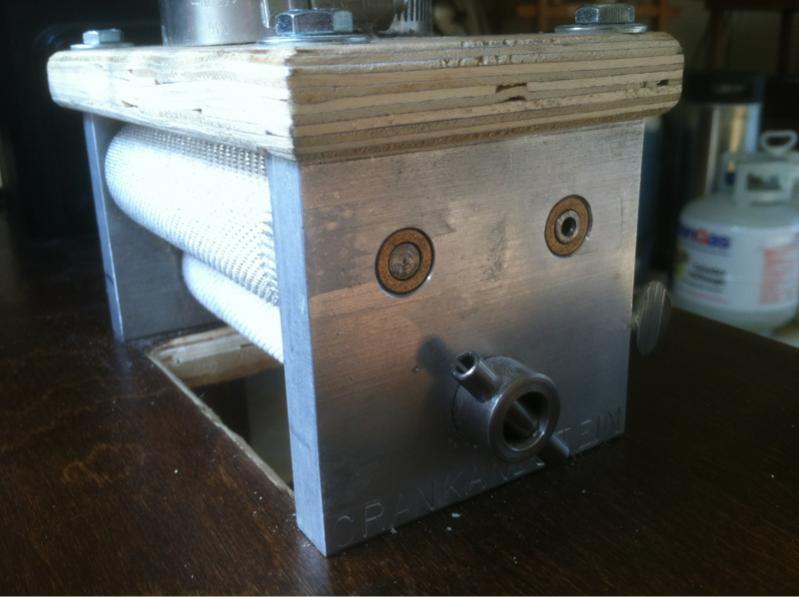
This is a project that's been on the back burner a while (like most of 'em). While I've had my Crankandstein 3 roller mill motorized for over a year now, it's been a pretty crude setup: all mounted to plywood that I'd setup on sawhorses when needed. Figured it was time to work on a dedicated cart for it.

Here's the older thread that leads up to this one:

https://www.homebrewtalk.com/f51/shiny-new-mill-motorize-not-motorize-216710/

Pics of my progress so far coming up in my next post.
 
May replace with better photos when I get home and can get image shack to work:

image-812516166.jpg
 
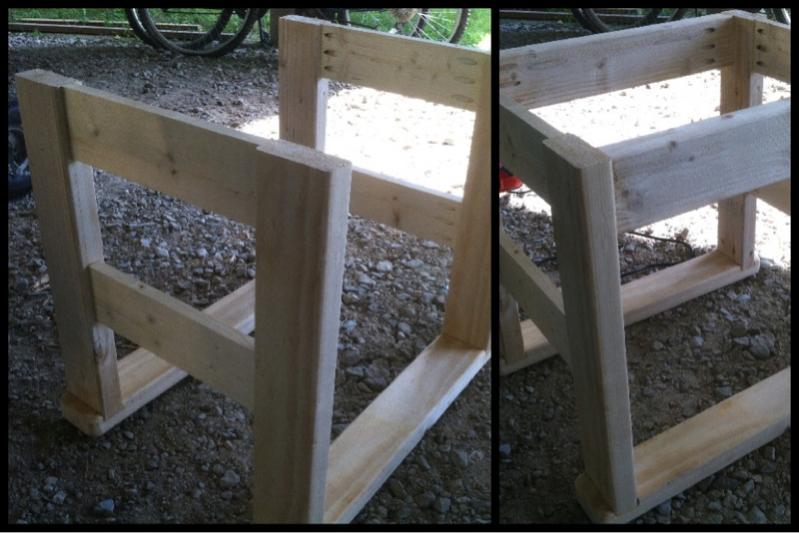
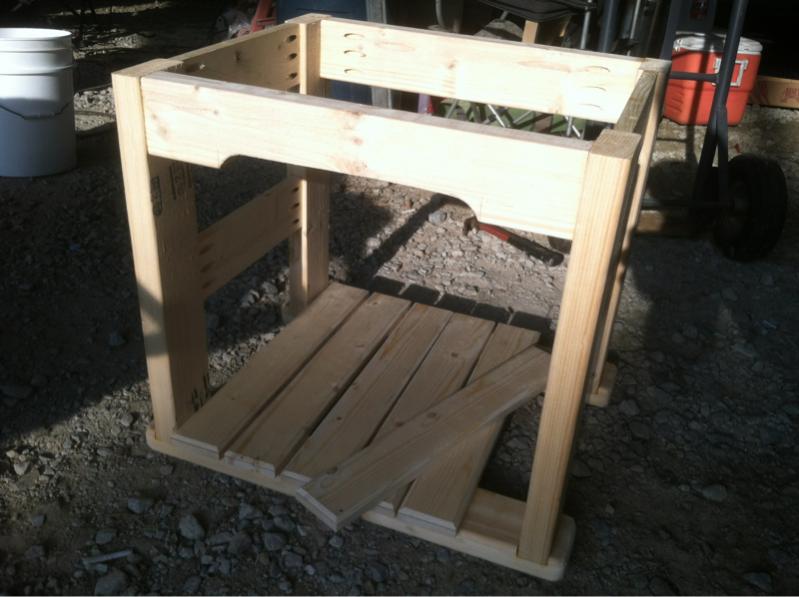
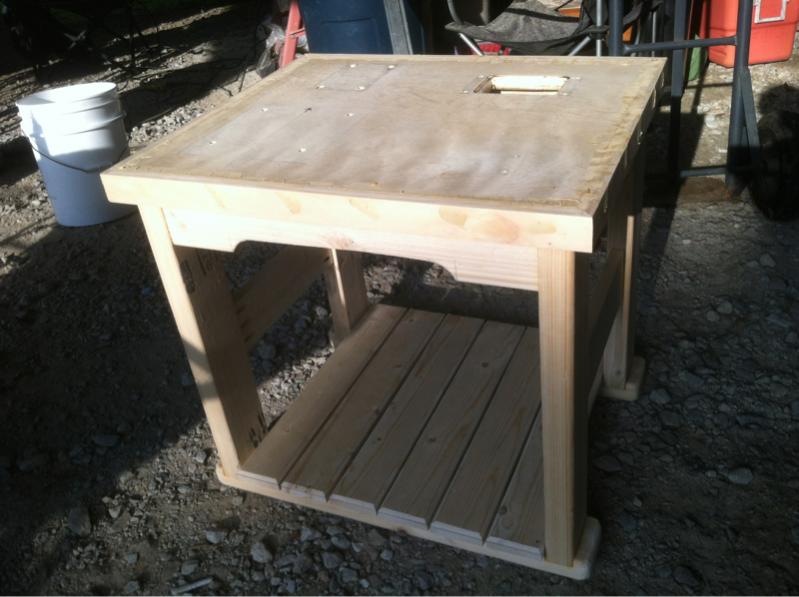
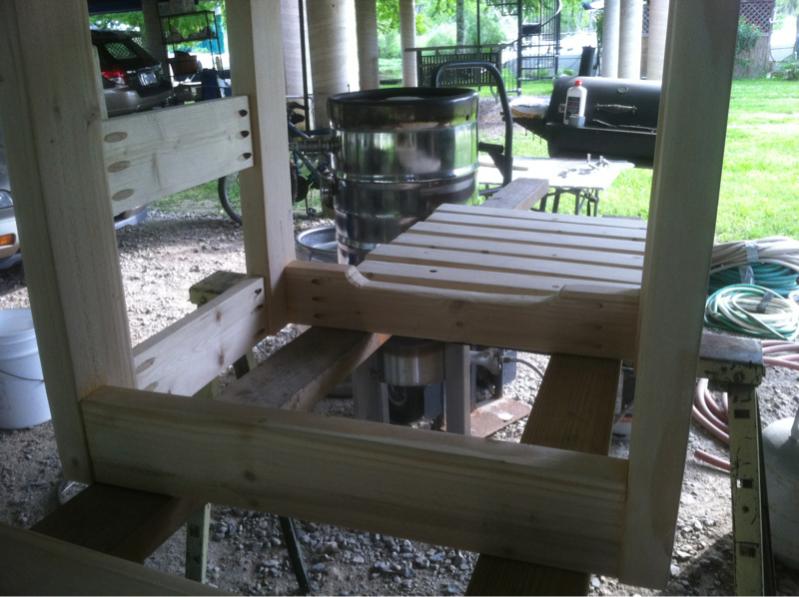
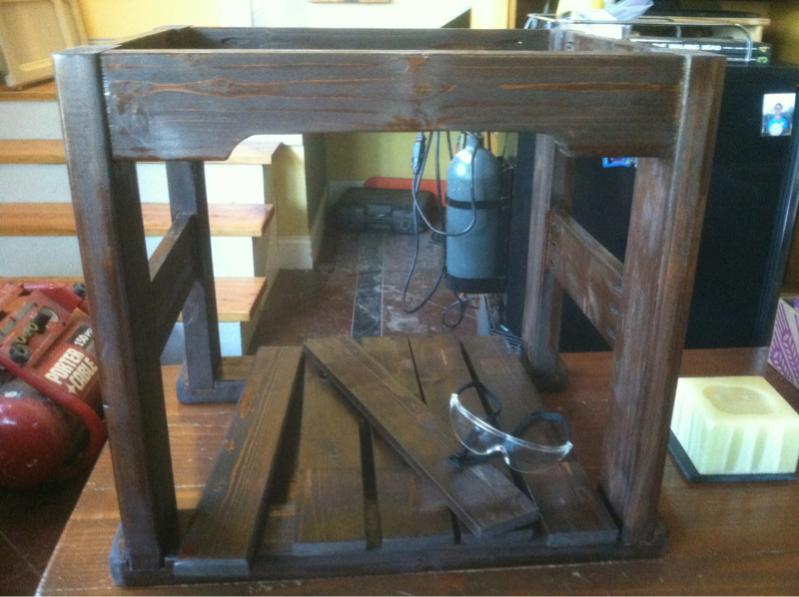
Not much time to work on it this afternoon, but I was able to make the "floor" slats.

image-943738772.jpg


image-790657020.jpg


image-2705207052.jpg
 
Nicely done. I like that you spent a little extra time with the router and gave it some details that make it look more "finished". I'd be proud to have that in my brewery.
 
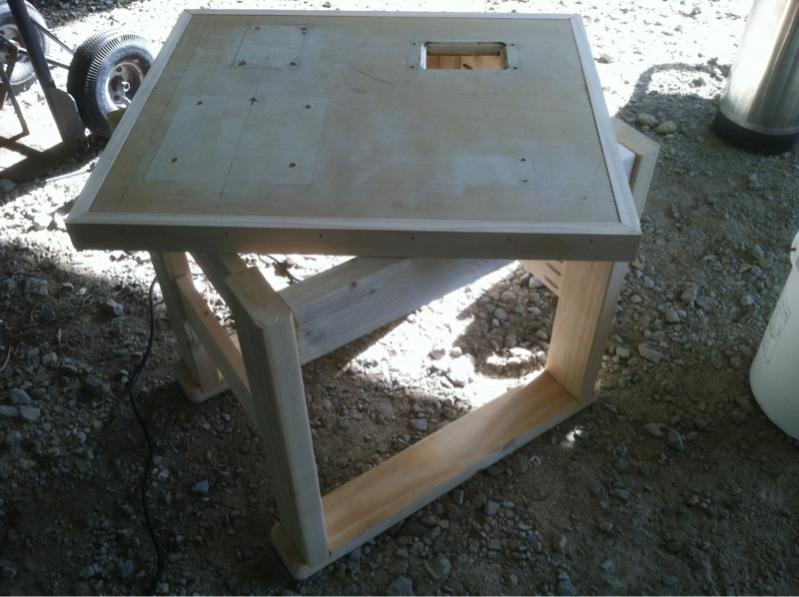
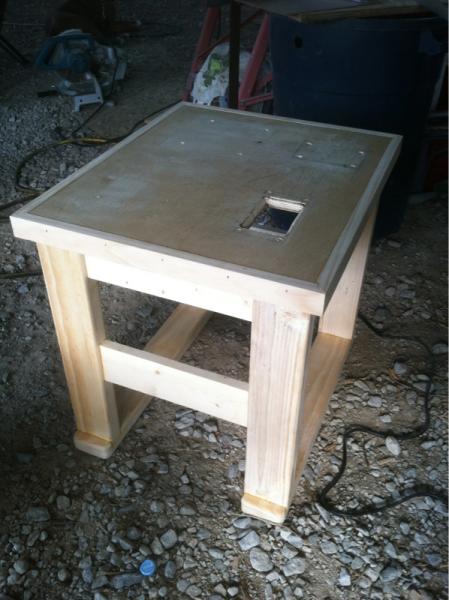
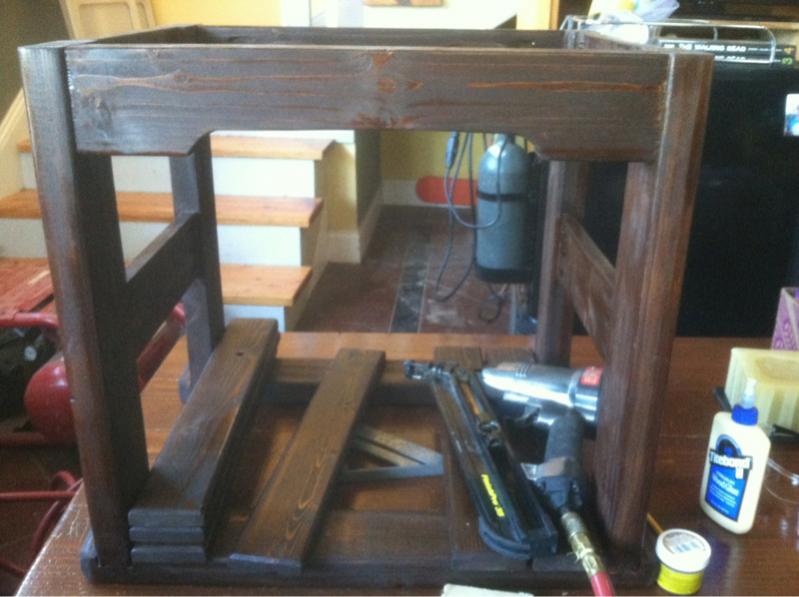
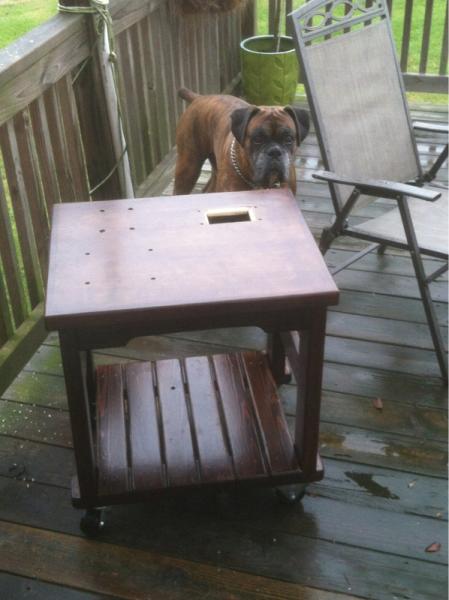
The structural elements of the cart are complete. Over the next few days it will be lots of sanding, stain, & polyurethane. Then I'll move on to installing the casters, motor, gearbox, and mill. Will post more pics as I go.
 
Thanks, Razzbarlow. I was actually too lazy to set up the router table for this. All the notches for the joinery were done with a skil saw, hammer & chisel. The edge work on the slats was done with a belt sander.

I can't wait to get this done, and move into the new house next month, where I'll have a garage with dedicated brew space. A brew stand build is next!
 
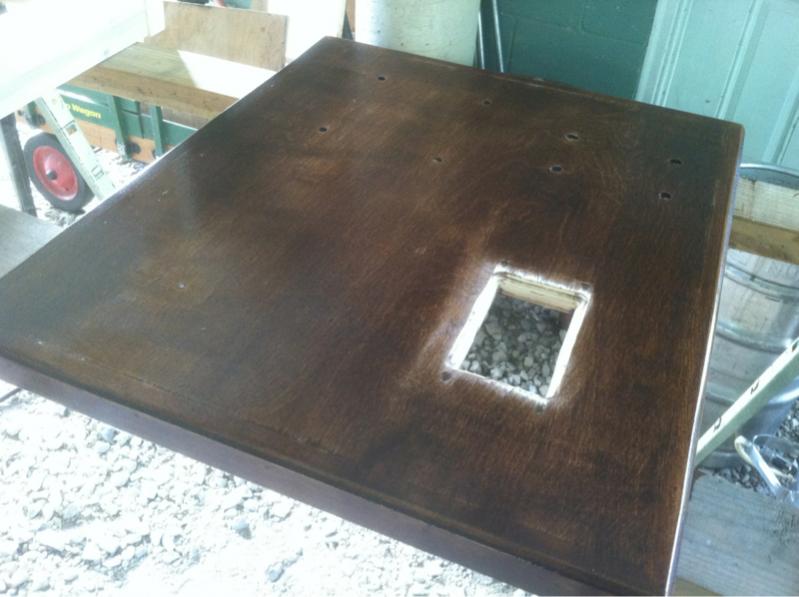
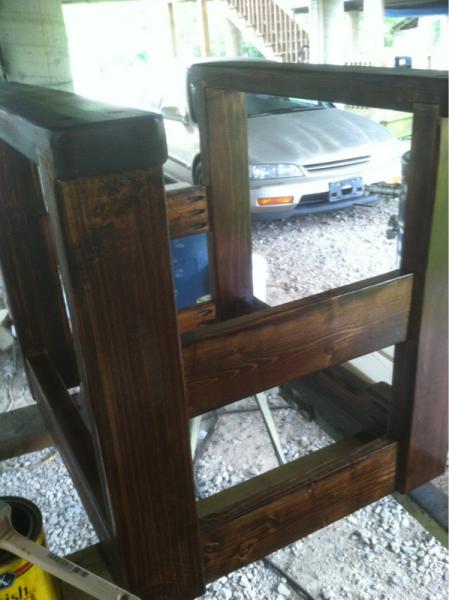
Probably not the best lighting for these pics, but I was able to get one coat of stain on everything this afternoon. Another coat tomorrow and polyurethane this weekend.

image-2797751649.jpg


image-4049930469.jpg


image-725443818.jpg
 
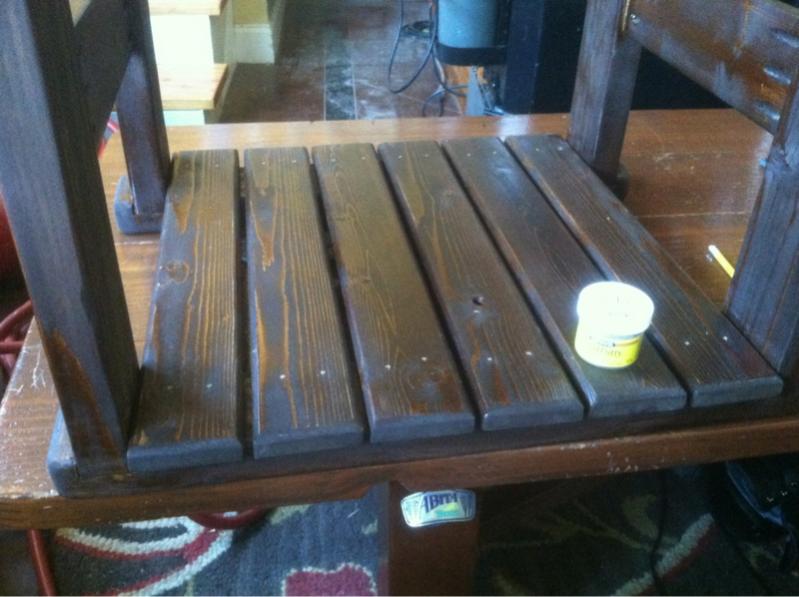
I put off nailing in these floor slats until after the staining was done. I was worried that I'd have trouble brushing the stain into the narrow gaps between the boards. After filling the nail holes with colored putty, I'm ready to move on to applying the poly.

image-468354053.jpg


image-3690431649.jpg


image-2344309059.jpg
 
Thanks, mariojr. The Kreg pocket hole jig set is one of the best (and least expensive) woodworking tools I've bought in recent years.
 
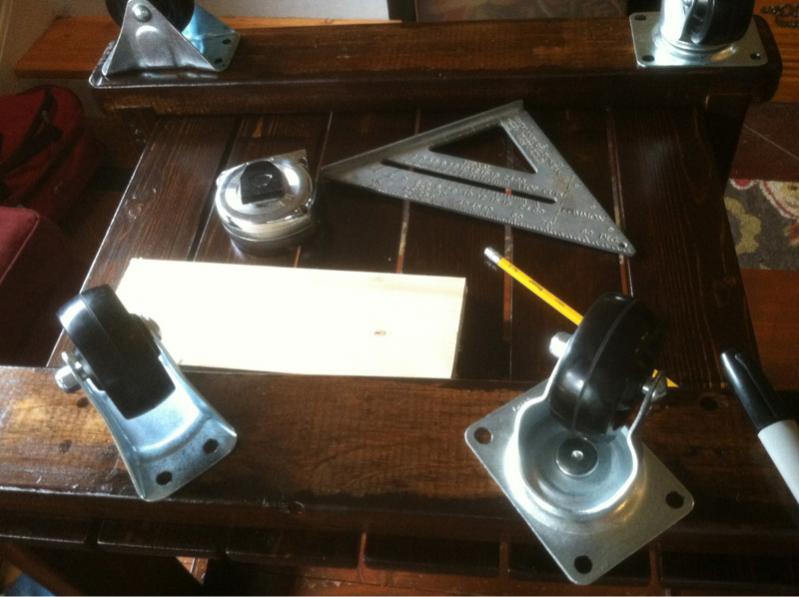
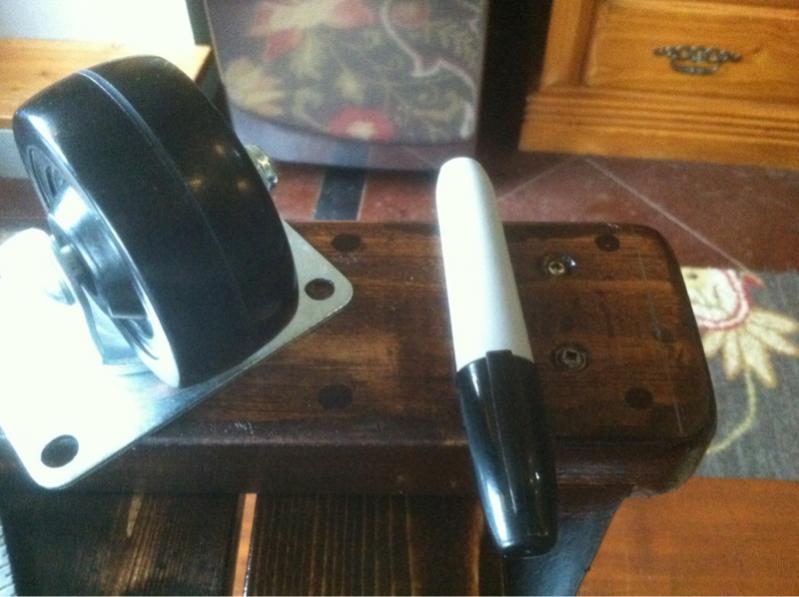
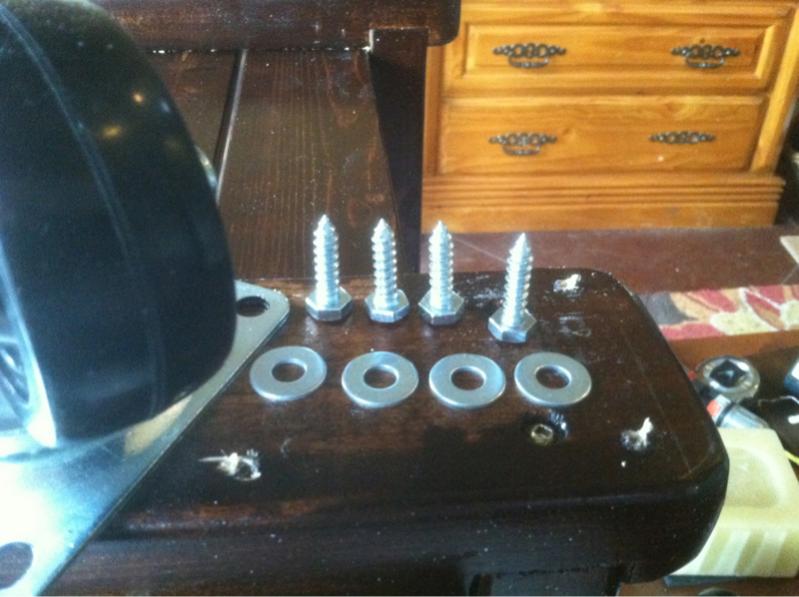
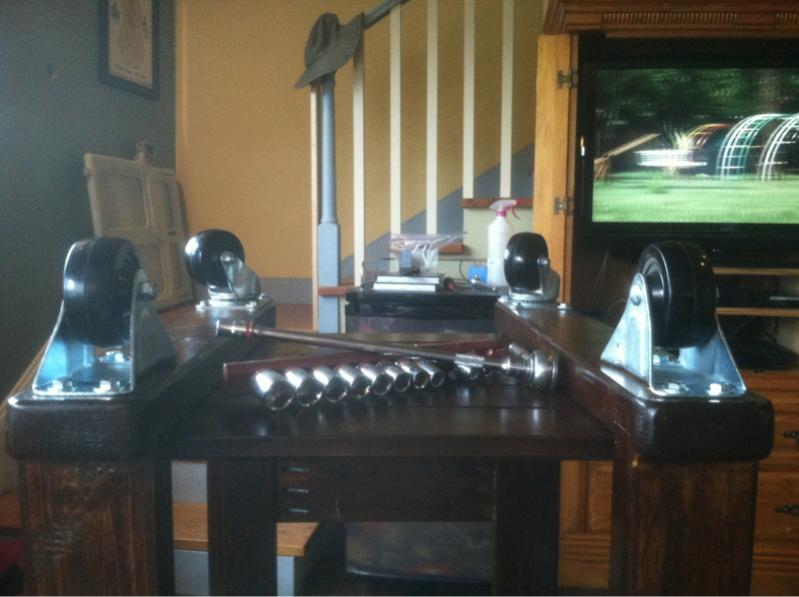
I'm installing the casters this morning. Since many of the holes will be so close to the ends and edges of the 2X4s, I'll have to be extremely careful and pre drill all of the holes to avoid splitting the wood.
 
Yea! I'm getting close now... I have a little time before I have to head in to work. May work on getting the motor and gearbox mounted.

image-1638384762.jpg


image-1934767877.jpg
 
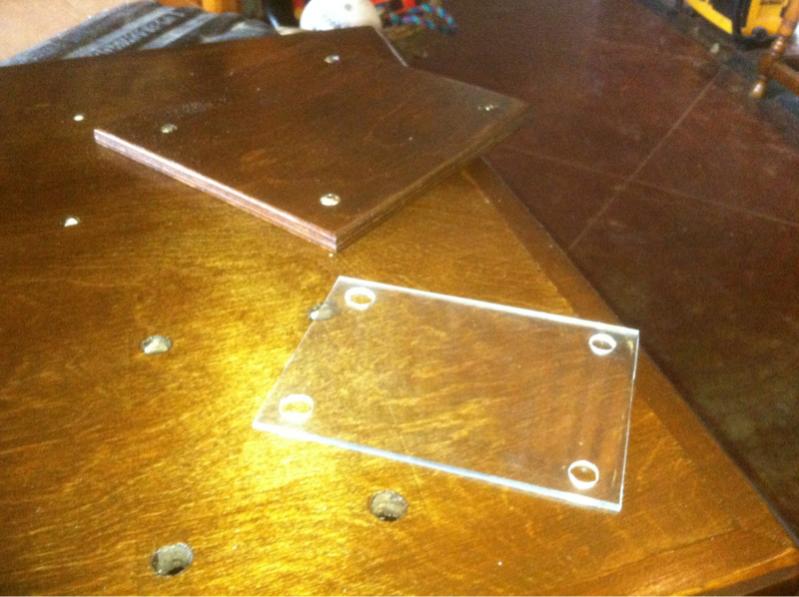
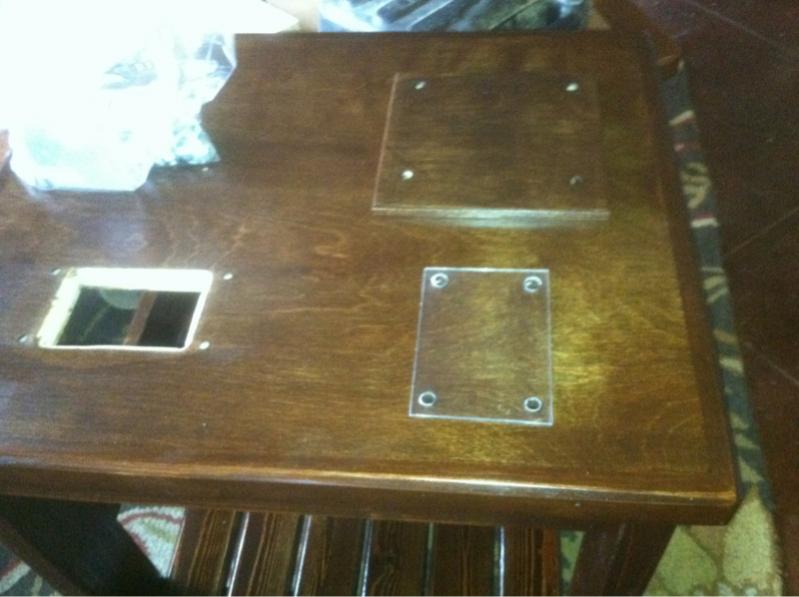
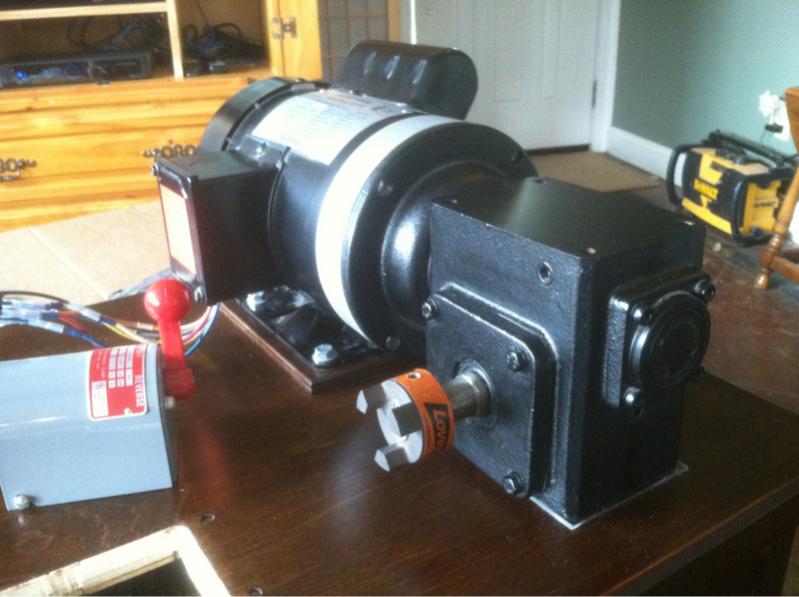
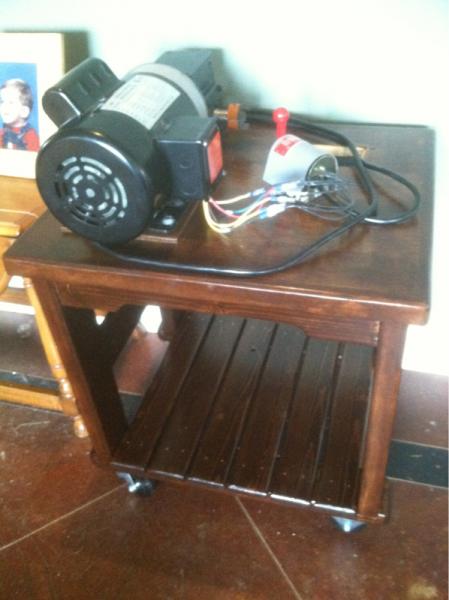
I had to improvise some shim materials to line the motor up with the gear box, and the shaft of the motor with the shaft of the mill. A couple of pieces of 1/4 luan laminated together and a thin piece of plexiglass do the trick.
 
So I've got the motor and gear box mounted. They are simply bolted to the surface. I haven't quite decided where I want to place the switch yet, so I'll leave it loose. Think I'll take this opportunity to give my mill a good spring cleaning before I remount it. More on that later.

image-1507693069.jpg


image-2800610649.jpg


image-239978286.jpg


image-2645637217.jpg
 
Any further work done on this setup?

What motor setup did you go for, and was it relatively inexpensive?
 
I appoligize for the lack of progress on this. I was out of town all weekend and now I'm starring down the barrel of a big move over the next couple of weeks. So most of my free time is spent packing boxes- I'm in homebrew limbo. I don't want to get anything started until after I get settled into the new place. I did find a video of the mill in action when I first got her functional last year:


The motor (1/2 hp iron horse) and gear box (10:1 reducing) both came from automationdirect.com. And no, they were relatively expensive, but I acquired them over time. A thrifty builder could build a similar rig for much cheaper buying used / salvaged components. I'll try to post the links to the exact items later.

As soon as I'm settled in and mill my next brew, I'll post a fresh video of the new set up in action. But that will not be the end. I want to add safety features, build a custom hopper, enclose all the wiring, etc. Still pondering the design of all that. When I get rolling on all that, I'll post the progress here.
 
Last edited by a moderator:
This thread has been a loose end for a while, but it's time to pick it back up. Tomorrow is the first brew day in the new house so I've been putting this beast back together. I'll post a fresh video after we mill the inaugural brew.

image-2646757710.jpg


image-3232295854.jpg


image-2306036090.jpg
 
Very cool. I am definitely impressed with the wood working skill I see on this forum. If the beer you ladies and gents make is half as good as the kits I see crafted I know I'm missing out.
 
Thanks deadboy. I daresay that along with some nice woodwork (many examples much finer than my own), there are a myriad of fantastic beers brewed by members of this forum. :mug:
 
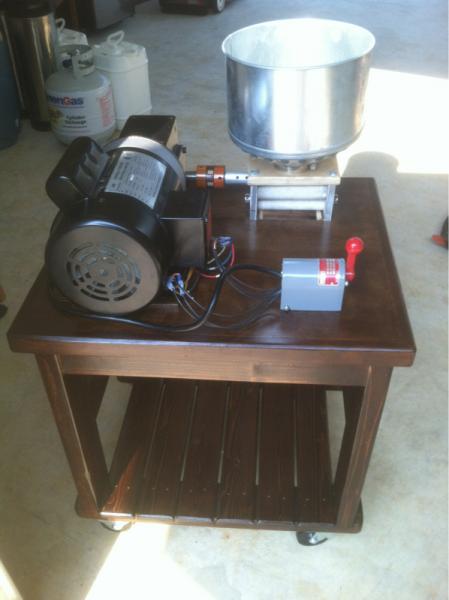
Ok. This build is as finished as it's going to be for a while. Eventually I'm going to enclose the wiring, add safety guards, and perhaps build a custom hopper. When I do, I'll post my progress here. For now I'll leave you with this short video that sums up the build and the mill's first use (in this new form):

<Linked removed due to EMI records objecting to the soundtrack of my video, and blocking the free world from seeing it. Please see below...>
 
Sorry guys. I just realized that an audio sample I used is to blame. I think I can fix this, but it will have to wait until the morning. I will repost when I get it working.
 
Back
Top