Unfortunately I am our second home right now. Should be back at the main one next week and can send some pics then.
Here is the link on the brewhardware site.
https://www.brewhardware.com/product_p/steamslayerfoundrykit.htm
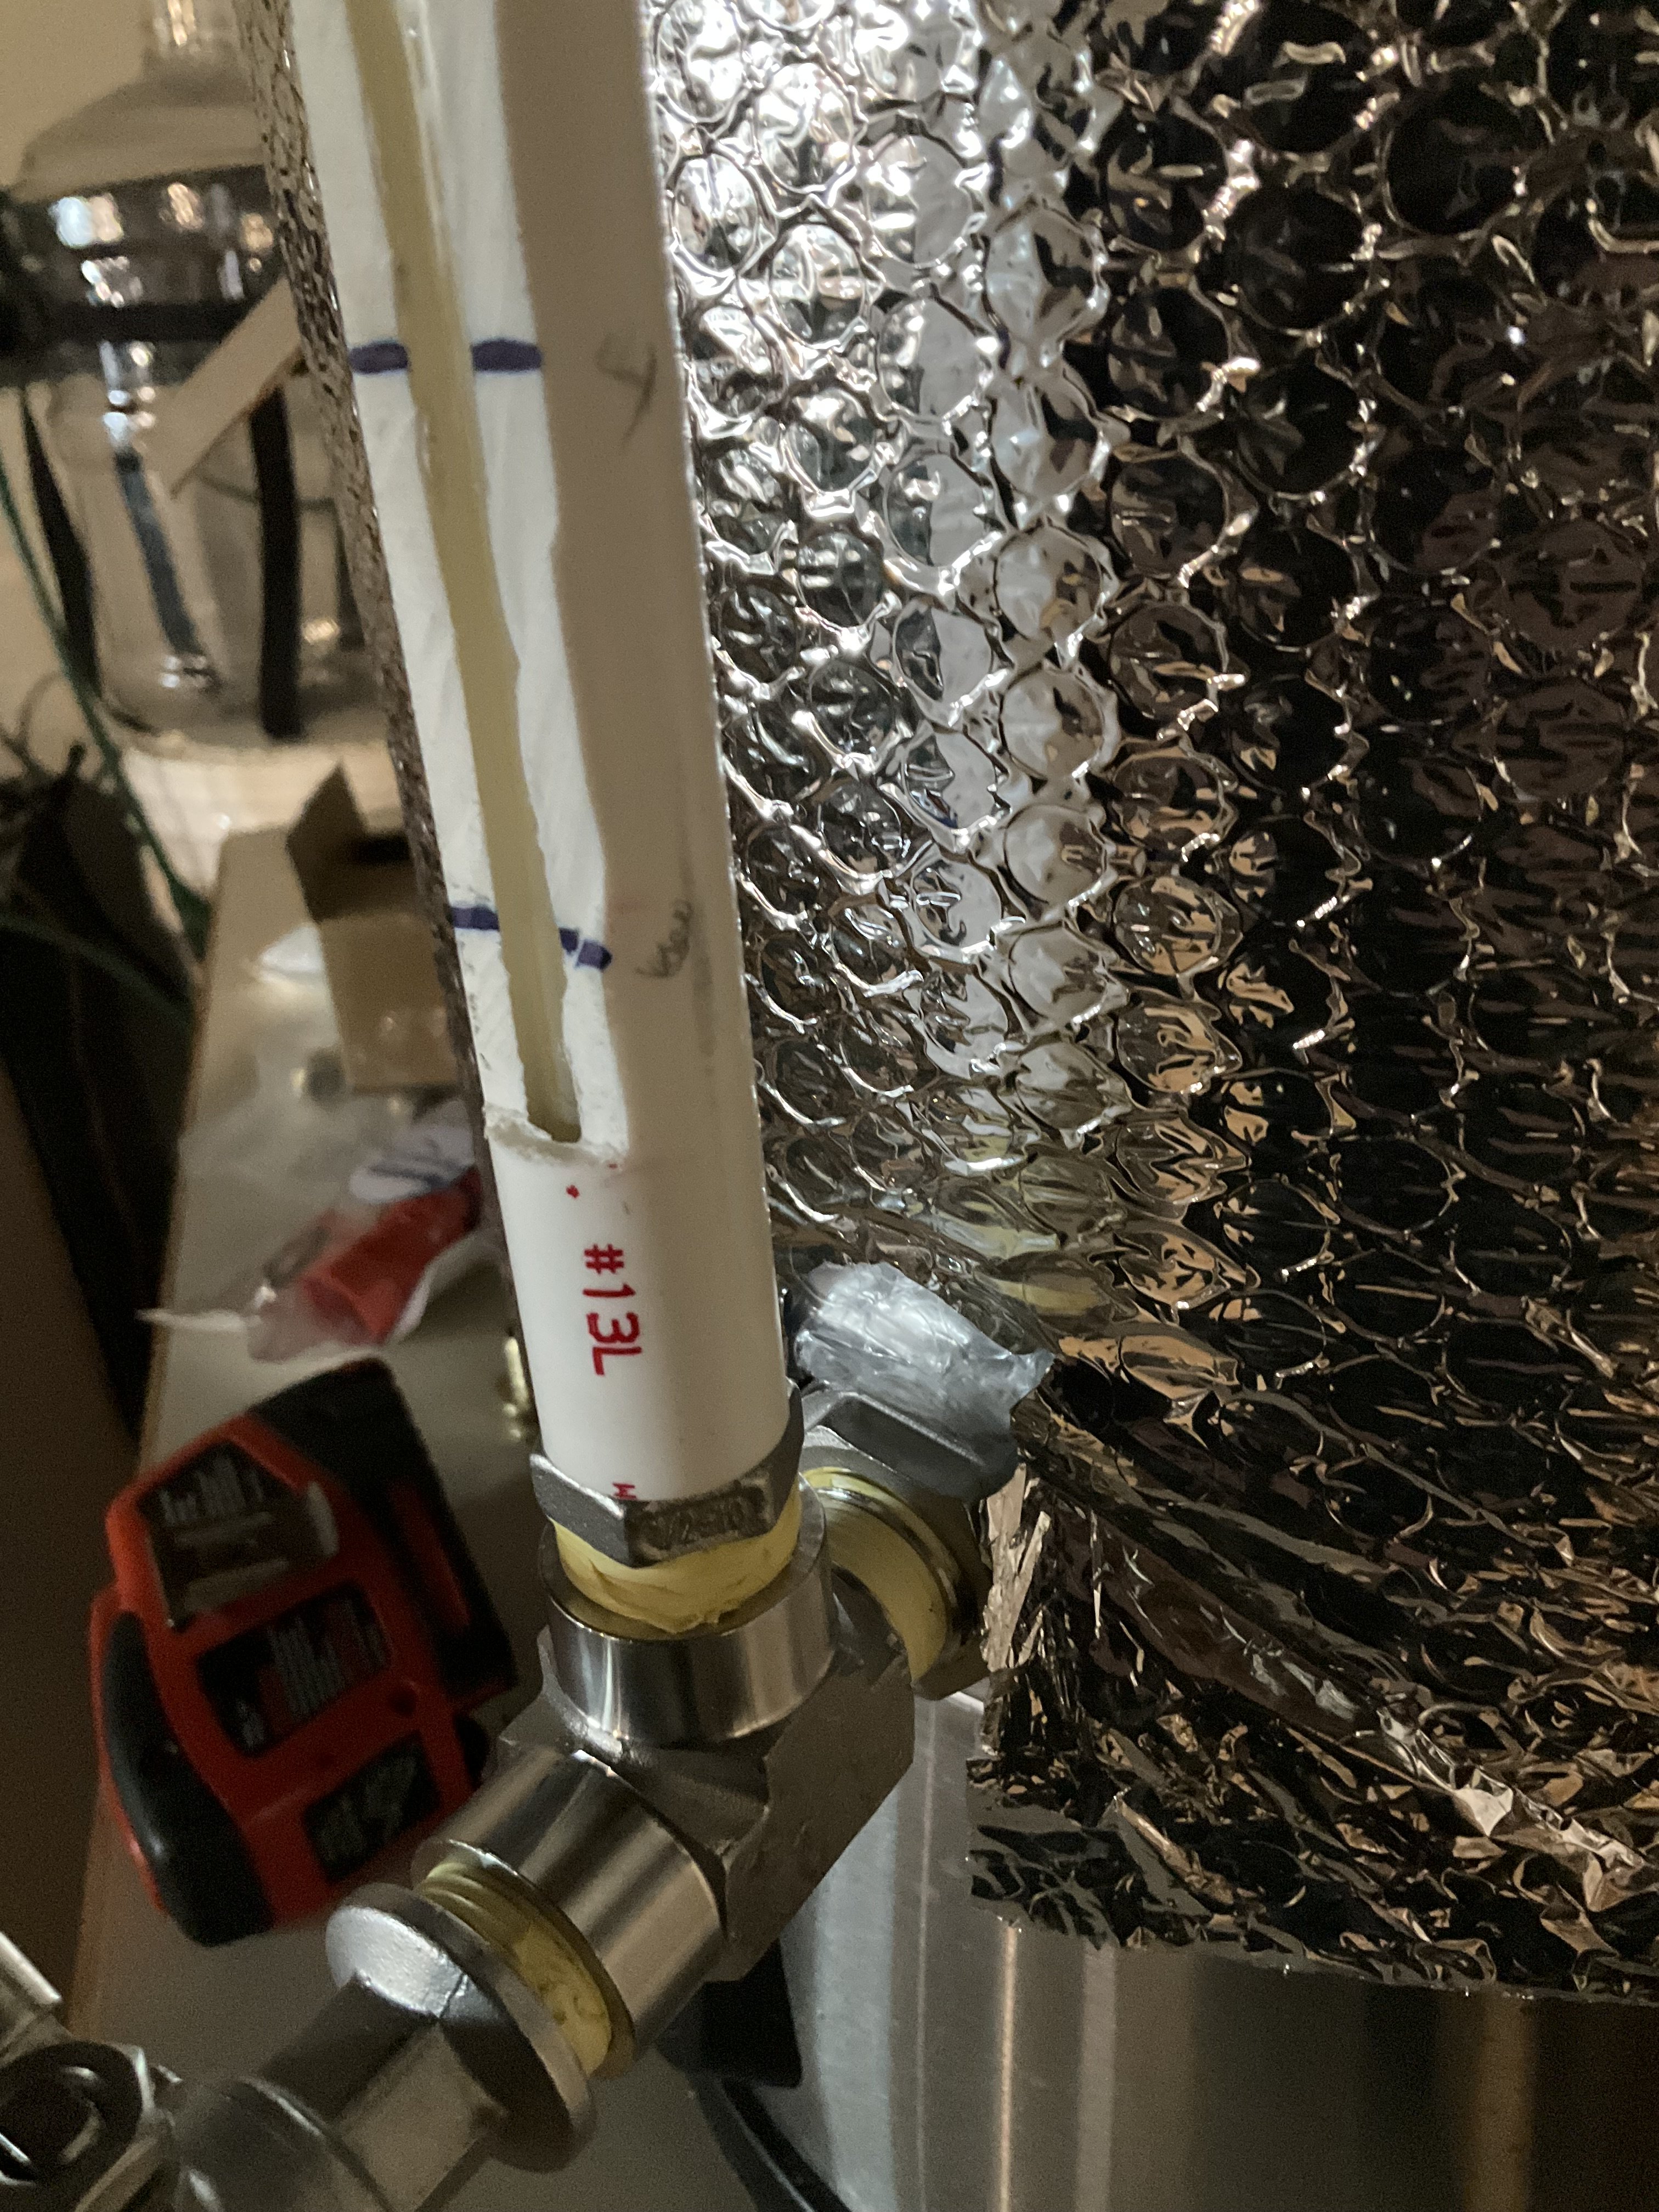
I had already purchased the 1.5 inch TC parts so just need the sprayer.
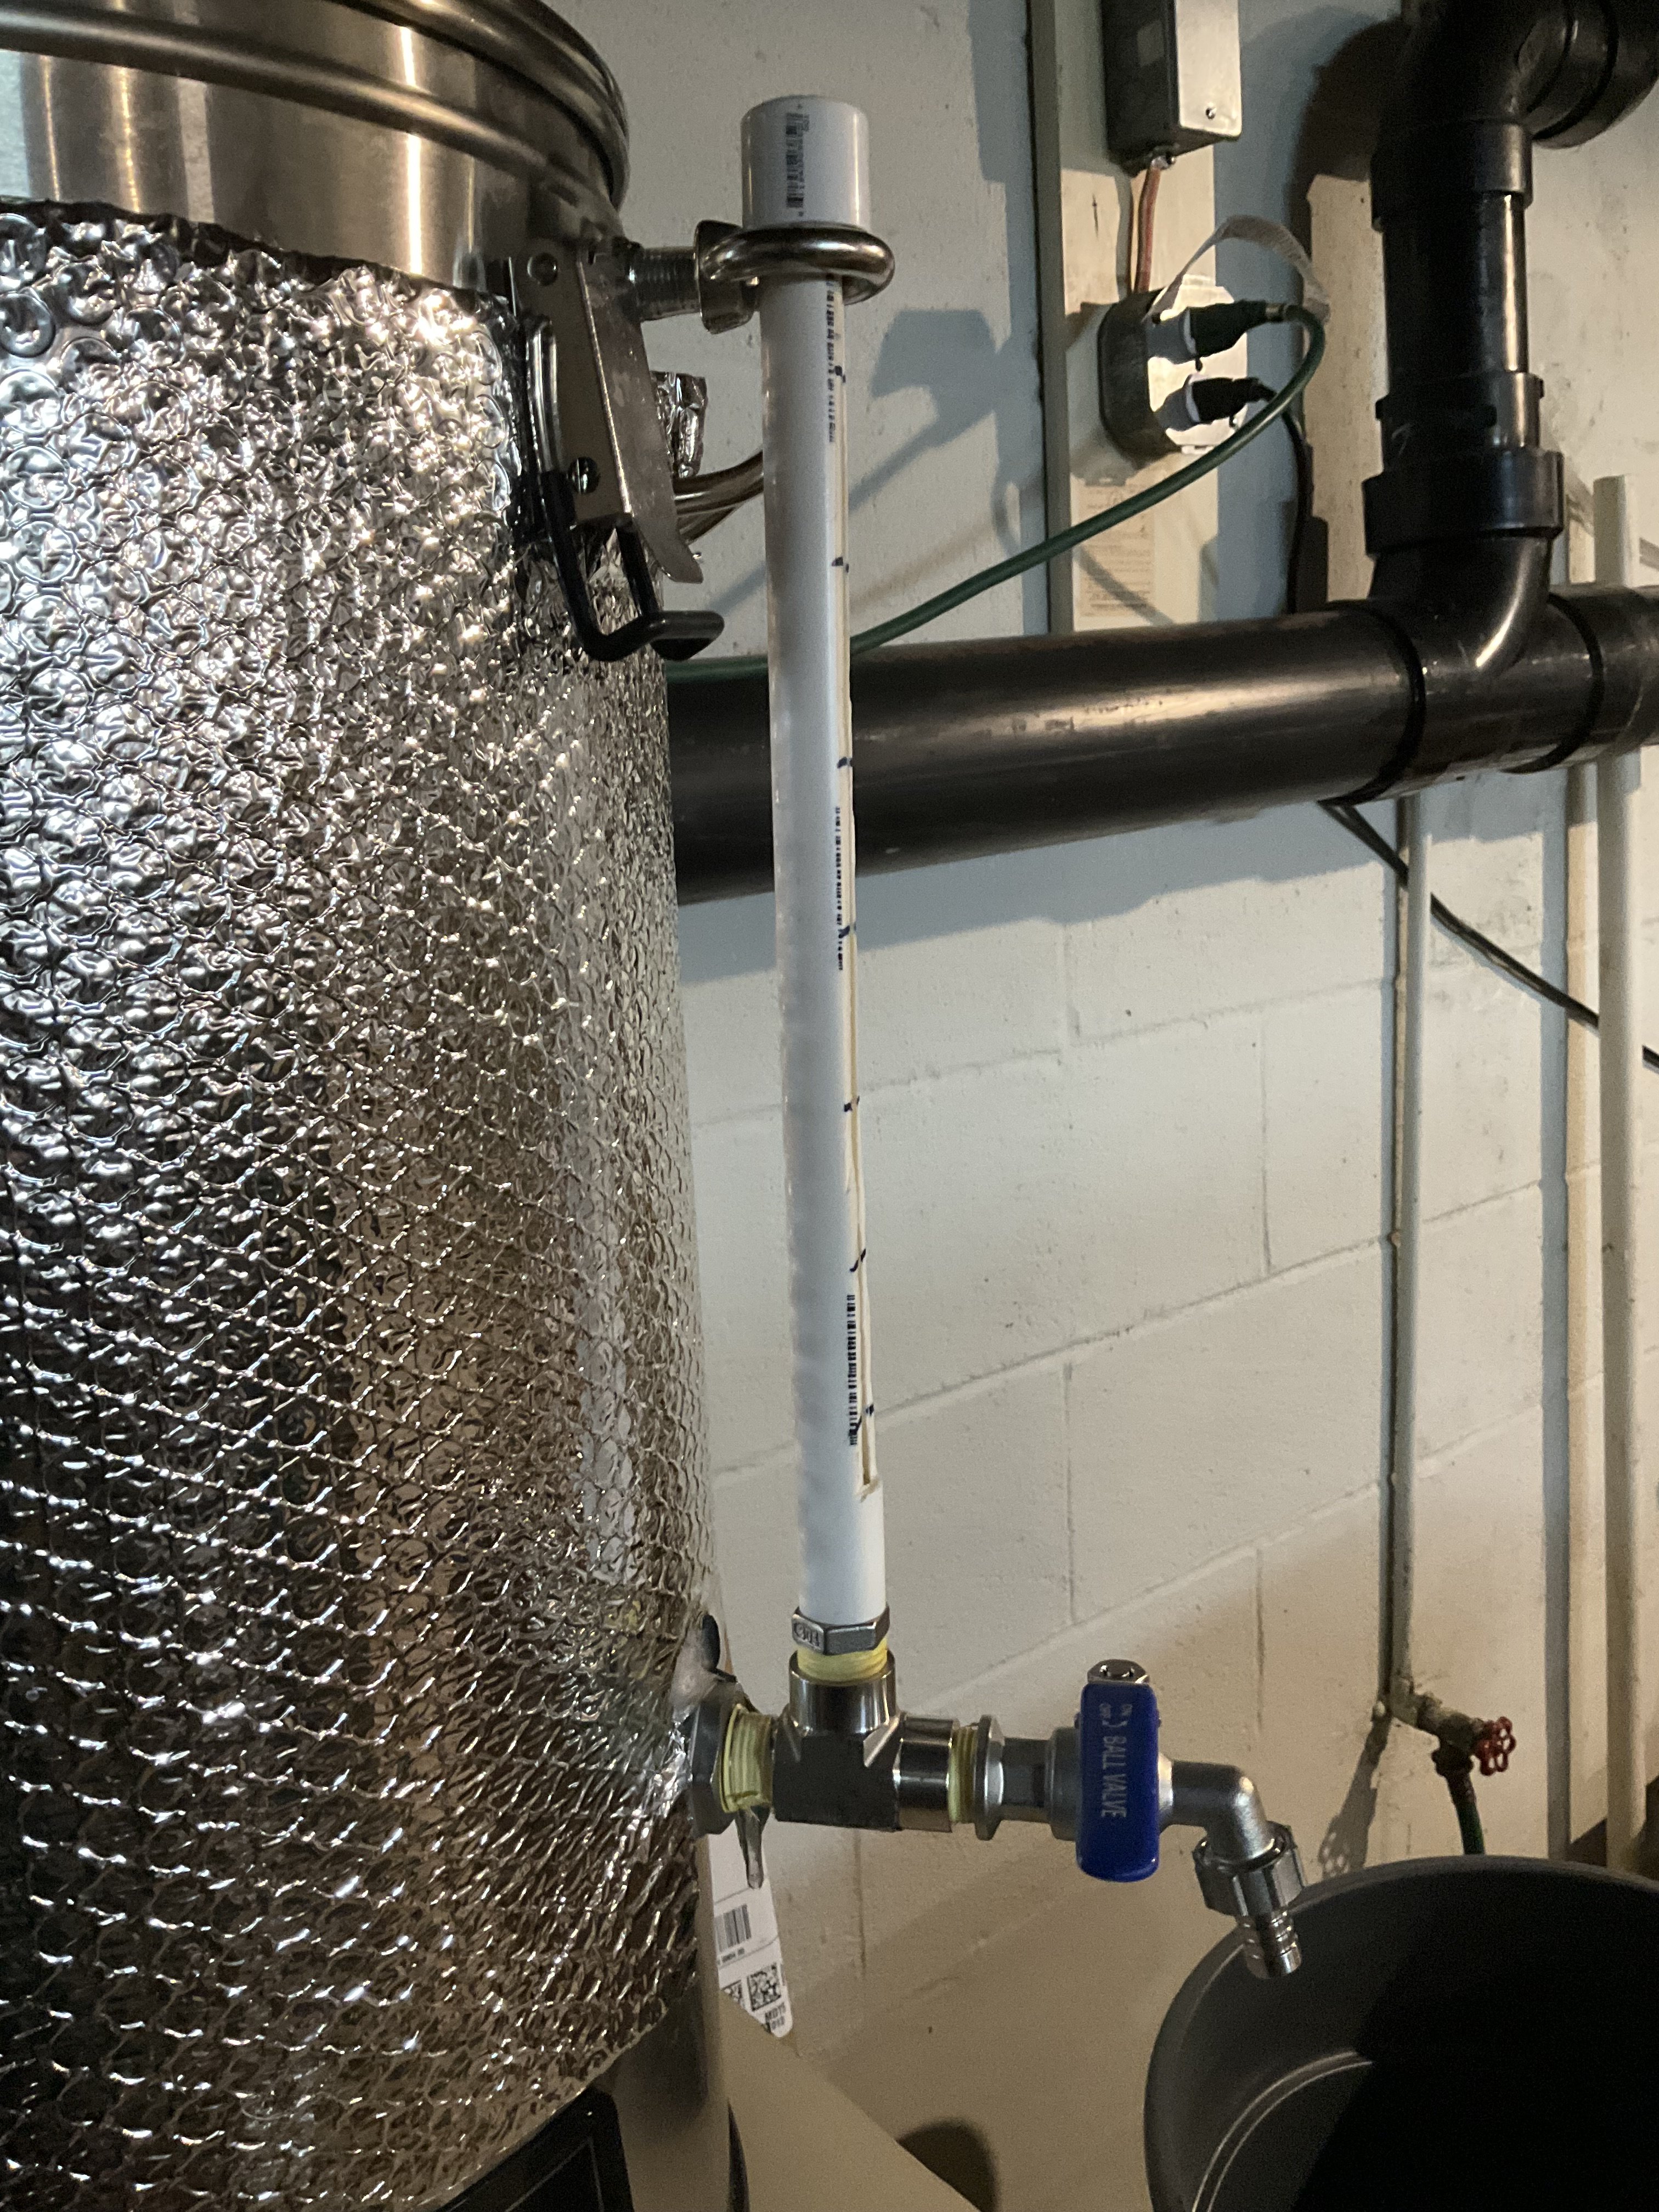
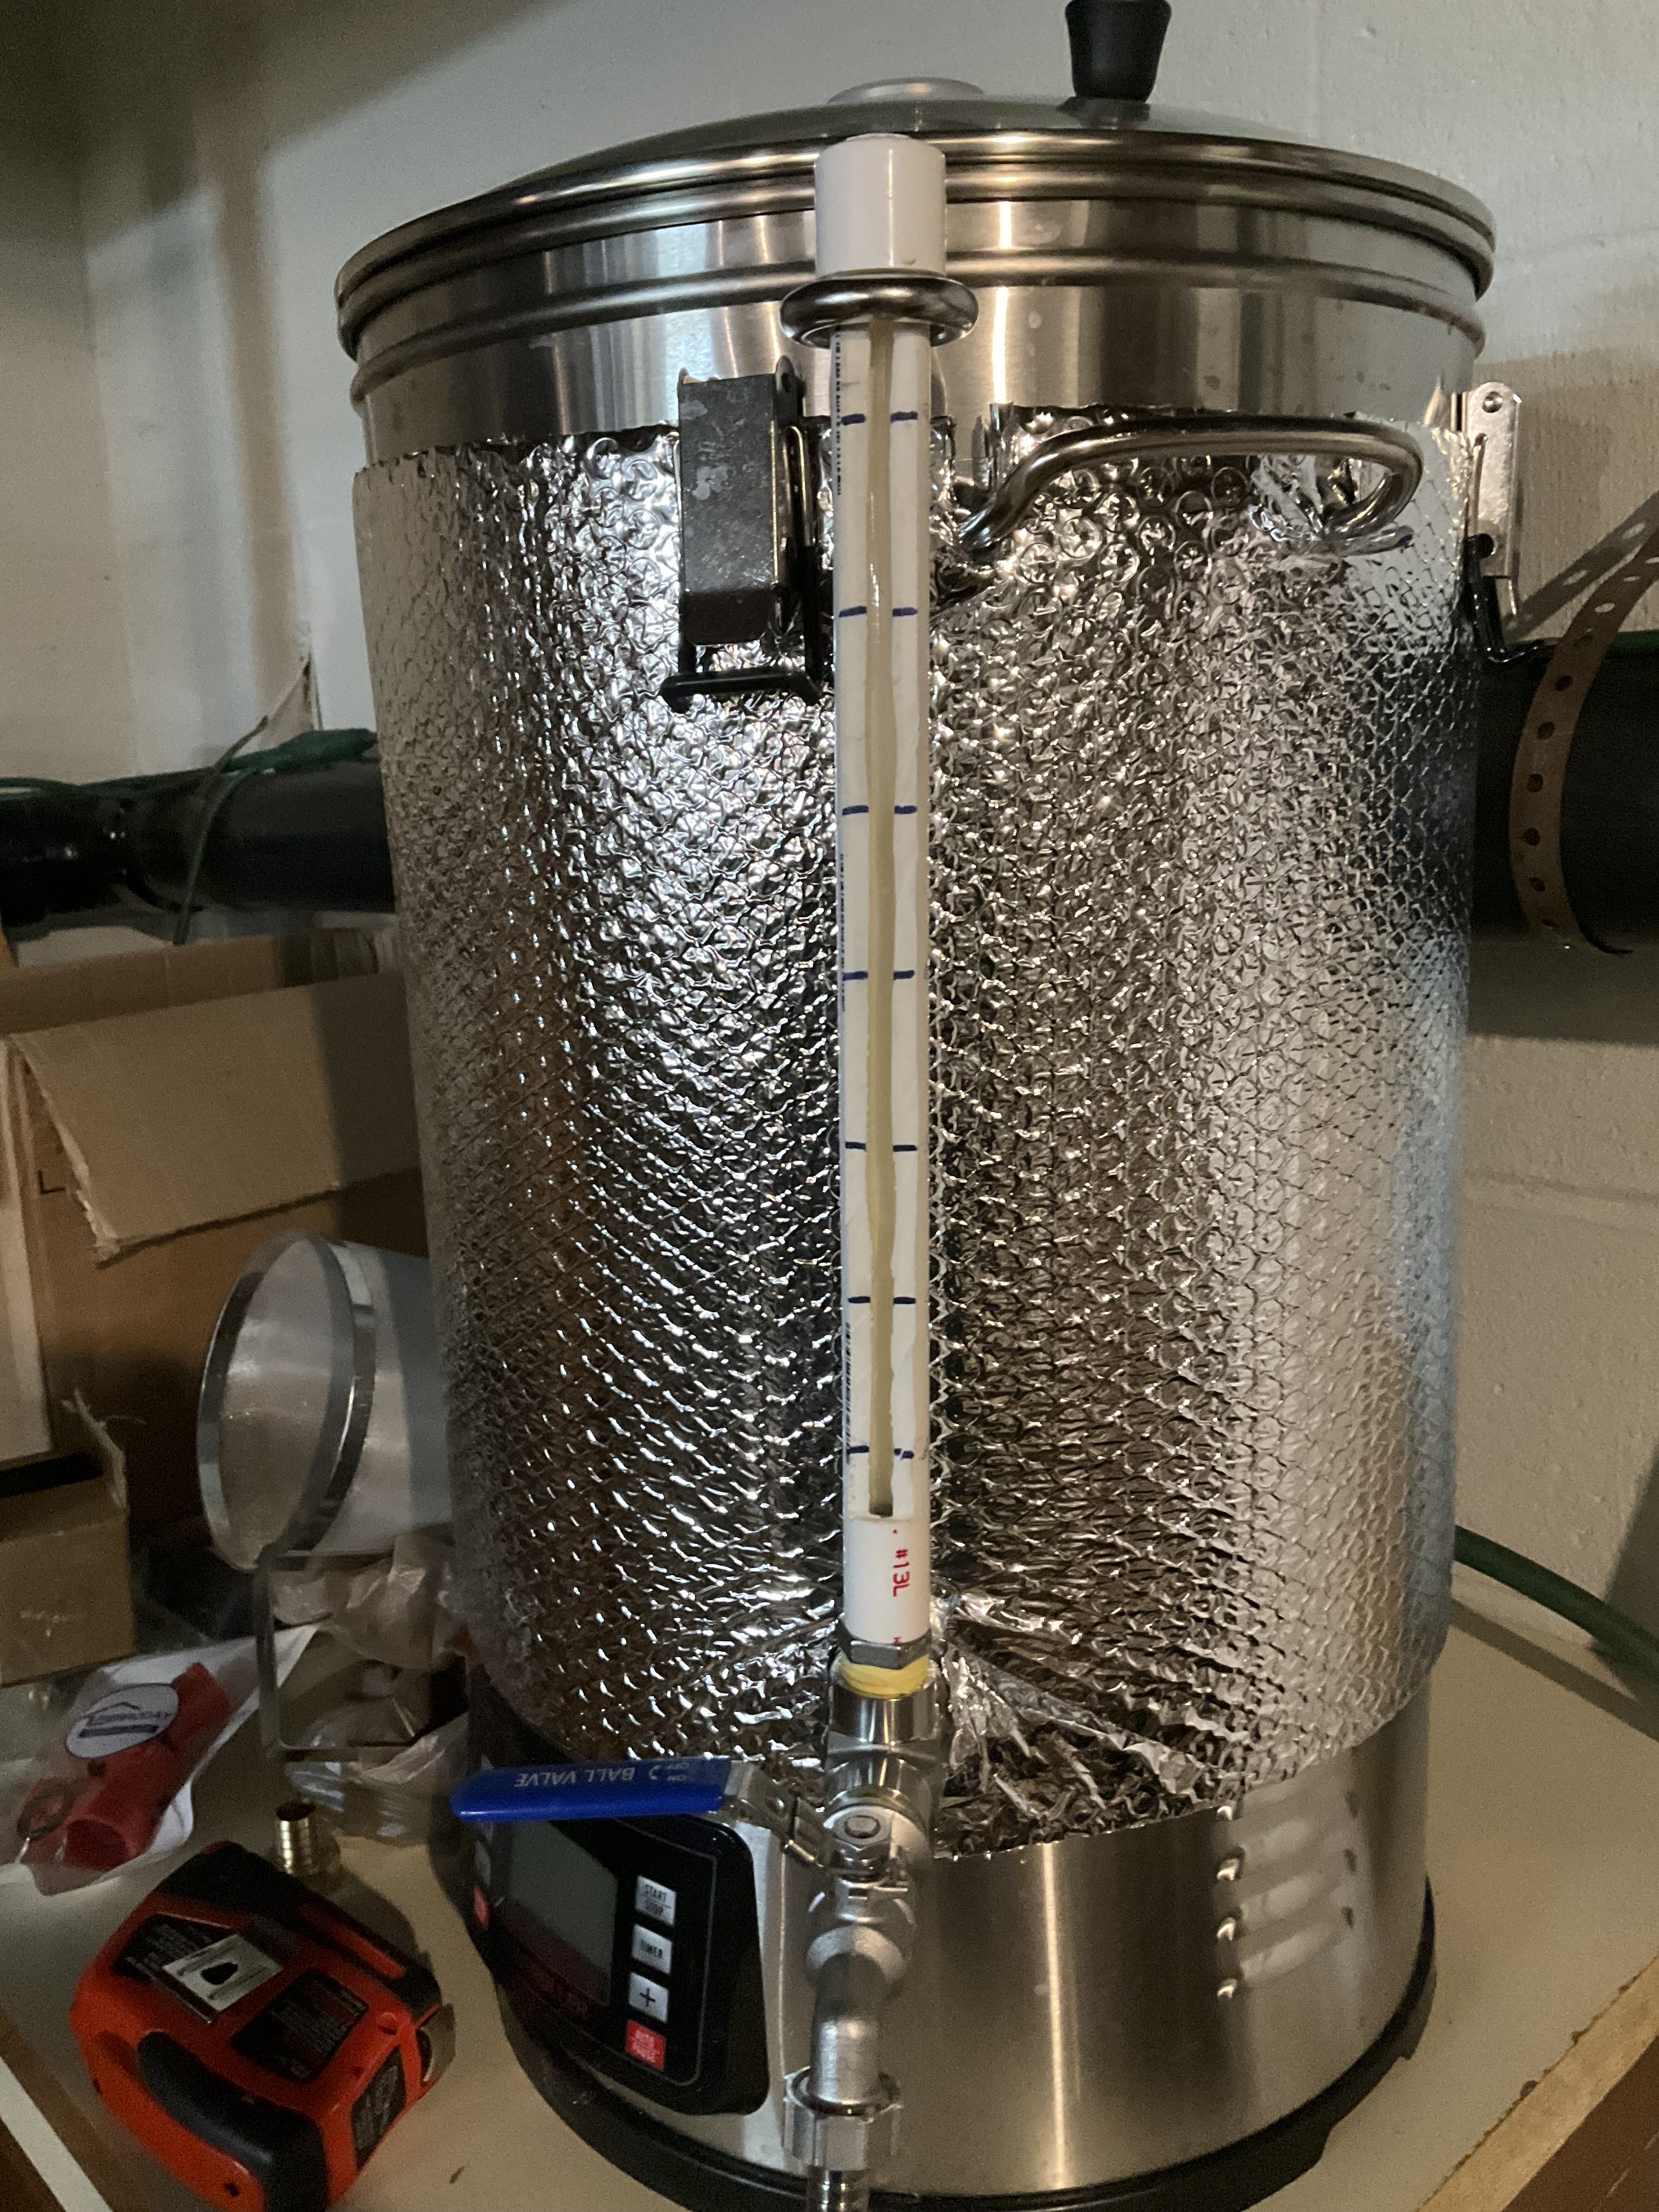
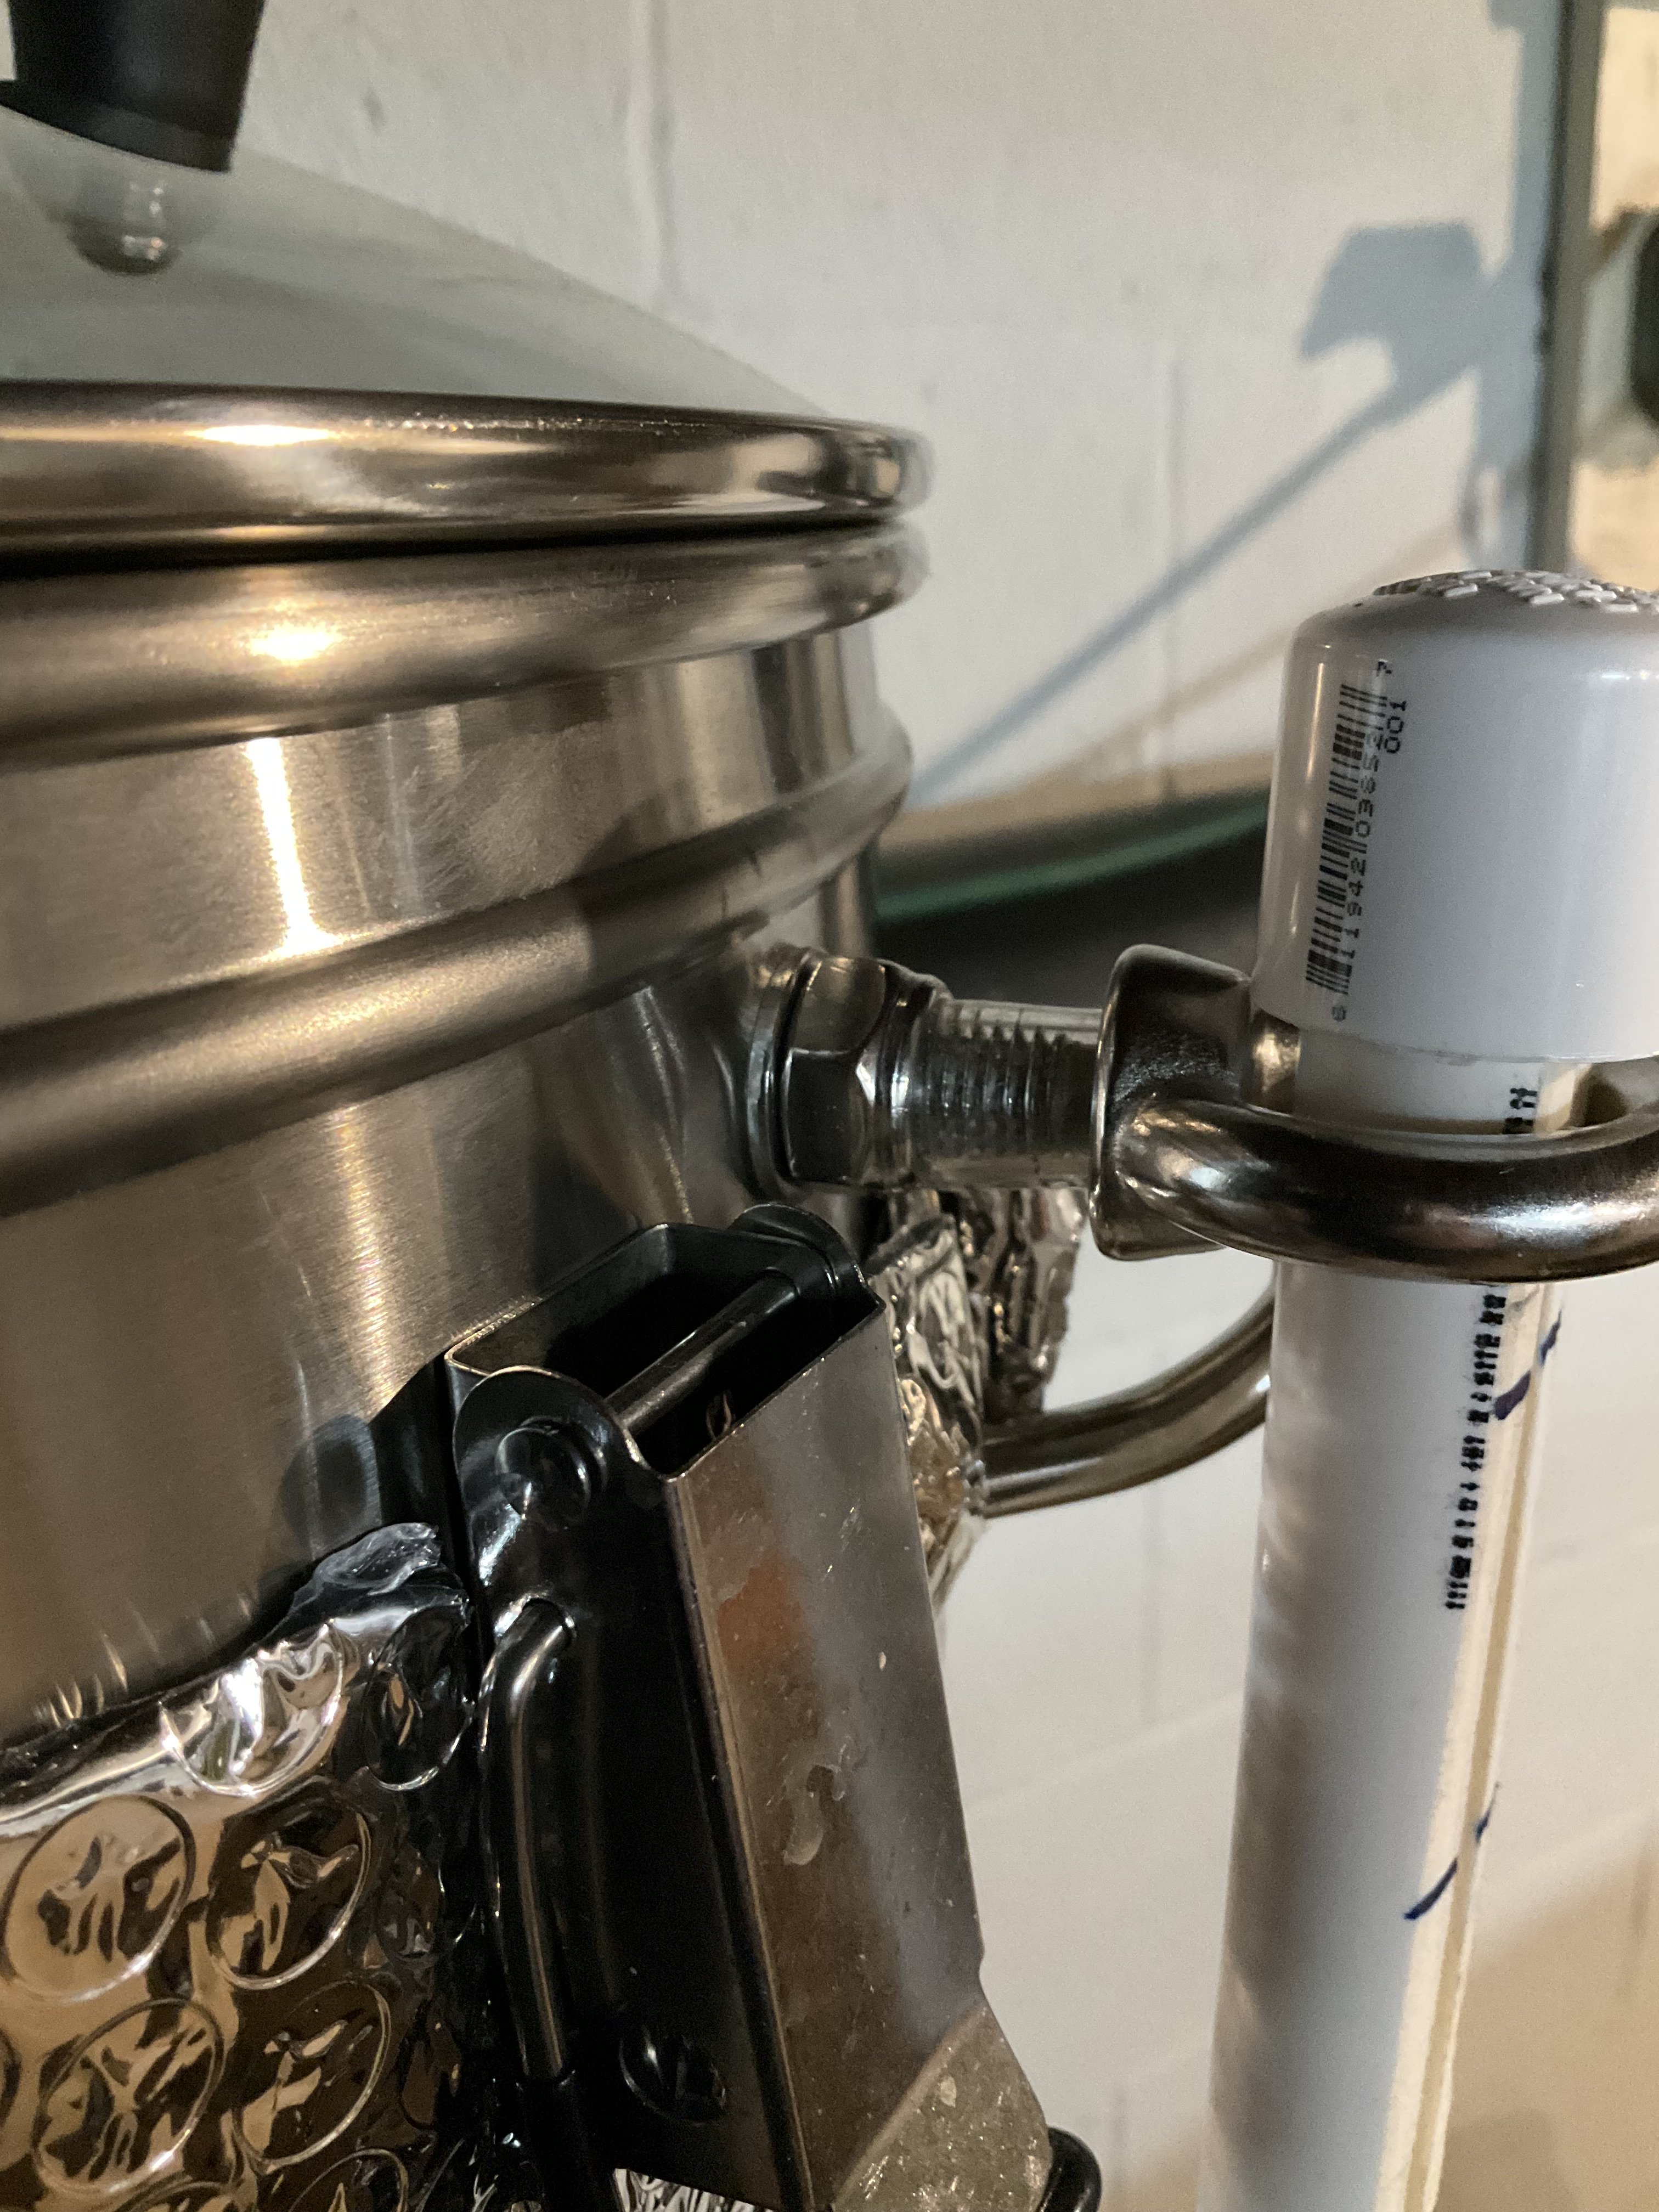
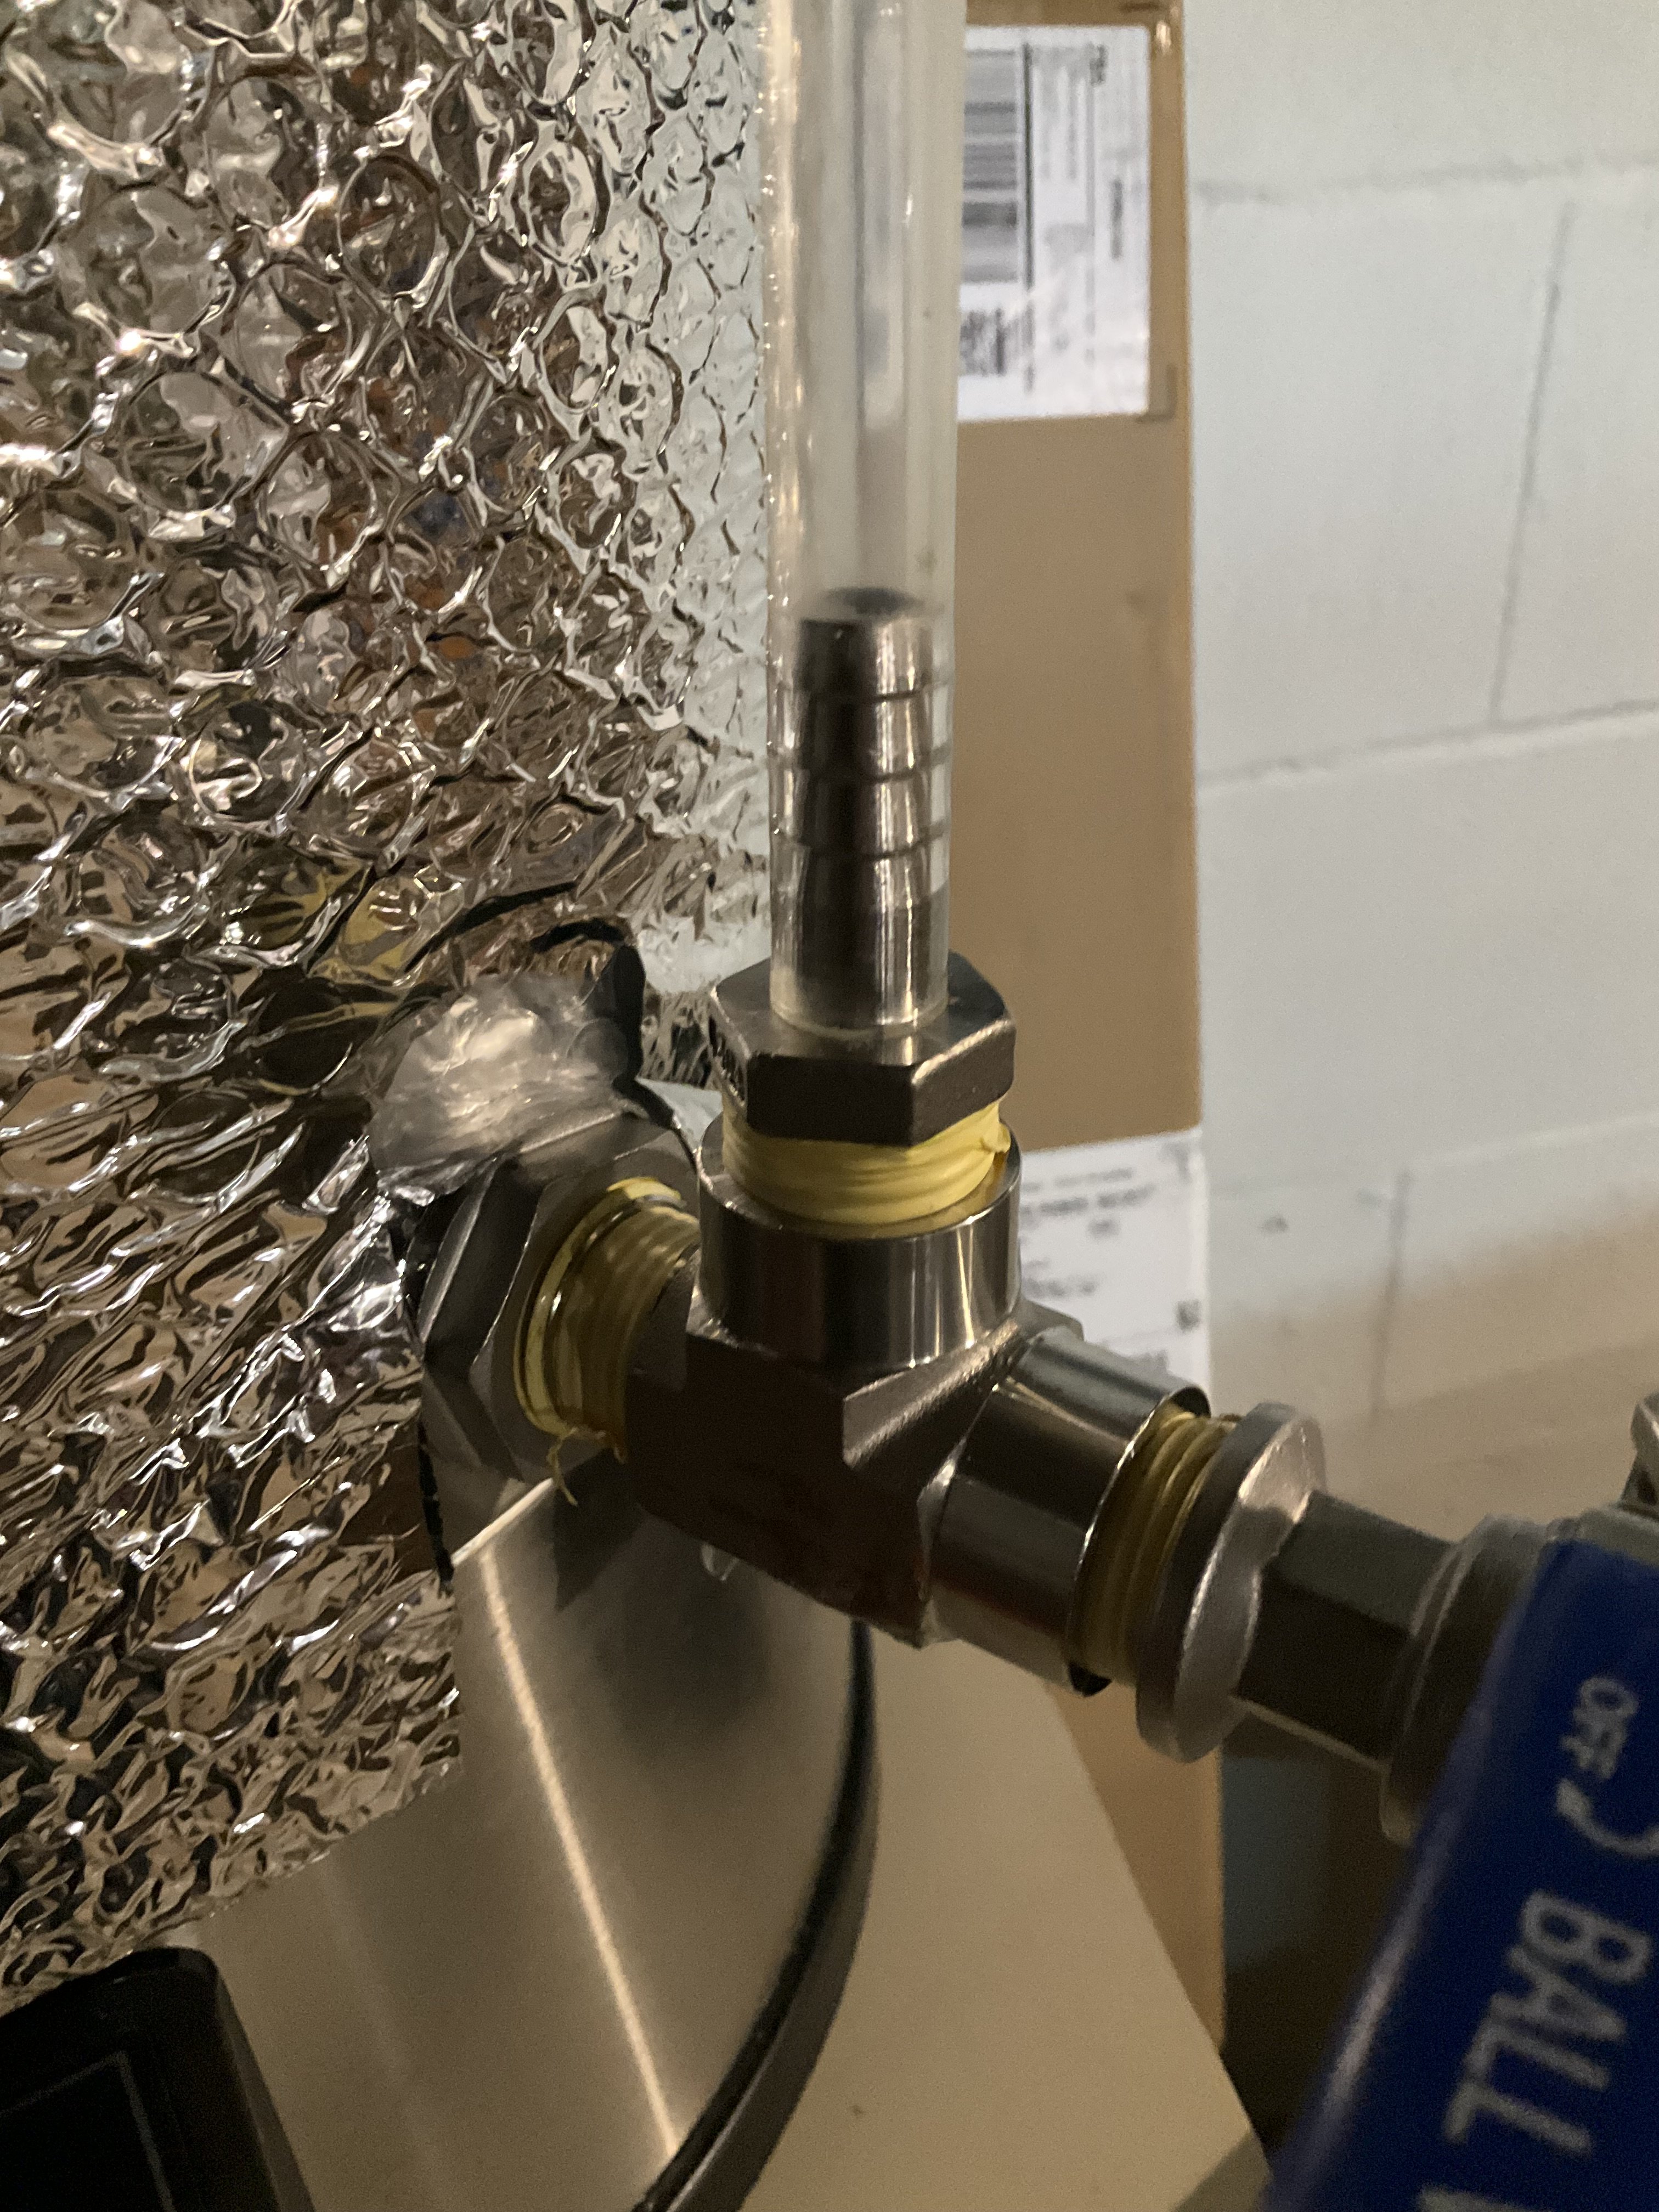
Some folks mount a TC fitting to the side of the kettle but I used the cover.
As you know the Vevor has a glass cover with a hole in the center. It is a bit too large for the TC fitting. I tried to ger several new metal covers from Amazon but never got a good fit.
So I took the center cover of two large mason jars. I drilled holes in them for the 1.5” TC fitting and sandwiched the lid between them. Nice tight fit and the weight of the whole apparatus seems fine and doesn’t strain the lid.
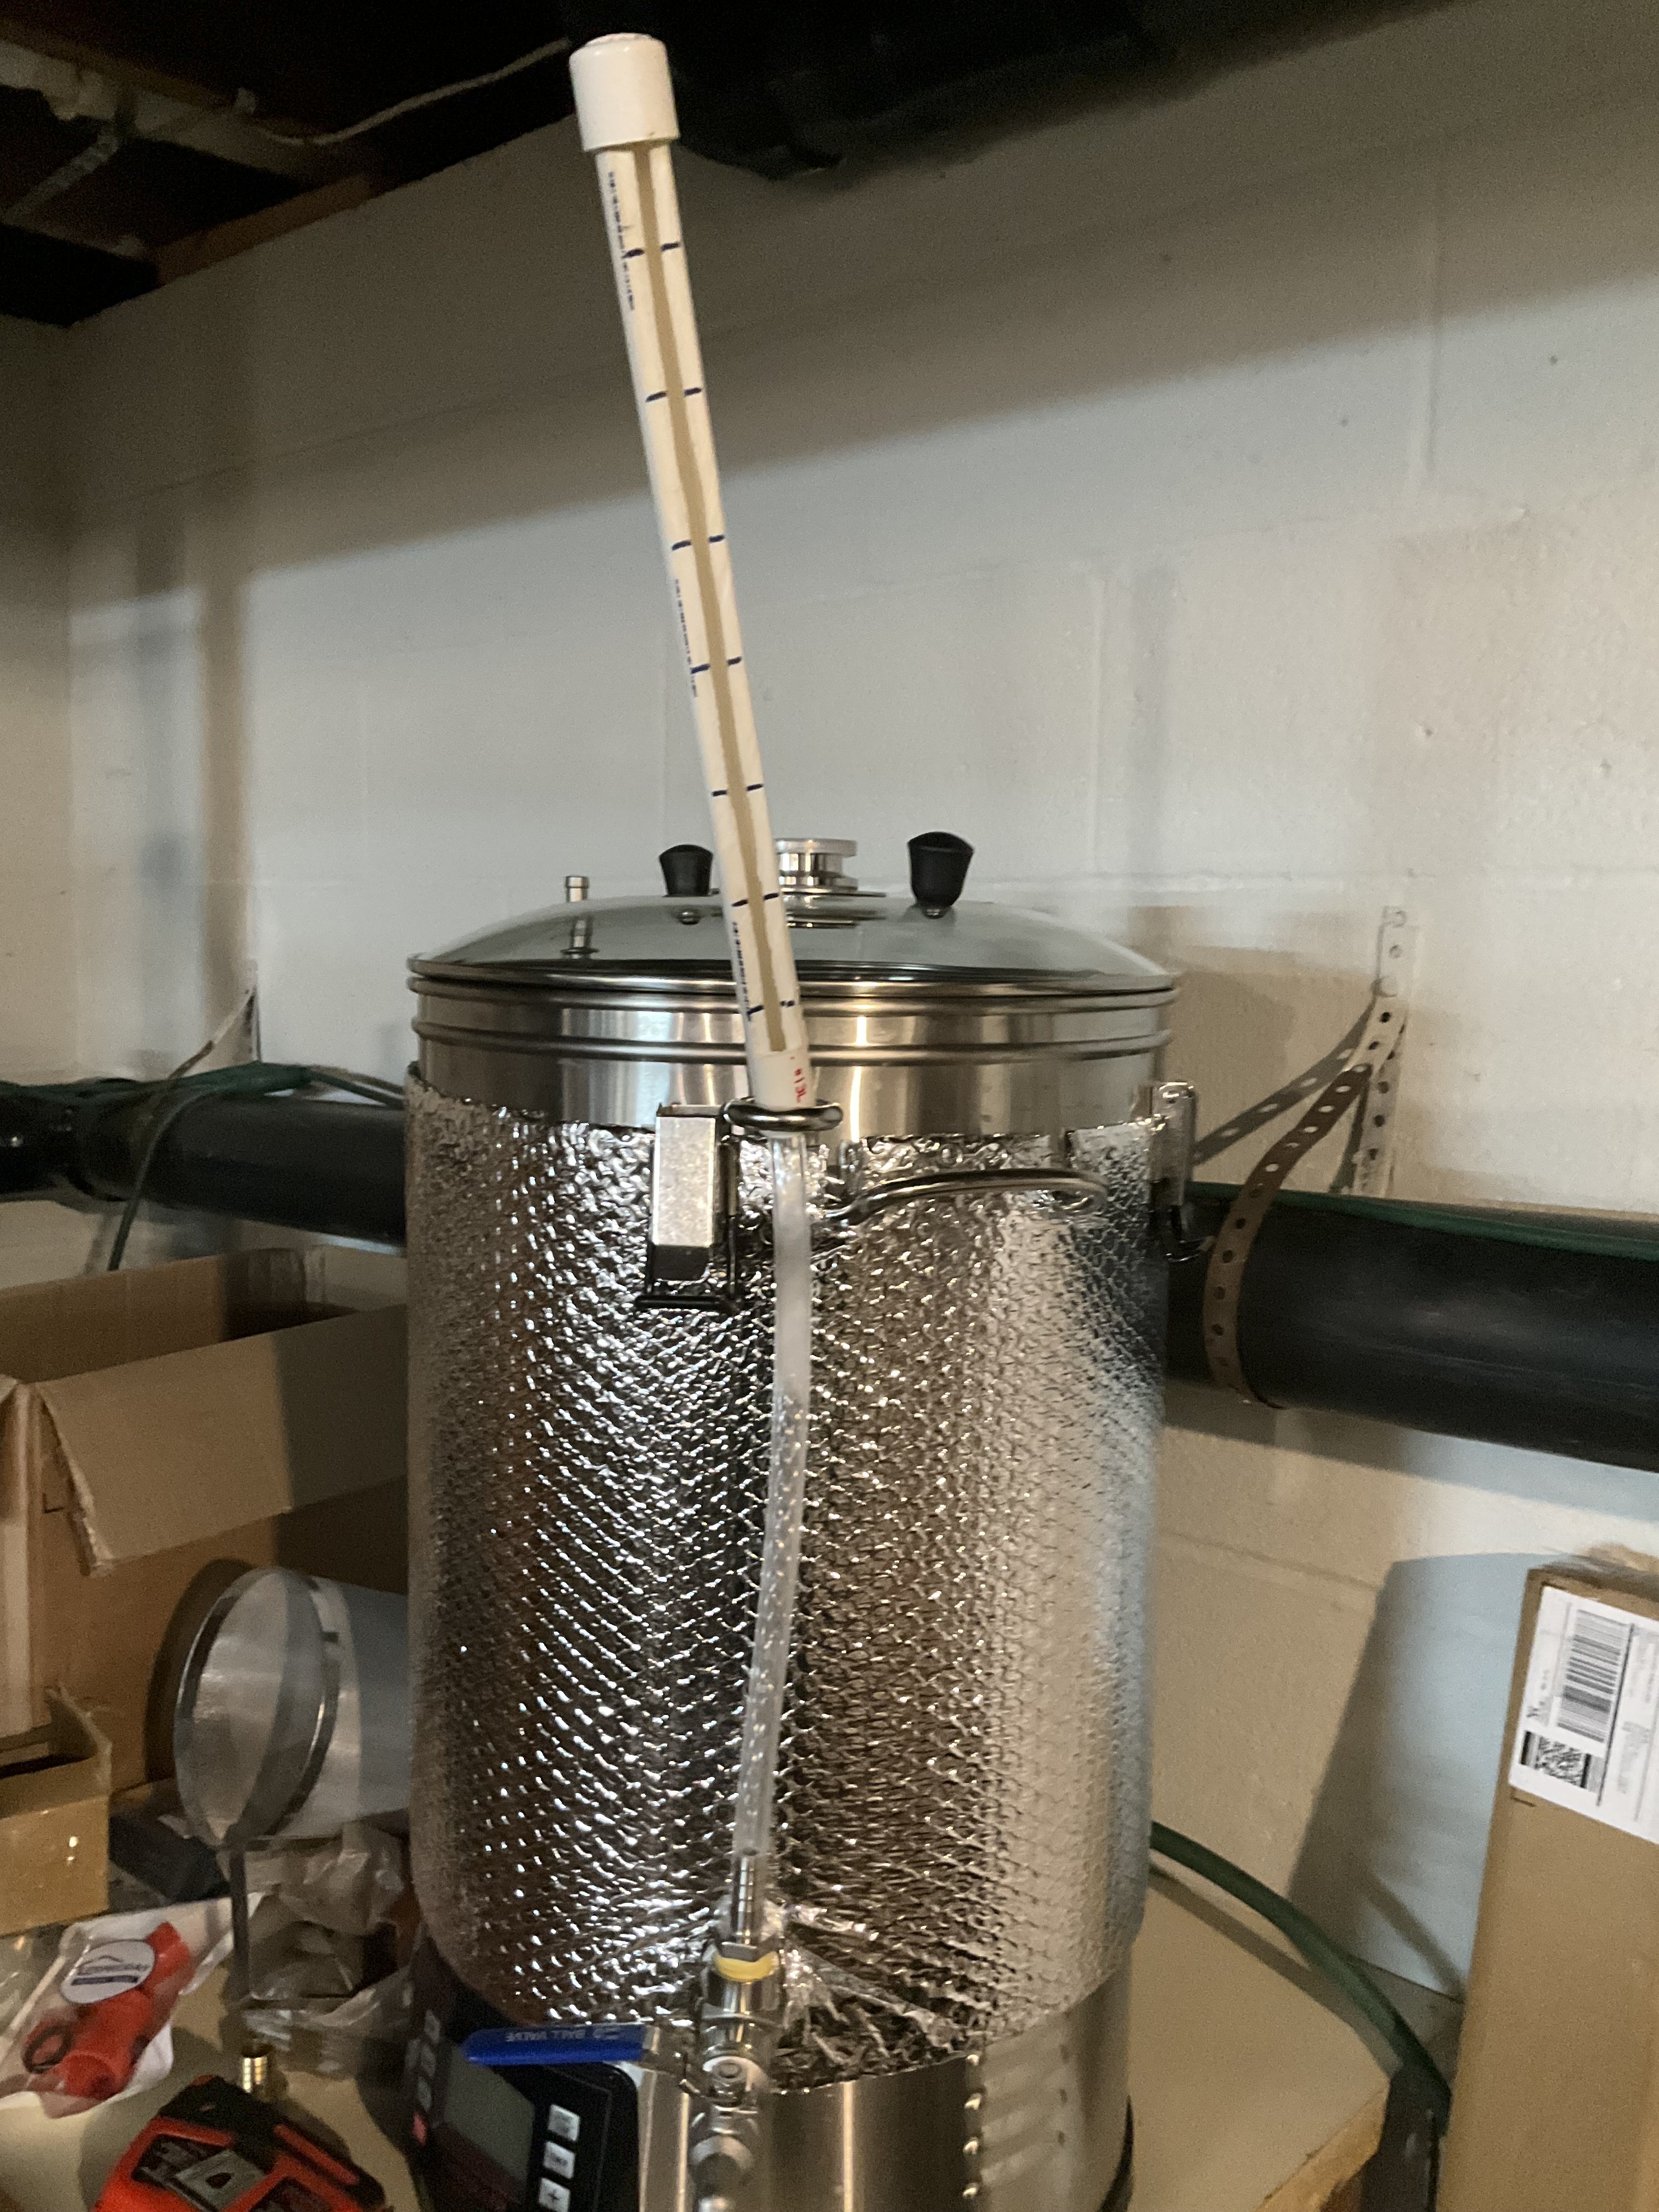
Some folks come off of the lid with a 90 TC elbow to a tee. Steam is sucked into the center of the tee. The sprayer sprays a mist of tap water from the top of the tee making the steam condense and flow out the bottom of the tee. I am using a tee on the lid, rather than and elbow, connected a short straight section and then to the condensing tee so I can drop hops in the top of the tee into the vevor.
Several videos on youtube of DIY ones.
I am sure I have missed something…


![Craft A Brew - Safale S-04 Dry Yeast - Fermentis - English Ale Dry Yeast - For English and American Ales and Hard Apple Ciders - Ingredients for Home Brewing - Beer Making Supplies - [1 Pack]](https://m.media-amazon.com/images/I/41fVGNh6JfL._SL500_.jpg)