• Please visit and share your knowledge at our sister communities:
  • If you have not, please join our official Homebrewing Facebook Group!

    Homebrewing Facebook Group

[Version 2 Release] RaspberryPints - Digital Taplist Solution

Homebrew Talk

Help Support Homebrew Talk:

This site may earn a commission from merchant affiliate links, including eBay, Amazon, and others.
So in the Taps settings I have this? Do these settings look ok?
Those setting look good. I would use 3,4,5,6

There is no calibration for the count per liter you just need to put in a value pour and see what you get then repeat until it is right. start with 7000 and go from there

No you don't need to change anything in the Hardware I/O its just for display so you can see what you have plugged in.
 
No, my previous version had two columns of 4 each. I ran the tap numbers across the bottom and it correlated with the handles
Ah, the tap number across the bottom can be done in the index.php the two columns needs to be down in /includes/beerListTable.php

Its something I do want to do to save space just haven't got to it yet
 
Because I'm tired of hunting for links, I have created two redirects for these projects.

To install:
Code:
curl -L install.rpints.com | sudo bash
(Redirected to @RandR+ 's install script which allows you to choose between his and Tobor's version.)
For support:

https://support.rpints.com

(redirects to this thread.)
 
It took me quite a while (few days after work) to figure out how to get RaspberryPints on Jessie on a RPi 3B and get the latest BJCP 2015 list and correct the font for the umlauts with Kolsch etc, and then I came across this thread and decided to load NOOBS v3_2_1 onto a reformatted SD Card and install full Raspbian (latest). I then ran RandR+ interactive install script installing RandR+'s version of Rpints (no flow meters yet). PHENOMENAL job @RandR+ and whoever else was involved in this. This is EXACTLY what I was looking for.
 
Those setting look good. I would use 3,4,5,6

There is no calibration for the count per liter you just need to put in a value pour and see what you get then repeat until it is right. start with 7000 and go from there

No you don't need to change anything in the Hardware I/O its just for display so you can see what you have plugged in.
Cheers mate, thanks for the help.

So when adding a temp probe do I connect the probe to the PI or the Uno and which pin should the signal wire go to? And do I use the 4.7k ohm pull up resistor?
 
Last edited:
Hi guys, So with regards to flow meter placement Im using a fridge freezer as my kegerator and was going to mount my flow meters against the front of the compressor hump. Its on a 45 degree angle and my 2 front kegs sit forward of this however the line length from the keg to the flow meter would be almost 3 feet by the time I route the lines neatly. Is this too long? From what I have read we want the flow meters less than a foot from the kegs. Is this correct?
 
I recommend locating the flow meter as close to the keg Out post as possible. A few folks have tried putting them near the faucet end and had lots of pour quality issues.

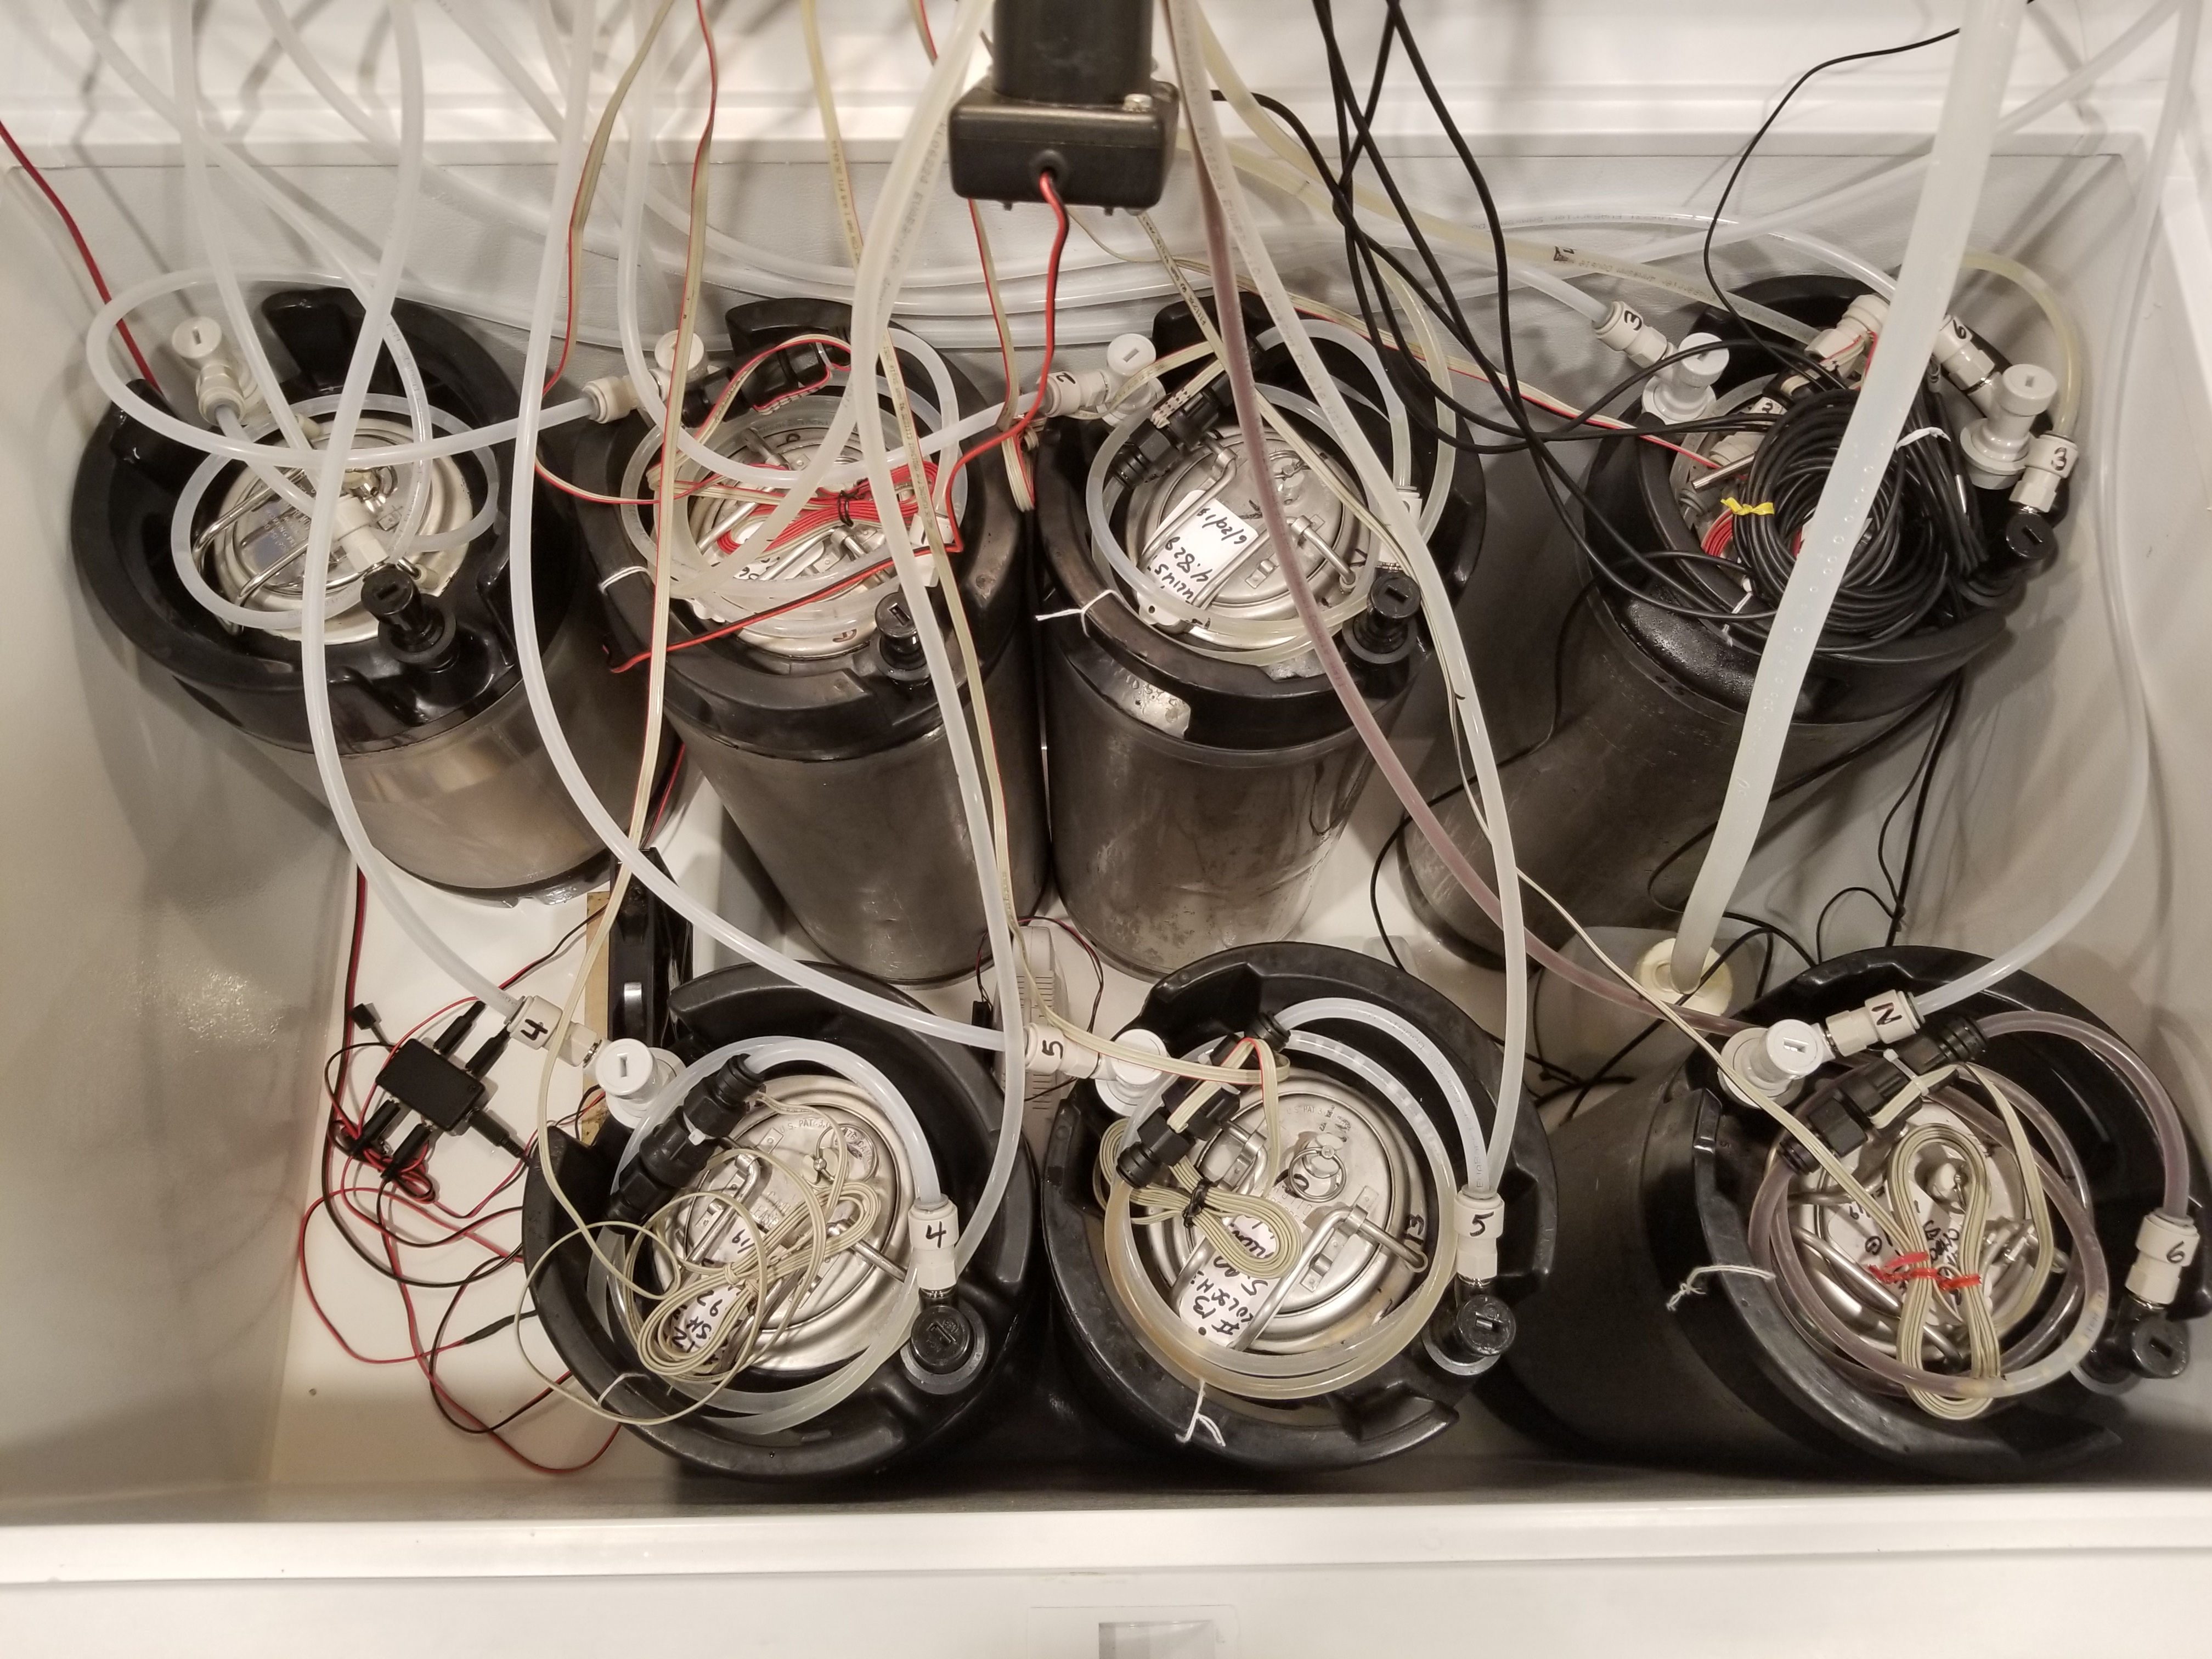
If you zoom into this shot you can see I have about as little beer line in front of the meter as possible while keeping everything pretty much inside the keg rubbers. Note I'm using 4mm ID EVAbarrier tubing, 6 foot lengths for most of the runs (my Saison is on a 9' run) and there isn't much more than a loop of extra line and still make it from keg up the tower to the beer shanks...

flow_meter_hookup_03.jpg


[Note this was taken at the end of a long day of converting my keezer over to the EVAbarrier tubing so you'll likely see bubbles in the beer lines as everything by then was quite warm]

Cheers!
 
I recommend locating the flow meter as close to the keg Out post as possible. A few folks have tried putting them near the faucet end and had lots of pour quality issues.

Cheers!

So youve had no problems with having ýour flow meters just sitting loose on top of the kegs? I was going to maybe mount them to the side of the fridge but the line length would still be around 1-1.5 foot long. Ive just recently switched to 4mm ID EVABarrier lines as well. (You gotta love the tap shank to push in fittings) and am running one at 3 metres and another at 1.5 metres to see which is the best line length. Will try the third one at 2 metres (6 foot) then decide which works the best and modify the other 2..

Cheers mate.
 
Aside from attaching them to the lid liner there isn't anything close to a hard point inside a collar-less keezer :)
Anyway, zero issues having them nested atop the kegs.

Yes indeed, converting almost every beer and gas line connection in my humble brewery to push-to-connects was an epiphany in coolness.
A pricey one, but worth it, imo...

Cheers!
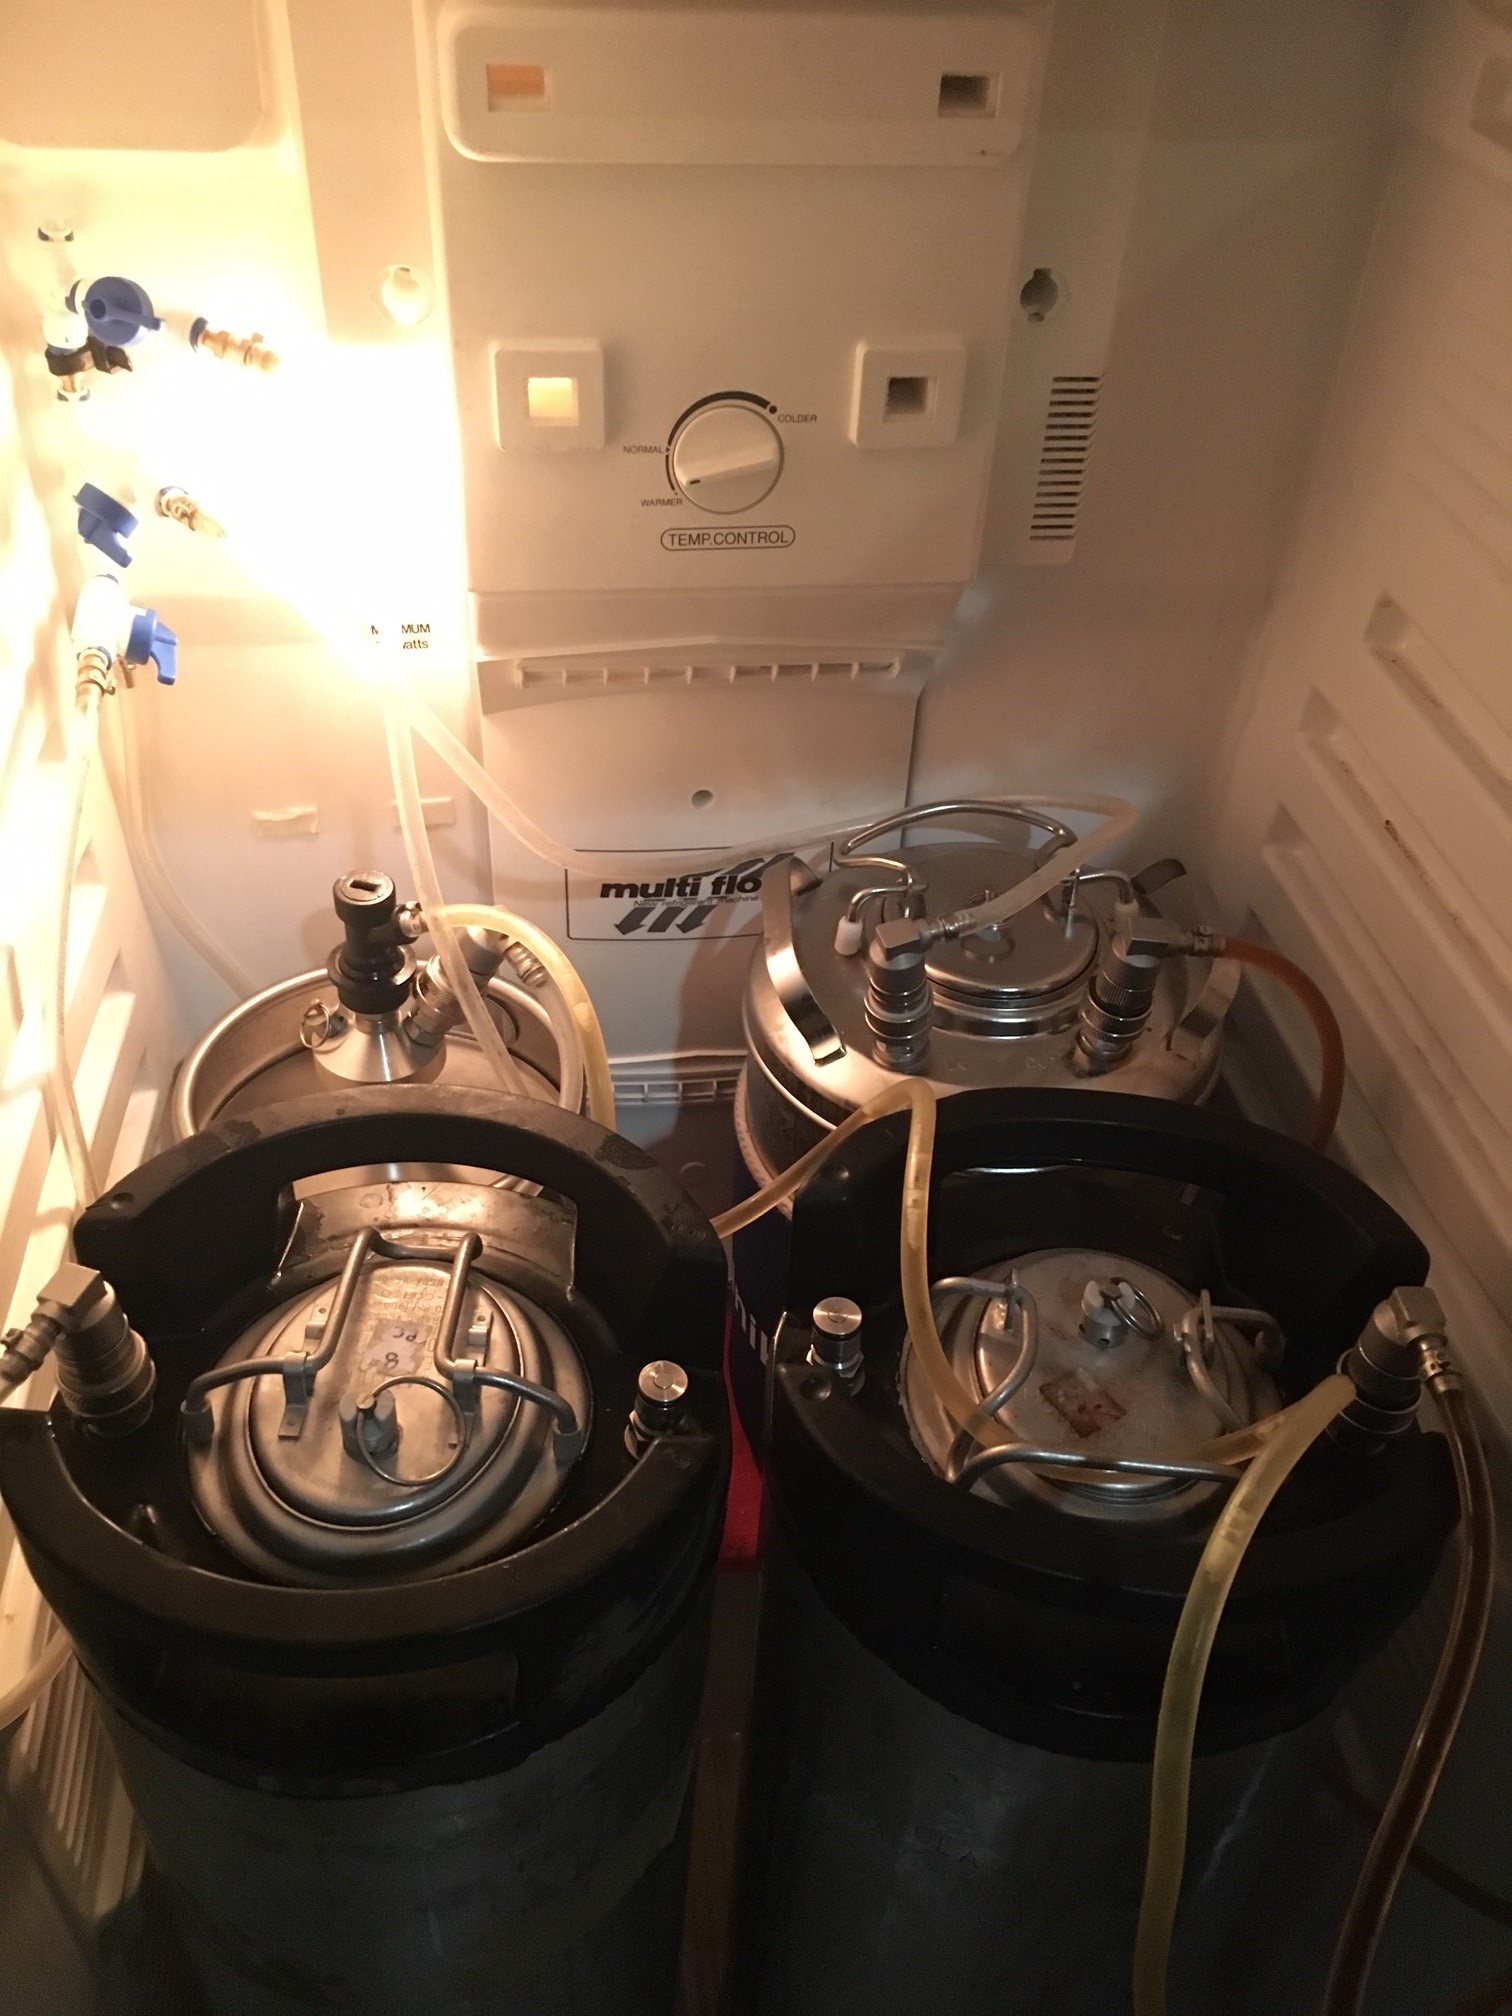
Im not using a keezer, Im using a fridge/freezer. But will keep them loose to start with and see how I go. If they get in my way I might be able to mount them to each side of the fridge wall. Its not as far from the kegs as I first thought.

kegerator.jpg
 
I believe once you've lived with a bunch of kegs in a compartment and swapped a few in and out you'll find having the meters nested atop each keg will be easier to handle than the alternatives. In spite of what may appear to be chaos I can swap kegs in a couple of minutes...

Cheers!
 
I have a box of snakes with a coil over the serving kegs. A short section between the disconnect and meter works well for me. Some day I will make it more organized but it is manageable as is.

@troyp42 it looks like you have a kegland's mini keg in your setup. How is that working for you?
I have a couple small ones and the beer always seems to get oxidized. Only a couple time did that not happen. Beers were carbed and conditioned in the keg for a total of 4 to 6 weeks. I now know what they mean by cardboard taste.

I got it from Small batch brewing not Kegland (Even though I live about 15 mins from both Kegland and KegKing who are both in Springvale in the South east suburbs of Melbourne) But yeah same thing Kegland sell. I havent noticed any oxidation but have to admit I usually go through the beer in that keg in a week or so. I actually have another 2 full sized corny kegs and use that small 5 litre and the 9 litre as extra kegs when Im out of kegs. I suppose if I filled it with a NEIPA I might notice some oxidation?
 
Yeah, if there's one style that is most susceptible to O2 degradation it's clearly the New England style IPA.
But...if one is totally OC about post-fermentation exposure, a respectable shelf life can be achieved...

Cheers!
 
I got it from Small batch brewing not Kegland (Even though I live about 15 mins from both Kegland and KegKing who are both in Springvale in the South east suburbs of Melbourne) But yeah same thing Kegland sell. I havent noticed any oxidation but have to admit I usually go through the beer in that keg in a week or so. I actually have another 2 full sized corny kegs and use that small 5 litre and the 9 litre as extra kegs when Im out of kegs. I suppose if I filled it with a NEIPA I might notice some oxidation?
Thanks. The HBS I got them from said no one else has had an issue but also thought most people only use them for short term storage. They were non-NEIPA beers by the way.
 
Yeah, if there's one style that is most susceptible to O2 degradation it's clearly the New England style IPA.
But...if one is totally OC about post-fermentation exposure, a respectable shelf life can be achieved...

Cheers!
1st NEIPA I did, I fermented in my SS Brewtech chronical and dry hopped via my O2 free dry hopper device. I purged my keg with Co2 from fermentation and was very happy with myself. Then transferred and forgot to purge the O2 in the transfer hose. It was great for 2 weeks then turned to brown....
 
Thanks. The HBS I got them from said no one else has had an issue but also thought most people only use them for short term storage. They were non-NEIPA beers by the way.
I wonder what it is that causes them to oxidise the beer then?
 
1st NEIPA I did, I fermented in my SS Brewtech chronical and dry hopped via my O2 free dry hopper device. I purged my keg with Co2 from fermentation and was very happy with myself. Then transferred and forgot to purge the O2 in the transfer hose. It was great for 2 weeks then turned to brown....

Crazy, right? It's like brewing a grenade - one mistake and KABOOM! Game ovah! :(
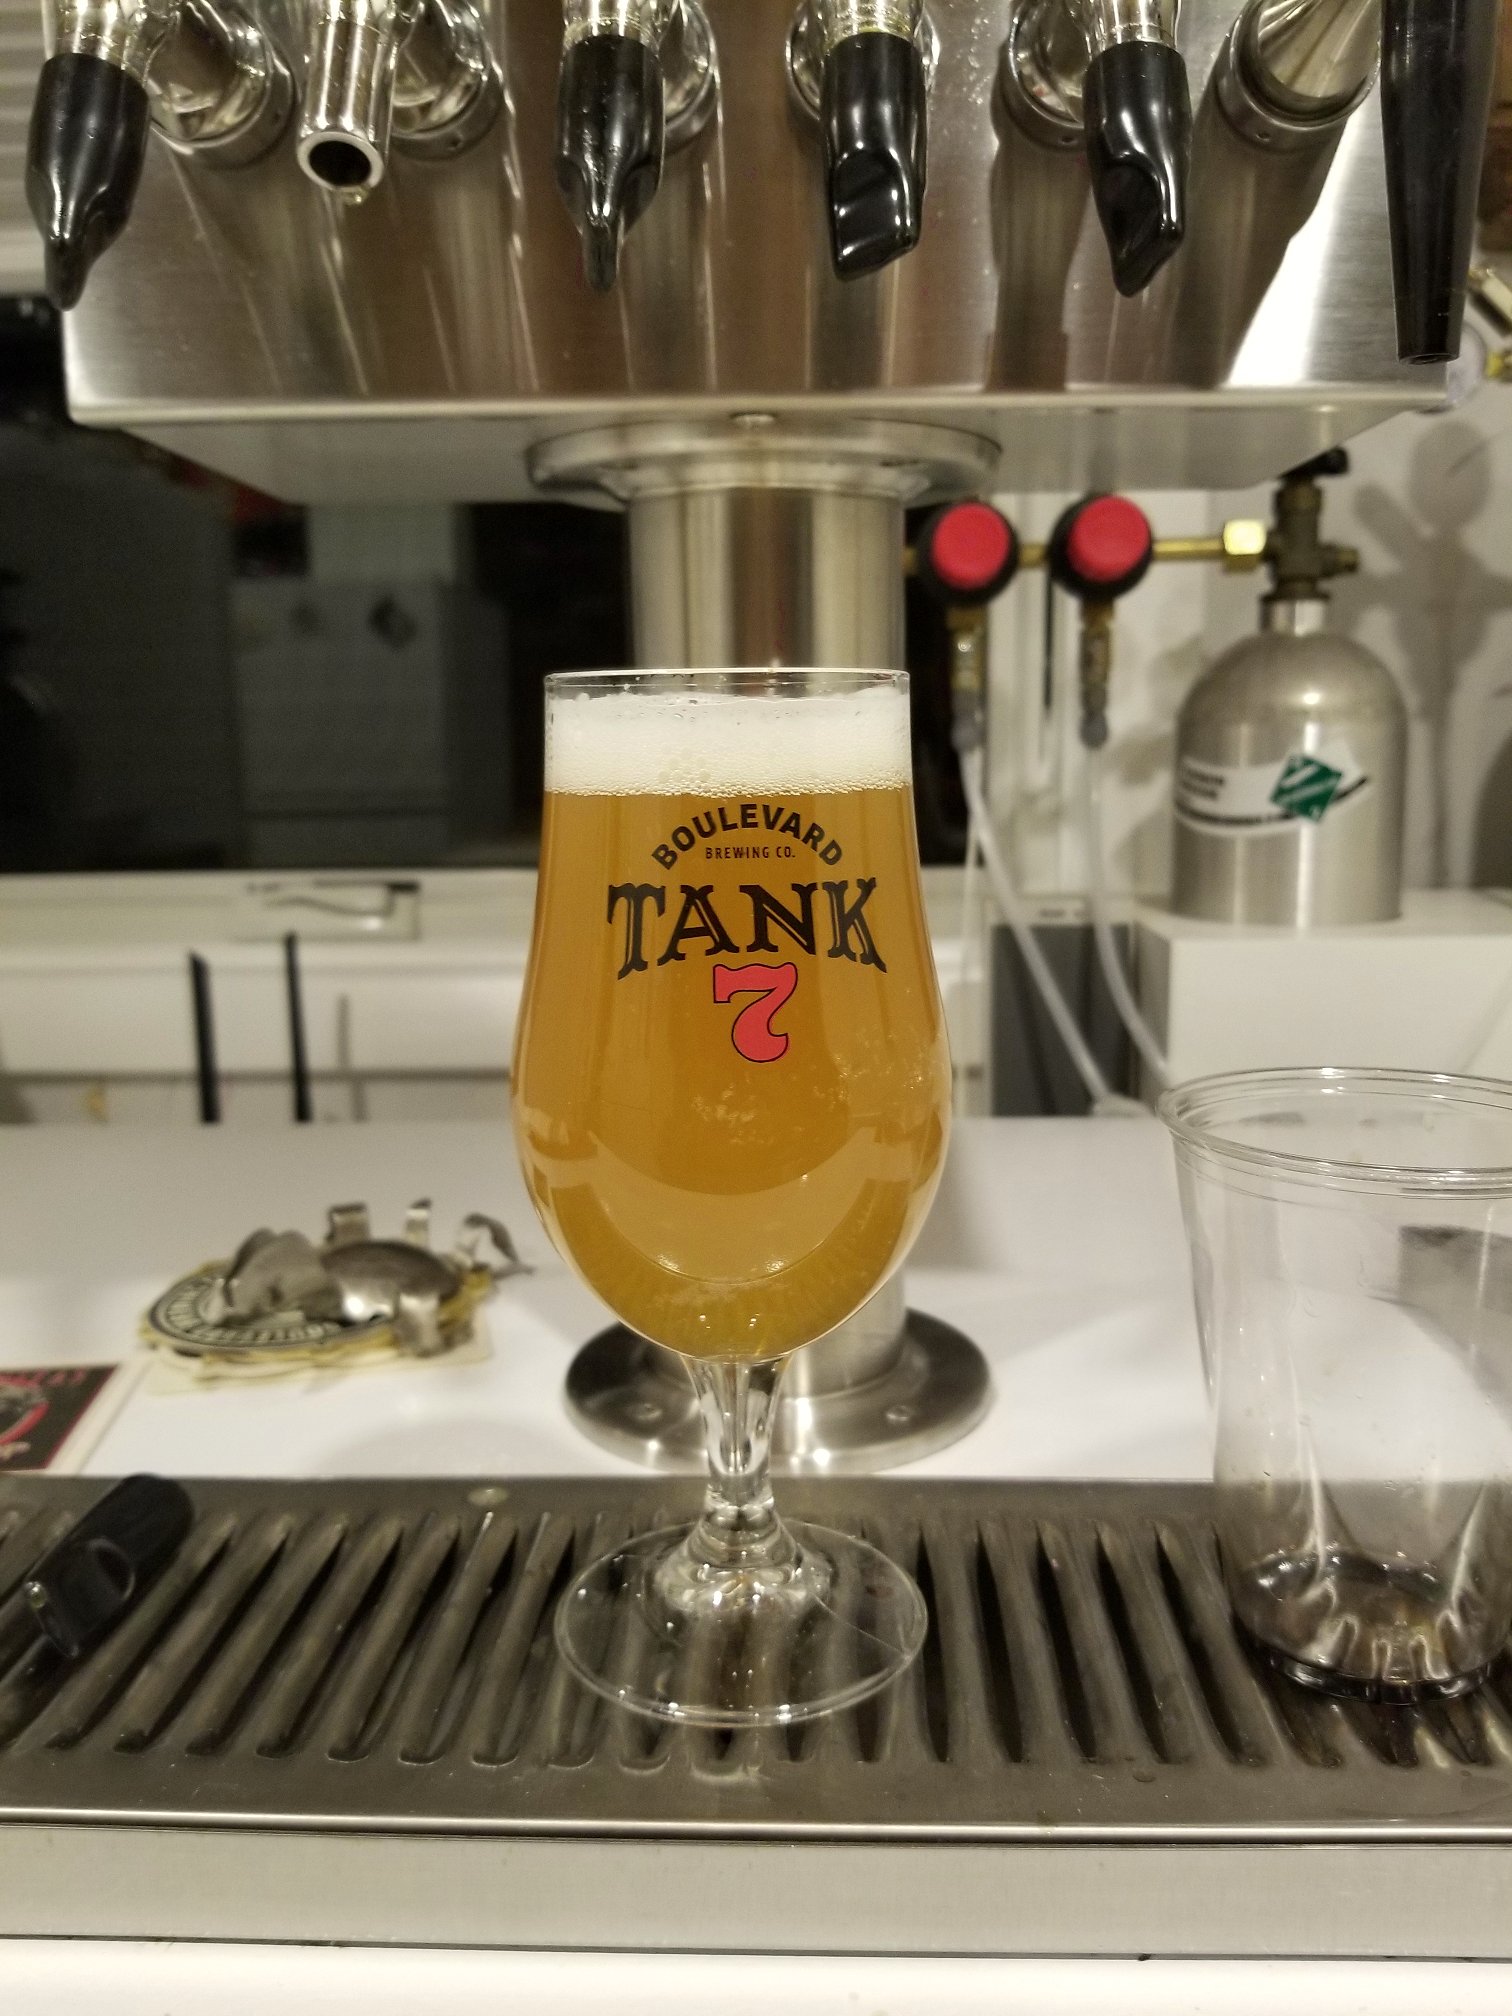
I was sloppy on my first one and watched the result. Now I'm crazy anal about post-fermentation O2 exposure, and actually had a batch of Orange Julius go from the end of June to December and this was the last pour:


last_of_the_julius.jpg


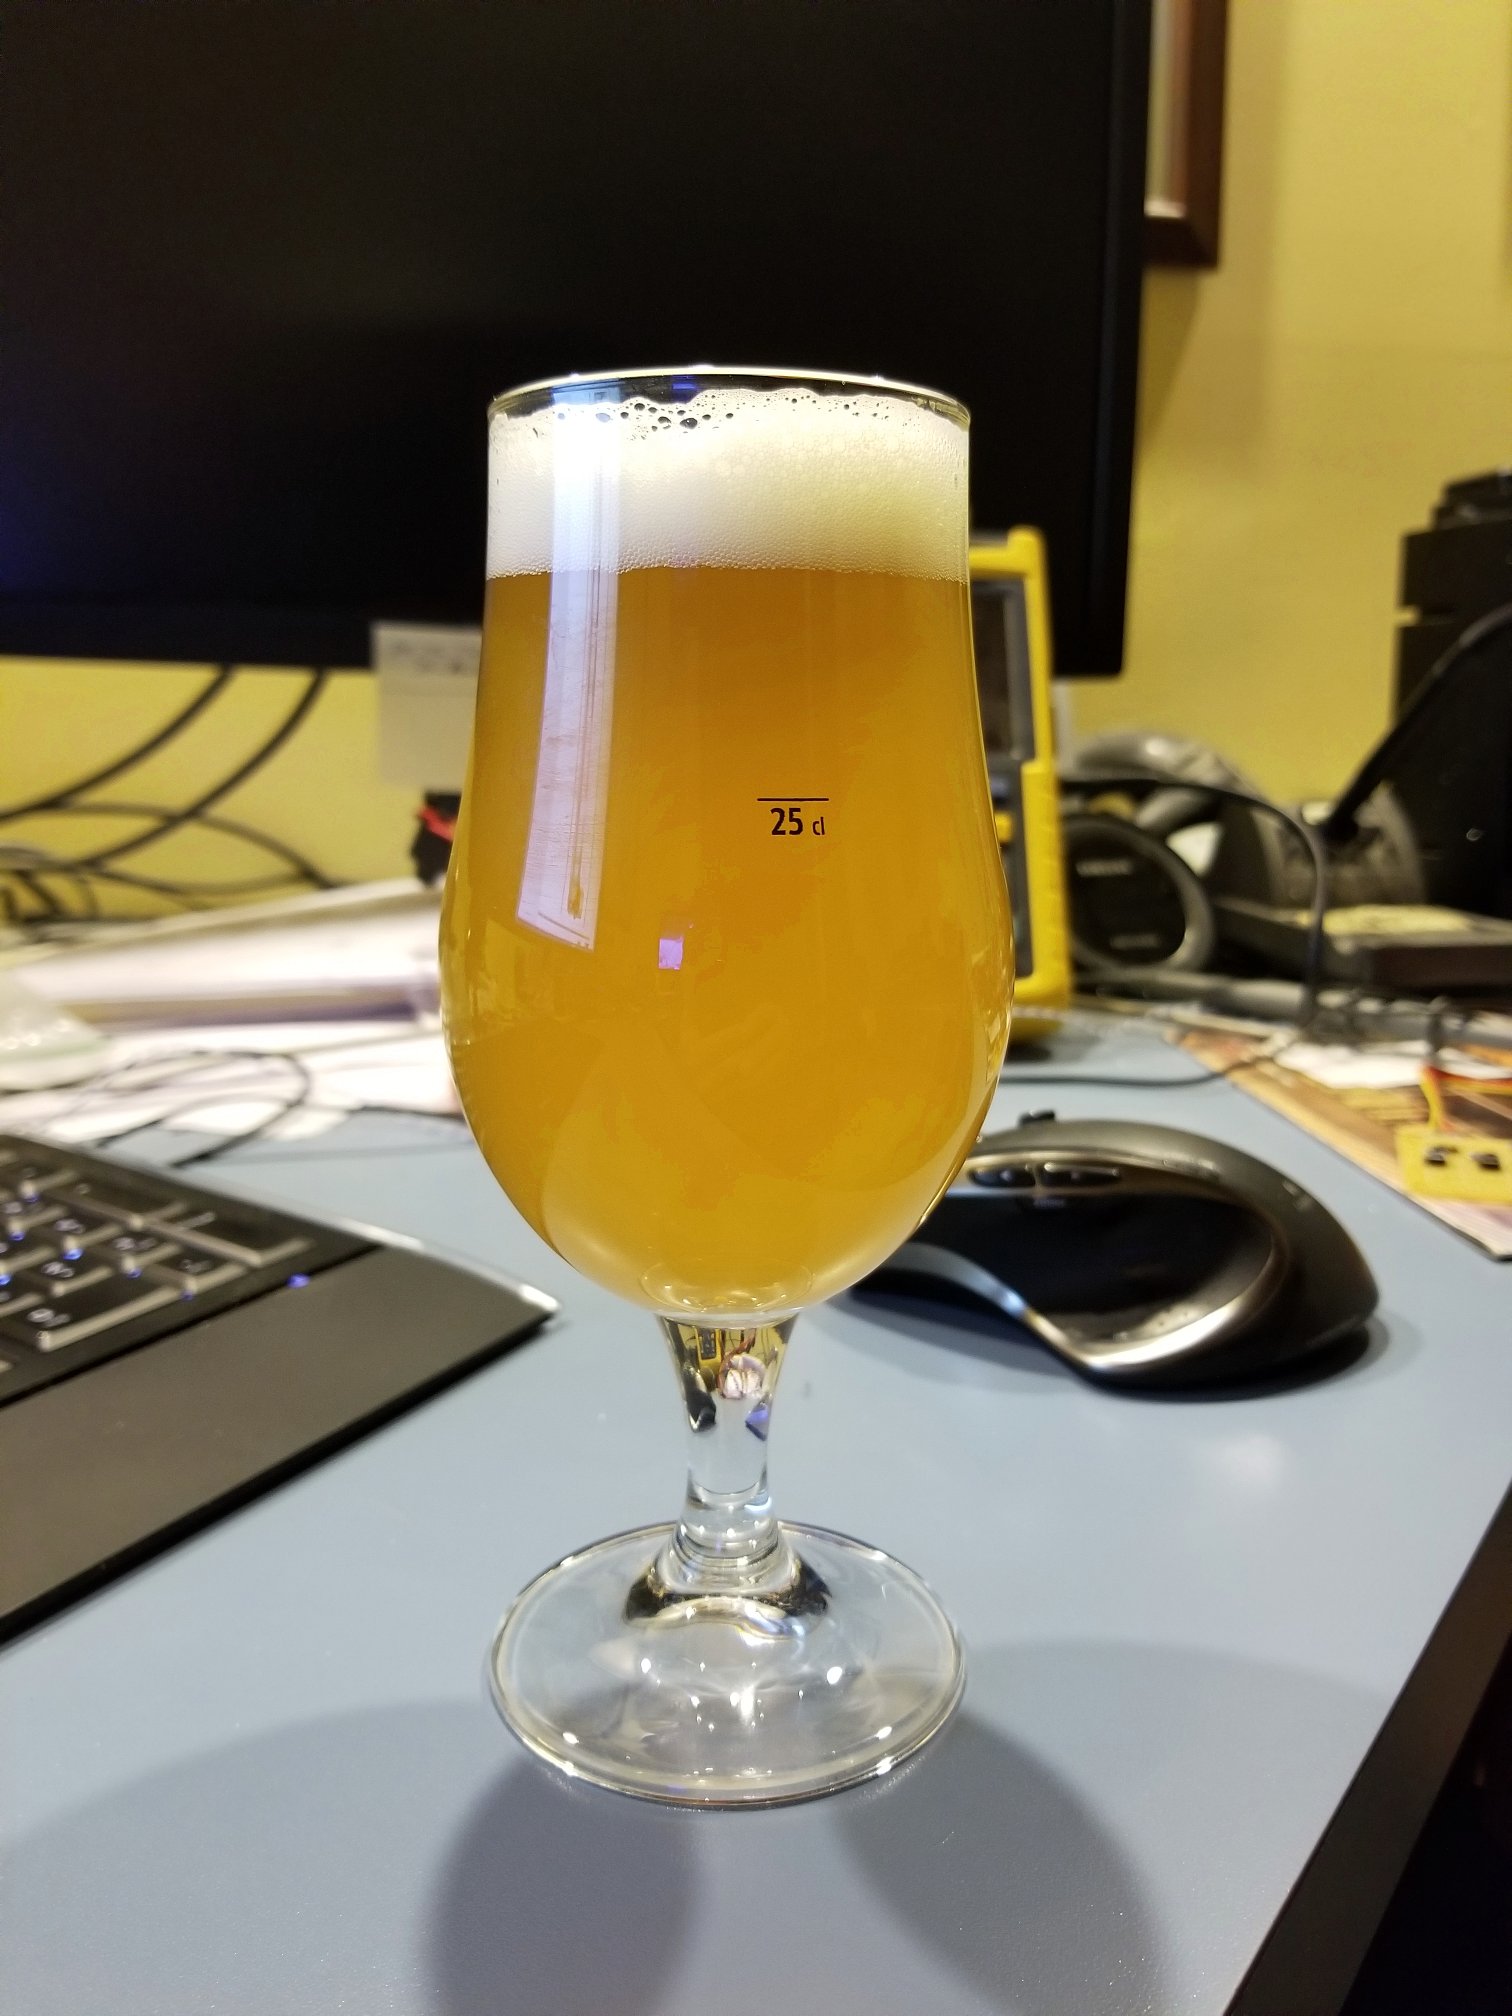
For reference, this shot is from a different, MUCH younger keg of the same recipe:

julius_21mar2019_sm.jpg


Not much difference there...

Cheers!
 
Crazy, right? It's like brewing a grenade - one mistake and KABOOM! Game ovah! :(
I was sloppy on my first one and watched the result. Now I'm crazy anal about post-fermentation O2 exposure, and actually had a batch of Orange Julius go from the end of June to December and this was the last pour:


View attachment 662295


For reference, this shot is from a different, MUCH younger keg of the same recipe:

View attachment 662296

Not much difference there...

Cheers!
Looks like that one aged well. Only a slight darkening.
 
Cheers mate, thanks for the help.

So when adding a temp probe do I connect the probe to the PI or the Uno and which pin should the signal wire go to? And do I use the 4.7k ohm pull up resistor?

Bump.... Can someone help us out with his one please? Do I plug into the Uno and just use any GPIO? Im using 3,4,5,6 for my flow meters so can I use 7 for the temp probe?
 
I believe @RandR+ incorporated some part of my ds18b20 temperature logger program, which is a Python script that runs on the host RPi, and uses GPIO4 (GPIO header pin 7) for the One-Wire data connection. The probes should connect to RPi 3.3V and GND pins as well.

Give that a try and see what happens...

Cheers!
Thanks mate, will try that.
 
lol - yes, this all happens on the RaspberryPi, if it's anything like my code :)

Cheers!
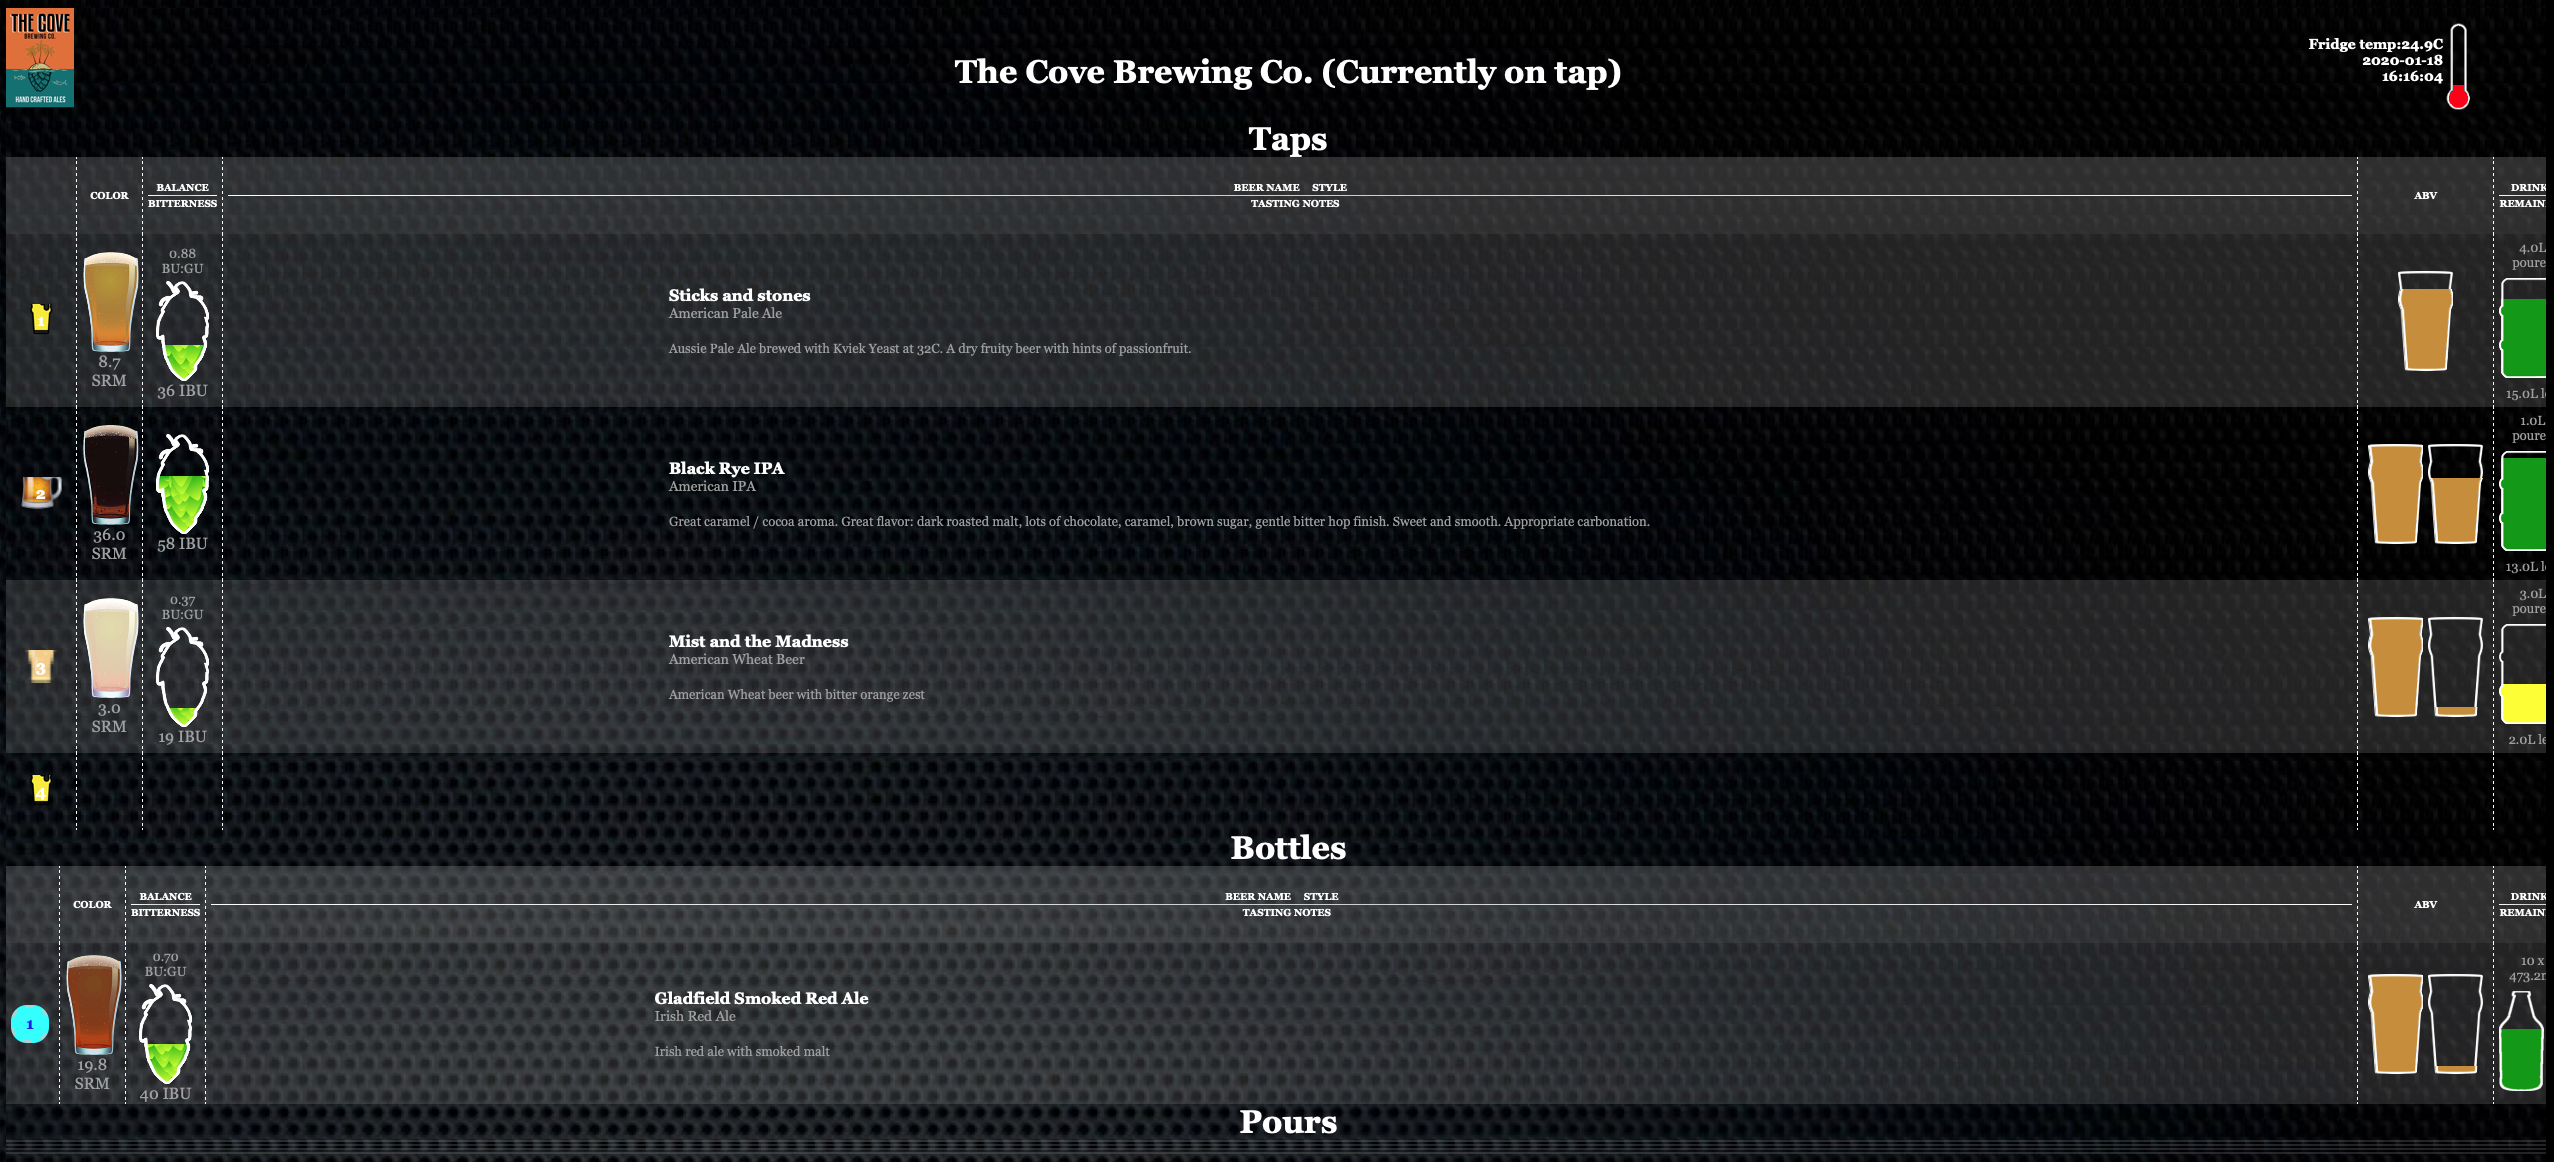
Cheers mate all working now. Do you know why the right hand side gets cut off on my IMAC screen. (But its fine on the LCD Screen I'm using on my kegerator?)

Also how do you get the temp to refresh on the screen? It doesnt seem to change unless I manually do an ALT+F5 refresh? And can the bulb icon be changed as it shows very little red when at 24C like in the pic and no red at all when my fridge is at 5C.

Screen Shot 2020-01-18 at 4.18.35 pm.png
 
Last edited:
Do you know why the right hand side gets cut off on my IMAC screen. (But its fine on the LCD Screen I'm using on my kegerator?)

Also how do you get the temp to refresh on the screen? It doesnt seem to change unless I manually do an ALT+F5 refresh? And can the bulb icon be changed as it shows very little red when at 24C like in the pic and no red at all when my fridge is at 5C.

The cut off is probably because of the way the css is handled on each one. You can try to change style.css line 120
from
.bodywrapper
{
width: 101%;
height: 99%;
overflow: auto;
}
to
.bodywrapper
{
width: 100%;
height: 99%;
overflow: auto;
}

modify index.php line 191
from
<div class="temp-full" style="height:<?php echo $temp; ?>%; padding-right: 50px"></div>
to
<div class="temp-full" style="height:<?php echo $temp*5; ?>%; padding-right: 50px"></div>

you may need to change the new 5 till it looks right on your display
 
modify index.php line 191
from
<div class="temp-full" style="height:<?php echo $temp; ?>%; padding-right: 50px"></div>
to
<div class="temp-full" style="height:<?php echo $temp*5; ?>%; padding-right: 50px"></div>

you may need to change the new 5 till it looks right on your display

That's where it is!! It's so obvious now, but man....when I was looking for it...forgettaboutit!

I changed out my stroke and full .png's and I could not get the full.png to budge even if the temp was reading 70F...it was driving me bat-crap crazy.
 
The cut off is probably because of the way the css is handled on each one. You can try to change style.css line 120
from
.bodywrapper
{
width: 101%;
height: 99%;
overflow: auto;
}
to
.bodywrapper
{
width: 100%;
height: 99%;
overflow: auto;
}

modify index.php line 191
from
<div class="temp-full" style="height:<?php echo $temp; ?>%; padding-right: 50px"></div>
to
<div class="temp-full" style="height:<?php echo $temp*5; ?>%; padding-right: 50px"></div>

you may need to change the new 5 till it looks right on your display

Thanks mate, Tried your suggestion but it didnt work so I changed *5 to *9 and it made no difference.

Also how do I get the temperature to update automatically? It only changes if I refresh Chromium?
 
Last edited:
Ive been playing around with the css file using VNC. Every time I change something I have rebooted the Pi which takes awhile. Is there a way to restart Chromium again to see the changes? Also how do you get Chromium off the screen via VNC and go to the desktop? I have had to use my mini keyboard and Click ALT + 4 but that'd eosin work in VNC?
 
Ive been playing around with the css file using VNC. Every time I change something I have rebooted the Pi which takes awhile. Is there a way to restart Chromium again to see the changes? Also how do you get Chromium off the screen via VNC and go to the desktop? I have had to use my mini keyboard and Click ALT + 4 but that'd eosin work in VNC?
ctrl F5 will do a hard refresh and you should see the changes

Edit never mind that might not work in VNC. Only on the pi.
 
There is no calibration for the count per liter you just need to put in a value pour and see what you get then repeat until it is right. start with 7000 and go from there

To help quicken the calibration process, if you know the number of pulses used to fill a know volume, you can quickly calculate the pulses/gal your flow meter generates.

(EDIT: You can also see the pulse count in phpmyadmin under the 'pours' table and you would have no need to alter the Config.py)

First you would have to change the Config.py as @RandR+ has recommended when trying to troubleshoot and change these two lines to True

config['flowmon.debug' ] = True#False
config['dispatch.debug' ] = True#False

In the Rpints.log you will see the actual pulse count generated on your pour.

When you pour, pour into a metered or graduated vessel. As an example, I pour in a 0.5L pint glass. What is important is that you know the volume of your pour.

Set your taps to 7000 pulses/gal as RandR+ recommends.

Pour your beer to a given volume

Converting. 0.5L is 16.91oz

My flow meters generate 830 pulses to generate 16.91oz (That was my average after 3 pours)
830pulses / 16.91 oz =
49.08 pulses/oz
(128oz in a Gallon) =
6282 pulses/gal

Set that tap at 6282 pulses/gal. In theory, Maintaining your variables such as pressure, line length, and meter orientation can keep that pulses per gallon pretty true.
 
Last edited:
Good point it refreshes on a pour but not on the temp change

For the time being I just put in a JavaScript refresh on the index.php if you get the latest (https://raw.githubusercontent.com/rtlindne/RaspberryPints/master/index.php)

I might do something in python that if the temp changes 5 degrees send the refresh but this was quicker
Thanks RandR+! For for those of us using your branch, would that get automatically updated if we choose update from the install screen?

Edit: Never mind, I see it doesn't and I don't want it to. I'll just copy the snippet to my modified Index.php
 
Last edited:
would that get automatically updated if we choose update from the install screen?
Unfortunately no, you can rerun the installer script it will detect the install and prompt to update. The update on the install screen just runs the update.sql file to update the database. Eventually I might make the update do a git pull also
 
fwiw, I stuck an auto refresh tag in my index.php set for five minutes, which is the period the python script that reads the probes and posts to the temperature database runs at...

Cheers!
 
I placed this in the <head> of the index.php


<!-- Set page refresh -->
<meta http-equiv="refresh" content="1800">


for me 1800 = 30 minutes which is what have my temp probe set at. That number can be changed to whatever suits your needs.

Also, I placed your code change in in the index.php and was getting a "> on my home page.

I changed the code to the following. (What does the 60000 represent?)


<body onload="wsconnect()"; <php if($config[ConfigNames::ShowTempOnMainPage])echo "setTimeout(function()
{window.location.reload(true);}, 60000);"; ?>
 
Back
Top