This is the thread that lured me to join this site.
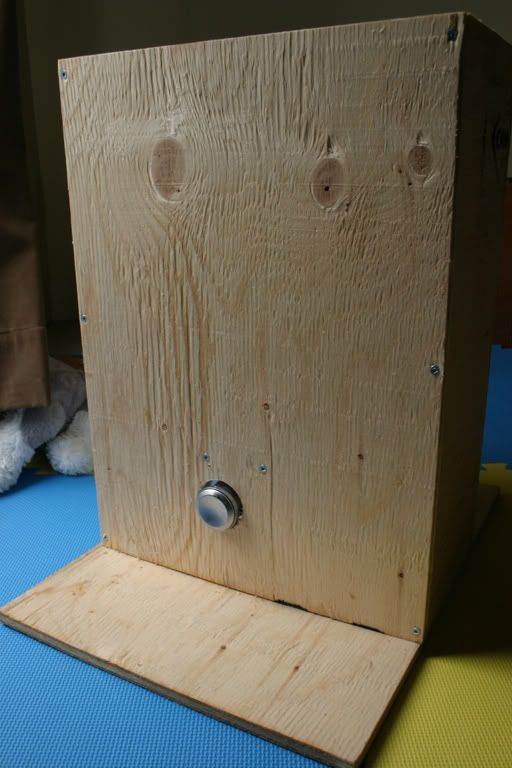
I have a pasta roller. Bought it, funnily enough, at an art supplies shop. The Bay didn't have one, Sears didn't have one. The kitchen supplies stores were selling them for over $100 - at that price I might as well get a dedicated grain mill. I was beginning to give up and nipped into the art supplies store next to the art college in dowtown Toronto and they had two.
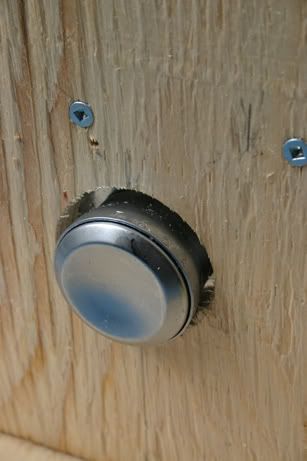
Now, the problem is knurling them. Most people on this site are very tool savvy. I bought a hammer once, but returned it because it didn't come with instructions. I'll have to ask my neighbour if he can knurl for me. I've never asked someone to knurl before. I'm a bit nervous.
I phoned a couple of machine shops and they come out at $200 - 300 for a knurl!
I've got a couple of questions for the pioneers of this brewing technology:
1. I saw an italian site which was, thankfully, translated here:
Bodensatz Brewing - The Beer Site
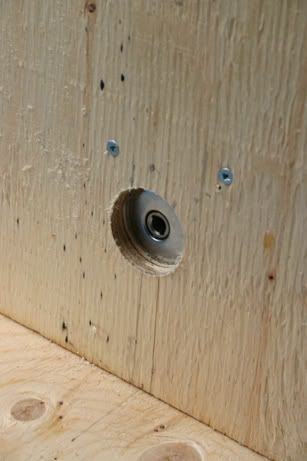
There's a beautiful knurl on those rollers, but it also states that the walls of the rollers are quite thin. It looks like some of you guys have been mercilessly brutal to those rollers. Have you gone through the stainless steel and hit something else or were the Italians worrying over nothing?
2. Nostrildamus - Just to confirm, when you say you held the disk at a 45 degree then -45 degree angle to the roller, do you mean you're sanding Xs into the rollers? Could we have a photo of your knurl?
3. Mosfet - did those little Xs work before you got the lines?
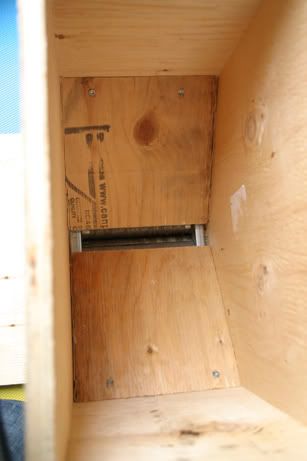
I may do the drill bit up against the rollers as per Brown Dog's method (whatever's easiest for my neighbour). Although, I'll ask at the locksmith if they can help me out.
This is an amazing thread - cutting edge. Thanks so much.
You may just have saved an incipient brewing career.
Phil


![Craft A Brew - Safale S-04 Dry Yeast - Fermentis - English Ale Dry Yeast - For English and American Ales and Hard Apple Ciders - Ingredients for Home Brewing - Beer Making Supplies - [1 Pack]](https://m.media-amazon.com/images/I/41fVGNh6JfL._SL500_.jpg)