OP
OP
Thanks, Oldskooler. 

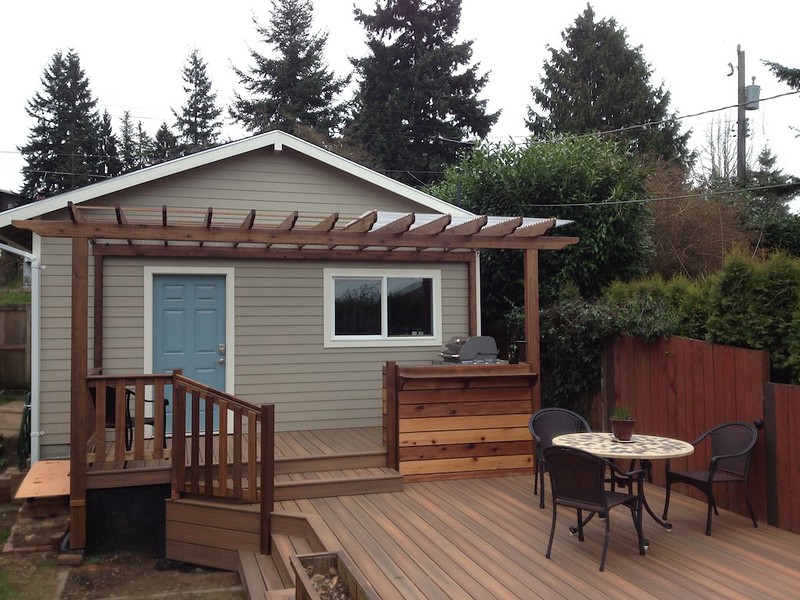
I built a similar arbor for my parents and we put clear plastic corrugated roofing up. Looks OK. We set it up to be easily removable if they want it down for the dry season or need to scrub it. Just an option.
") If it doesn't work out, I may plant some grapes on this one and relocate my hop production to a trellis in my garden, where they would get more sun anyway.
If it doesn't work out, I may plant some grapes on this one and relocate my hop production to a trellis in my garden, where they would get more sun anyway.


![Craft A Brew - Safale S-04 Dry Yeast - Fermentis - English Ale Dry Yeast - For English and American Ales and Hard Apple Ciders - Ingredients for Home Brewing - Beer Making Supplies - [1 Pack]](https://m.media-amazon.com/images/I/41fVGNh6JfL._SL500_.jpg)

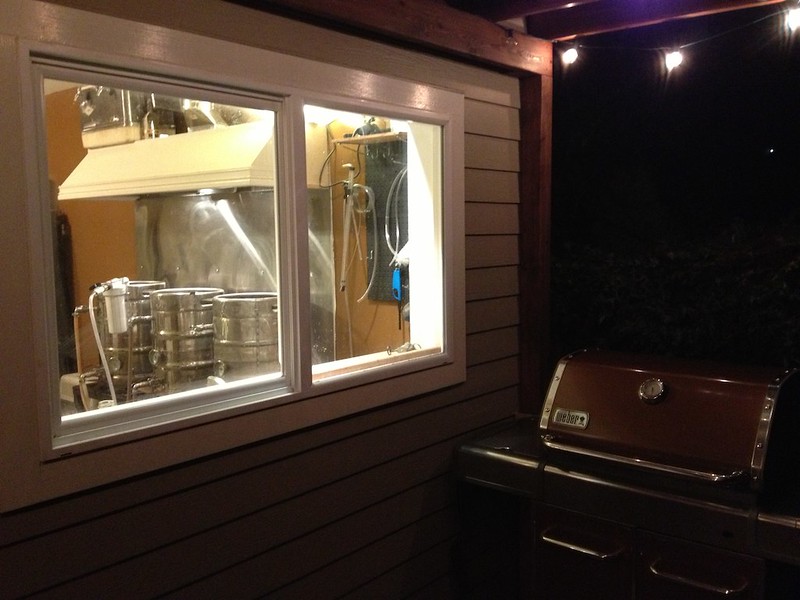
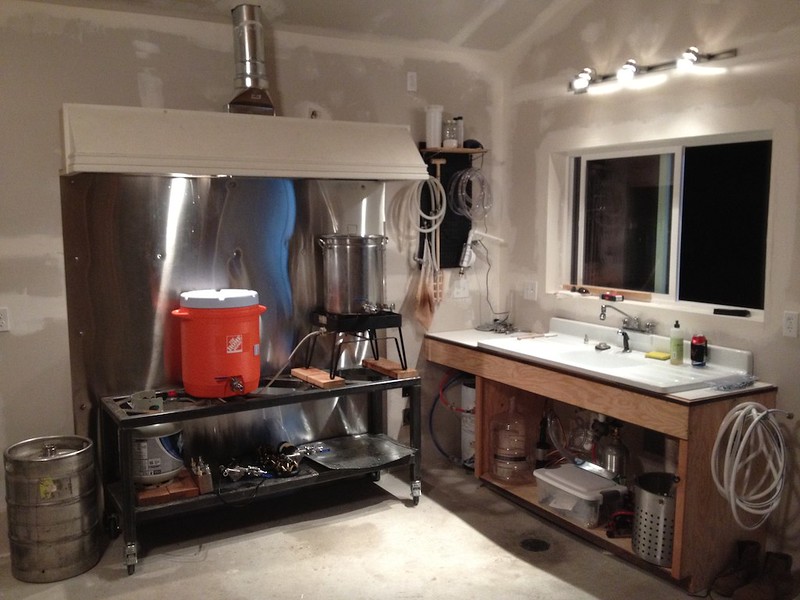
Fast forward a few weeks, and the insulation and drywall are 1/2 done. Plumbing is in and operational, and the funcional spaces of the brewery are starting to take shape.
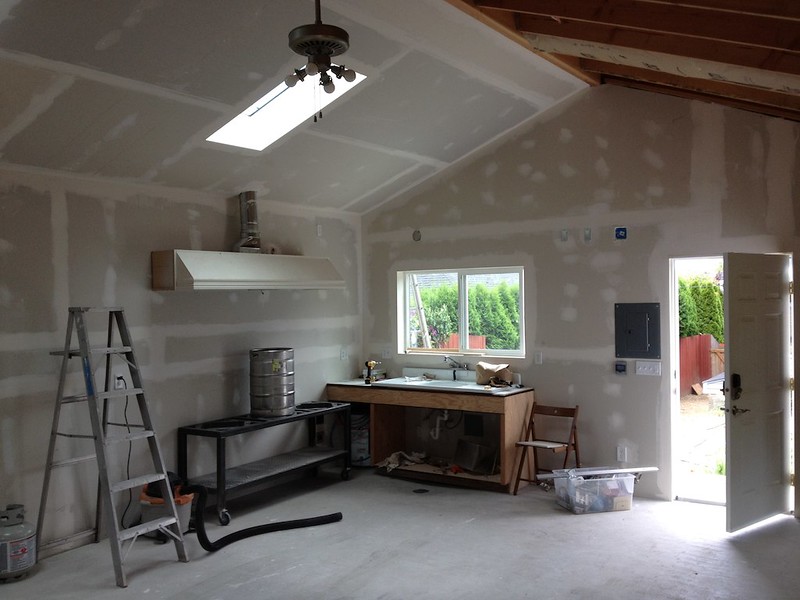
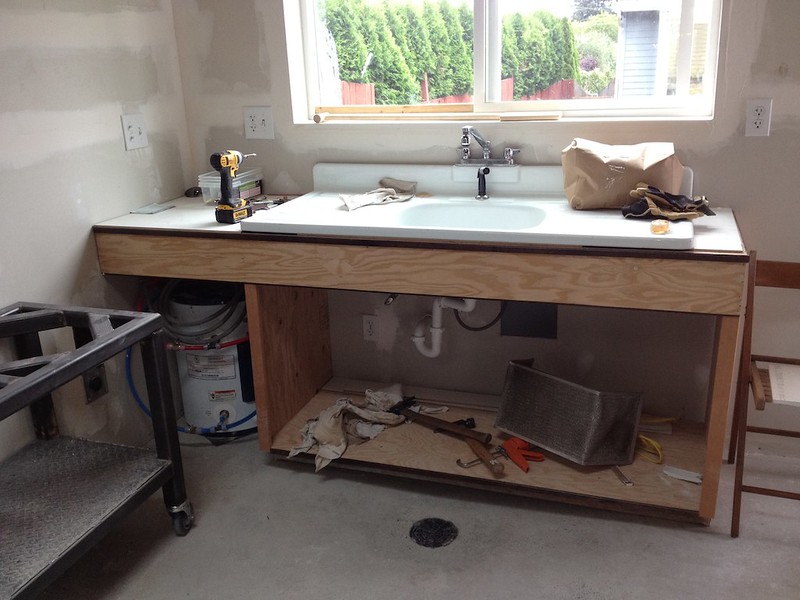
The 5' wide enamled cast iron sink was scored for $40 at the same 2nd hand building supply store as the hood (and hot water heater, and R.O. water filter). I had hoped to find a good deal on a commercial 3 vessel sink, but I'm very happy with this.
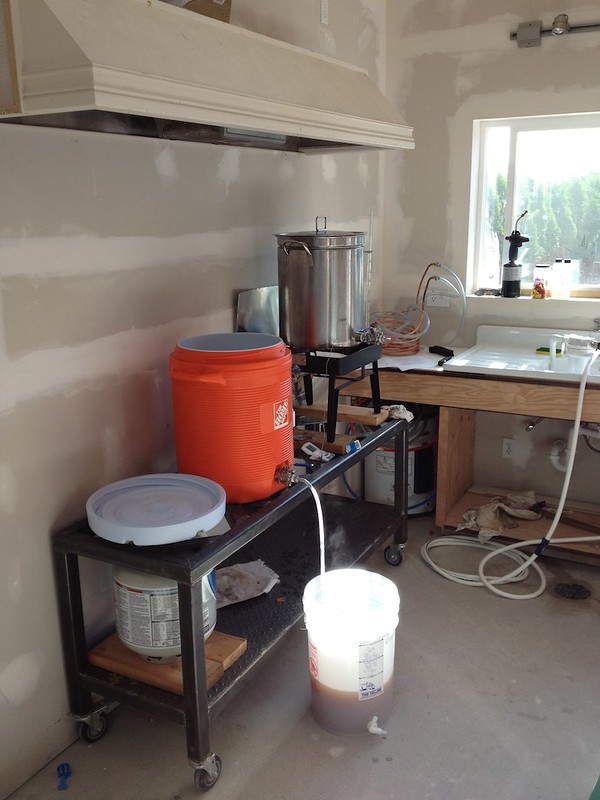
Nowhere NEAR done with the building, or the brew setup, but you know it's all about the beer. I had to take a break from the real work on a Saturday afternoon and brew the ceremonial first batch. I wanted something easy that I had brewed many times before, so it's EdWorts's (Garage) Haus Pale Ale
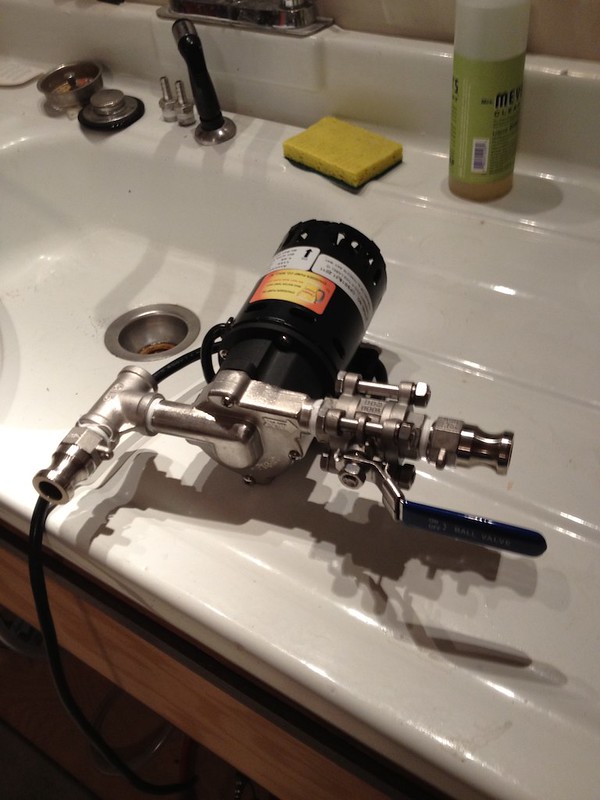
Order #1 (of 4 total) from bargainfittings and brewhardware.com

Pump #1 taking shape.
Brew space really starting to look usable. Stainless steel backing. I had planned to use cheap whiteboard material, but heat was definitely going to be an issue. Stainless sheets were $250 (as opposed to $100 for the white board), and protect the wall from heat, as well as looking infinitely cooler.
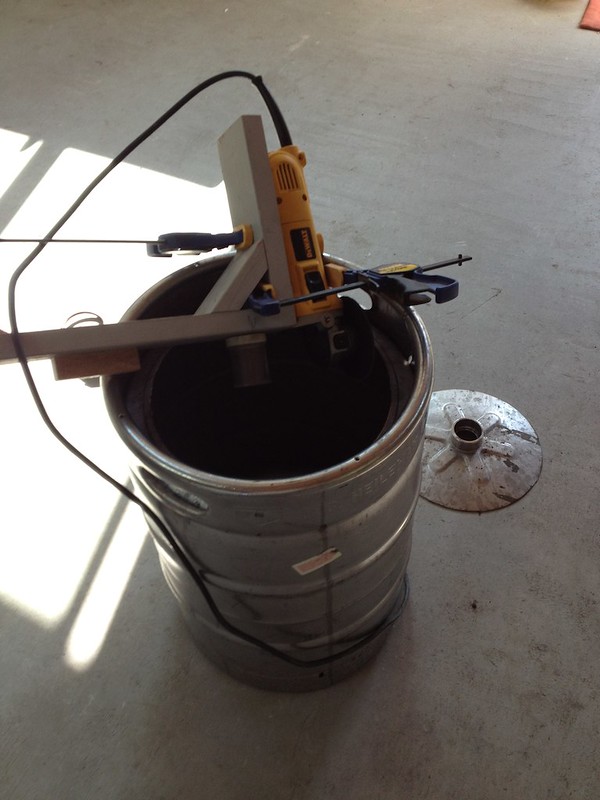
Cutting the first keg. This jig was a joy to use.
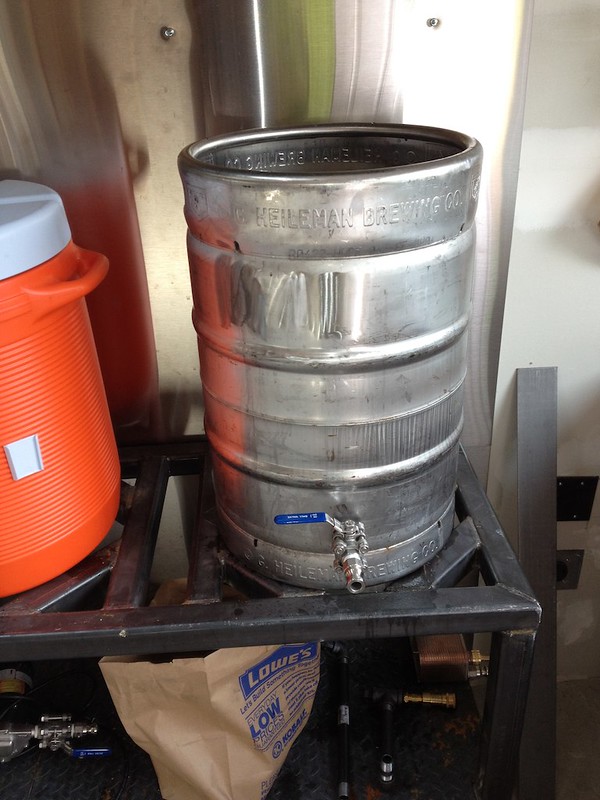
Boil kettle taking shape. I owe you an update picture. It's since been cleaned up a bit and has a sight glass, return port and thermometer.
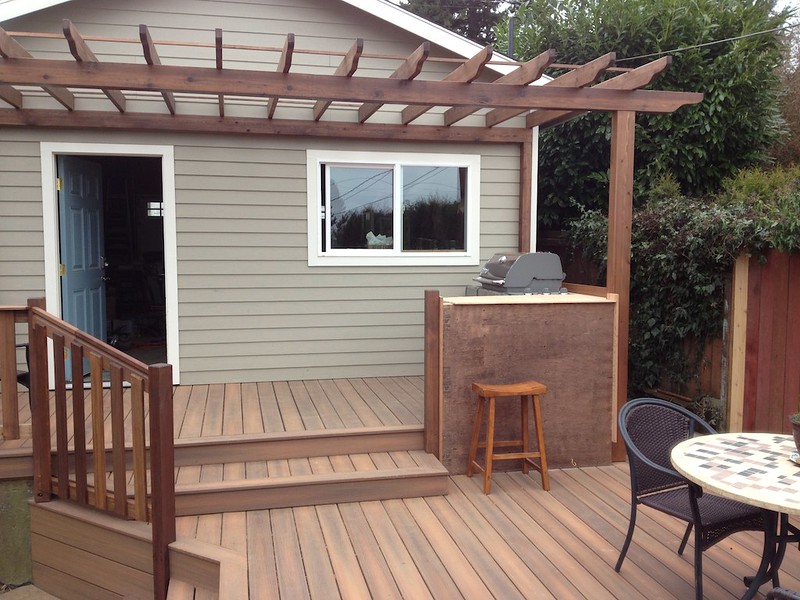
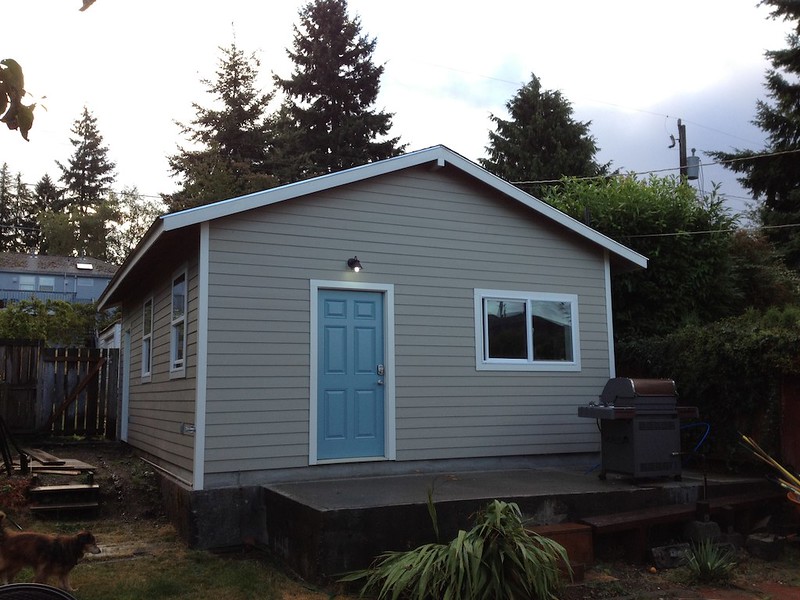
Meanwhile, real work continues on the building. It's painting day.
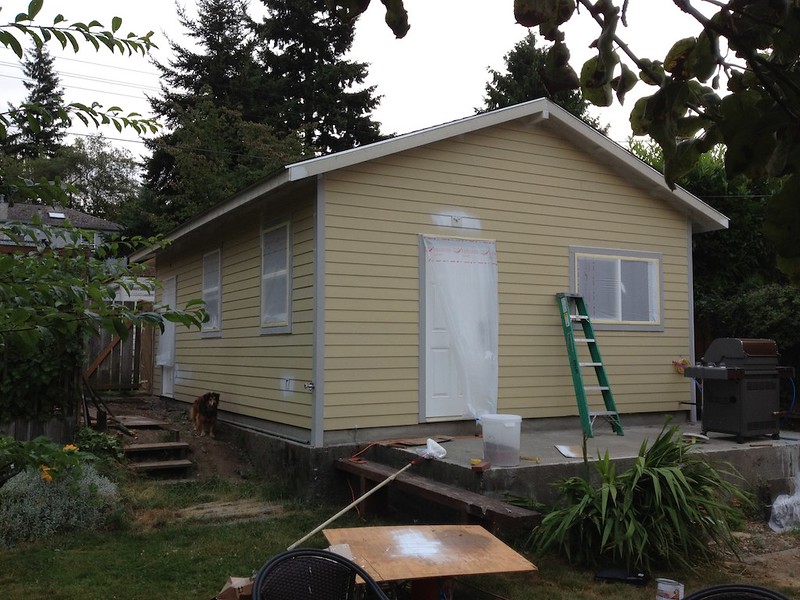
And via the magic of television.. after. We couldn't decide on the color, but had to get it painted. We don't like the blue color of our house very much, but didn't want the garage too clash to badly. In the end we went neutral and boring, but it looks nice enough. The blue door ties in the house color.
Ok that was no fun, back to the good part.

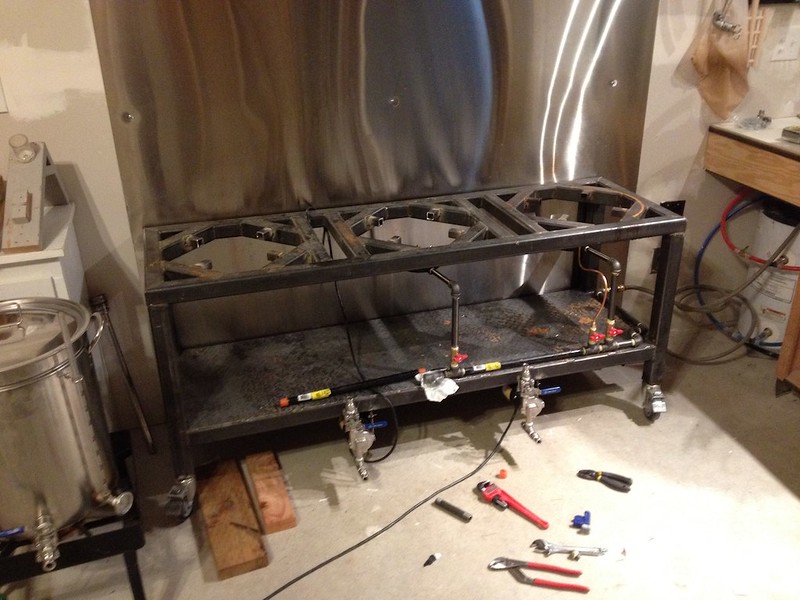
Building the gas manifold. Here we can see the first real signs of influence by JonW's outstanding build. Big props to him, there will be more.
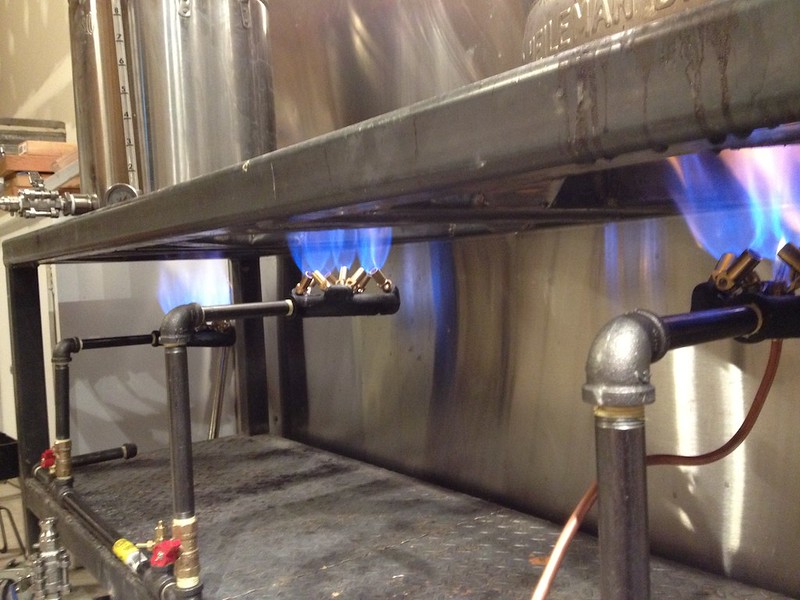
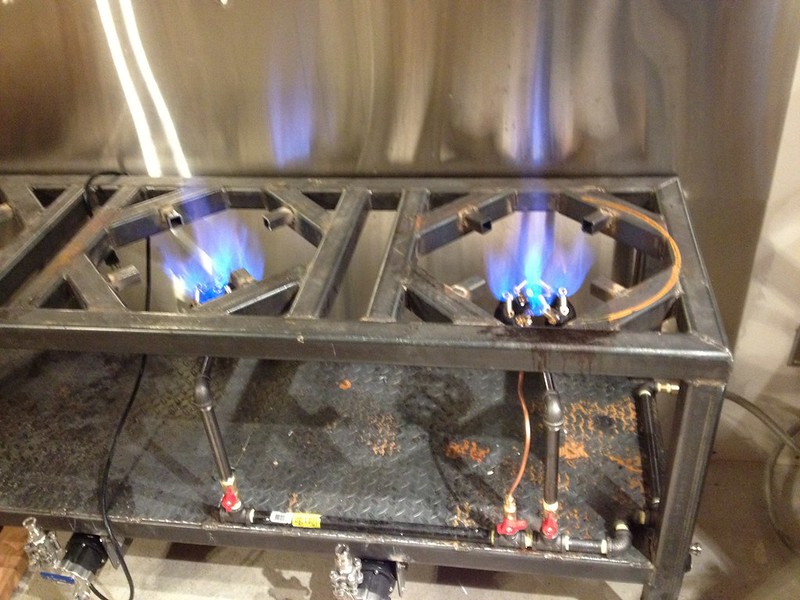
Fire! Natural gas is really easy to work with, and I have been plesantly surprised by these 10-tip jet burners. They can be unruly at full blast, but are easier to control than I expected in the mid range.
I'v been putting this off for a while now, telling myself I don't really need to paint my stand yet. Well, I do. Mild steel is really easy to work with and much cheaper than stainless, but don't skimp or slack on the paint. I enjoyed learning to weld on this stand, though the majority of welds were done by a good friend (who was teaching me at the time) with his cheap wire feed welder. A MIG welder is in my future.
EDIT: January 2012 - After several months of use, I have confirmed my suspicion that pained mild steel diamond plate is not a good idea. I've been unable to keep it from rusting through the paint due to continued exposure to liquid. Go with aluminum, even it it means you have to bolt it on rather than weld it. I will be cutting off the steel plate and replacing it with aluminum soon.
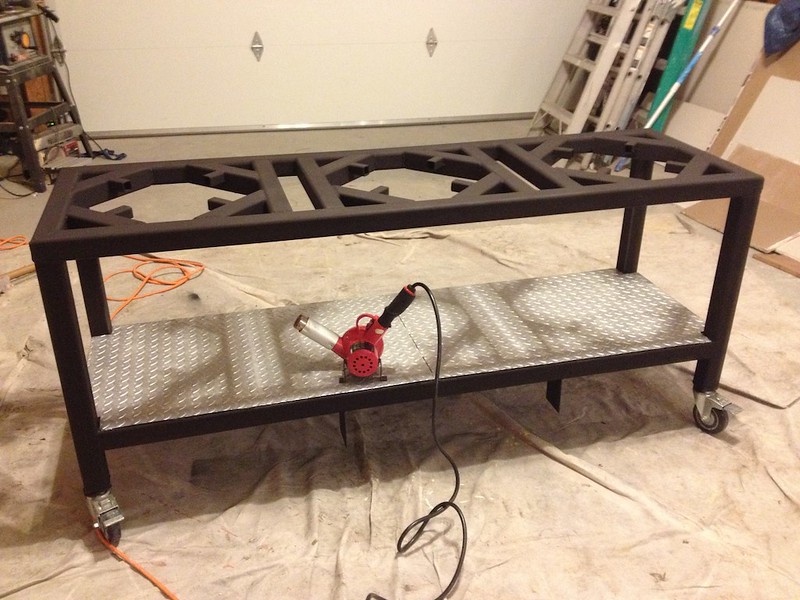
Using an 80 and then 120 grit flapper wheel I sanded down the surface (and removed all the rust that had developed after a couple of 'test brews'. The diamond plate below is also mild steel (I'd suggest aluminum if your welder can handle it - EDIT: See above), and had to be sanded by hand with a sanding block for painting. For the frame I used this paint, thanks to BobbyM and others for the info. Available for $8.99 a can at the local auto parts store, very nice paint to work with.
Painting is complete. 4 coats of the high temp stuff on the frame, and 3 coats of a 'steel base layer' paint for the diamond plate. It looks really nice in person, as it does (I think) in the picture. I borrowed a friends heat gun (basically an industrial strength hair dryer) to help cure the high temp paint. It says to cure in steps at 250ºF, 400ºF, and 600ºF. This heat gun might have gotten me to the 250ºF step, but won't get anywhere close to the higher temps. The next step is to put some pots on the stand and fire up the burners to 'cure' the rest.
Yep, the stainless panels came from a local supplier. If you just search around a bit in your area for a metal shop, it should be pretty easy to find.