• Please visit and share your knowledge at our sister communities:
  • If you have not, please join our official Homebrewing Facebook Group!

    Homebrewing Facebook Group

Trashcan Kegerator

Homebrew Talk

Help Support Homebrew Talk:

This site may earn a commission from merchant affiliate links, including eBay, Amazon, and others.
Did you use the spray adhesive and the foil bubble wrap stuff and line the inside with it? Funny I thought of it after a search in the insulation aisle at Home Depot but wasn't sure if it would adhere securely. I am also wondering if insulation is really necessary??? Which is how I found this thread. How long did the ice/water/cold last for you guys uninsulated? If I can get say 12hrs outta one load of ice I would skip the insulating part.
 
We never did insulate it. One day, it was over 90 degrees and the beer stayed cold until the kegs kicked. Usually, it's much cooler than that here. I don't remember how much ice we used, but one of the things I always do is freeze a bunch of water-filled milk jugs and juice bottes and "fill in" the gaps with them before filling with ice. I'd guess maybe three bags of ice on top of those ice blocks lasted a couple of days.
 
Cool thx I think I am gonna skip the insulation too I think just put a contractor bag in first then everything inside it I should be fine for a day and night. Just don't leave it in the direct sun ;)
 
How about a drain plug? I am doing one with two cornies. It is fiberglassed in over sheet insulation taped with blue painters tape, the top I used cardboard to fiberglass to. I am at a dilemma about drilling and hooking up a drain. I couldn't find one when buying materials and figured I could always do it when an old cooler bit the dust. I want to leave it outside and full of ice all the time.
 
We did add a drain eventually. I used an old bottling bucket spigot. It drains quite slowly but works. I was going to rig up a garden hose valve which I am sure would work better.
 
I used a brass "thing" like the threaded part that goes on a garden hose. Came with a cap. Then I was able to find a threaded PVC part that screwed onto it. Brass on outside, pvc on inside with a rubber washer on each the screwed together to sandwich the washers between them and the walls of the trashcan.
 
How about a drain plug? I am doing one with two cornies. It is fiberglassed in over sheet insulation taped with blue painters tape, the top I used cardboard to fiberglass to. I am at a dilemma about drilling and hooking up a drain. I couldn't find one when buying materials and figured I could always do it when an old cooler bit the dust. I want to leave it outside and full of ice all the time.

Do you have any pictures of the fiberglass job? I was thinking of doing something similar when I started on it.
 
Do you have any pictures of the fiberglass job? I was thinking of doing something similar when I started on it.

This thread reminds me- I want to use our kegerator in November sometime! It's for the "kids'" housewarming party, and of course you're invited (no date yet, but has to be before deer season of course). I have to brew for it, though! Chris said today that he wants an APA (my house pale) for sure, and it would be nice to have a stout and/or a cream ale. I think I'm going to brew Saturday on my old system to get started.

That drain valve is a little slow, but it's fine.
 
I am NO Fiberglass expert! This was my first project. Pic 1 shows what happens when you are drunk and say, "Alright all the fiberglass is in, lets resin it thick with what is left over." The build up is massive, but the cloth is under it all. Second pic I used an auger, now I need to grind it smooth. Looks like I have not hit the fiberglass sheets and maybe not have to buy more resin (it is expensive to fiberglass). I must have the smaller can, I can fit two cornies, little ice. I am planning to keep it simple, two Perlicks that attach to two quick connects (cut slots in lid). One CO2 "Charger."

If someone would show me how to make the pics smaller (PM me) I would appreciate it.

Garberator1.jpg


Garberator5.jpg


Garberator3.jpg


Garberator7.jpg
 
Lessons that I have learned fiberglassing:

1) Resin will eat all insulation, need to have cardboard, or at least painters tape to make a barrier.

2) Make sure there is enough hardener ( put my project months behind waiting for first layer to harden).

3) More layers make it stronger, not more resin.

4) Throwing a LOT of resin, with a LOT of hardener, means it is going to set up fast. You best have it where you want it.
 
I appreciate the effort but gotta ask why??? Seems like a lot of unecessary work and expense. Aslo looks like it adds a lot of weight to the can. Not criticizing just want to know what your goals and throught process is on the project.
 
I know this thread is pretty old but I'm thinking of building one of these for my wedding.

What about putting a larger piece of plywood or Masonite on the front to cover the trashcan?

Is the insulation necessary?
 
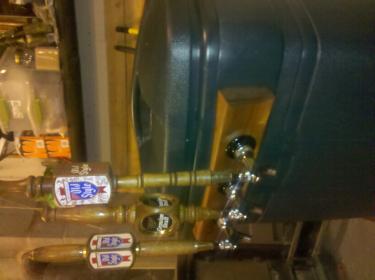
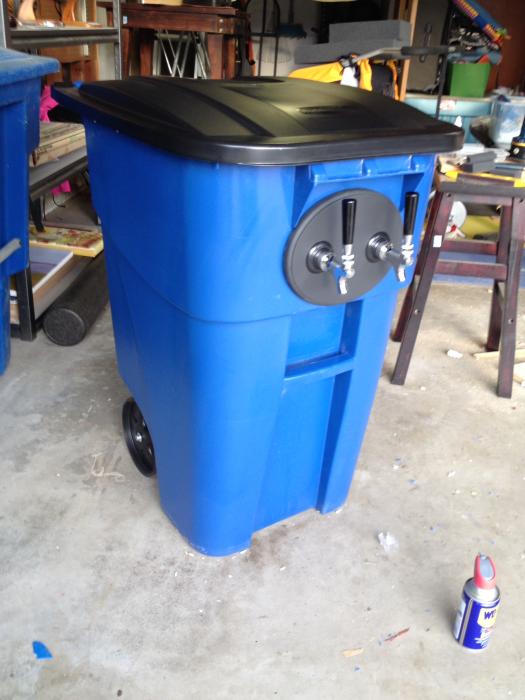
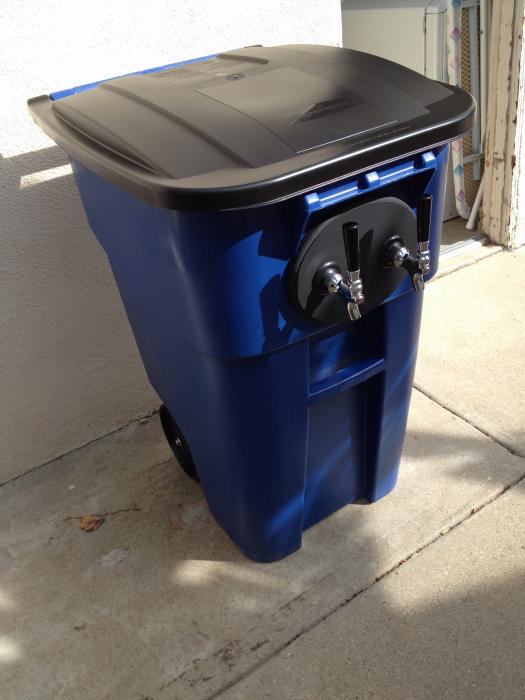
I built one of these for a party this coming weekend. I'll post a review of performance next week. I apologize for the blurry inside pic. It looked good enough on the iphone not to take another.

photo 2.jpg


photo 1.jpg
 
I built one of these for a party this coming weekend. I'll post a review of performance next week. I apologize for the blurry inside pic. It looked good enough on the iphone not to take another.

Looks great...i have to build something like this,or a jockey box for stanfest this summer.
 
Back
Top