
Hey everyone. I thought I would upload a bunch of photos and give you a step by step process of how I built my 5 tap keezer. I tried to keep everything as low-cost/high-quality as possible. I am no carpenter so fair warning, not everything worked out perfectly. I think just about anyone could build something similar with minimal tools or experience.
I am halfway through the build right now so stay tuned for part 2.
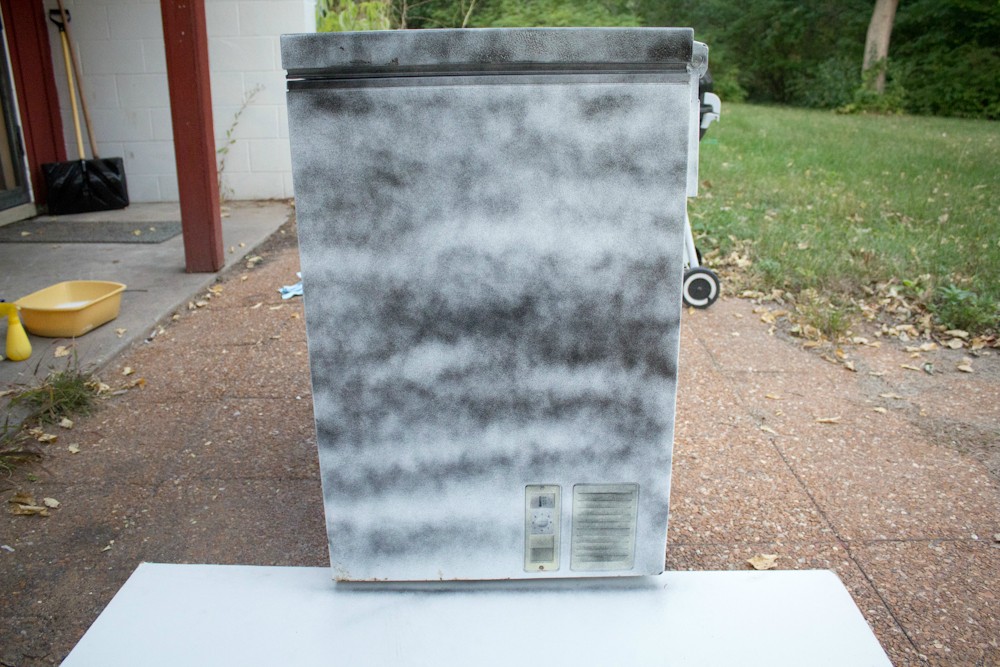
I start off here with my ultra cheap $30 craigslist chest freezer. I had to keep a close eye out for about a week to find something cheap and newish in decent condition.

Start by giving the freezer a good soap and water cleaning. I used one of those green/yellow scrubby pads to remove all of the easy drips and whatnot. Secondly give it a quick scrub with 200ish grit sandpaper to remove anything more + give the spraypaint something to stick to.
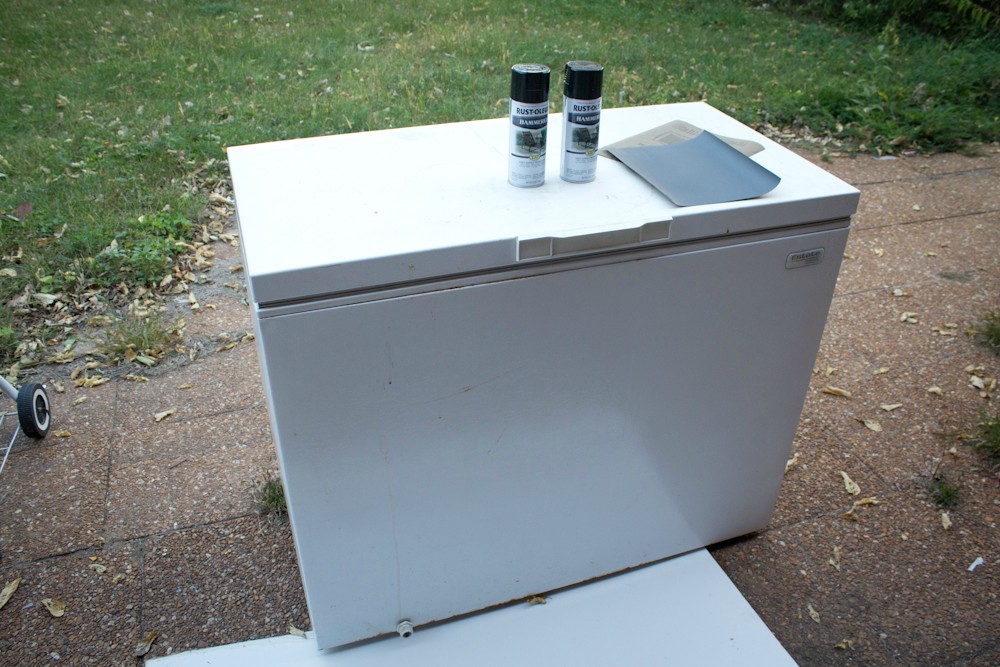
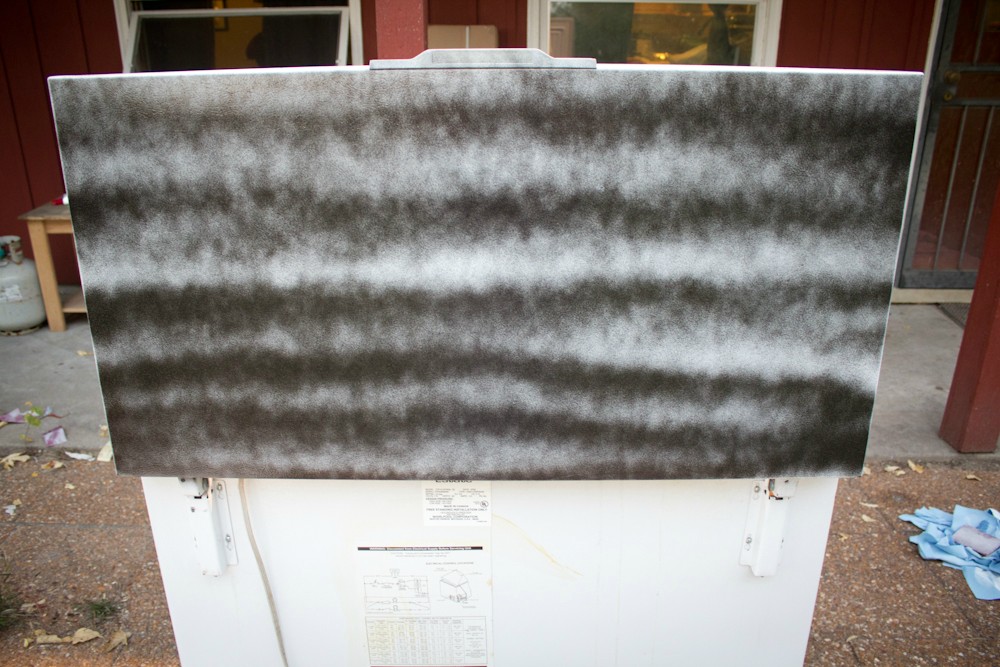
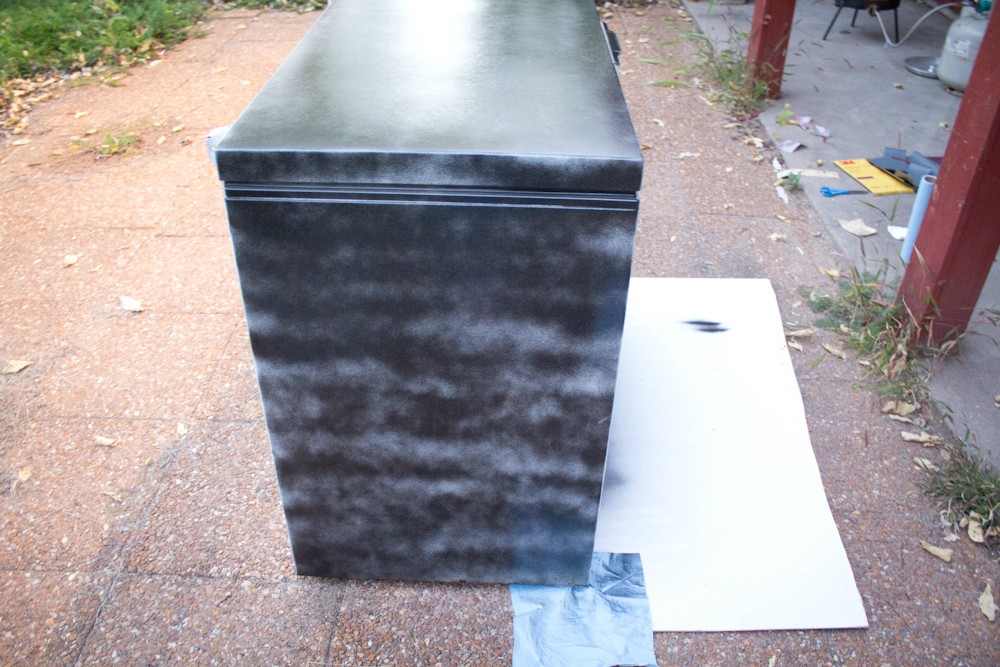
I used Rustoleum Hammered Black paint. It gives a nice black finish with a bit of texture to hide any inperfections (or inexperience). Do quick easy coats. I probably did about 5-6 coats per side, working my way around.
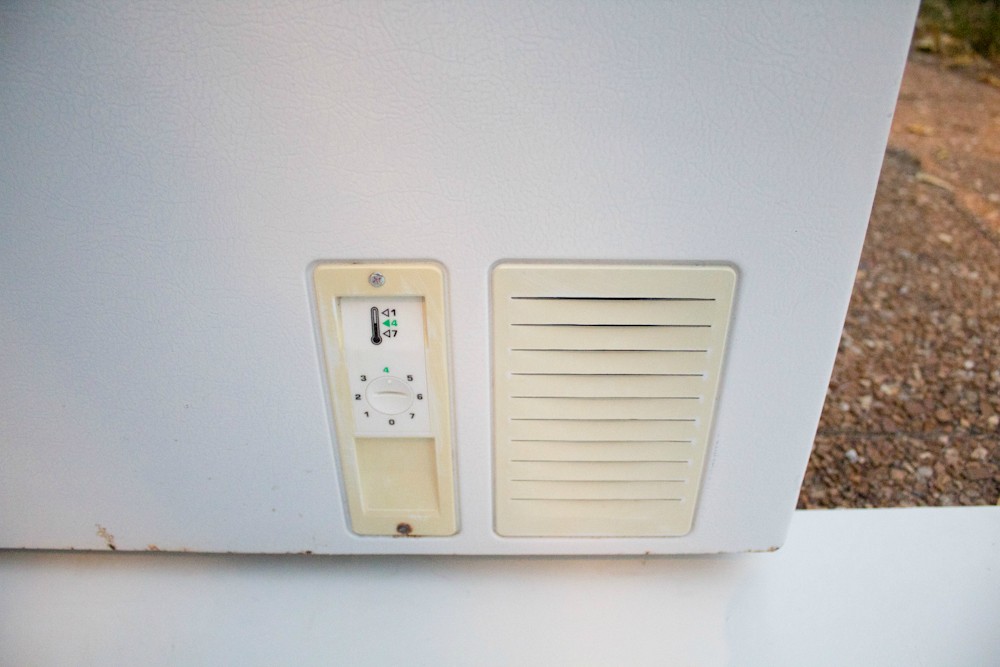
Take note of the thermostate on the freezer. You probably want to just set it to the coldest setting, but make sure you know what that is before painting over it.
Continue one coat at a time on each side. Take your time. I used 3 cans.

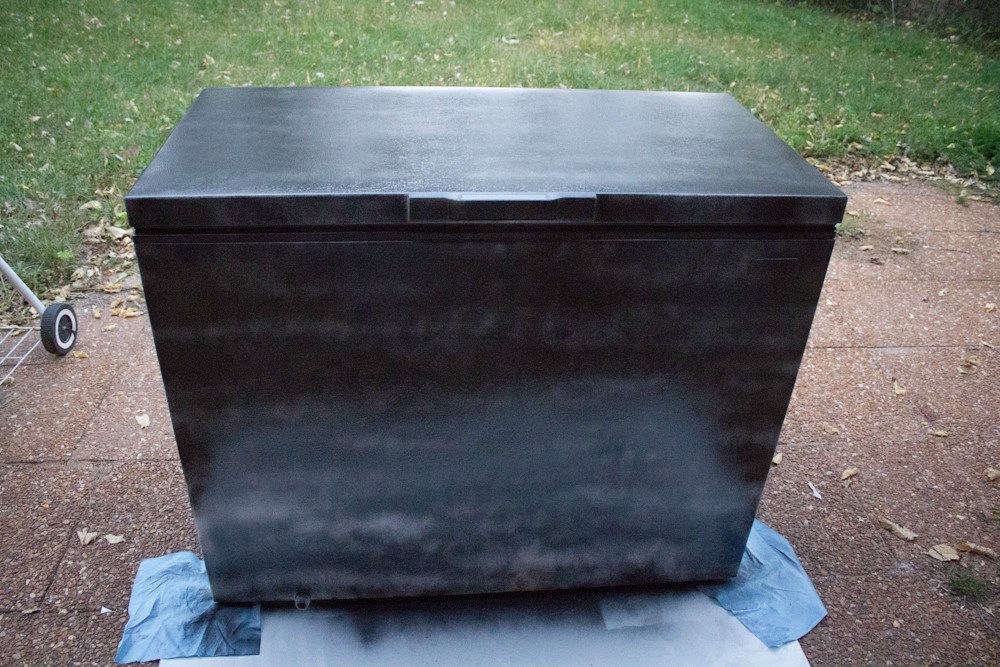
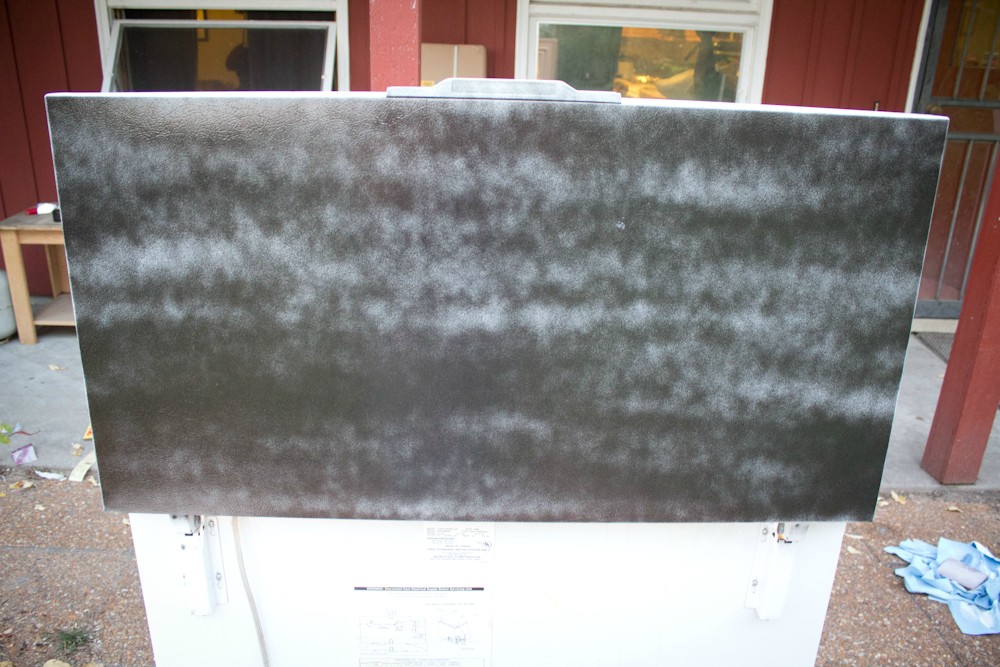
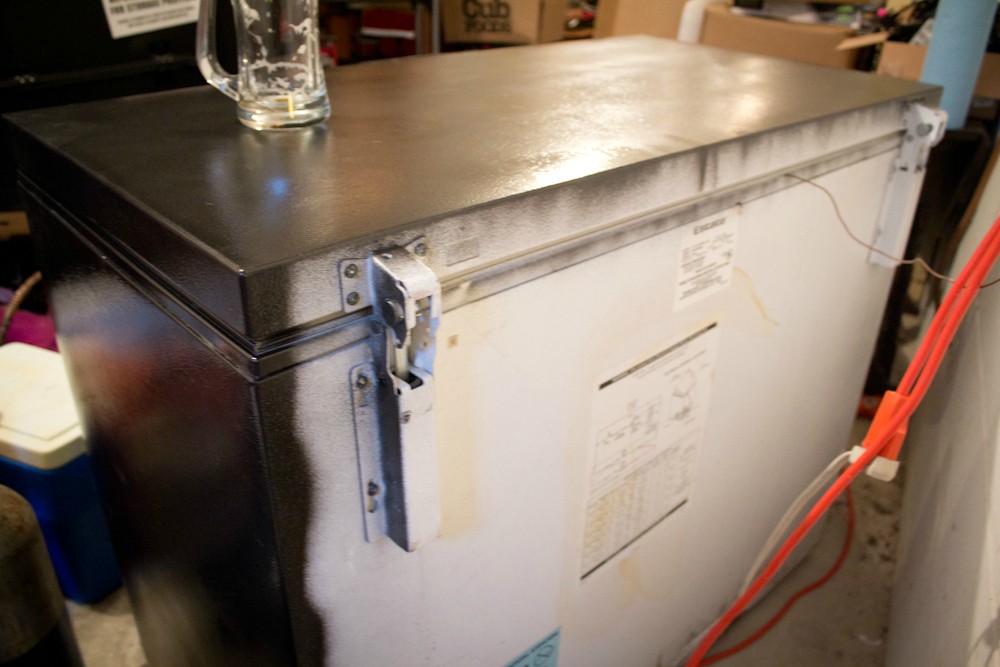
Here is the freezer after all 5-6 coats. I think it looks pretty nice.

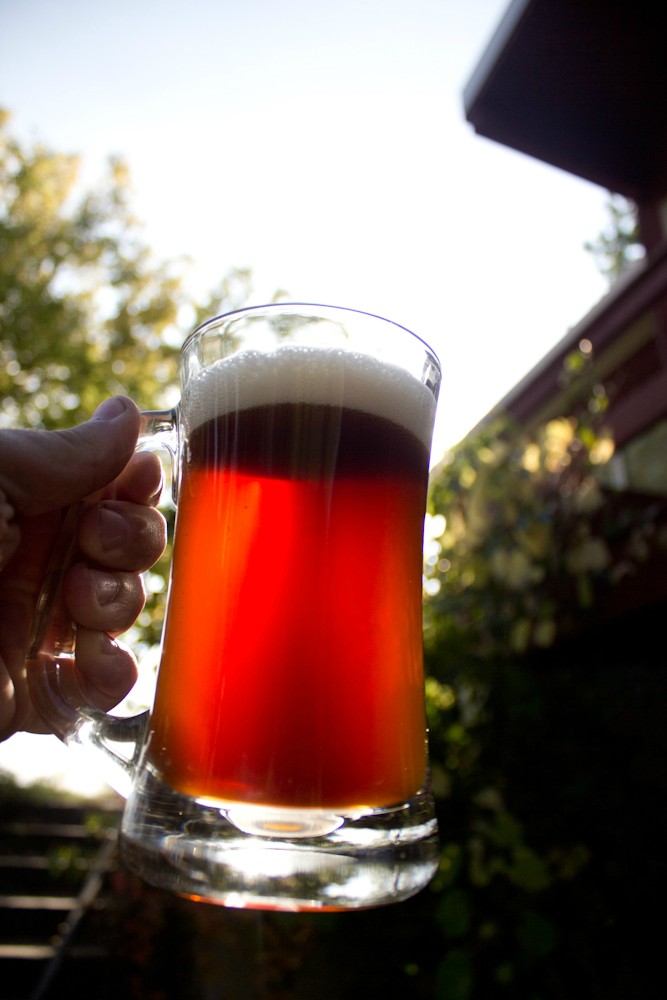
Drink beer. This is "Kassie's Irish Red"
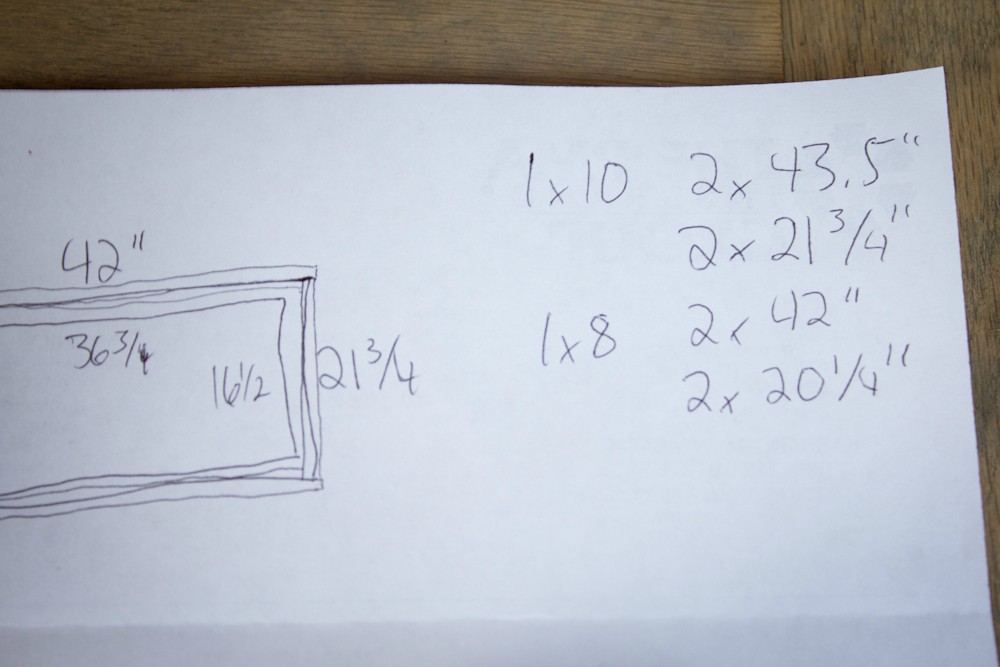
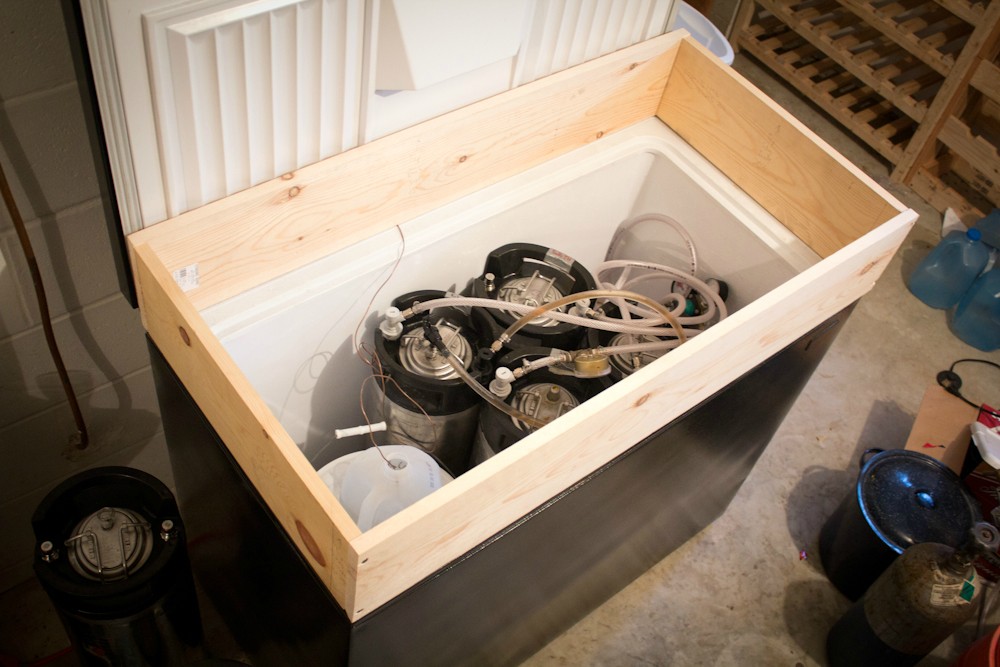
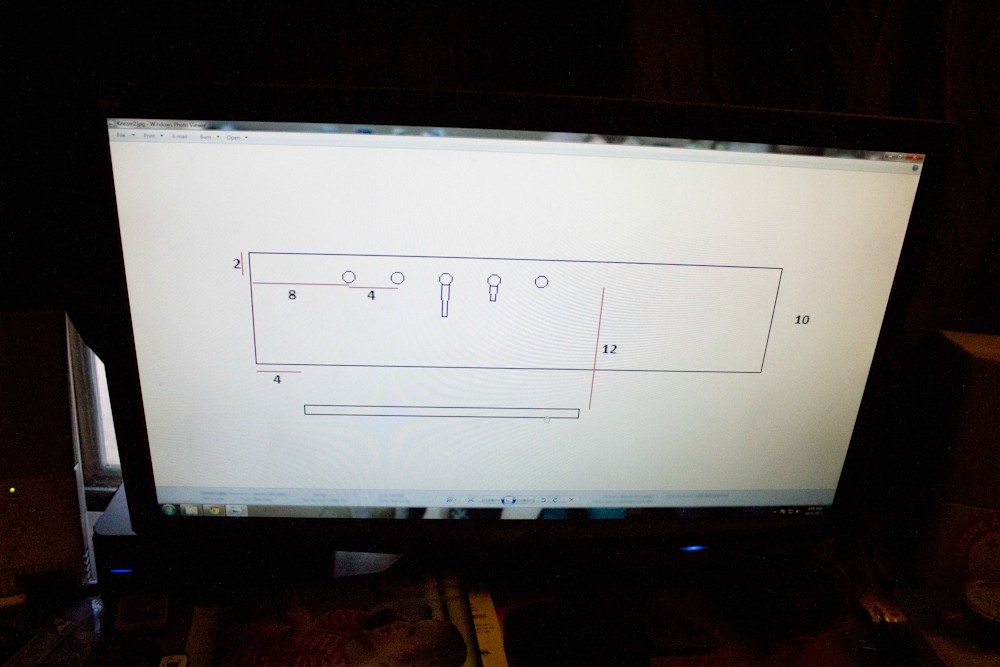
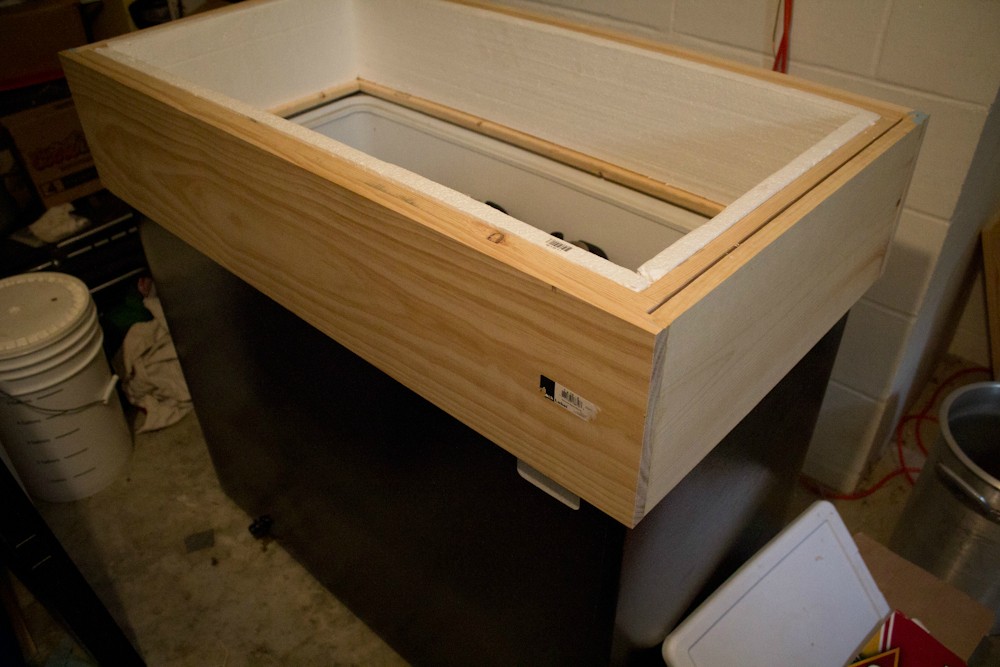
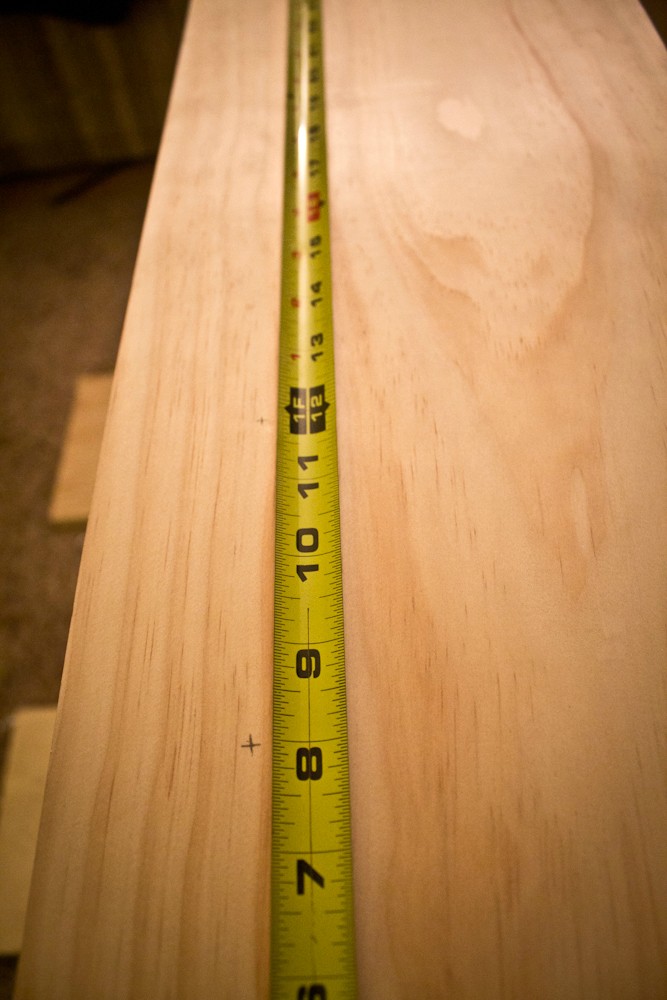
Make a plan for the inner and outer collar. My design uses 1x8's for the inner collar that sits on top of the freezer, and 1x10's that go over the sides. Think about how all the boards will fit together and make sure that the dimensions are right for your freezer. My freezers outside dimensions are 42"x21.75". Remember that the 1x8 boards for the inner collar need to be 42" and 20.25" because the thickness (3/4") of the 42" boards are added to the 20.25" boards (20.25" + 1.5" = 21.75"). Do math and stuff, check your math, ask someone around to double check your double checking and get it right the first time. The boards I used are the basic pine boards that Menards sells. If you want to use fancy oak or whatever boards go for it. Just know that I spend about $35 in lumber. I did spring for the "Quality" boards for the outside front and side 1x10's
I used clamps and a strait edge to make my cuts
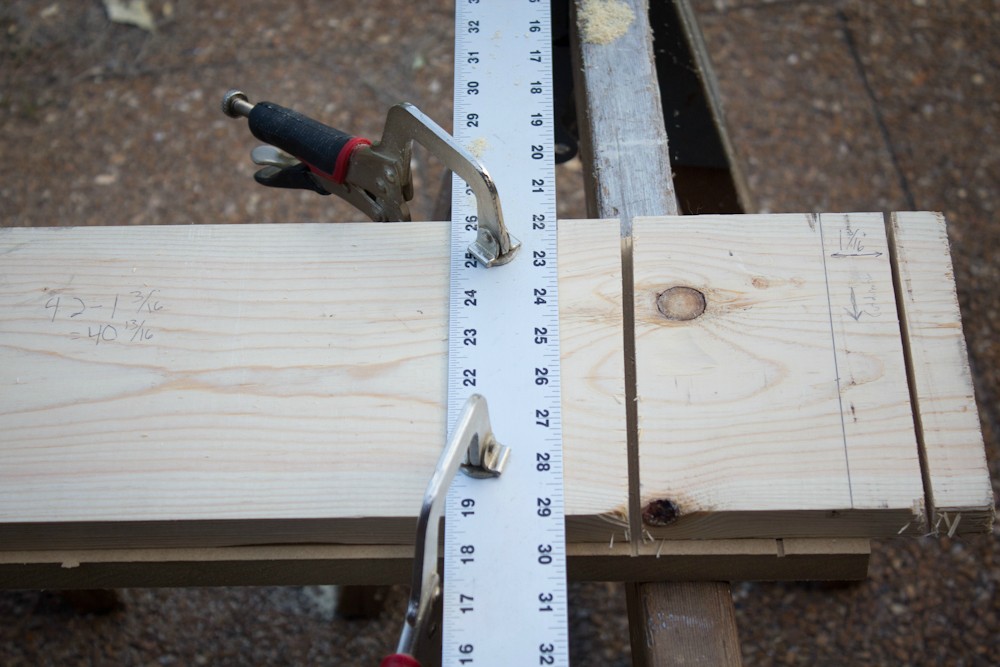
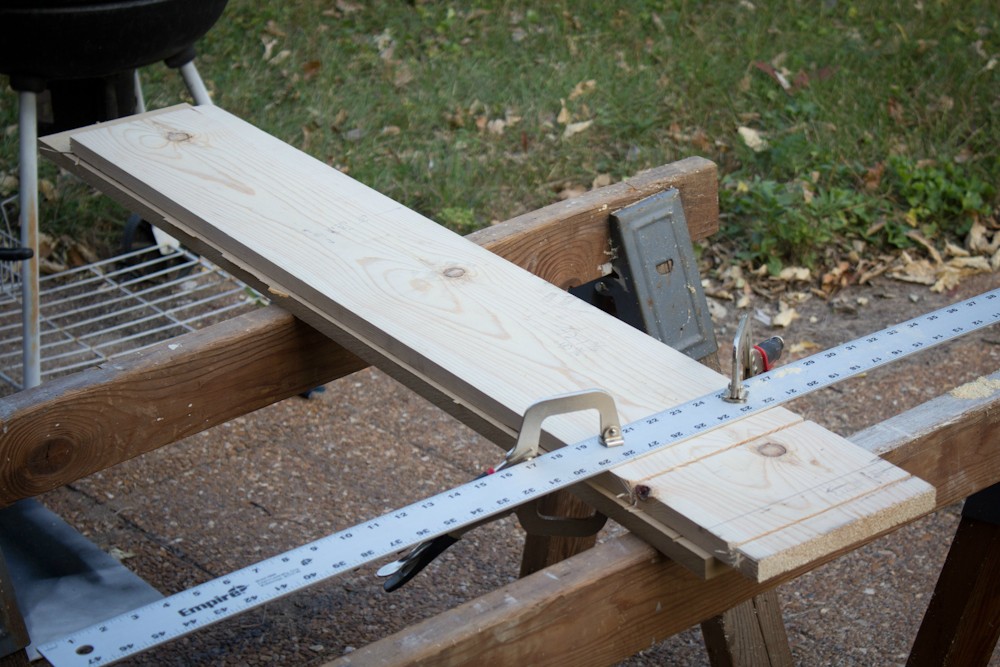
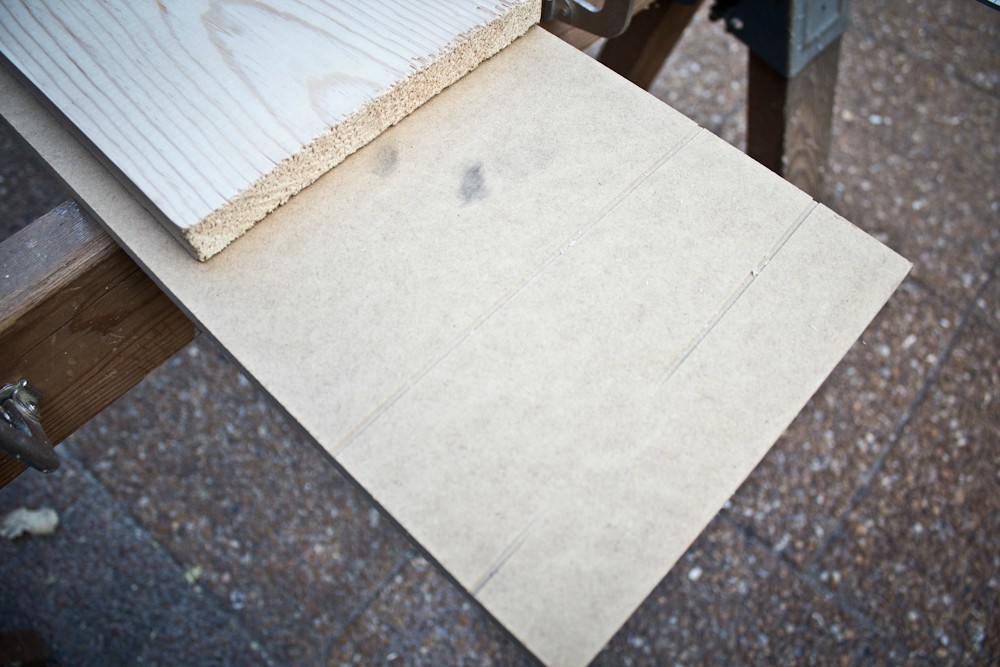
I also used an old piece of MDF for a backing board while making my cuts. I set the saw depth to just slightly more than the board thickness.
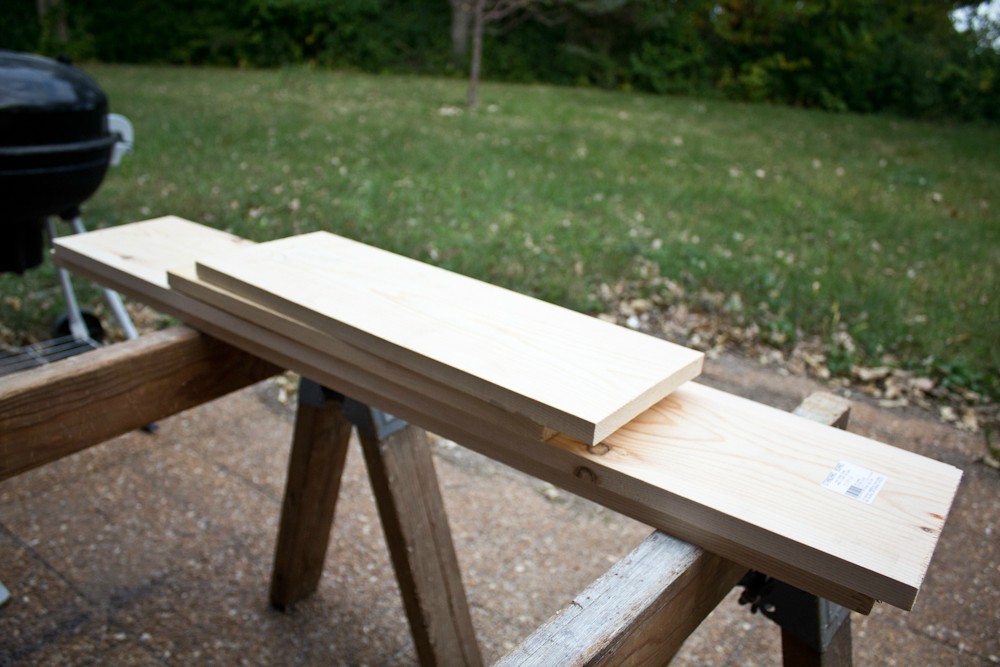
After cutting all of the 1x8's I did a simple screw job") p) to get them together
p) to get them together
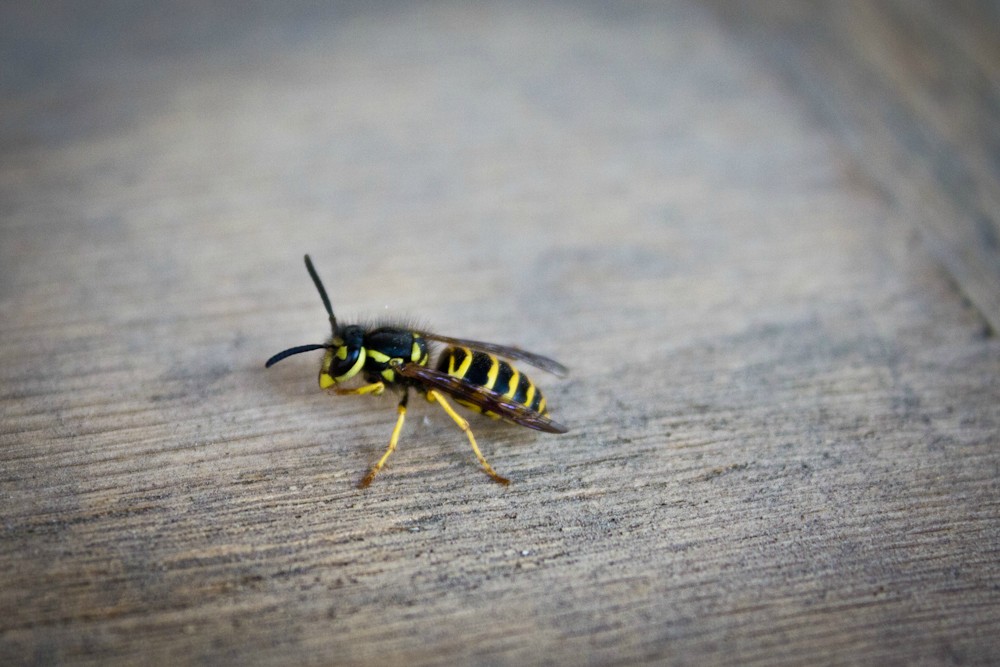
Bees kept trying to drink my beer (Don't drink too much... power tools)
My solution

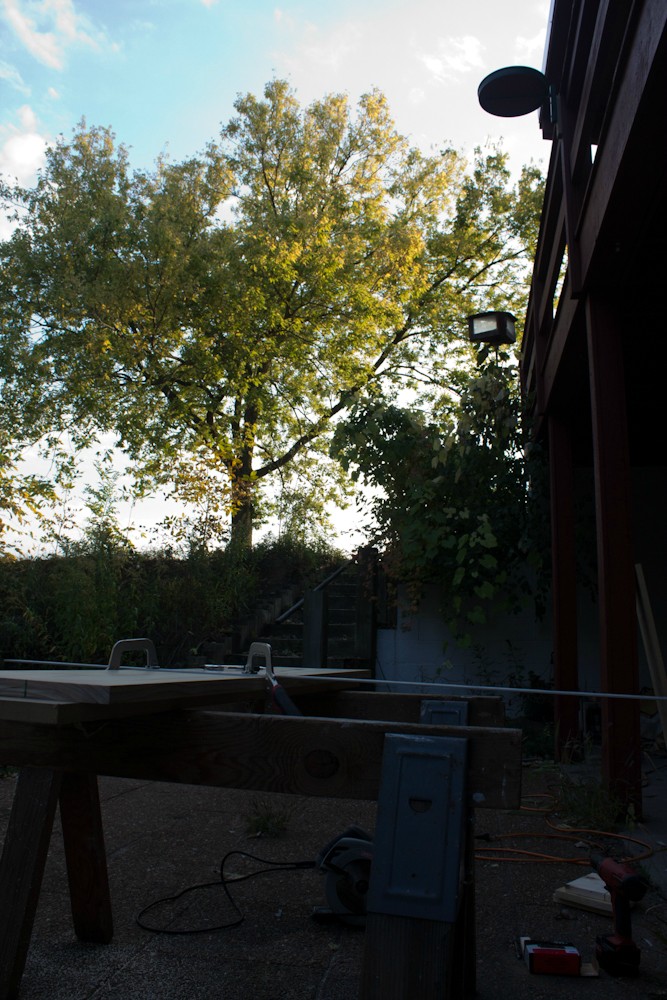
Beautiful day to be Keezering
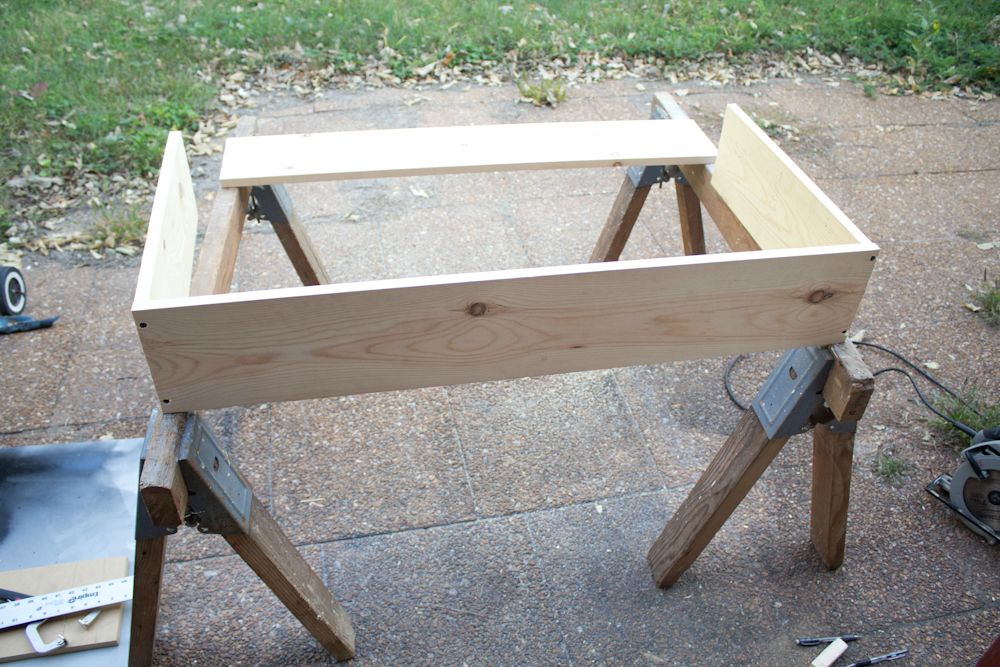
I then did a test fit of the inner collar just to make sure I didn't screw anything up.
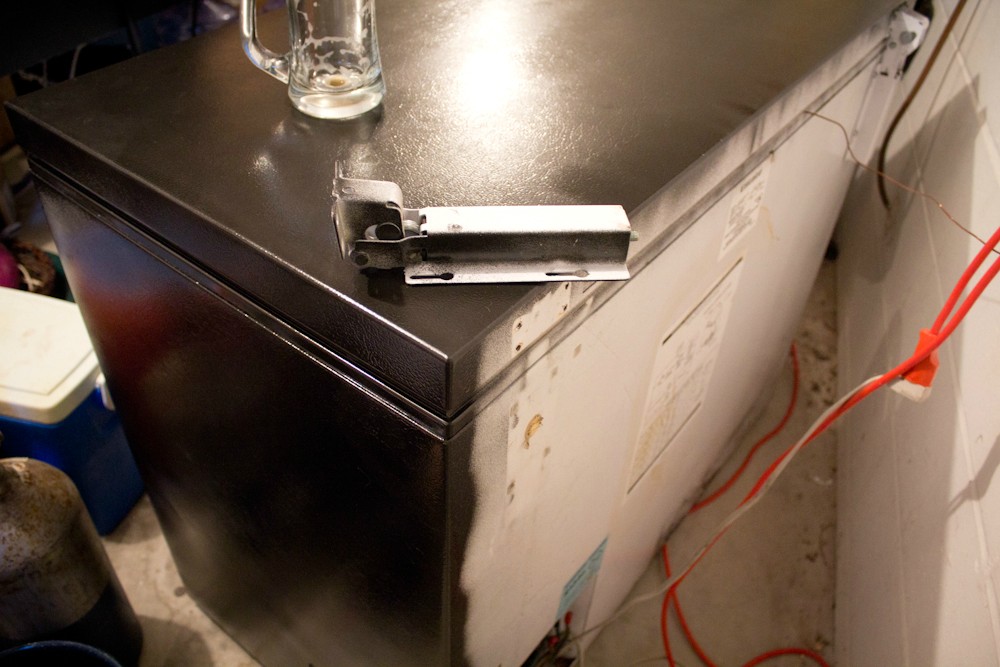
I then did reconnaissance on the freezer hinges
And removed them
That wasn't totally necessary yet but oh well. I then clamped together my 1x10 outer boards with wood glue to get good seals around the edges.

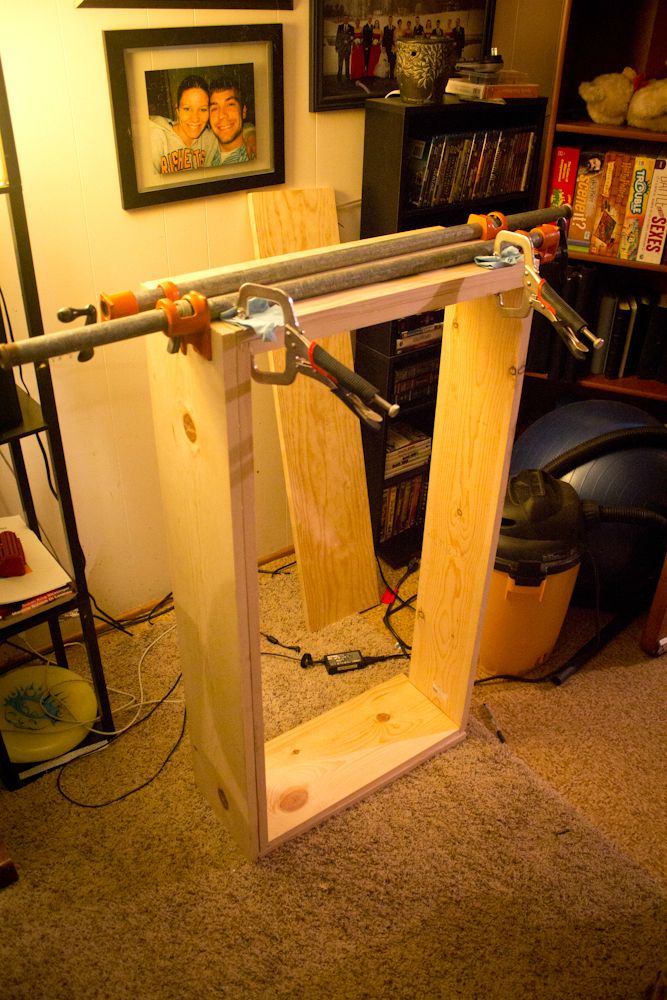
You want to leave just a TINY bit of edge showing on the (in my case) front facing boards. This is just so when I sand things down, I can get a nice clean line between the boards.

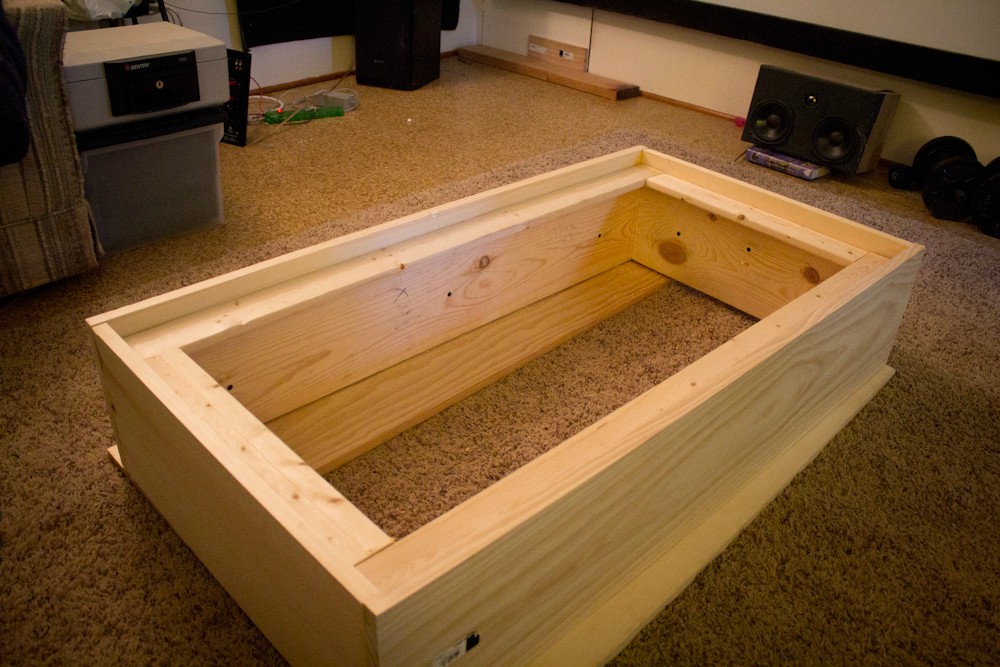
Test fit of inner+outer collar
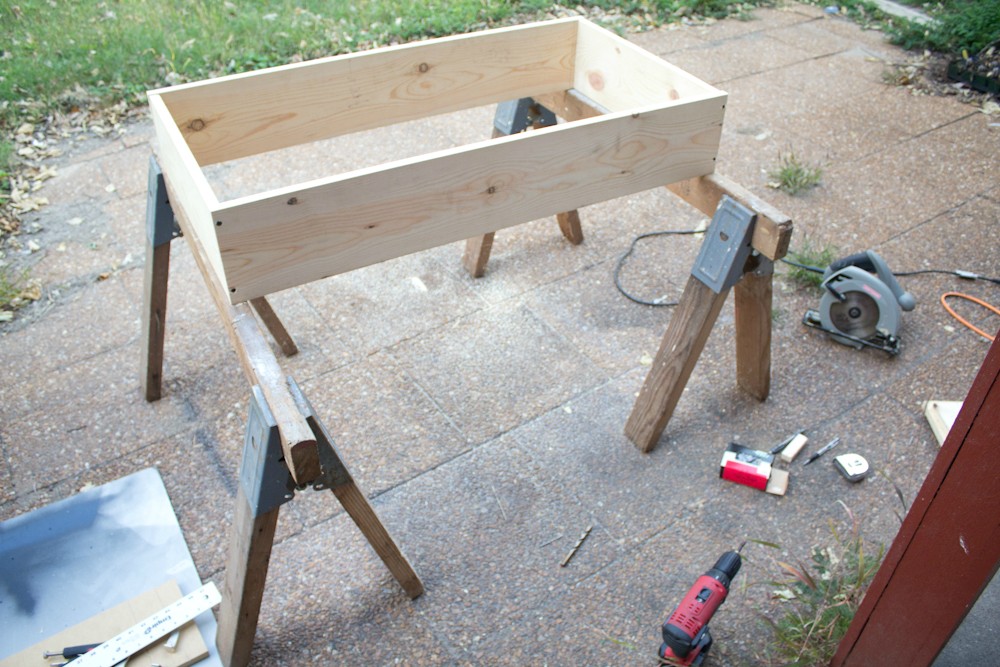
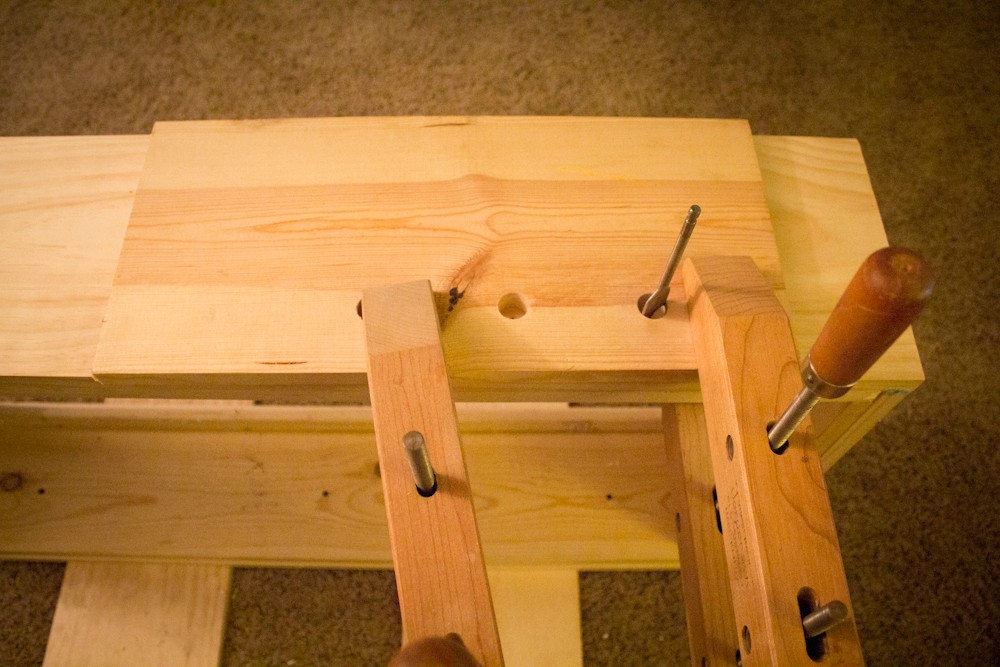
Set the drill depth to be about one and a half board thick.

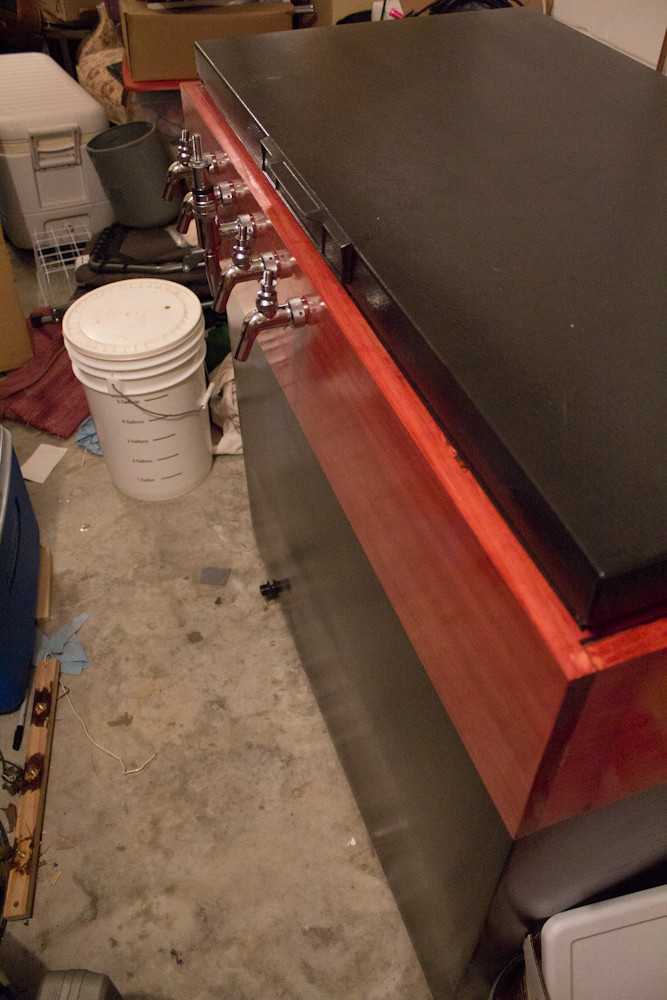
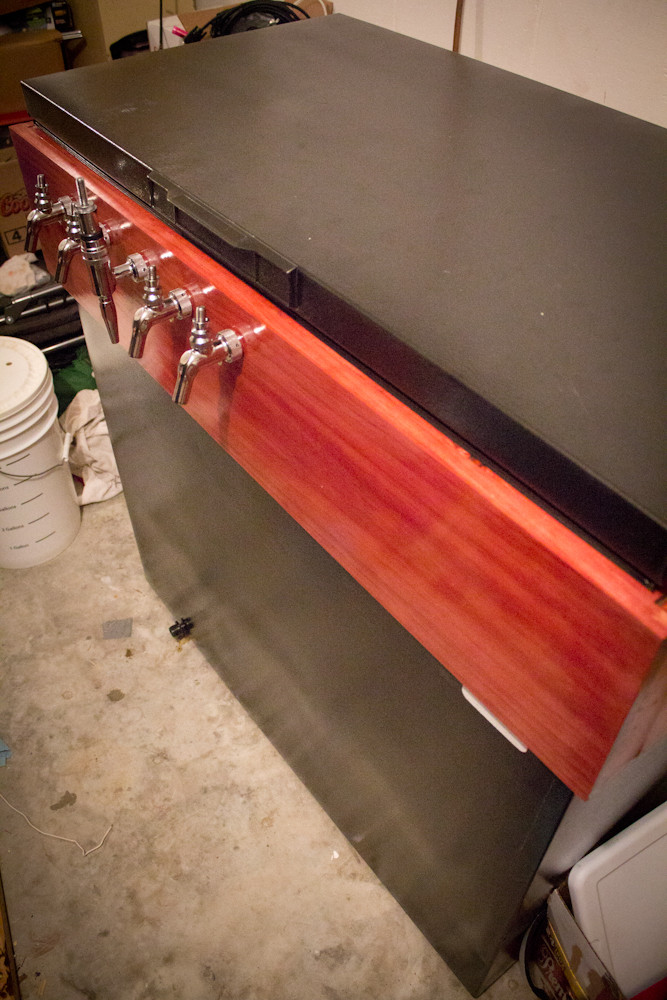
Screw everything together. Think about where the taps are going to be. Make sure not to screw near these locations.
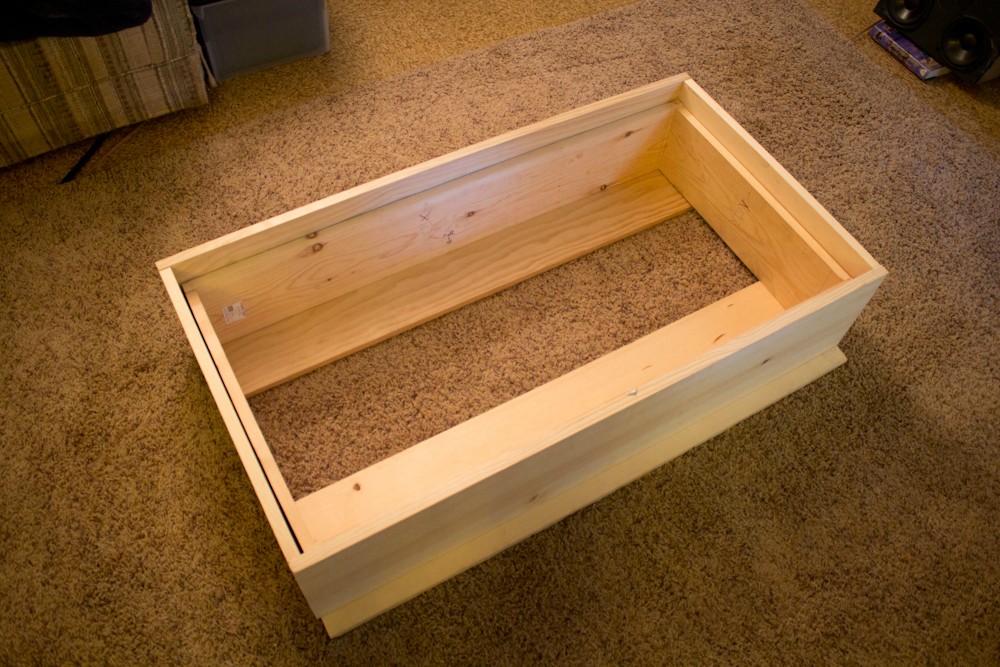
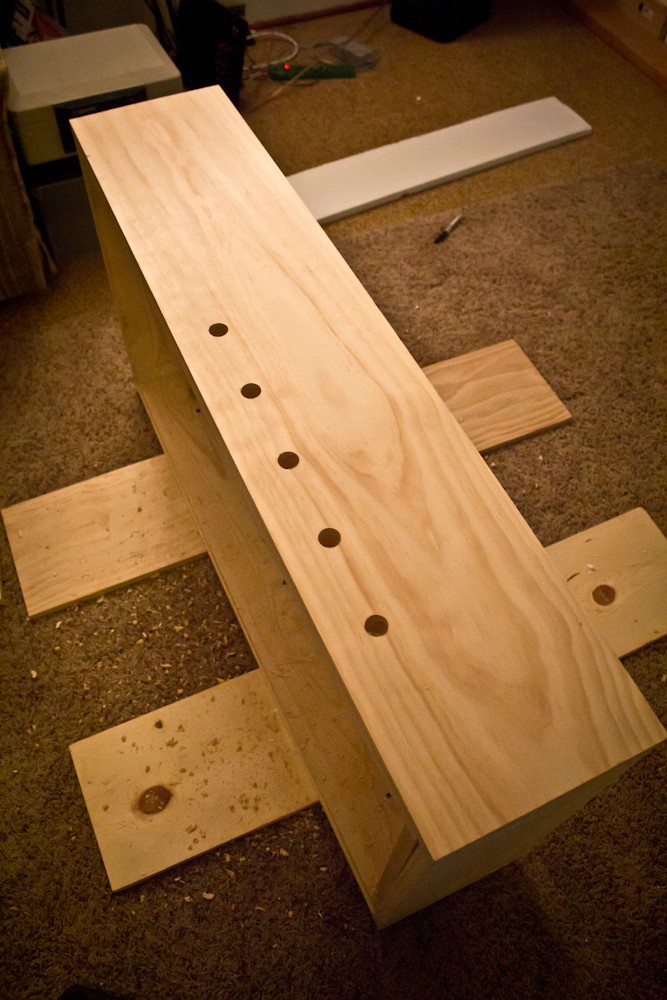
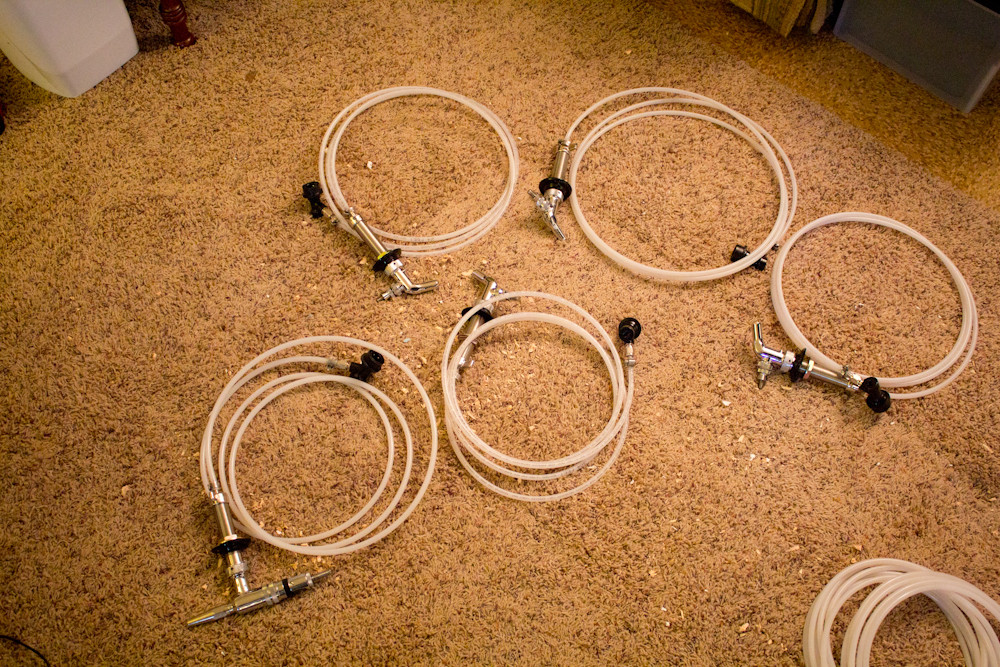
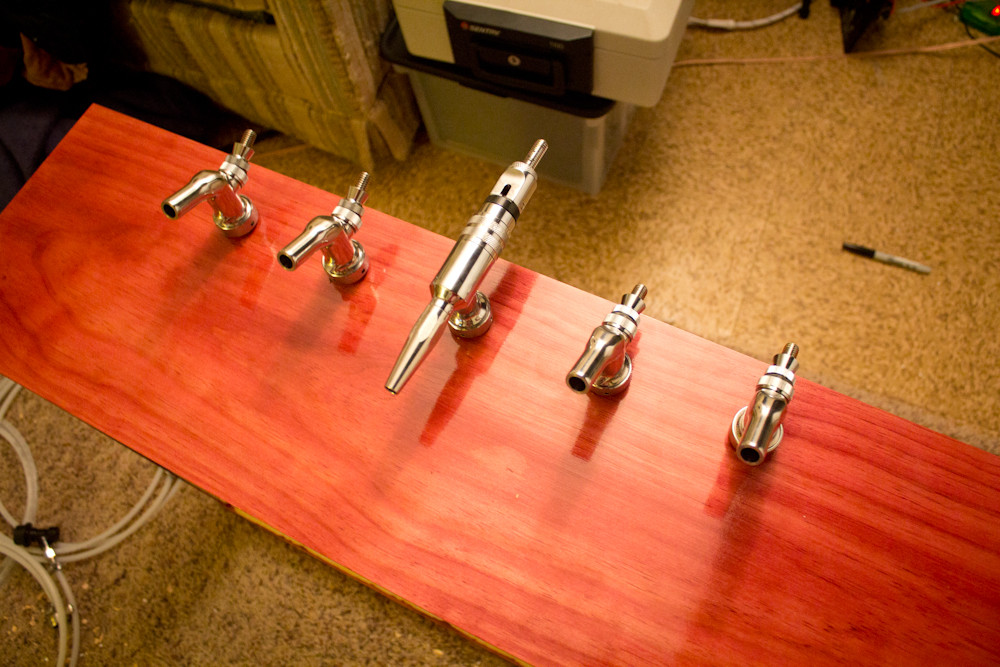
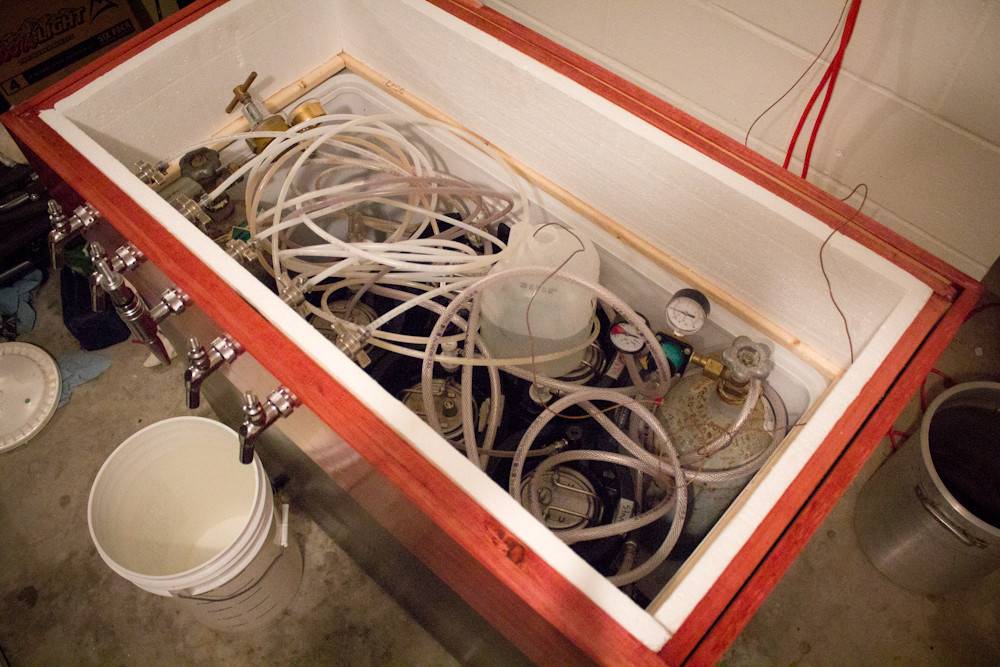
This is my basic layout for the taps. I plan on having a towel rack on the right side after all is said and done. My thought process is that the hump in my freezer is on the right side, so I should have a bit more leeway on the left side for the shanks/hoses
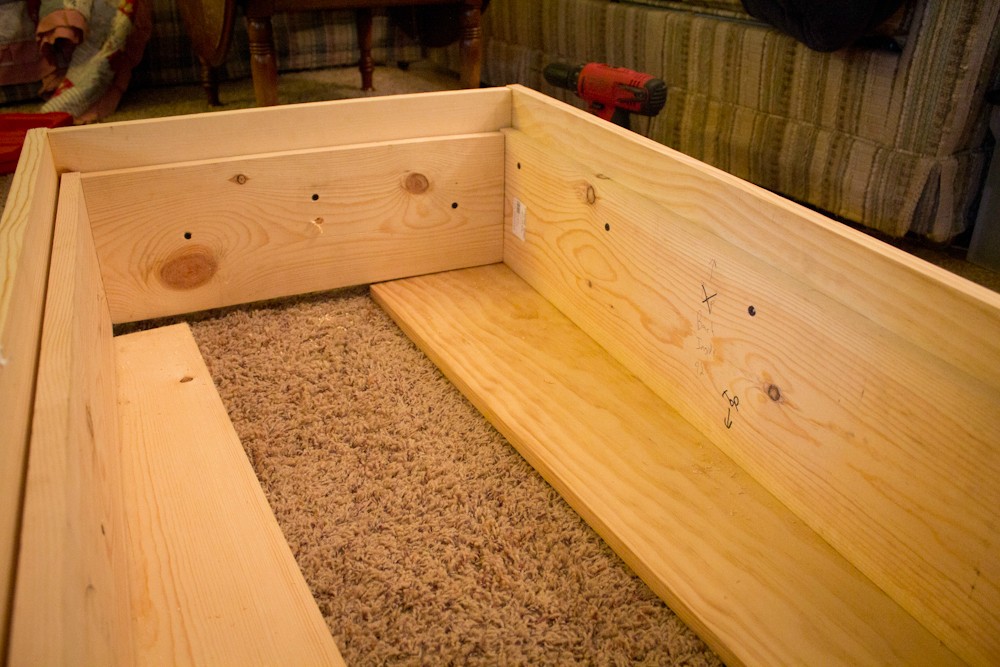
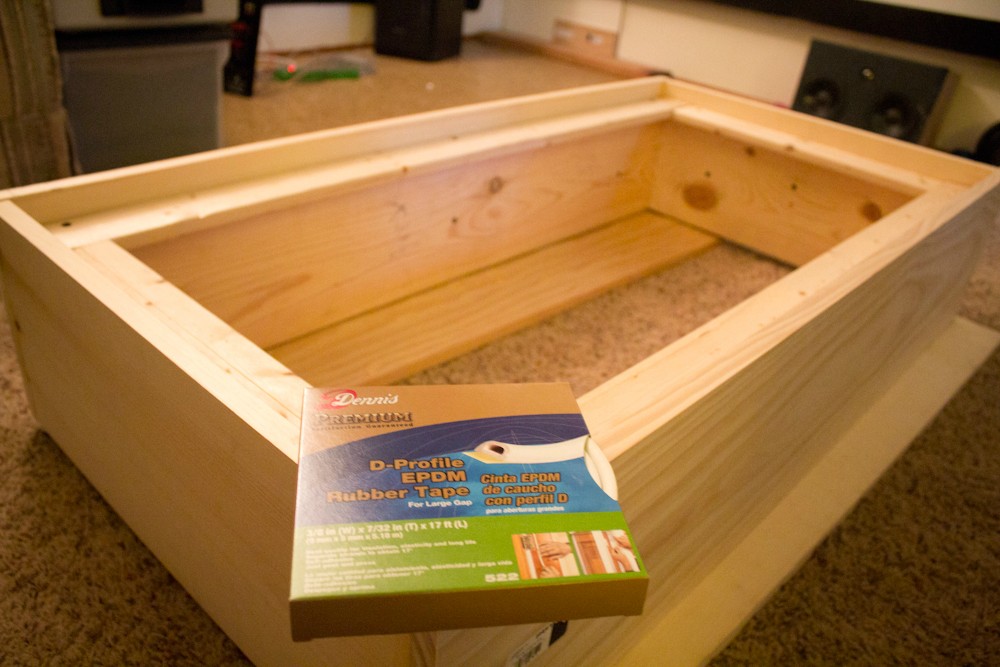
I then added cheap 1x3 boards to the bottom of the 1x8 inner collar
On the bottom of the 1x3's I put in sealing strips. I don't know what these are technically called but look in the door area of your store.
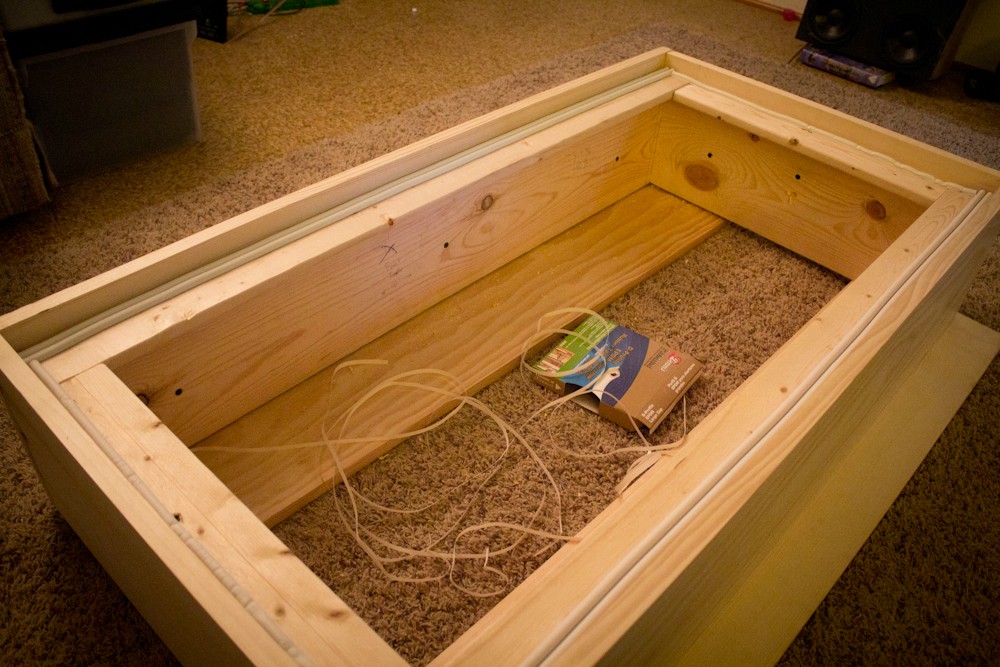
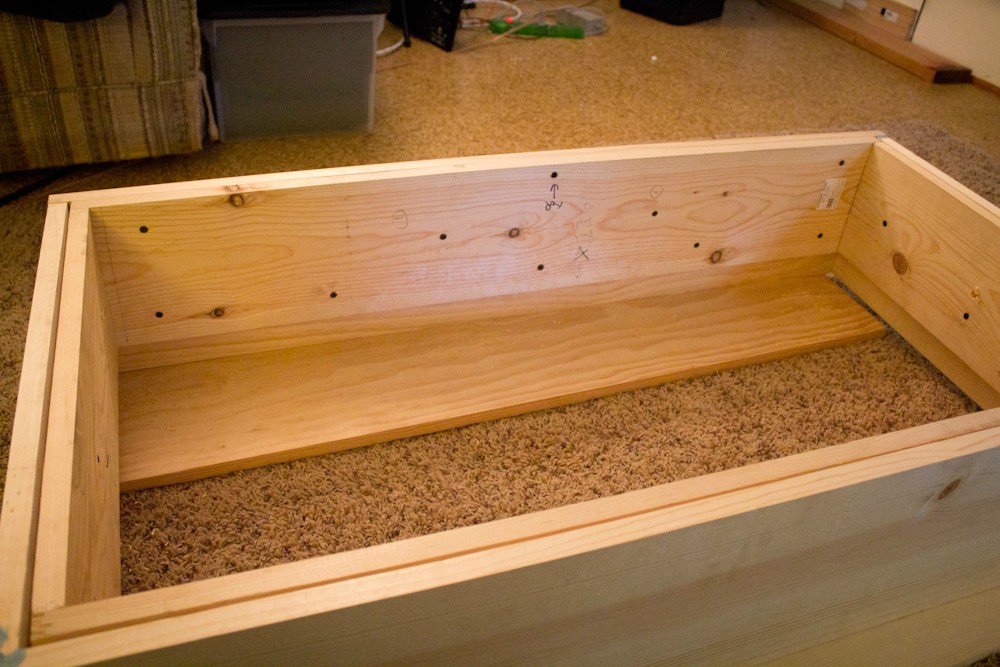
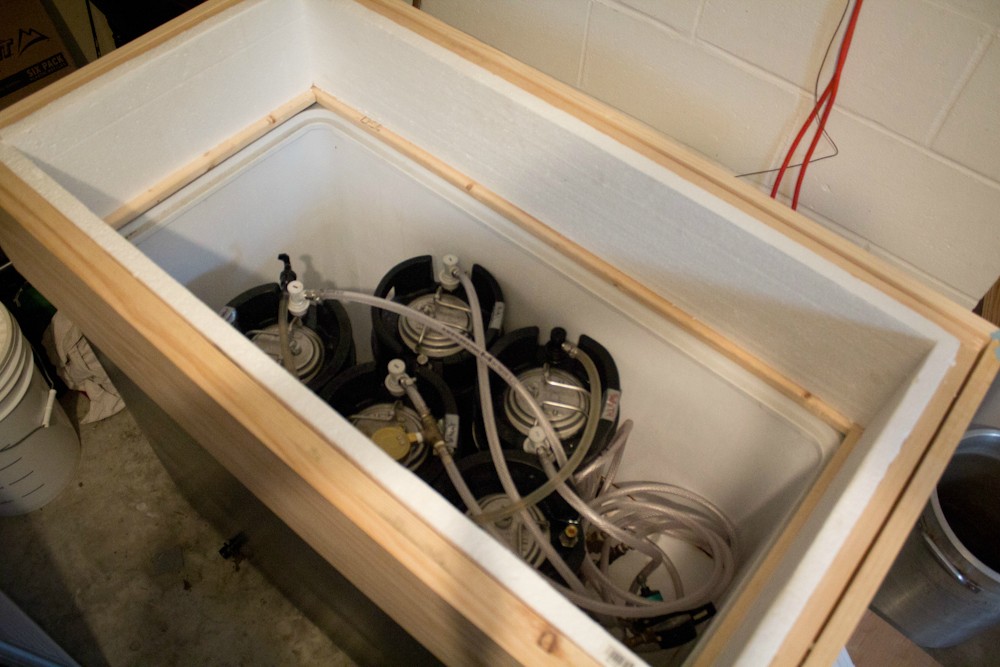
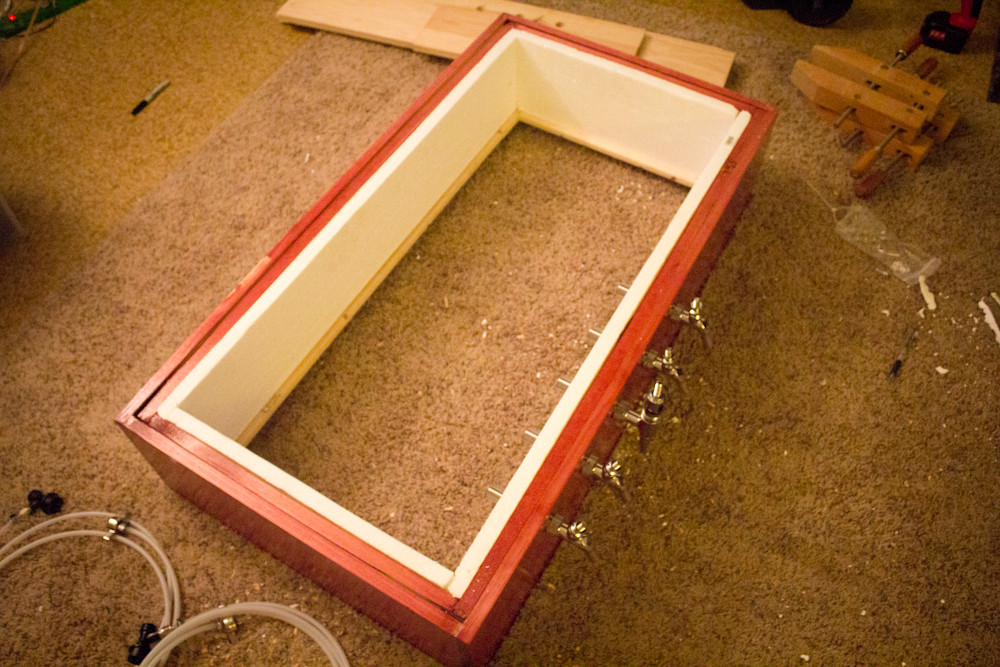
I then cut and put in 1" thick Styrofoam insulation. I'm not sure if there are better option but it is cheap and seems to have a decent insulation rating. Here is another test fit to make sure everything is going as planned.
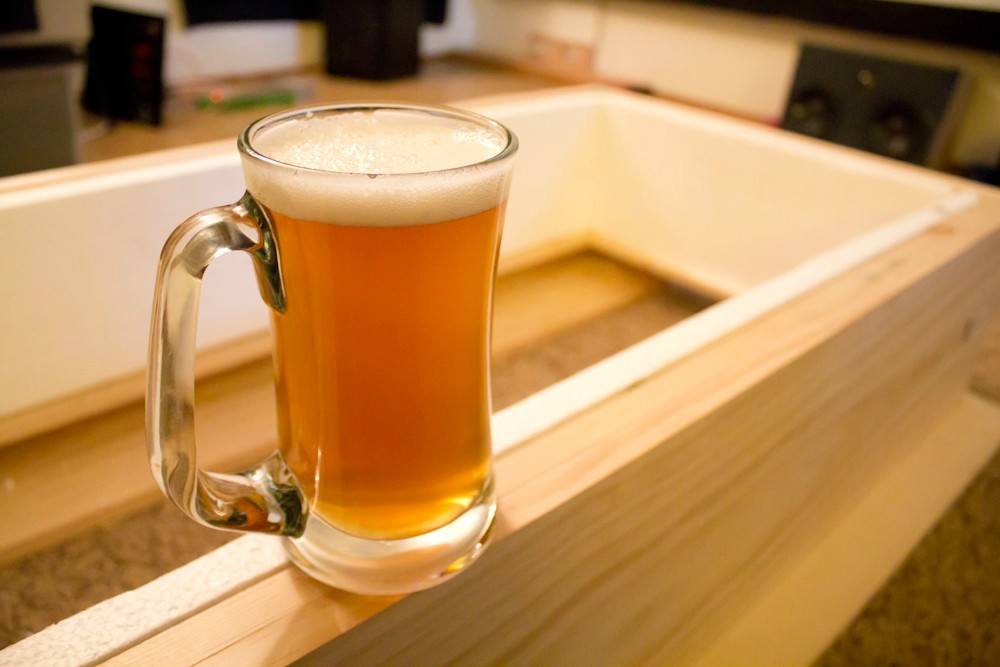
Drink beer (not too much) while constructing. Here is my "100 Year IPA"
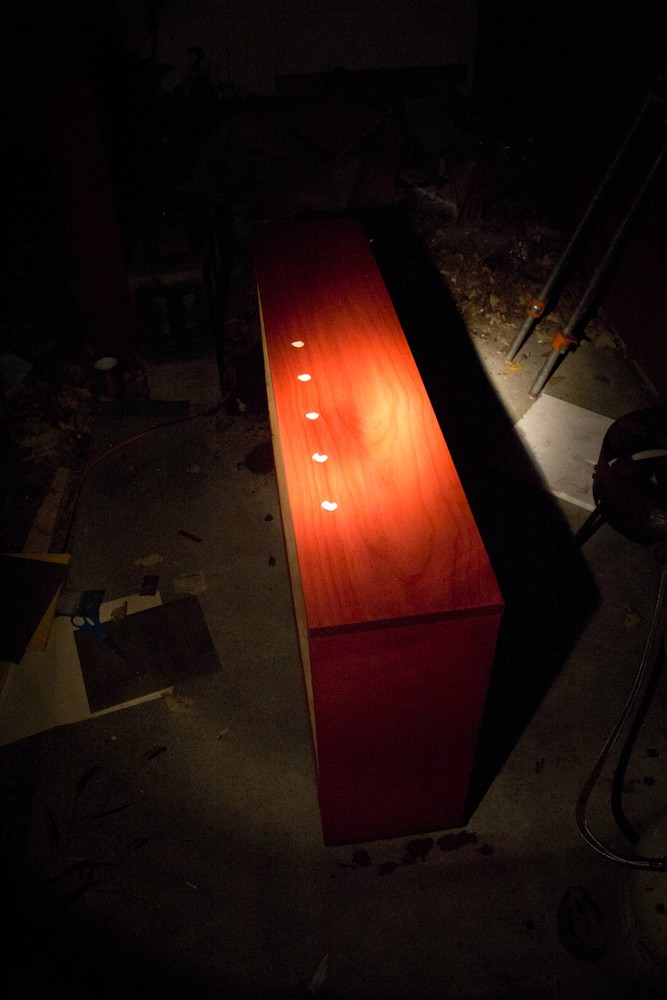
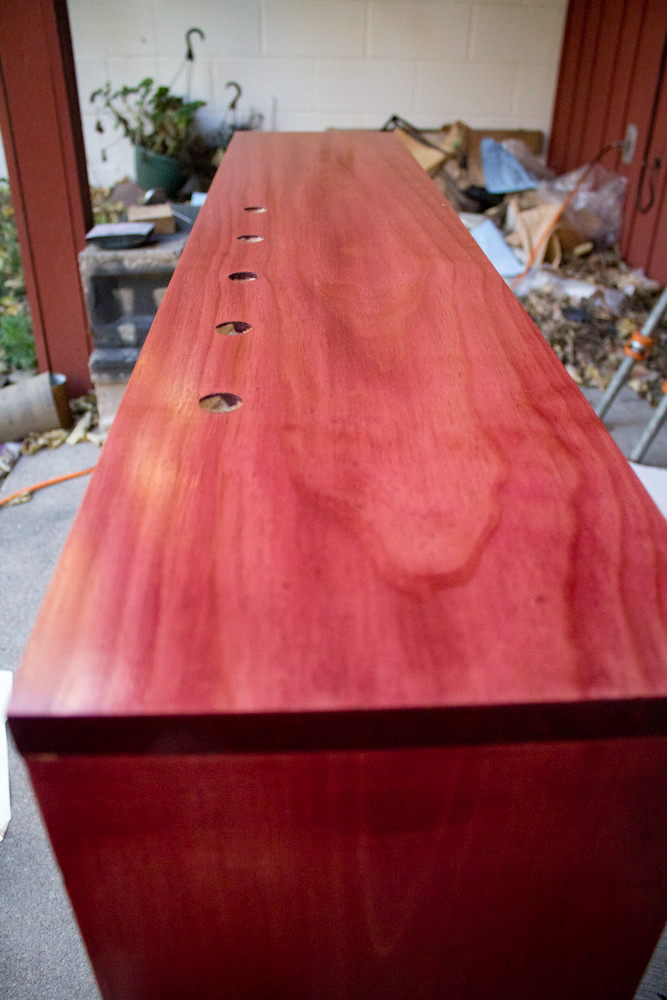
I then measured out where my taps where going to go while being careful not to scuff of mark my front 1x10
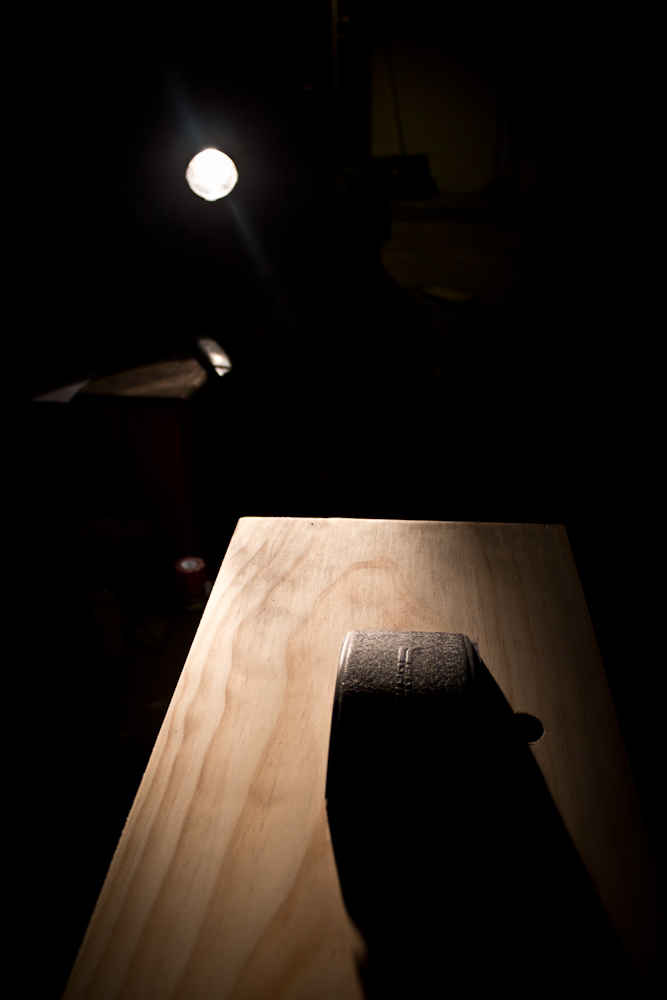
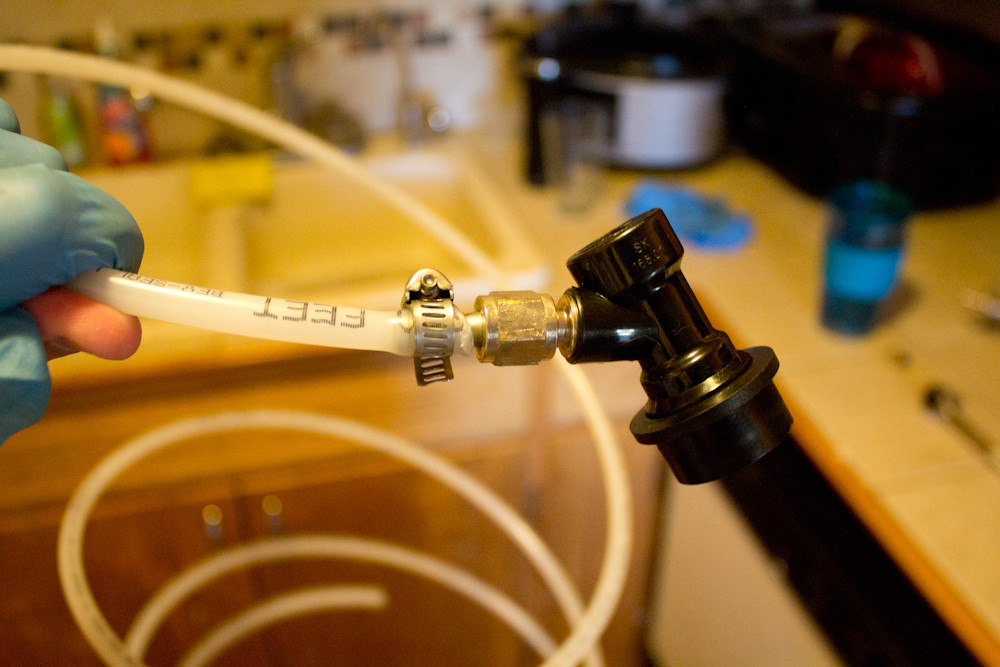
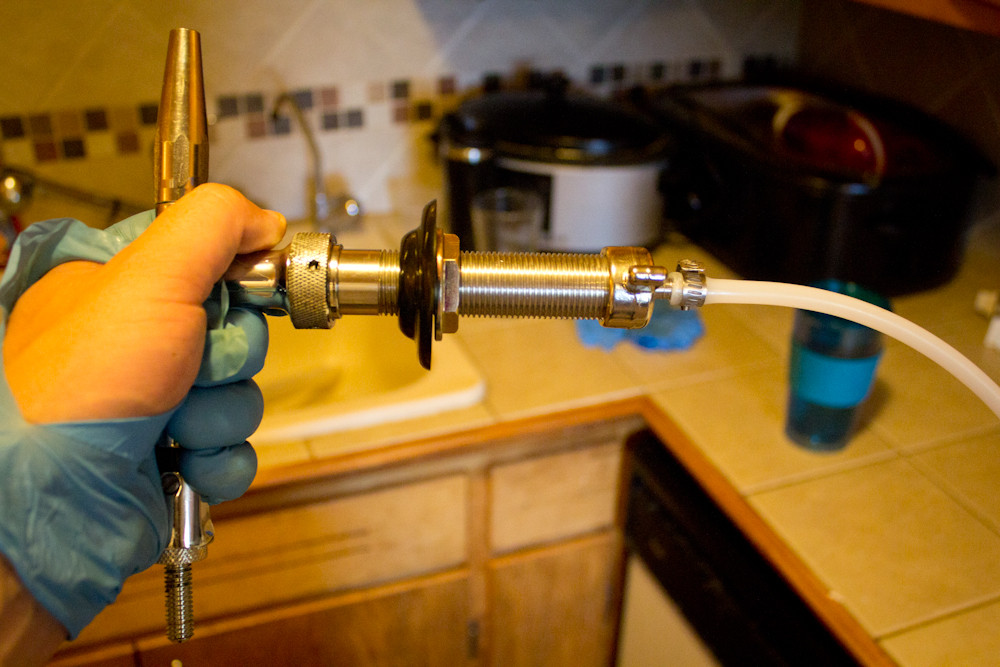
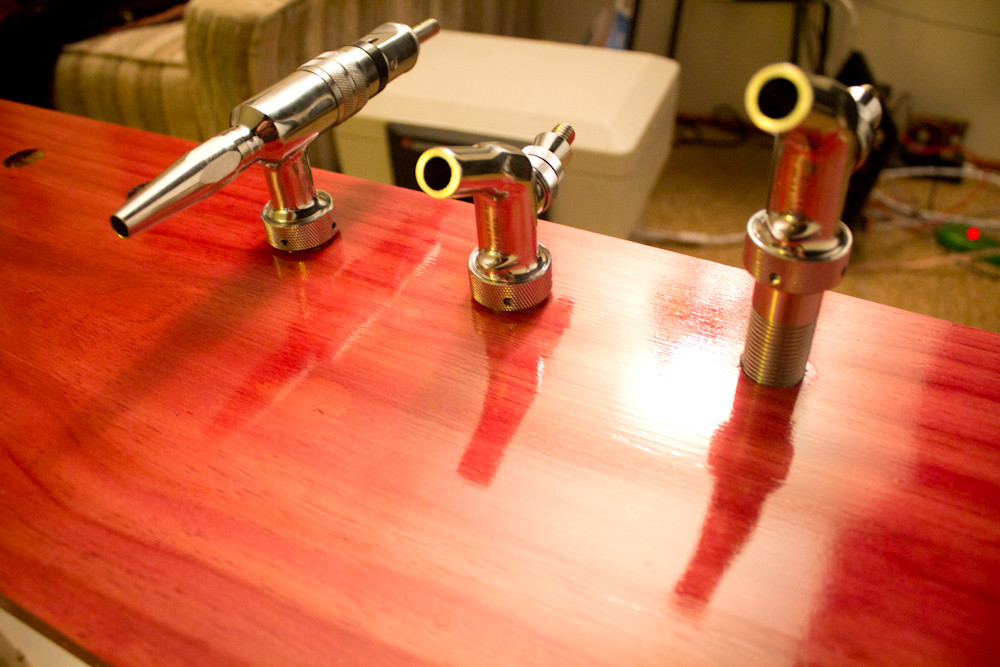
I used a 7/8" bit. Check your shanks. Mine are 7/8". My suggestion is to use a 15/16" bit if you can find it. Using a 7/8" is a pain. You physically have to screw each shank through the board because the fit is that tight.
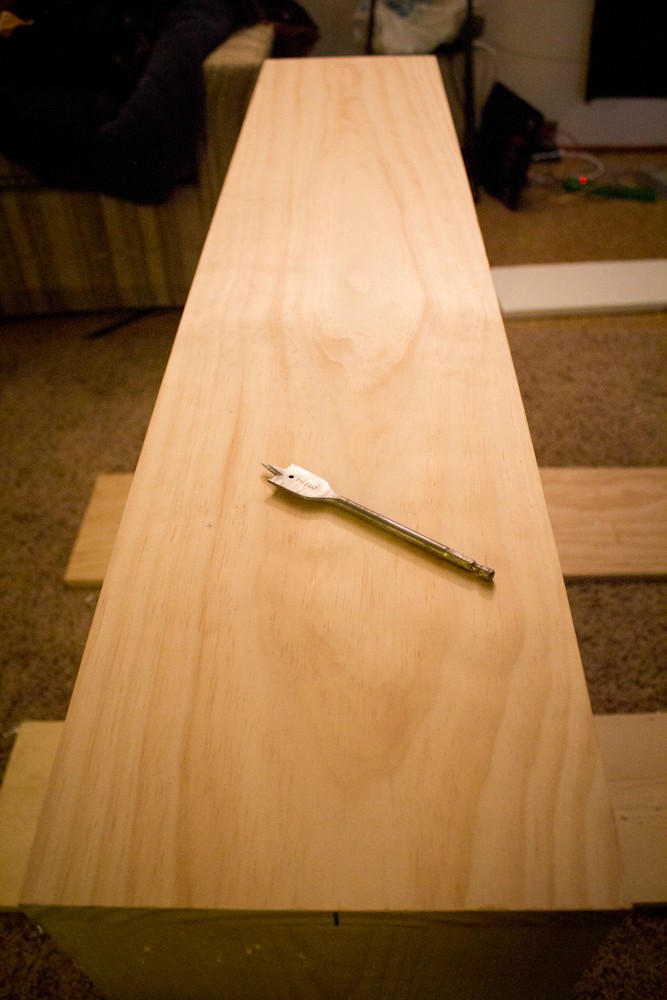
I also used a guide piece of wood. I drilled 3 holes in it and picked the straightest one. No drill press. This also helps minimize the risk of chipping the front wood.
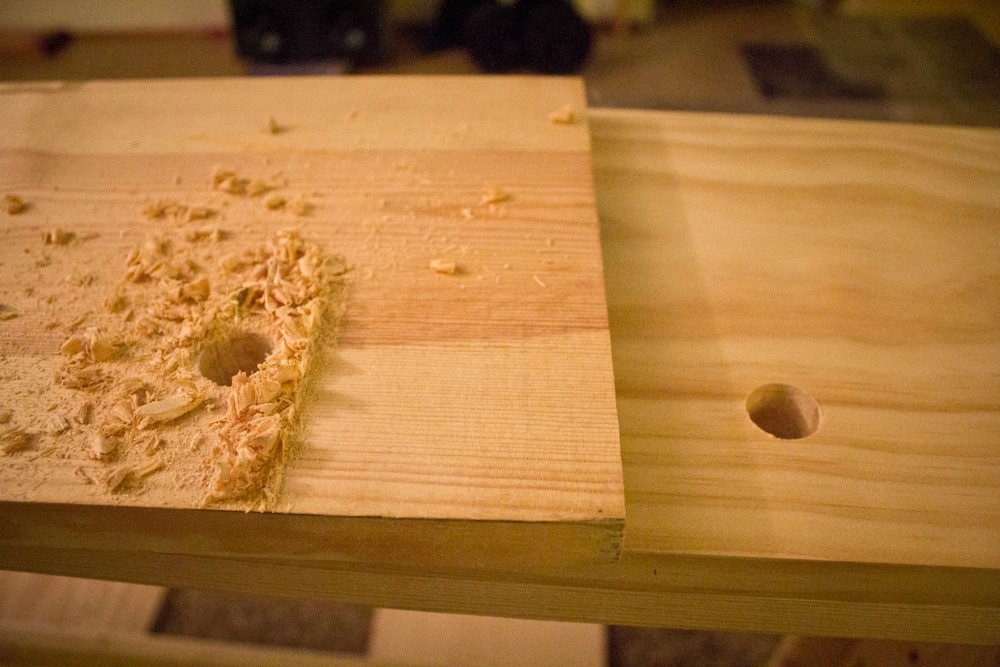
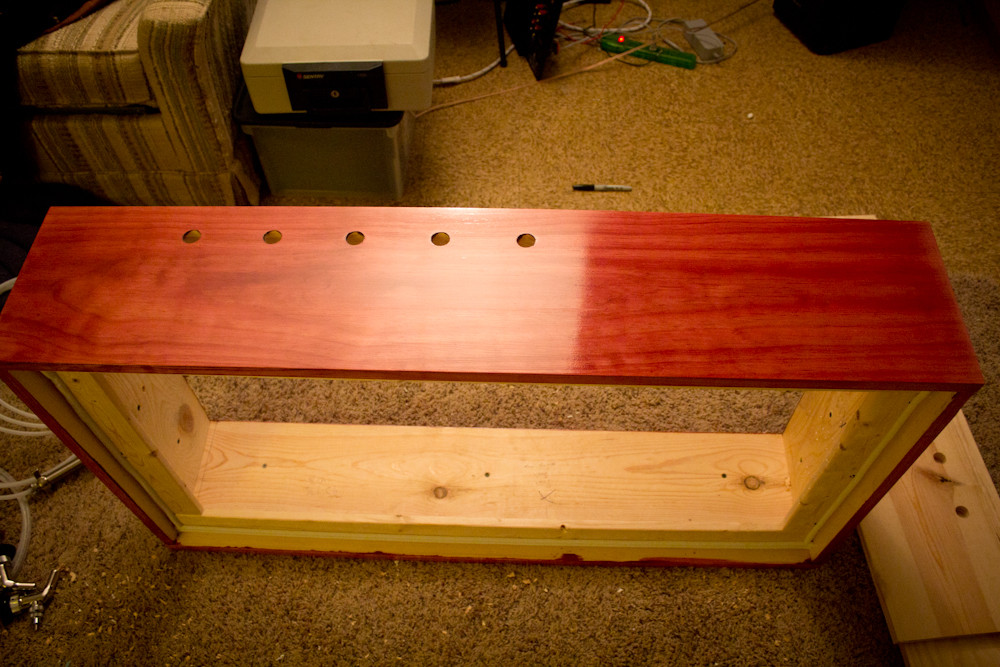
Nice clean holes
I started with 100 grit. Sand sand sand sand sand.
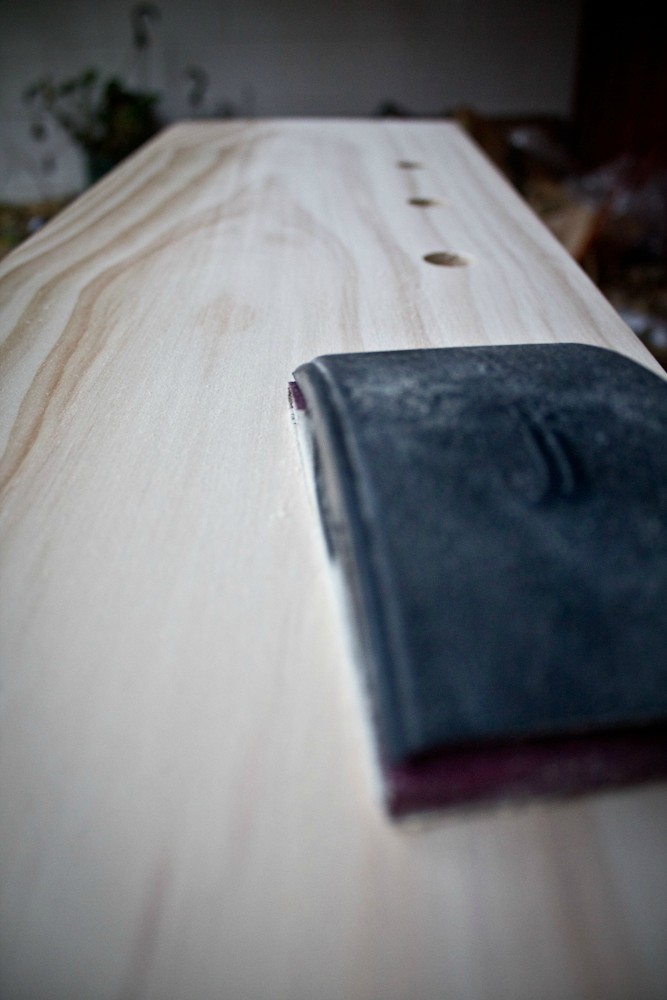
Switched to 220 grit. Sand sand sand sand sand. It started getting late.
After sanding I wiped everything down with a wet clean cloth to remove the dust. Then I used a dry cloth to get any wetness off the boards. Let things sit for 30 minutes or so to dry things a bit. Then I used pre-stain since I am using Pine. Pine will absorb LOTS of stain and will do so very unevenly. Pre-Stain is a MUST for this type of wood.
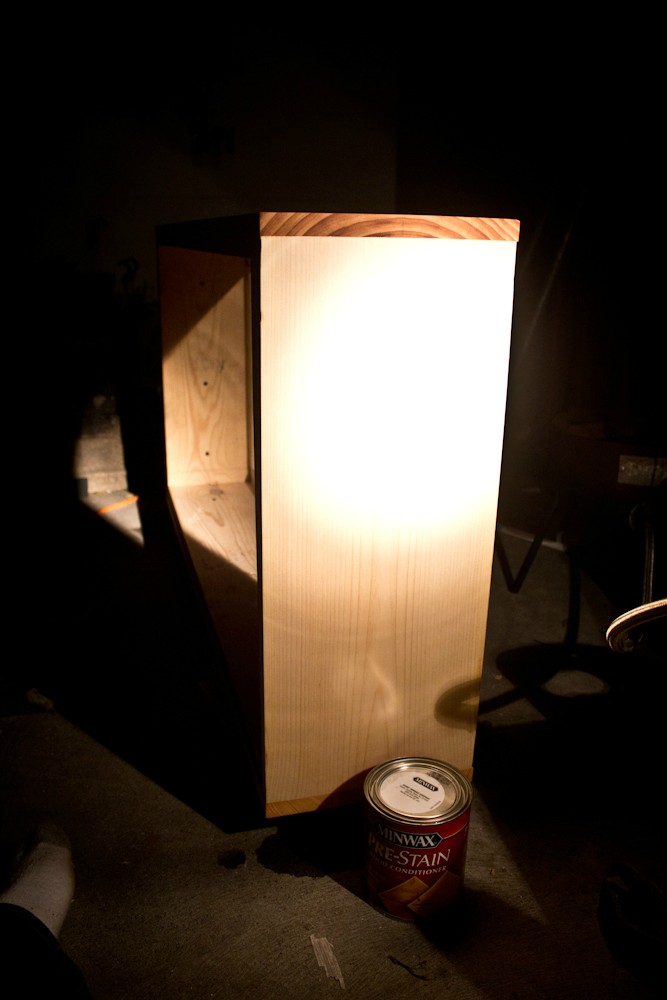
After letting the pre-stain sit for about 10 minutes I wiped any excess off. Then I generously applied my stain. I used Sedona Red by Minwax. You use whatever you think will look great in your situation.
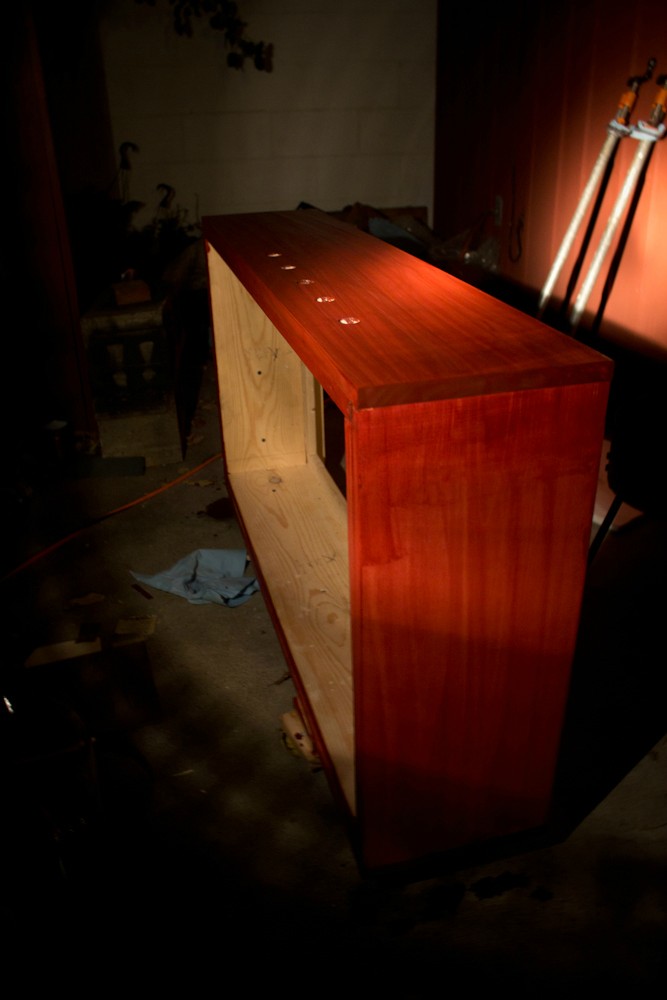
After letting the stain sit for a few minutes I wiped off any excess that was left. Make sure you wipe off anything that is still wet after 10-15 minutes. If you don't, thing will get blotchy and/or tacky.
That's it for today. All in all it was about 8 hours worth of dinking around. I will be putting on 2-3 coats of polyurethane tomorrow and hopefully assembling all of the hardware.
Any Questions/Comments are very welcomed.
I am halfway through the build right now so stay tuned for part 2.
I start off here with my ultra cheap $30 craigslist chest freezer. I had to keep a close eye out for about a week to find something cheap and newish in decent condition.
Start by giving the freezer a good soap and water cleaning. I used one of those green/yellow scrubby pads to remove all of the easy drips and whatnot. Secondly give it a quick scrub with 200ish grit sandpaper to remove anything more + give the spraypaint something to stick to.
I used Rustoleum Hammered Black paint. It gives a nice black finish with a bit of texture to hide any inperfections (or inexperience). Do quick easy coats. I probably did about 5-6 coats per side, working my way around.
Take note of the thermostate on the freezer. You probably want to just set it to the coldest setting, but make sure you know what that is before painting over it.
Continue one coat at a time on each side. Take your time. I used 3 cans.
Here is the freezer after all 5-6 coats. I think it looks pretty nice.
Drink beer. This is "Kassie's Irish Red"
Make a plan for the inner and outer collar. My design uses 1x8's for the inner collar that sits on top of the freezer, and 1x10's that go over the sides. Think about how all the boards will fit together and make sure that the dimensions are right for your freezer. My freezers outside dimensions are 42"x21.75". Remember that the 1x8 boards for the inner collar need to be 42" and 20.25" because the thickness (3/4") of the 42" boards are added to the 20.25" boards (20.25" + 1.5" = 21.75"). Do math and stuff, check your math, ask someone around to double check your double checking and get it right the first time. The boards I used are the basic pine boards that Menards sells. If you want to use fancy oak or whatever boards go for it. Just know that I spend about $35 in lumber. I did spring for the "Quality" boards for the outside front and side 1x10's
I used clamps and a strait edge to make my cuts
I also used an old piece of MDF for a backing board while making my cuts. I set the saw depth to just slightly more than the board thickness.
After cutting all of the 1x8's I did a simple screw job
p) to get them together
Bees kept trying to drink my beer (Don't drink too much... power tools)
My solution
Beautiful day to be Keezering
I then did a test fit of the inner collar just to make sure I didn't screw anything up.
I then did reconnaissance on the freezer hinges
And removed them
That wasn't totally necessary yet but oh well. I then clamped together my 1x10 outer boards with wood glue to get good seals around the edges.
You want to leave just a TINY bit of edge showing on the (in my case) front facing boards. This is just so when I sand things down, I can get a nice clean line between the boards.
Test fit of inner+outer collar
Set the drill depth to be about one and a half board thick.
Screw everything together. Think about where the taps are going to be. Make sure not to screw near these locations.
This is my basic layout for the taps. I plan on having a towel rack on the right side after all is said and done. My thought process is that the hump in my freezer is on the right side, so I should have a bit more leeway on the left side for the shanks/hoses
I then added cheap 1x3 boards to the bottom of the 1x8 inner collar
On the bottom of the 1x3's I put in sealing strips. I don't know what these are technically called but look in the door area of your store.
I then cut and put in 1" thick Styrofoam insulation. I'm not sure if there are better option but it is cheap and seems to have a decent insulation rating. Here is another test fit to make sure everything is going as planned.
Drink beer (not too much) while constructing. Here is my "100 Year IPA"
I then measured out where my taps where going to go while being careful not to scuff of mark my front 1x10
I used a 7/8" bit. Check your shanks. Mine are 7/8". My suggestion is to use a 15/16" bit if you can find it. Using a 7/8" is a pain. You physically have to screw each shank through the board because the fit is that tight.
I also used a guide piece of wood. I drilled 3 holes in it and picked the straightest one. No drill press. This also helps minimize the risk of chipping the front wood.
Nice clean holes
I started with 100 grit. Sand sand sand sand sand.
Switched to 220 grit. Sand sand sand sand sand. It started getting late.
After sanding I wiped everything down with a wet clean cloth to remove the dust. Then I used a dry cloth to get any wetness off the boards. Let things sit for 30 minutes or so to dry things a bit. Then I used pre-stain since I am using Pine. Pine will absorb LOTS of stain and will do so very unevenly. Pre-Stain is a MUST for this type of wood.
After letting the pre-stain sit for about 10 minutes I wiped any excess off. Then I generously applied my stain. I used Sedona Red by Minwax. You use whatever you think will look great in your situation.
After letting the stain sit for a few minutes I wiped off any excess that was left. Make sure you wipe off anything that is still wet after 10-15 minutes. If you don't, thing will get blotchy and/or tacky.
That's it for today. All in all it was about 8 hours worth of dinking around. I will be putting on 2-3 coats of polyurethane tomorrow and hopefully assembling all of the hardware.
Any Questions/Comments are very welcomed.


![Craft A Brew - Safale S-04 Dry Yeast - Fermentis - English Ale Dry Yeast - For English and American Ales and Hard Apple Ciders - Ingredients for Home Brewing - Beer Making Supplies - [1 Pack]](https://m.media-amazon.com/images/I/41fVGNh6JfL._SL500_.jpg)


