SpanishCastleAle
Well-Known Member
Thanks for the help, problem is that I need it this weekend and don't have time to search for the stuff for a UDS. Maybe I could just mod/fix the old kettle grill (cheapo $30 one) and get one more piece of meat out of it.
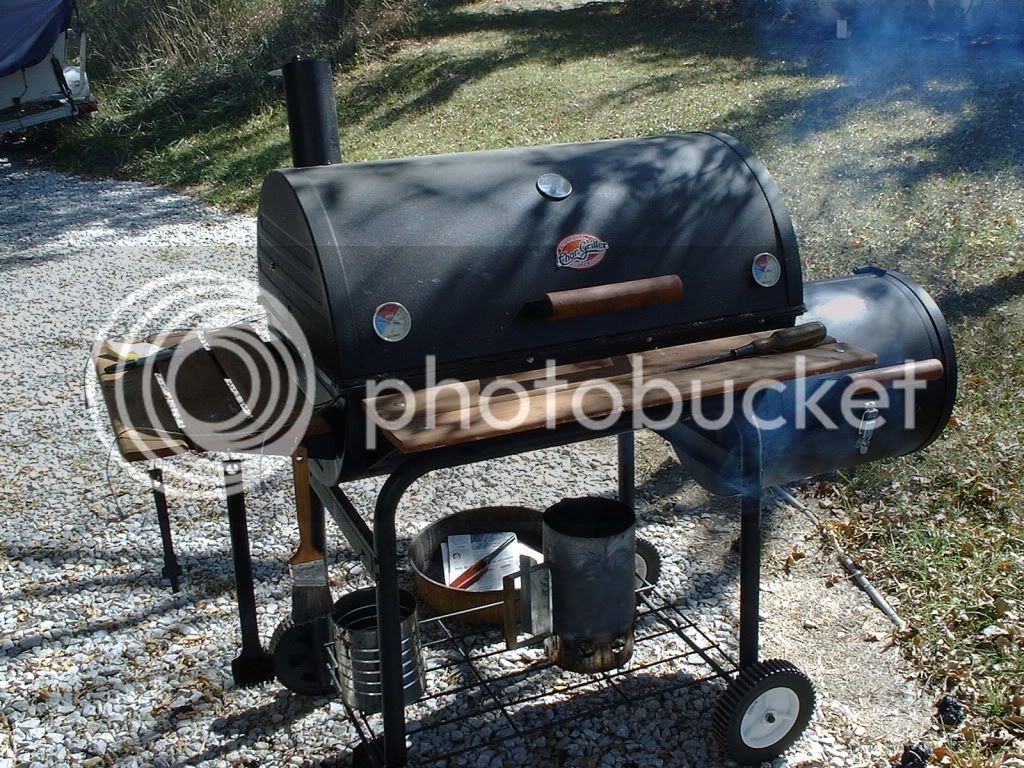
Also, for the BBQ impaired (like me); offset smokers don't look like there is much to them. A 'barrel', the offset fire box, couple of vents, chimney, etc. Just doesn't look like much to screw up. What makes an expensive offset better than a cheap one (other than size and superior materials, neither of which should affect the product made inside).
Also, for the BBQ impaired (like me); offset smokers don't look like there is much to them. A 'barrel', the offset fire box, couple of vents, chimney, etc. Just doesn't look like much to screw up. What makes an expensive offset better than a cheap one (other than size and superior materials, neither of which should affect the product made inside).


![Craft A Brew - Safale BE-256 Yeast - Fermentis - Belgian Ale Dry Yeast - For Belgian & Strong Ales - Ingredients for Home Brewing - Beer Making Supplies - [3 Pack]](https://m.media-amazon.com/images/I/51bcKEwQmWL._SL500_.jpg)