Paulasaurus
Well-Known Member
- Joined
- Dec 17, 2008
- Messages
- 354
- Reaction score
- 14
Height was based off my elf like stature. Glad it turned out great for both of us.
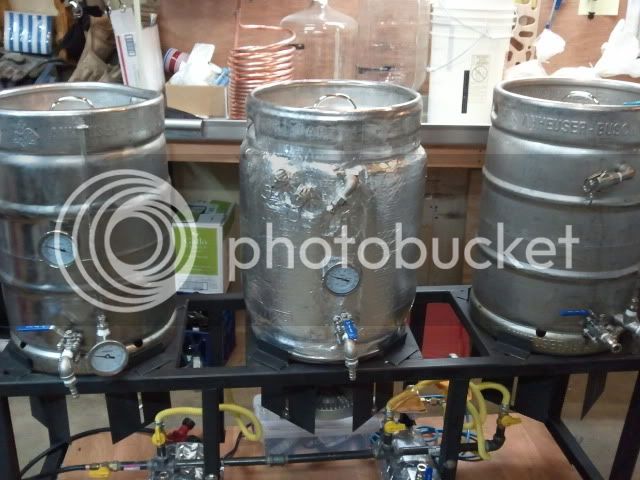
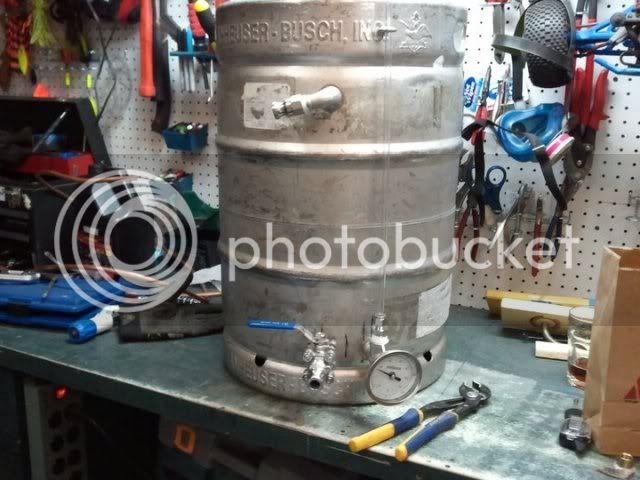
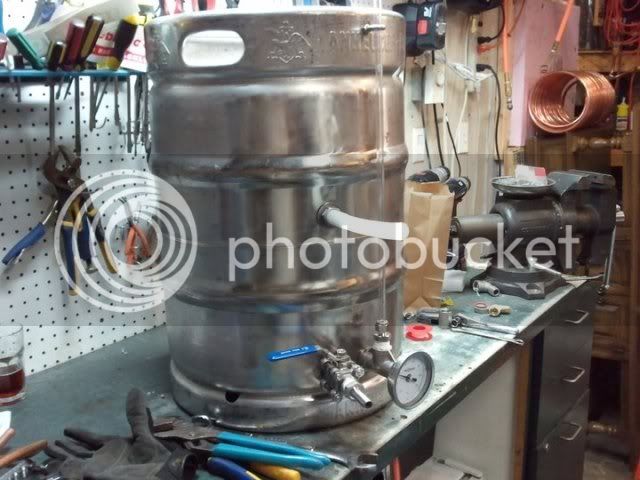
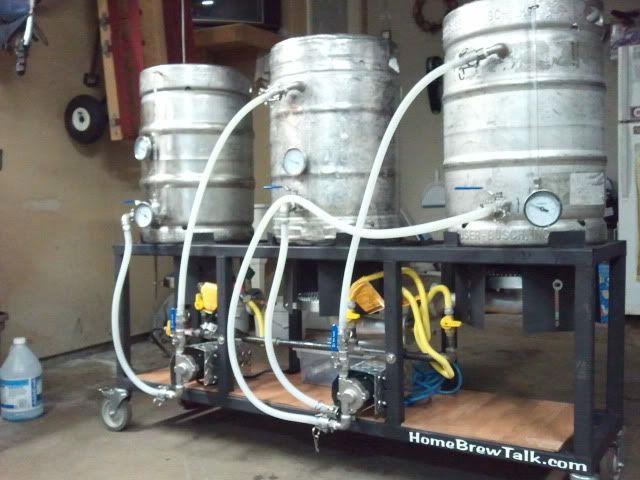
How bout some keg pictures!
How bout some keg pictures!

 I'm trying like hell to get my line-up ready for the new keezer. I have a Centennial IPA and a Blood Orange Hefe fermenting, but need to squeeze in another batch or two ASAP to fill the pipeline.
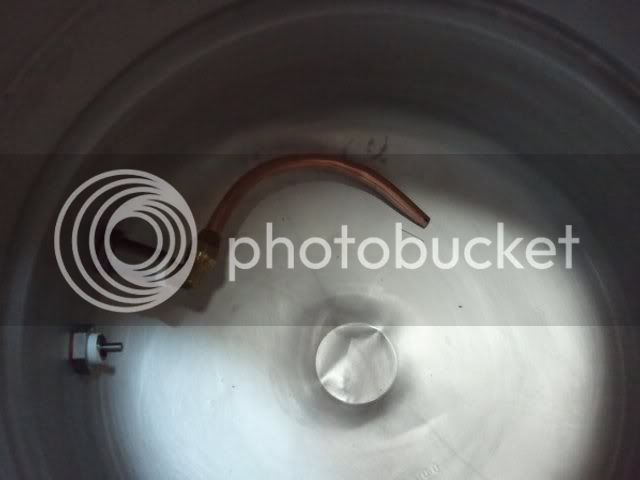


![Craft A Brew - Safale S-04 Dry Yeast - Fermentis - English Ale Dry Yeast - For English and American Ales and Hard Apple Ciders - Ingredients for Home Brewing - Beer Making Supplies - [1 Pack]](https://m.media-amazon.com/images/I/41fVGNh6JfL._SL500_.jpg)


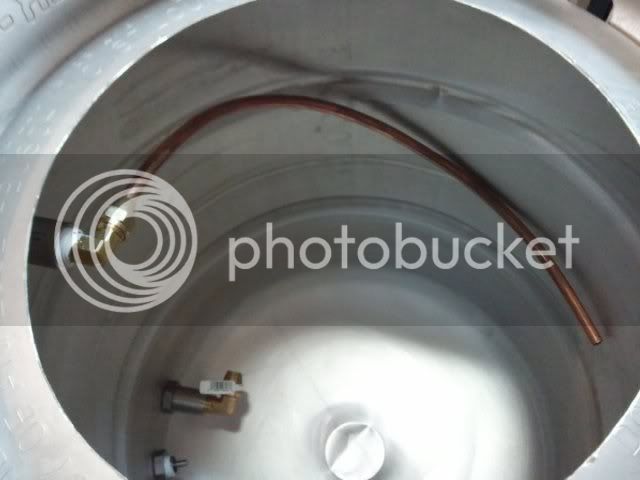
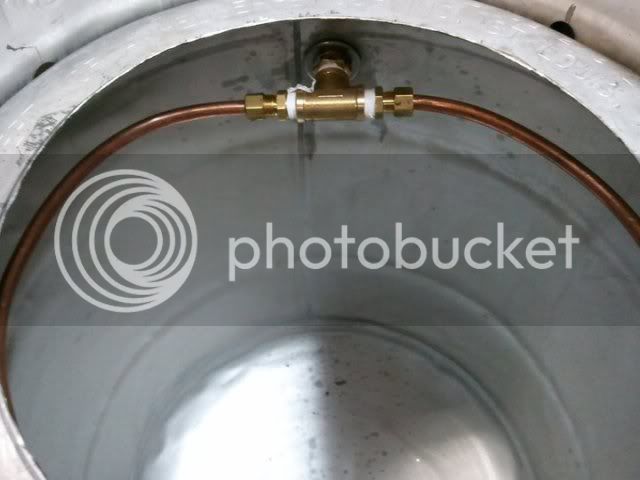
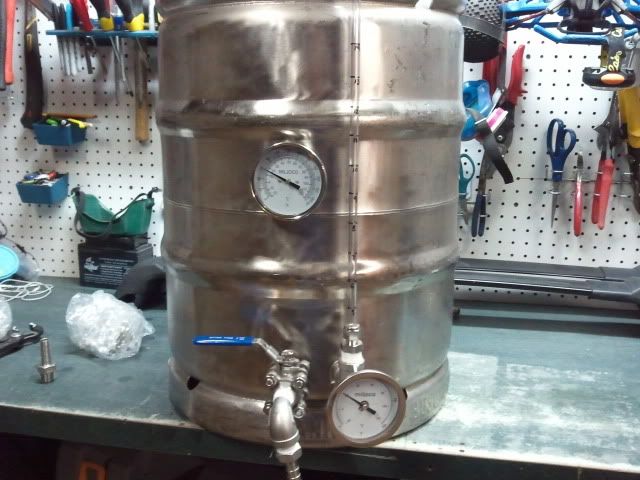
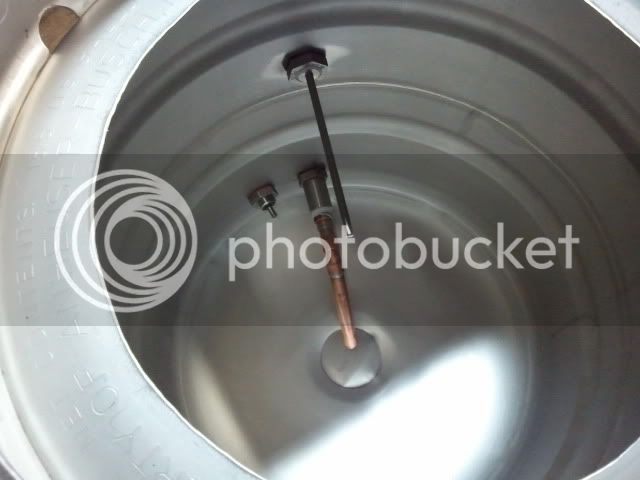
Thanks man! Yes, it is very exciting to be this close to test the system. I am really excited to get a bunch of PBW through the kegs and lines and test for leaks. That may even happen yet this weekend. Feel free to bounce any and all questions you have off of me, I'd be happy to help. Again, I'd suggest http://www.bargainfittings.com/ for the keg conversion needs.
And, if you don't want to source the steel parts, let me know and I can put a kit together for you and ship it to beautiful Ortonville. I'd be happy to let you learn from my mistakes.
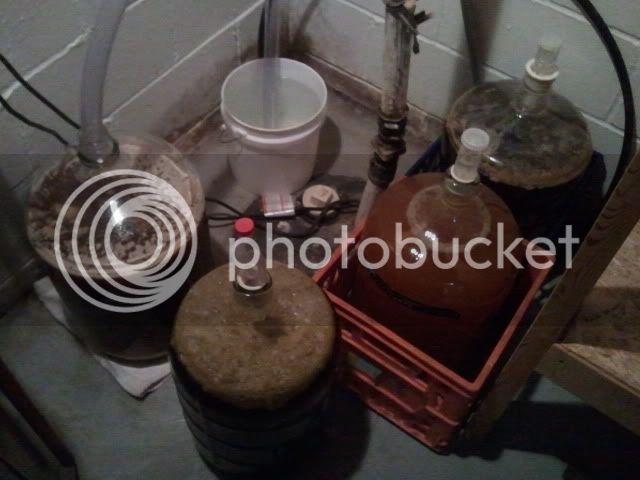

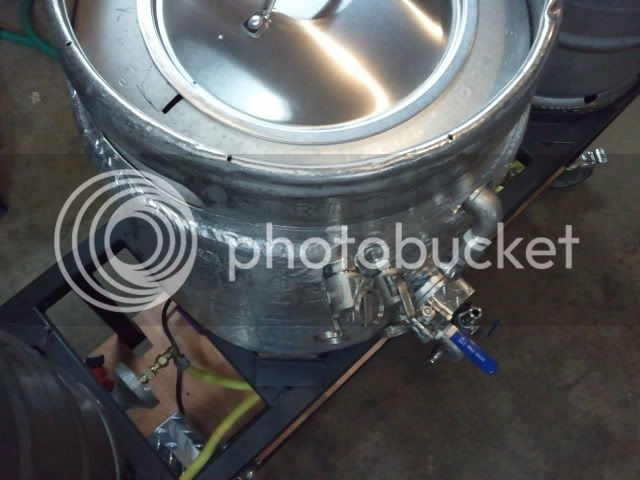
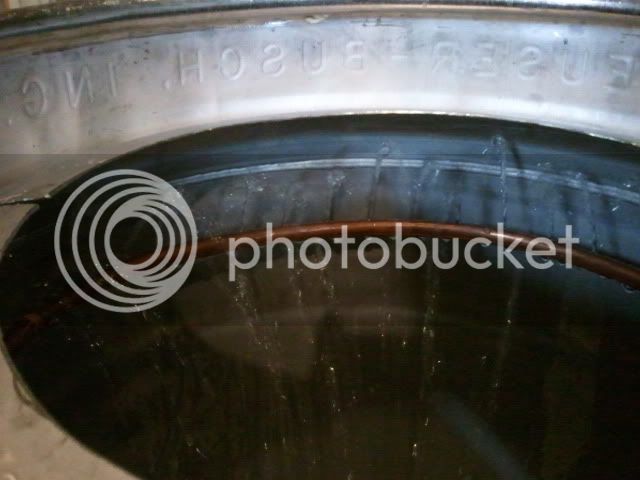
 Do you think that USPS would frown upon 20 gallons of home brew being shipped through the mail system? I updated pics of the keezer a while ago on my thread. Is you AG system and keggles 100%complete at this point?
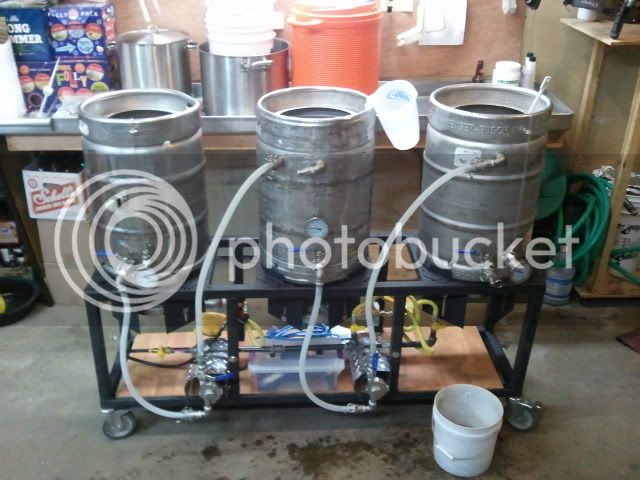
 . Good luck Ted and thanks for all of your advice along the way with my keezer and soundproofing for my basement.