doctorsbro
Well-Known Member
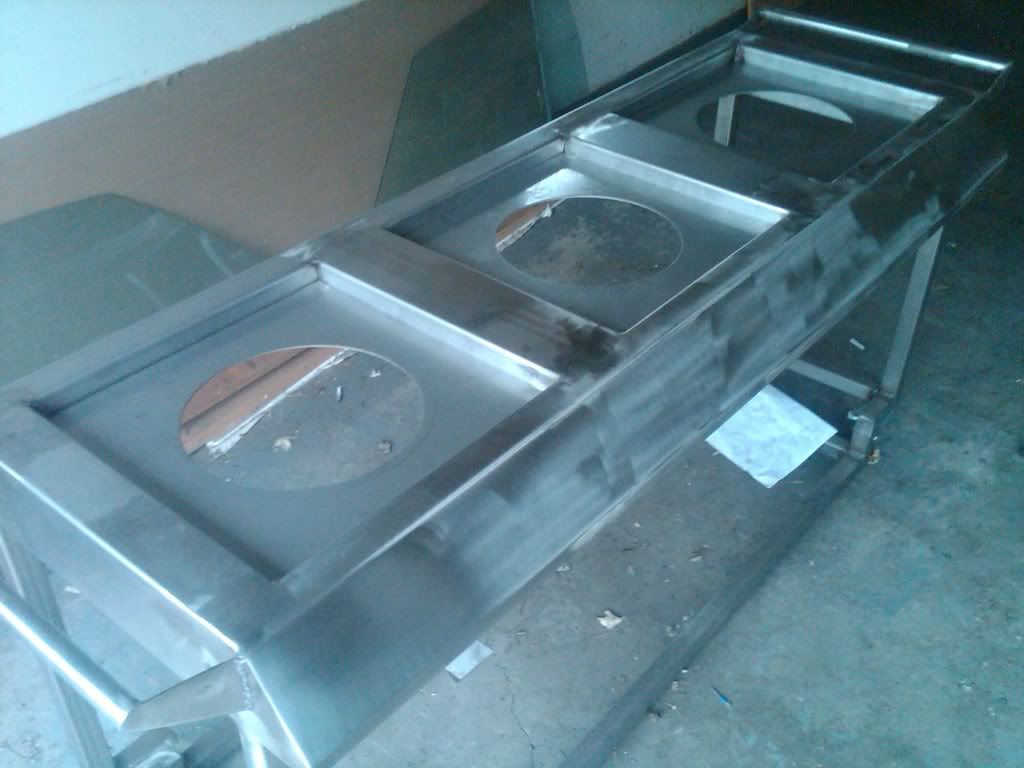
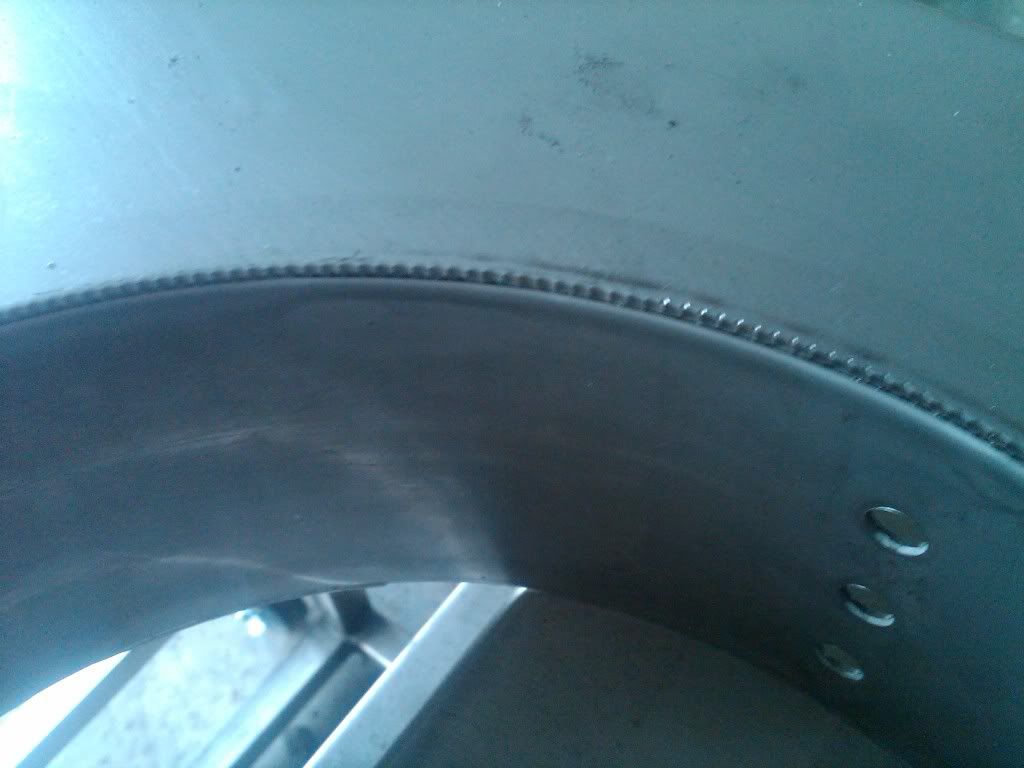
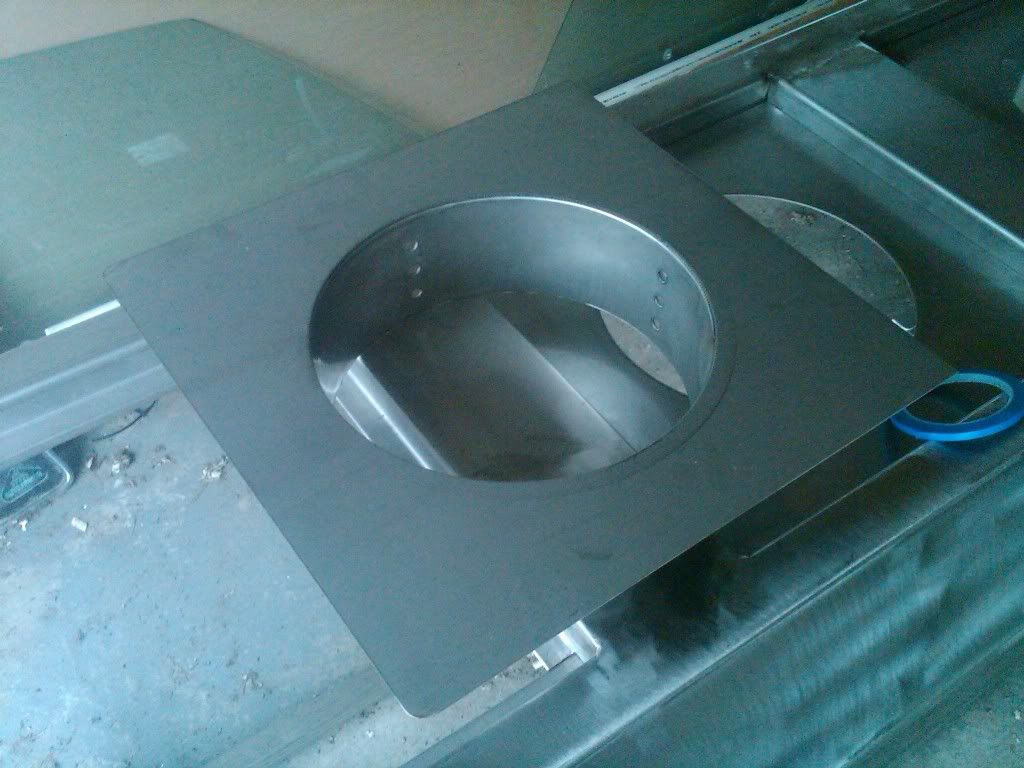
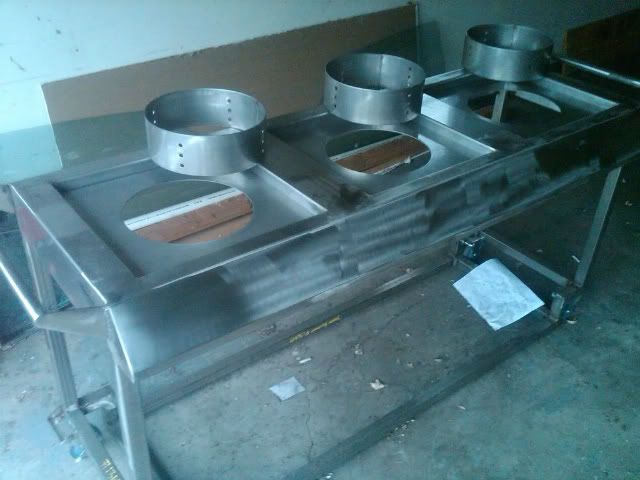
i still have to finish the burner plates/wind screens, i had the holes plasma cut in the plates and need to grind them down and then weld the windscreens to the plates and then install them into the stand. After all that is done i need to make some boxes/ covers out of stainless for the pumps, i like the covers that cover the entire pump and just the pump head is exposed, Then its time for sanding and polishing, im going to converst a variable speed buffer into a tool that will hold a 4"x4" sanding drum and make a handle so it can be held directly above the drum, just like the metabo burnishing tool

I can get the 4" drum from caswell plating for about $10 and then use the metabo 220-2000 grit belt paper for it for all of the sanding and then buff it to a mirror shine. The burnishing tool makes for a really flat smooth polished surface without and waves in the surface.
I can get the 4" drum from caswell plating for about $10 and then use the metabo 220-2000 grit belt paper for it for all of the sanding and then buff it to a mirror shine. The burnishing tool makes for a really flat smooth polished surface without and waves in the surface.


![Craft A Brew - Safale S-04 Dry Yeast - Fermentis - English Ale Dry Yeast - For English and American Ales and Hard Apple Ciders - Ingredients for Home Brewing - Beer Making Supplies - [1 Pack]](https://m.media-amazon.com/images/I/41fVGNh6JfL._SL500_.jpg)
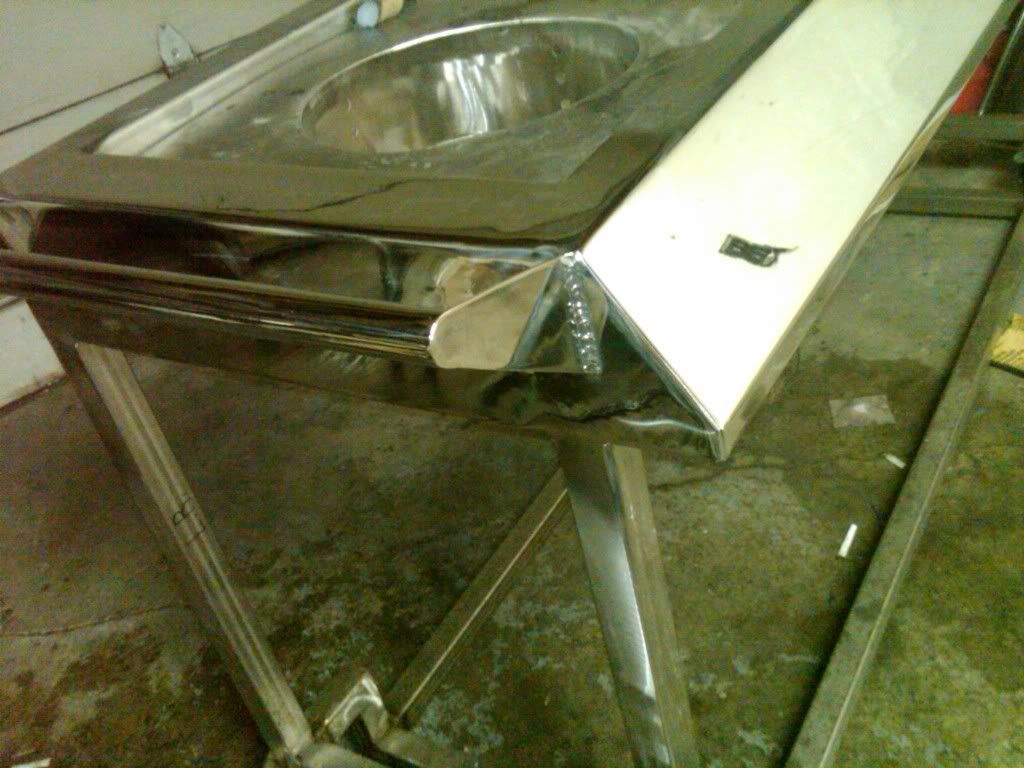
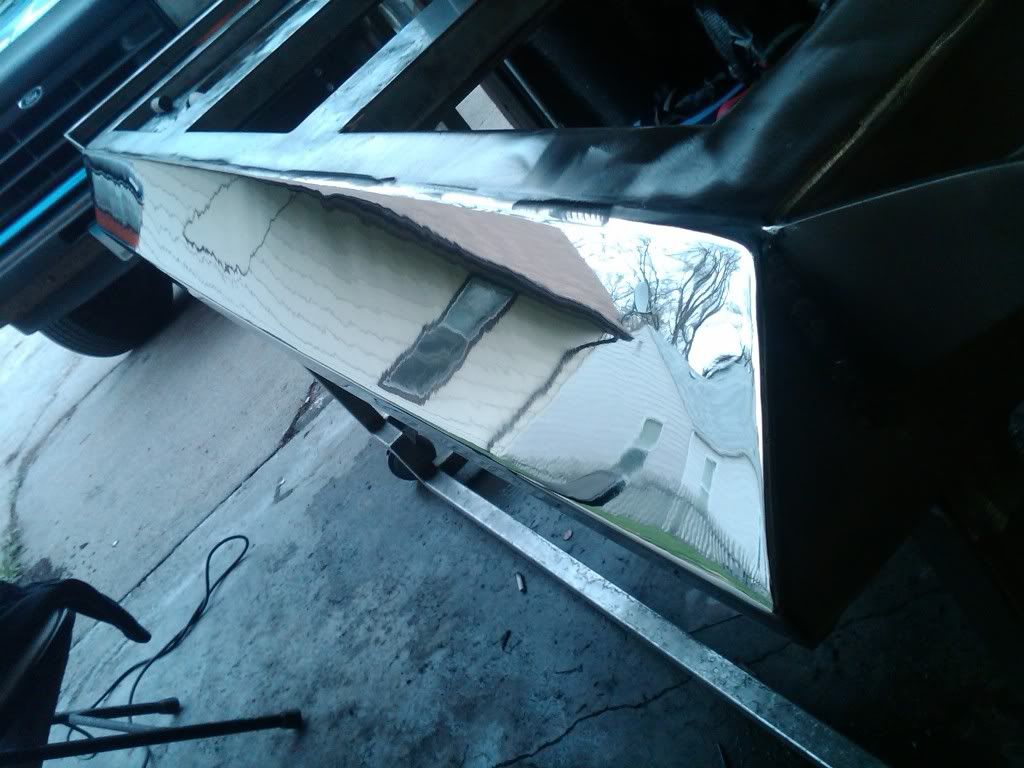
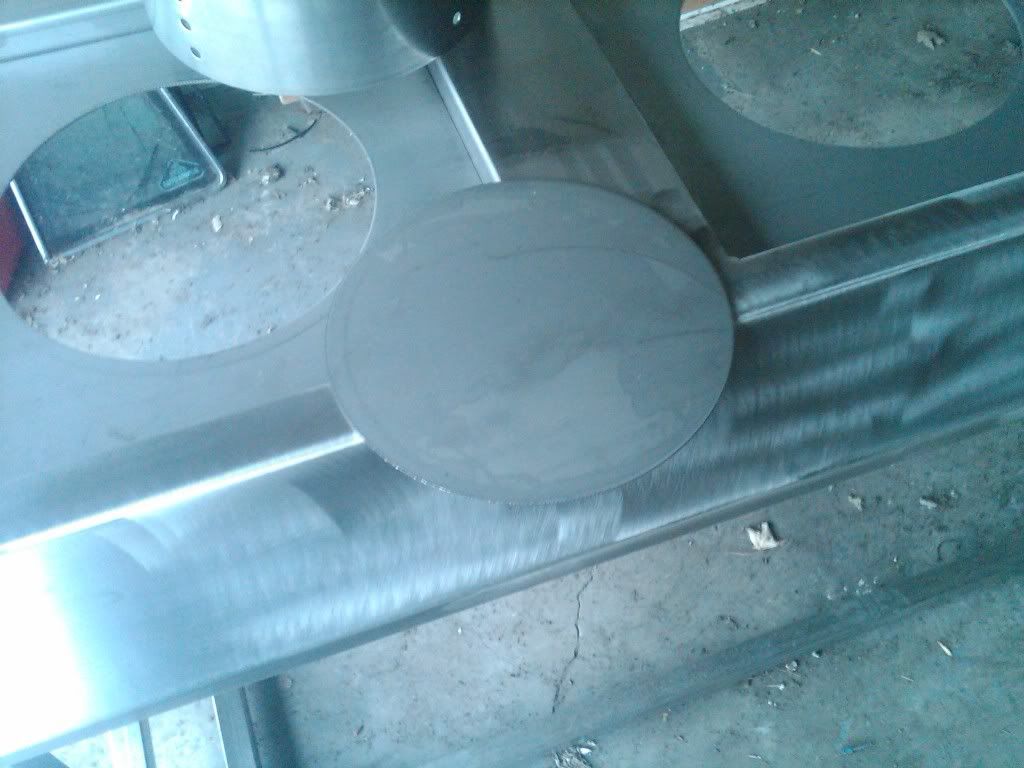
") with some ******* reflection in it....
with some ******* reflection in it....