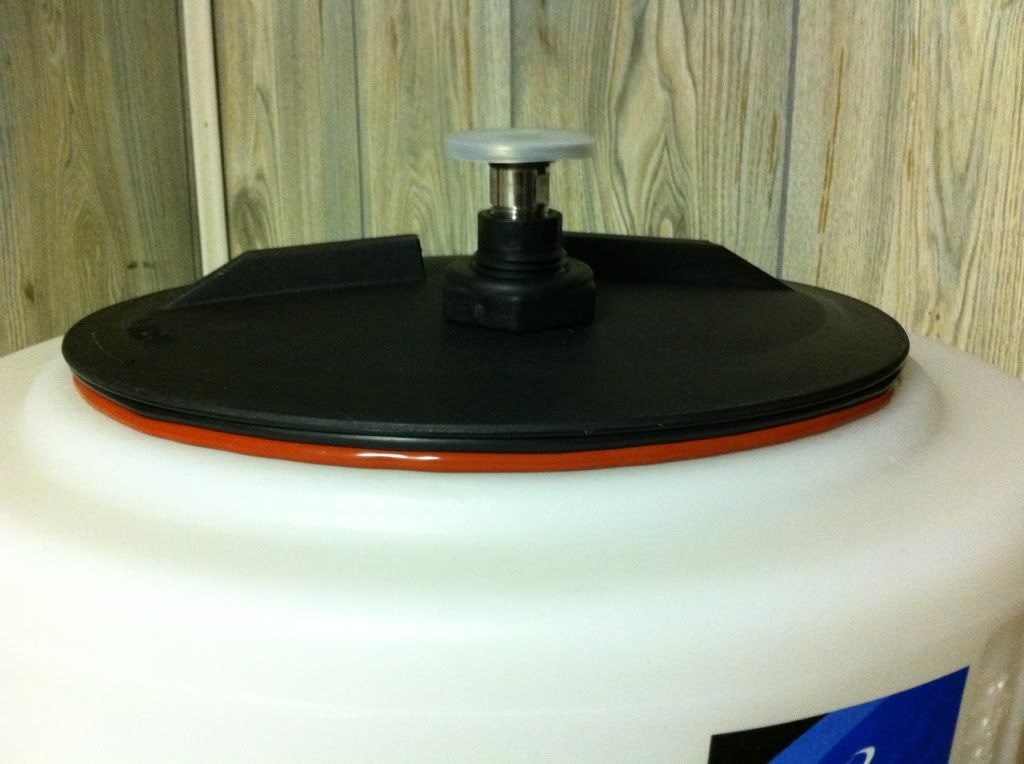
To the best of my ability and testing, this method you cannot get nearly as tight of a seal as allclene's use of weather stripping. On my conical, the O-ring (13 1/2 ID), is too big and if you try to get a tight seal just pushes the o-ring out. You would need a smaller o-ring I believe to make this work. Looking at the picture he doesn't have it as tightened as far down as I would like. I think he is accomplishing his goal of keeping nasties out, but in testing, its not as air tight.
When I say seal, I'm testing with co2 and checking for leaks. I plan to go back with the weather stripping and a hell of a lot of silicone (I don't think I had enough on there to create the good seal).
I'm still keeping my hopes up of getting the seal that allclene has being able to pressurize his vessel up to 30 psi.


![Craft A Brew - Safale BE-256 Yeast - Fermentis - Belgian Ale Dry Yeast - For Belgian & Strong Ales - Ingredients for Home Brewing - Beer Making Supplies - [3 Pack]](https://m.media-amazon.com/images/I/51bcKEwQmWL._SL500_.jpg)

")


