• Please visit and share your knowledge at our sister communities:
  • If you have not, please join our official Homebrewing Facebook Group!

    Homebrewing Facebook Group

Stupid Simple Stir Plate. ~$12

Homebrew Talk

Help Support Homebrew Talk:

This site may earn a commission from merchant affiliate links, including eBay, Amazon, and others.
Got everything in last night except for the magnets. I found a metal spacer at work that's right at the same diameter as the fan's hub and as thick as the washer suggested. Got my box stained too and plan on putting another stain before I do a couple coats of poly. Got a few questions.

1) How crucial is it for the washer to be center on the fan hub? Can I just forgo the washer and mark where the magnet would be center on the fan hub and go from there? My reasoning seems to be the washer takes away some of the magnet's attracting power from the stir bar.

2) Will Gorilla Glue or Super Glue be as good as the hot glue? I mean it's going to be a permanent bond anyways.

3) Does a hole have to be drilled above the magnet?

4) Does the control knob come off, or am I going to have to drill the hole big enough for the knob to pass through?

1. Very important it's centered as if it's not you will get a vibration. The washer will not diminish the magnetic field's intensity. Non-issue.

2. I used a slow setting cement. Position the washer with cement and center it as it spins like a potter would center clay. gentle touch will center it perfectly. The magnets just sit on the washer. Glue them if you want.

41nAwFNcMKL.jpg

3. No. It depends

4. Don't know. Don't think it comes off.
 
Last edited by a moderator:
Pretty much got everything done but still waiting on the magnets. I can't remember the seller (have to log in to find out), but for those who bought their magnets from the same Chinese seller, was there a long wait time for delivery?


Good thing is, it was a 10pc order for about $5. So if I ever have/want to do another stir plate I'll have enough magnets for 5 more. :confused:
 
I struggled through my stir plate build a few years ago. Here's what I leaned:

The real trick to being successful is getting the stir bar to spin about its own axis on the GEOMETRIC center of the vessel. That means aligning the magnets so the MAGNETIC center of the stir-bar-attached-to magnets is on the geometric center of the fan. Also, as stated above, the rare earth magnets generally used for the stir plate are quite strong. The magnetic field generated will lock the fan rotor.

I used 2 wood disks cut with a hole saw from a piece of 1/2" finish wood. Cut them exactly the same size as the fan rotor so air can circulate to keep the fan cool and the center mass of the wood aligned with the geometric center of the fan to minimize vibration and wobble.

Glued the wood disks together and place them on the fan hub. Place the rare earth magnet(s?) on the wood disk and place the stir bar on the magnet.

Slowly spin the fan blade and look from above. The center line of the stir bar should stay in the same spot. If not, move the RARE EARTH MAGNET and try again until it does. Trace the outline of the magnet, remove from the fan and glue it in place that is free from metallic objects.

The first time I did my stir plate, I glued the wood disk to the fan first and then the magnet to the wood while secured to the fan. The magnetic field that still remained, coupled with the lubrication of the wet glue caused the magnet to migrate. When the magnet is bonded to the wood, glue the wood to the center of the fan and spin by hand again to ensure alignment is retained.
 
I'm such an idiot. I have several of those beer cap magnets for putting caps on a fridge. I grabbed two of those to do a test run, and they work great!

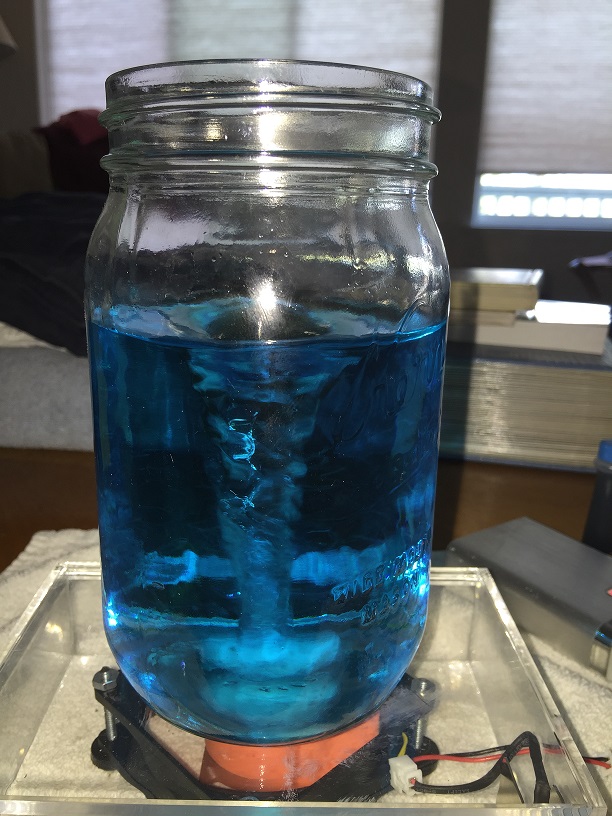
Check out the vortex at full throttle.

DIY%20Stir%20Plate%201_zpss8zwohf4.jpg


Here's a couple of more pics inside and out.

DIY%20Stir%20Plate%202_zpsoiznfyig.jpg


DIY%20Stir%20Plate%203_zpsfekv1iff.jpg


Nothing fancy and the pics just show a trial run. I still have to screw down the fan to the box and tweak the magnet placement a bit more. Just a simple craft box that I stained and polyed. I mounted my knob to the side. Having it come through the box wasn't going to work as the knob is not long enough, so I just flattened the faceplate and drilled a couple of holes to hold it in place. I like the box as it is roomy inside and will let me keep my extra stir bars, stoppers, etc in one place. Everything's from Amazon, even the compass sticker on the box. I thought it gave it a nice little touch.


I'm not going to stay with the magnets shown in the photo. They're pretty weak compared to the keeper magnets I have that keep my stir bar from being dunked into the fermenter when pitching the yeast. The Chinese magnets were a bust as they could never get past US customs, so the seller is just going to reimburse me. I found a 3" bar magnet that looks similar on Amazon so I ordered it. As good as the beer cap magnets done, I'm sure this one be more than good enough.


Very happy and can't wait to put it through it's maiden voyage.


Big thanks to Gavin C and Island Lizard. :tank:
 
I bought the fan but have yet to assemble the stir plate. Just curious-I'm assuming it's normal for this one that with the knob turned all the way down, the fan still spins (at least that's how mine is)? Does that cause any issues with getting the stir bar started or does it cause any issues with small starters where you wouldn't normally need as much rotation? Thanks!
 
I bought the fan but have yet to assemble the stir plate. Just curious-I'm assuming it's normal for this one that with the knob turned all the way down, the fan still spins (at least that's how mine is)? Does that cause any issues with getting the stir bar started or does it cause any issues with small starters where you wouldn't normally need as much rotation? Thanks!

The fan still spins with mine if it's plugged in and the knob is at the lowest setting. I can't get the stirbar to set when like this, so I just move the flask around until the bar is "grabbed", center the flask, then plug it in and adjust the speed. I usually turn the speed to up to full throttle or as fast as I can get it without the bar being thrown.

This is with my current plate and not my DIY plate. I've got the new plate put together, but have to reglue the washer to the fan as the magnet I have pulled it off when I tried to center it on the fan.


Sorry for the late reply.


Yes, that's the one I have. I don't know if you already bought yours or not, but I found the magnet didn't work as I had hope. The way it's magnetized (through the center, not end to end), the stirbar wants to almost stand on end. I cut it in half to where I could reverse one piece to make it work. Now the stir bar sits in the center between the two magnets.

If I had to do over, I would have found a smaller length magnet and used two of them. Cutting mine in half wasn't hard, but parts of the chrome have flaked off. Not a big deal since you don't really see it, but might be if you're a bit OCD (like me).

Hope this helps.
 
Last edited by a moderator:
Sorry for the late reply.


Yes, that's the one I have. I don't know if you already bought yours or not, but I found the magnet didn't work as I had hope. The way it's magnetized (through the center, not end to end), the stirbar wants to almost stand on end. I cut it in half to where I could reverse one piece to make it work. Now the stir bar sits in the center between the two magnets.

If I had to do over, I would have found a smaller length magnet and used two of them. Cutting mine in half wasn't hard, but parts of the chrome have flaked off. Not a big deal since you don't really see it, but might be if you're a bit OCD (like me).

Hope this helps.

awesome, thanks for the feedback. no, i haven't ordered yet but i will now look for two smaller magnets.
 
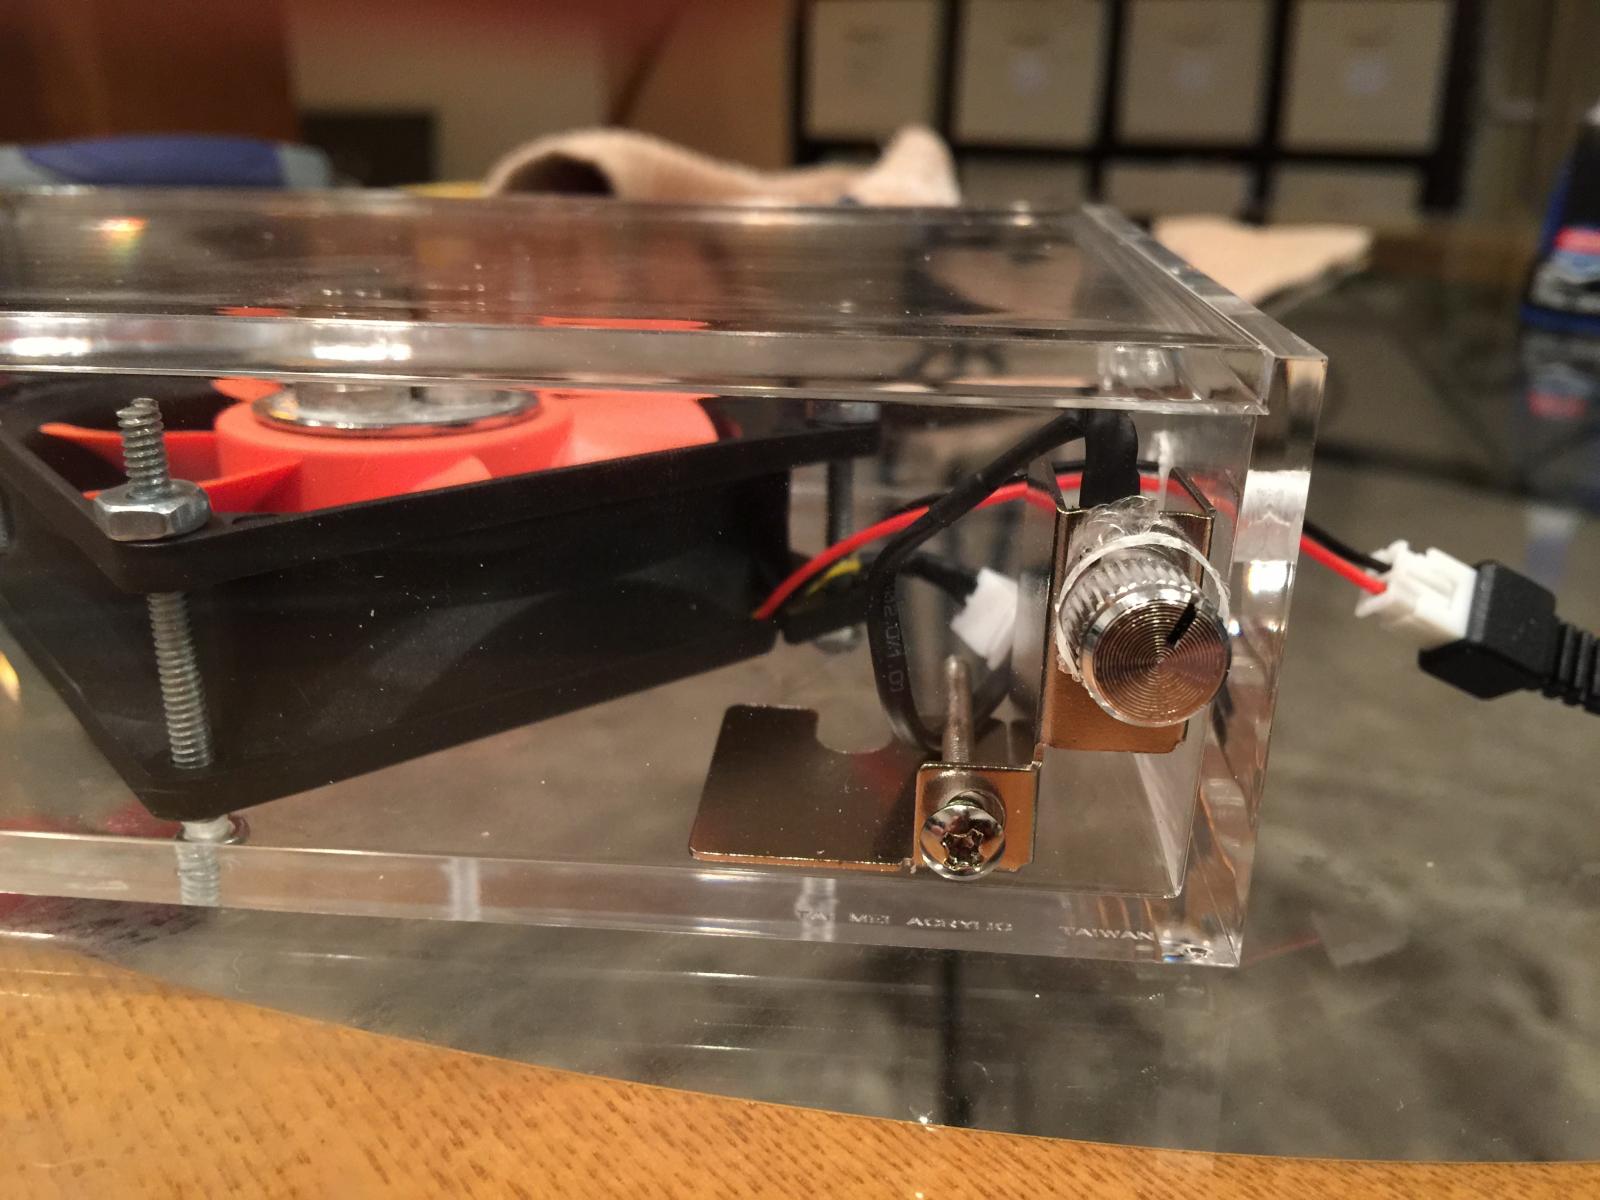
Fan works amazing. Used it for many starters. Here is my quick build.

I have since added an on off switch .

Photo Jul 17, 10 52 34 PM.jpg


Photo Jul 17, 10 53 11 PM.jpg


Photo Jul 19, 3 53 00 PM.jpg
 
@AkBrew907 - where did you get the acrylic box? That sets it off IMHO! :rockin:

Amazon. I believe it's advertised as a jewelry box. I have since wrapped the top lid in a carbon fiber wrap since the plastic was getting scratched up from moving the flask on and off it.

IMG_0264.jpg
 
this is a very cool project...I was wondering if anyone knows of any cables I can buy that have that end on them, that the fan plugs into?

I am looking for either USB on the other end, or standard AC so that I can get my fans for my keezer powered, to where I would not need to cut any cables and I can fish them thru the collar and then re-use them or re-purpose them down the road...

TIA

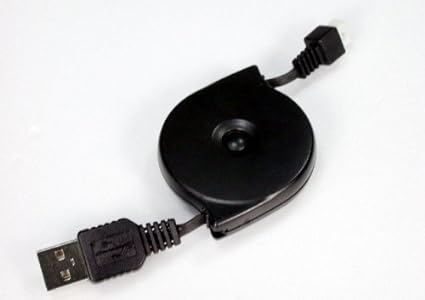
fan comes with a cable. all you need to do is supply a usb plug, like from a cell phone charger.

41OiesEJxIL._SX425_.jpg
 
fan comes with a cable. all you need to do is supply a usb plug, like from a cell phone charger.

41OiesEJxIL._SX425_.jpg

yes, that is what i would like & I am looking for...I already have three fans, I would like cables for... :) I just don't know what that is called or a part number to google it up...

thanks
 
Last edited by a moderator:
i believe three pin usb cables are more common than the two. they make three pin to two pin 'jumper' cables. that might be a cheaper combo than the cable i linked to.

perfect! thanks, looks like i have some googlin' to do tonight....thanks soo much for all of your help.
 
perfect! thanks, looks like i have some googlin' to do tonight....thanks soo much for all of your help.

Generally two pin male ends can be used with three pin female ends. The two pins are for power and the third is for monitoring/control by the motherboard.
Short story: you shouldn't need a jumper and I've never seen a two pin female end in modern setups.
 
Generally two pin male ends can be used with three pin female ends. The two pins are for power and the third is for monitoring/control by the motherboard.
Short story: you shouldn't need a jumper and I've never seen a two pin female end in modern setups.

thank you as well....:ban: I appreciate everyone's help!
 
Last edited by a moderator:

you'll have issues with that. block magnets have the north and south poles on the larger surface. it will stick to the fan just fine but the stir bar wil want to stand on end. you need to place two block magnets end to end to get the desired effect. you'll either need to cut it in half (hard to do) or get some smaller ones.
 
Last edited by a moderator:
Back
Top