socalboomer
Well-Known Member
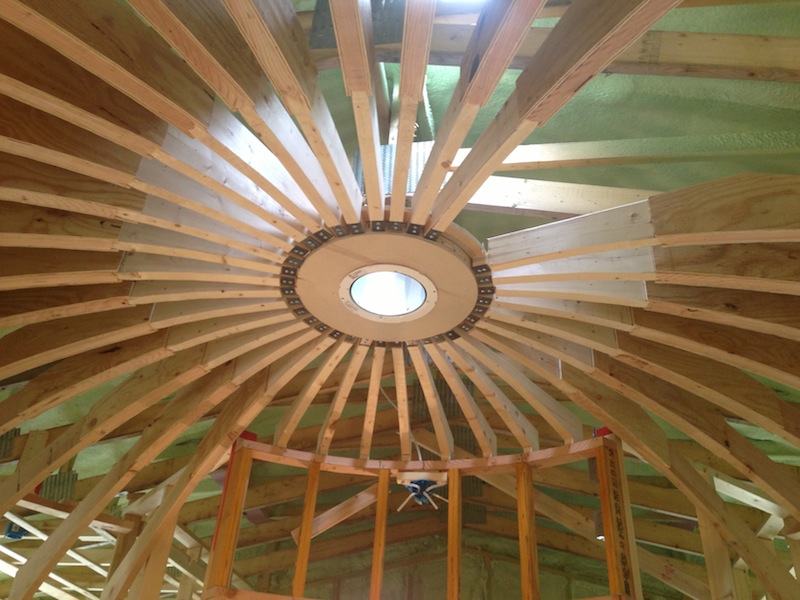
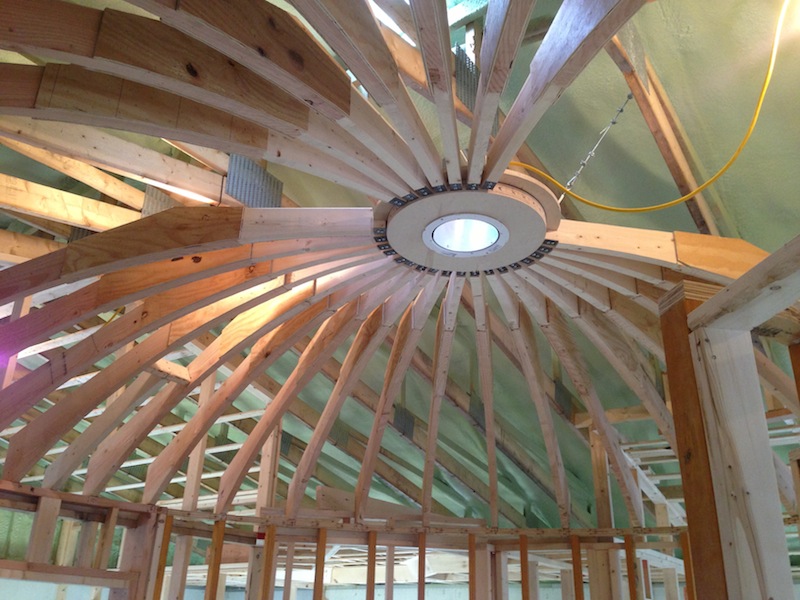
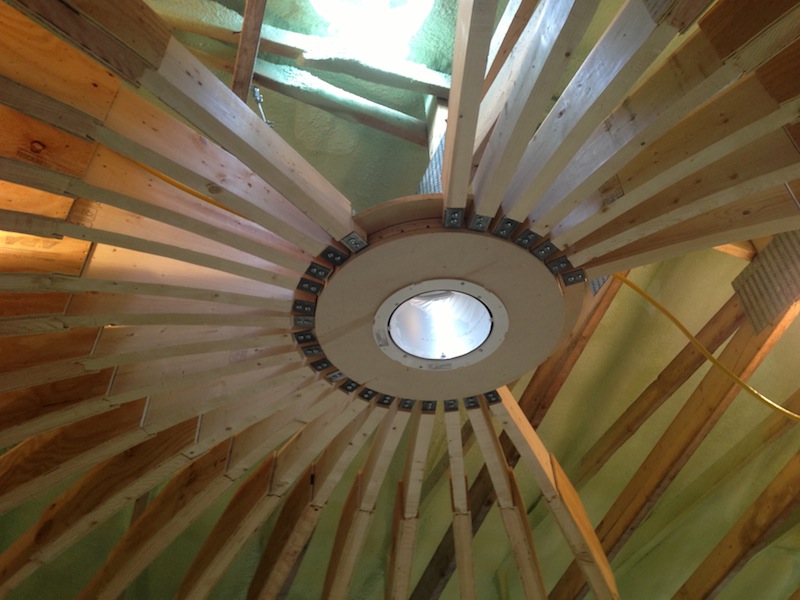
Once you get them all on, you may find it's all good. Typically domes are built equally on all sides rather than stacking one side... Did that make sense?
They do it do that way for the exact reason you noticed. Keeps equal forces all the way round...
They do it do that way for the exact reason you noticed. Keeps equal forces all the way round...


![Craft A Brew - Safale BE-256 Yeast - Fermentis - Belgian Ale Dry Yeast - For Belgian & Strong Ales - Ingredients for Home Brewing - Beer Making Supplies - [3 Pack]](https://m.media-amazon.com/images/I/51bcKEwQmWL._SL500_.jpg)


")