- Joined
- May 18, 2016
- Messages
- 19
- Reaction score
- 27
First post here from a relatively new brewer. Apologies in advance if I'm re-inventing the light bulb.
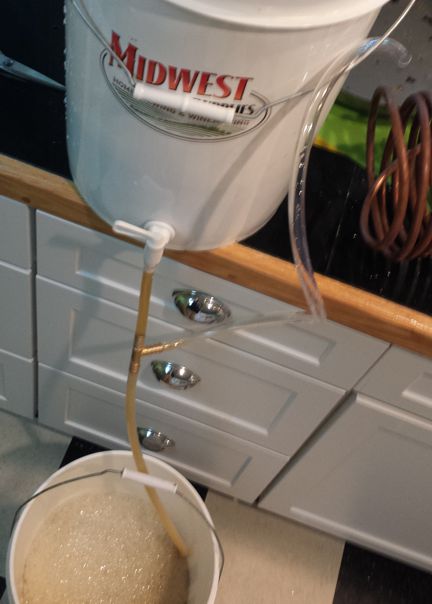
I was looking for an easy way to aerate my wort without splashing wort everywhere or buying expensive equipment. I put together a simple venturi system that involves a 1/4" ID barbed tee and a few feet of 3/8" ID hose. The barbed tee connects an air intake hose to a flow hose, as shown below.
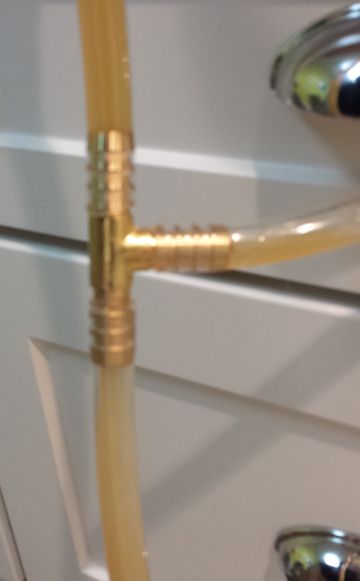
This was an extract recipe with a 3-gallon boil; I emptied the boiled wort into my bottling bucket, topped it up with water to 5 gallons, and hooked the hose to the spigot. Then I opened the spigot and drained the wort into the brew pail. I'm fairly confident that this effectively added air because I could hear the air bubbling into the liquid (the sound stopped when I closed the end of the air intake with my thumb), and because the wort in the bottom bucket was significantly frothier than in the top bucket. Also, a close look at the detail photo below (sorry for the low image quality) shows that the wort flowing out of the tee is significantly lighter in color than that flowing in, because of the added bubbles.
Total cost was about $5 in parts. I got a check valve for the air hose just in case, but it's not necessary as long as the air intake is above the tee. I also got a micro filter for the air intake, but I decided that would be overkill, given that everything else is open to the air at this stage. I did sanitize the hose assembly before use by submerging it in sanitizing solution, making sure to evacuate the air from it as I did so.
One big advantage to this approach is that it would also work if you were going to ferment in a carboy. You probably don't need a bottling bucket with a spigot, since you could attach the barbed tee to a siphon instead, but you'd want enough of a height difference between the vessels to keep the liquid velocity fairly high.


![Craft A Brew - Safale BE-256 Yeast - Fermentis - Belgian Ale Dry Yeast - For Belgian & Strong Ales - Ingredients for Home Brewing - Beer Making Supplies - [3 Pack]](https://m.media-amazon.com/images/I/51bcKEwQmWL._SL500_.jpg)


