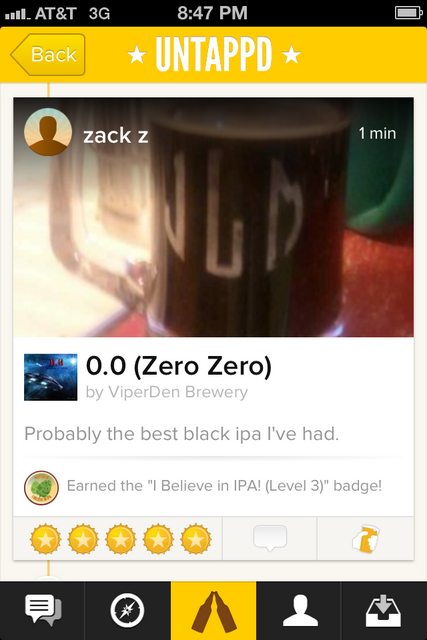
So looking for opinions...
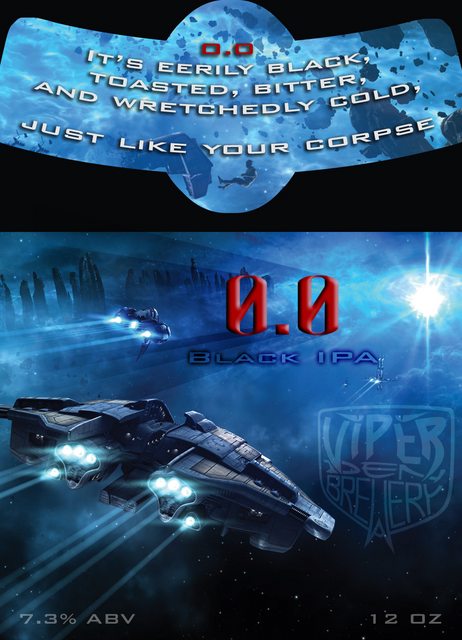
I posted this label a few pages ago. I had it printed this morning and will get it on a few bottles tonight (can't wait!)
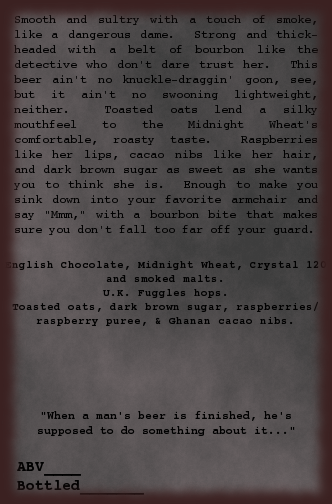
I'm almost out of the labels with this design - the lower, 3.5 x 3 label and the 3.25'ish wide neck label. I've enjoyed making these, but the neck label always ends up an afterthought, doesn't always fit in with my design, and often becomes a centering nightmare when local businesses try to print these things.
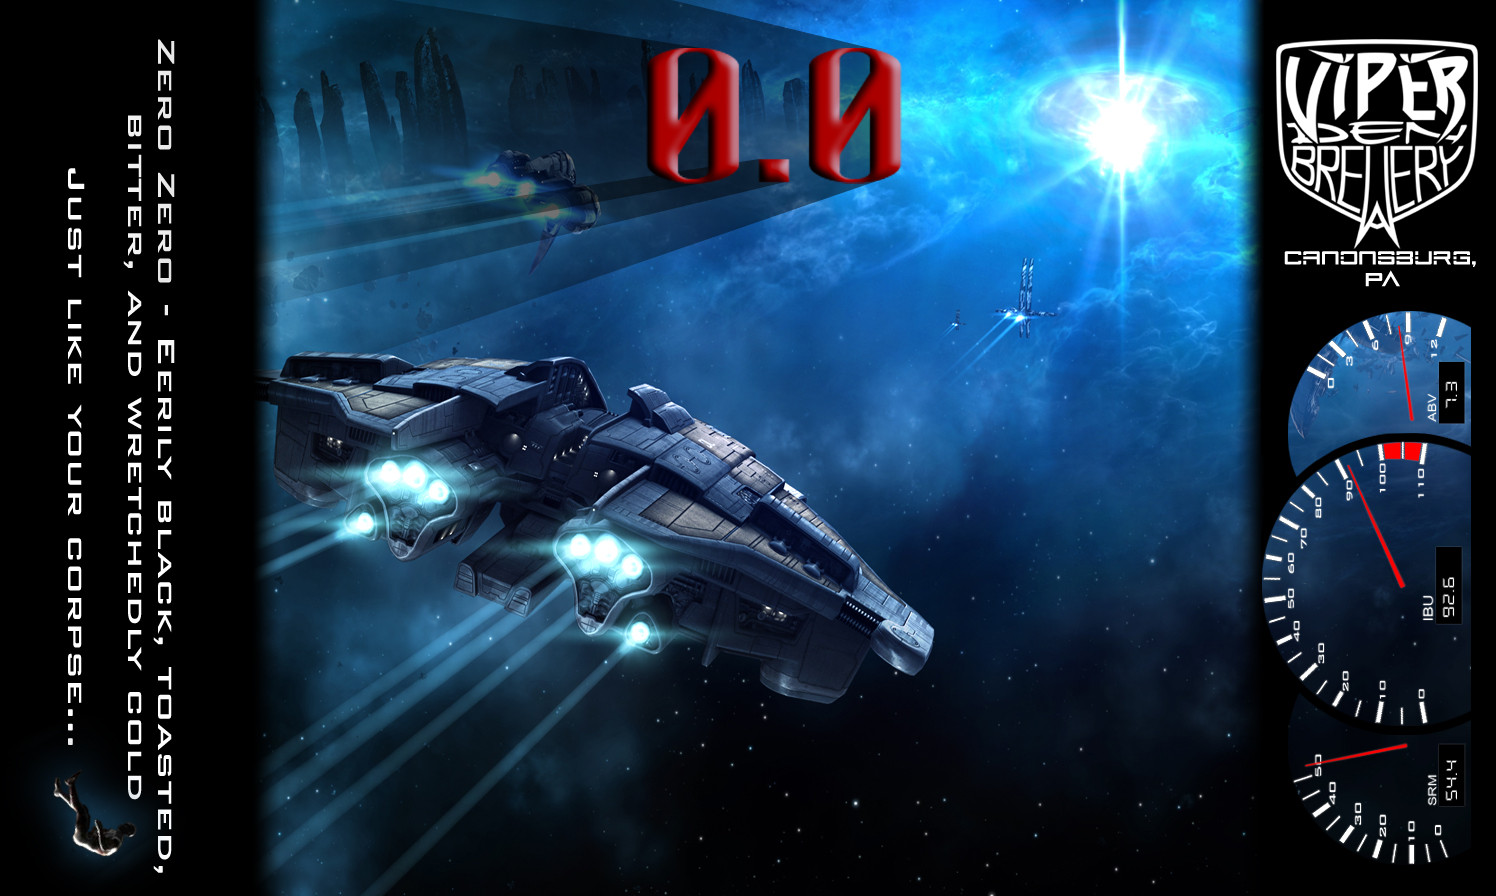
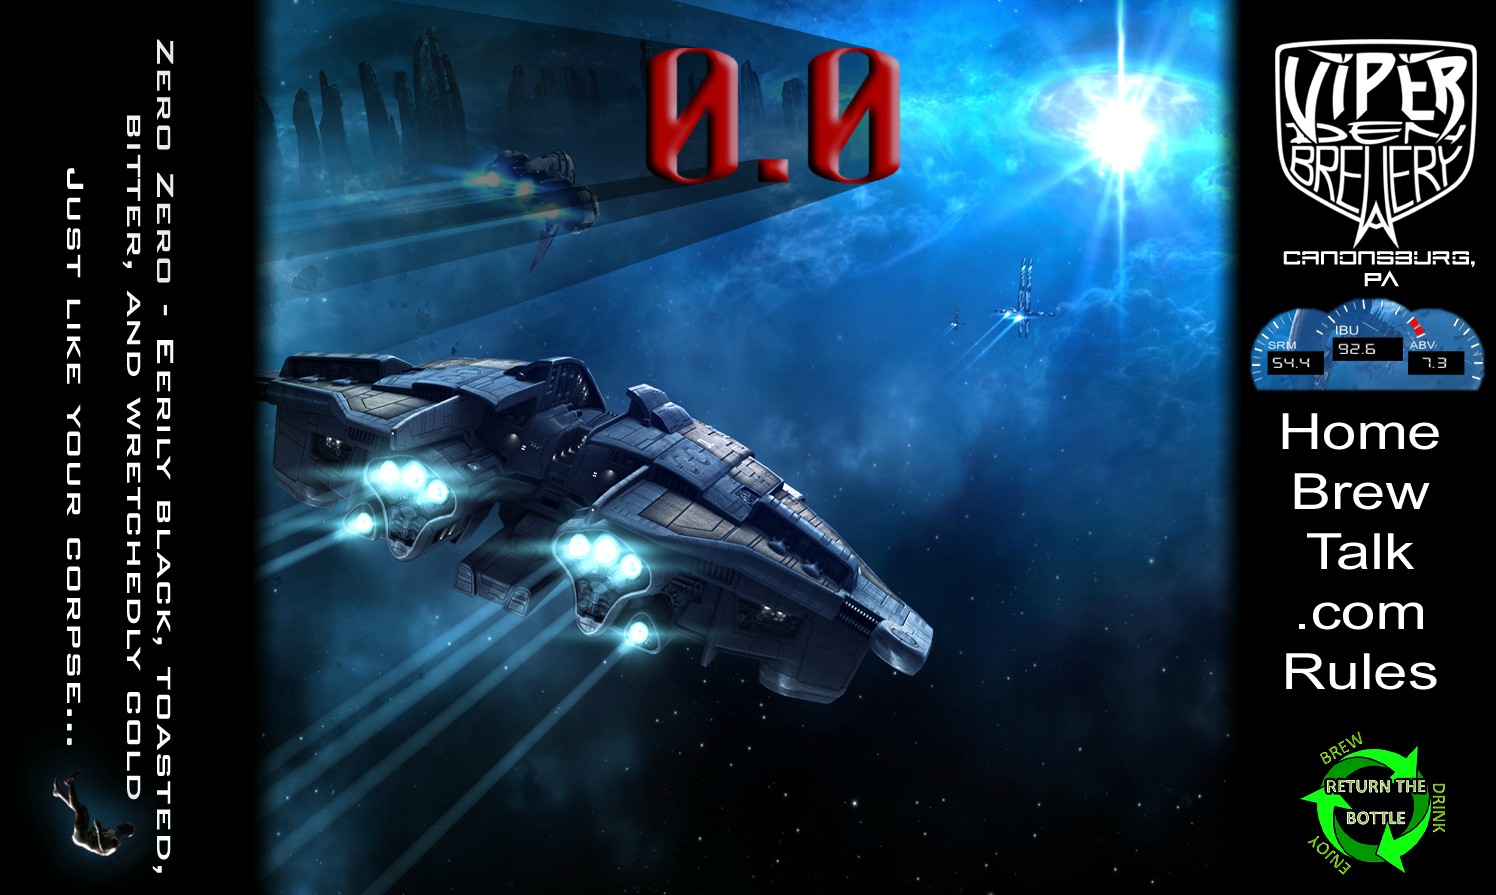
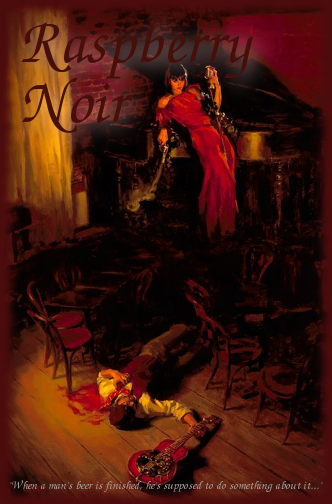
So I'm thinking about getting some 5 x 3 labels for my next batch and trying something different. I really want the extra space on the sides that some of you have used for stories, "warnings", SRM/IBU/ABV info, city/state, etc... There was just never a good place to put that info before, especially if I wanted to really make the most of the main "label". So I designed this today.
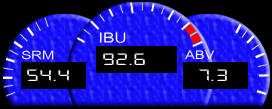
I like it, but I'm wondering if the gauge idea is a bit too big. (If I make it too much smaller, you won't be able to read the numbers)
The "ViperDen" is based on the car, not the reptile, so I thought it'd be a cool way of embelishing the "theme".
What do you folks think?

")


![Craft A Brew - Safale BE-256 Yeast - Fermentis - Belgian Ale Dry Yeast - For Belgian & Strong Ales - Ingredients for Home Brewing - Beer Making Supplies - [3 Pack]](https://m.media-amazon.com/images/I/51bcKEwQmWL._SL500_.jpg)