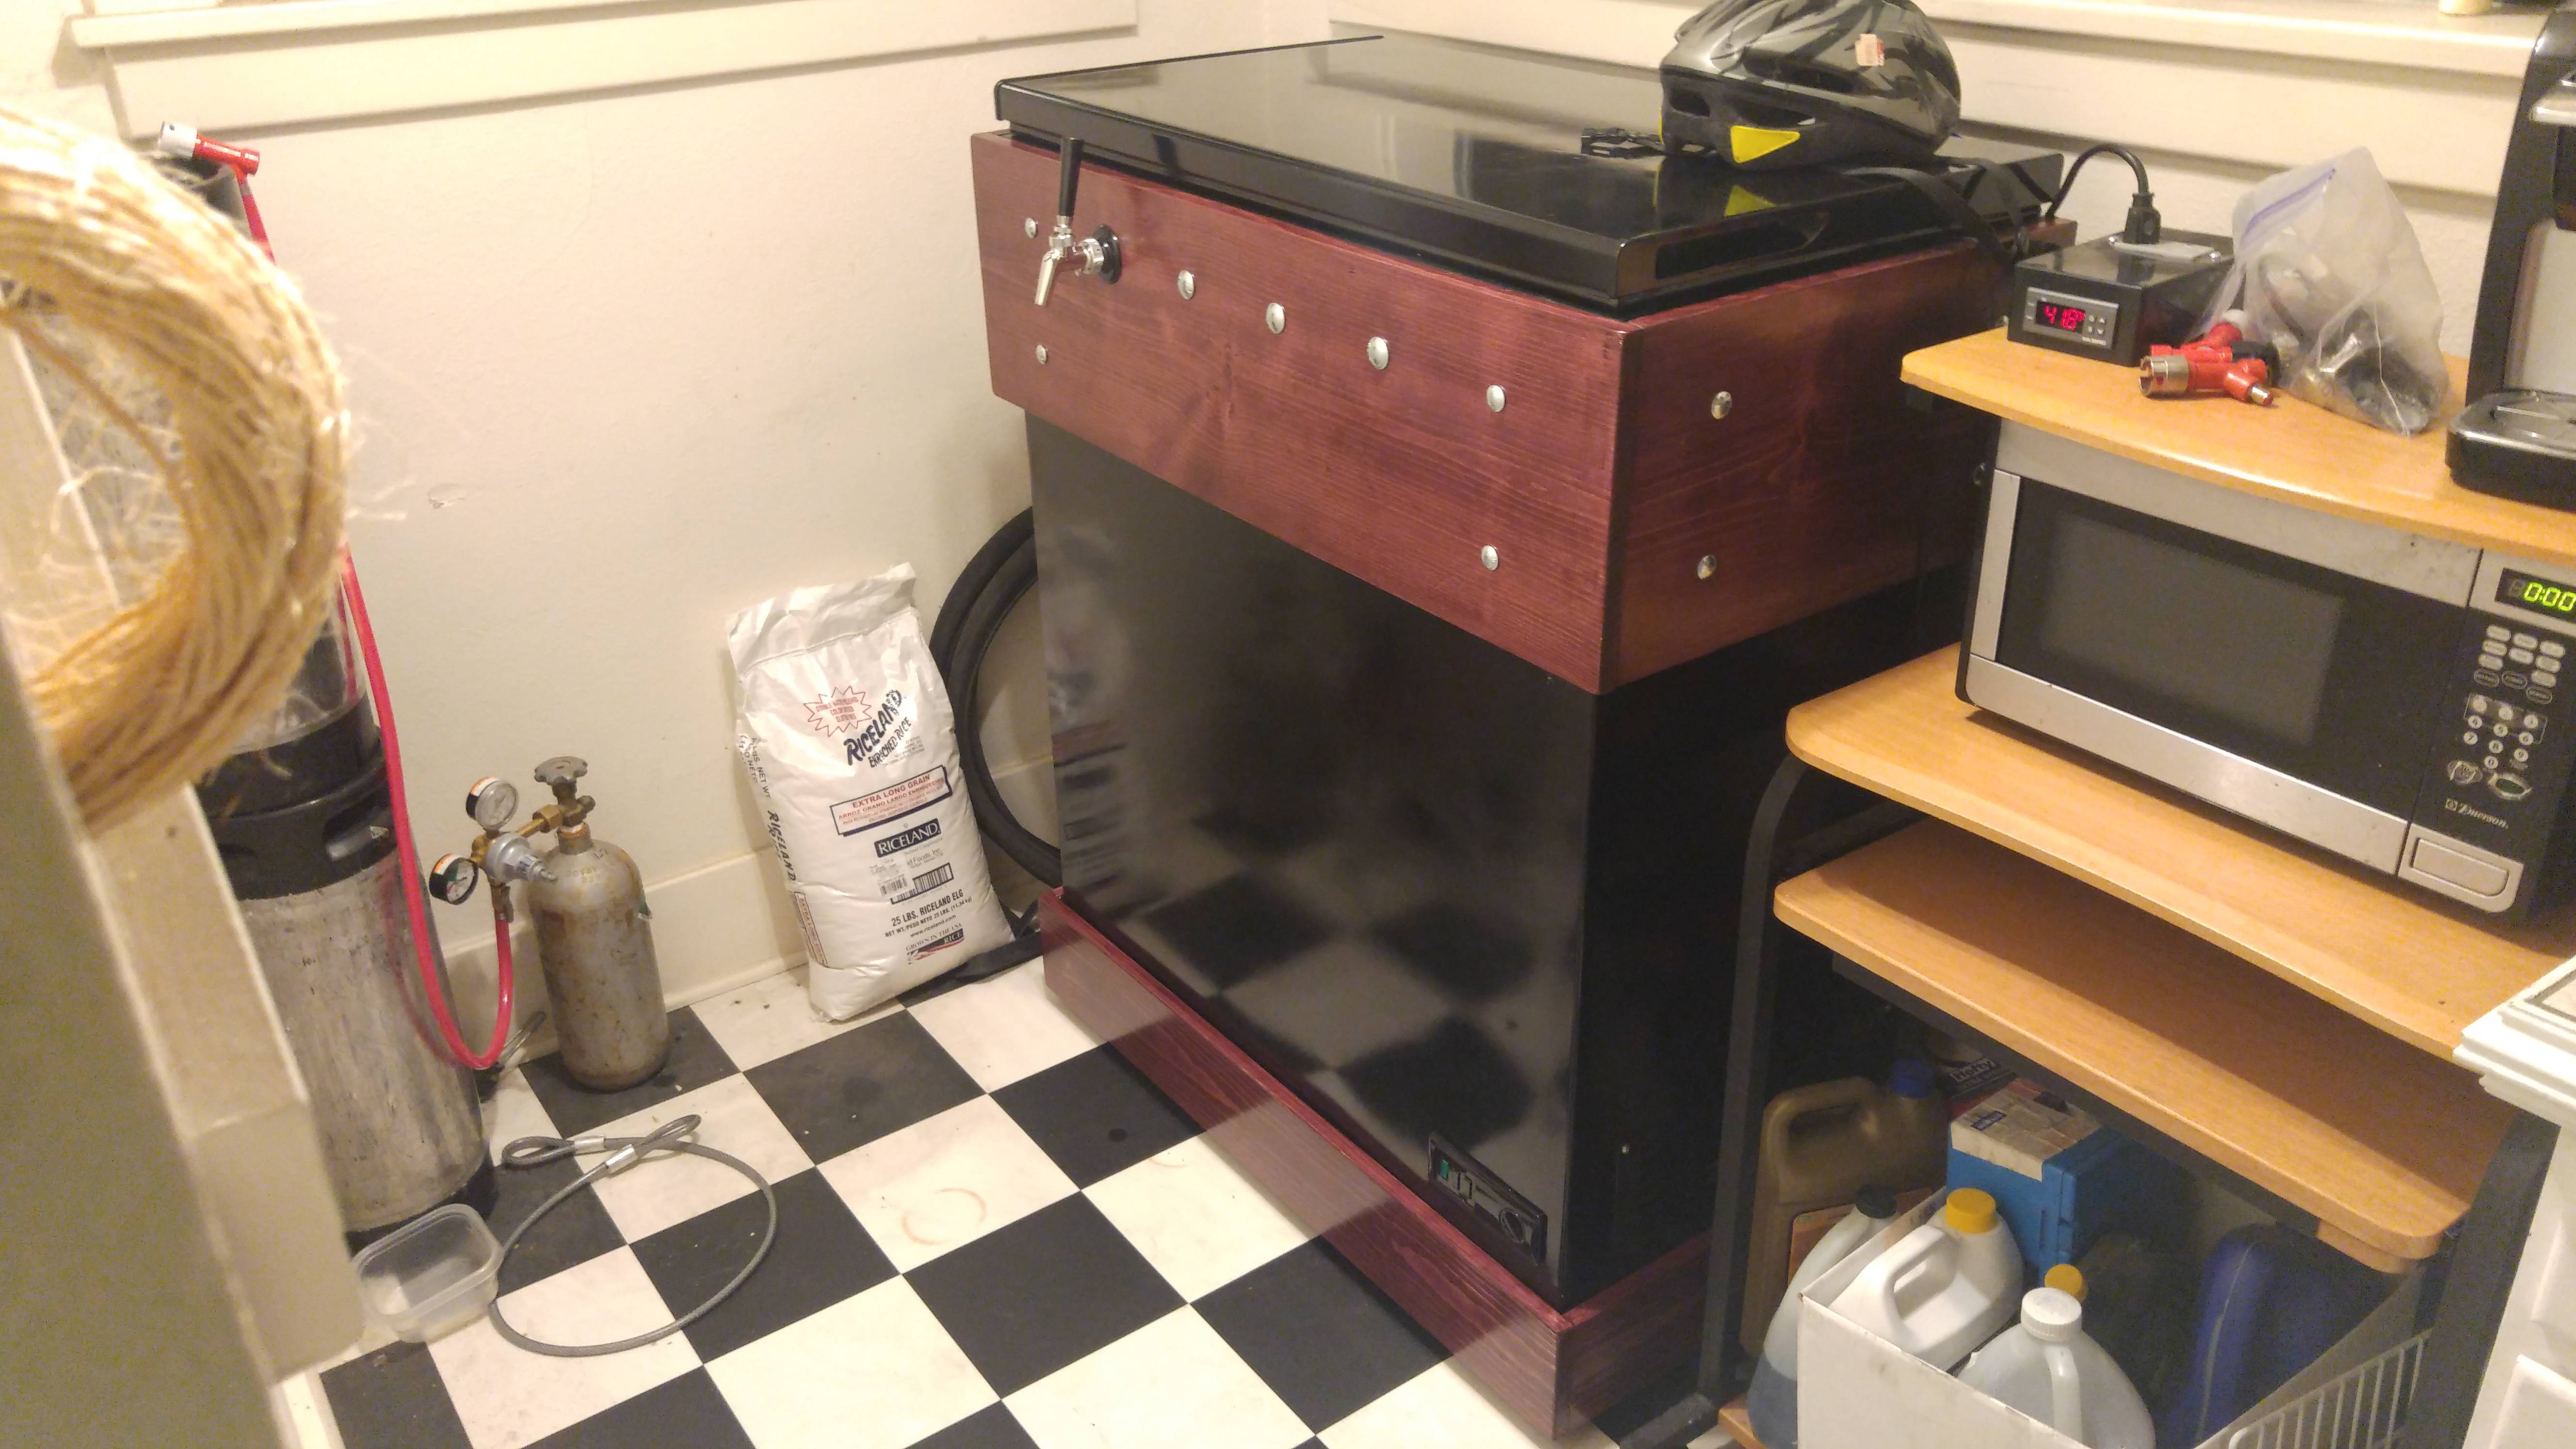
There are only a few examples of split top keezers, so I thought I would put up photo's of my bar/keezer build. It was up and running after 2 weeks of work, but small things (like hinges, lid stays, case fans) were added over another 3-4 weeks.
Started with a 7 cf chest freezer, and added a collar made with 1 inch foam insulation sandwiched between plywood.
The collar is glued to the freezer with silicone. The side panels are attached to 1/2 inch blocks glued to the collar, and a spacer glued at the bottom of the freezer. They end 1/2 inch above the floor, and about 1/2 inch below the top, so there is air flow on all sides of the freezer (kind of like a chimney). The panels are all attached with screws (hidden by wooden plugs) so they can be removed.
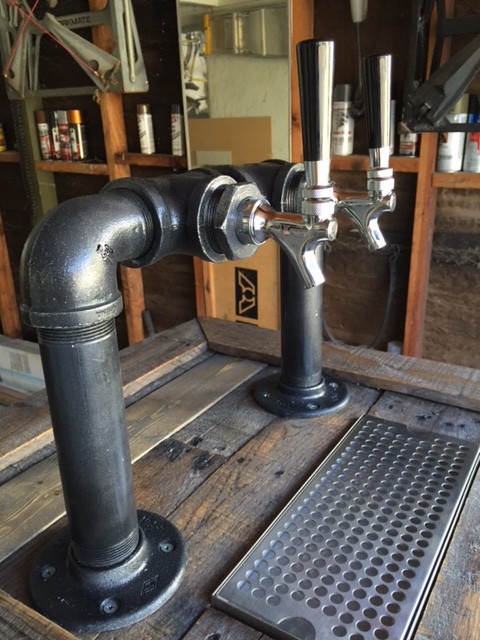
Brass tower and brass finish perlick faucets
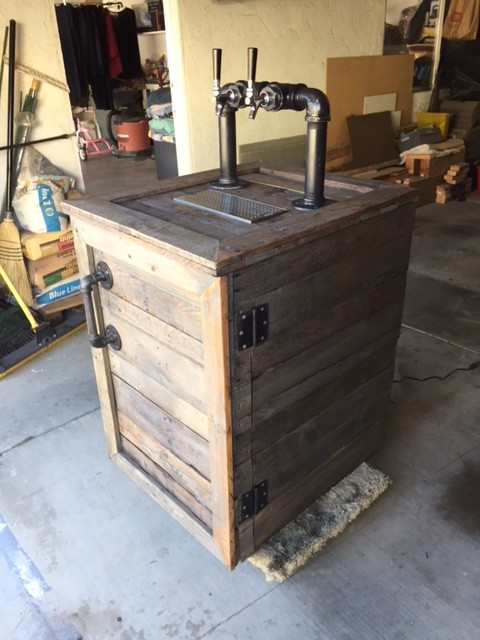
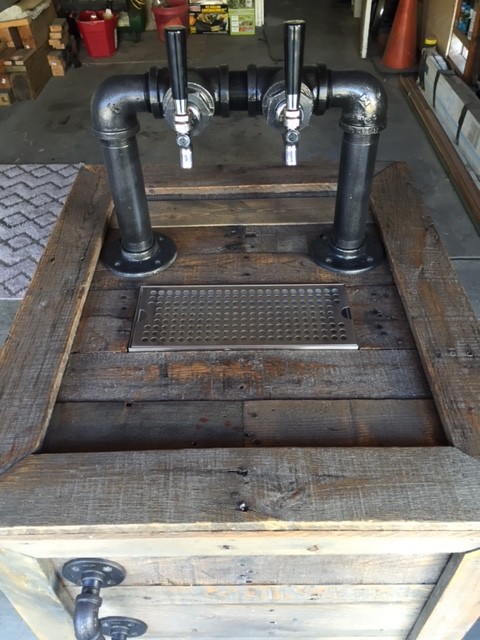
Each half of the top hinges upward. One half with a shelf for bottles above the kegs:
and the other half with the gas and liquid lines.
There are 2 fans for air movement in the chest, and a 1 inch fan pointing up the tower. the 1 inch case fan glues up nicely to a pvc (new) drain fitting from the hardware store.
Temp control is with an inkbird wired, display is here where it fits into the cut out for the compressor vent:
I'm not totally happy with the finish on the bar top, had to re-do one side, and will probably remake both halves so the finish is better.
tim


![Craft A Brew - Safale BE-256 Yeast - Fermentis - Belgian Ale Dry Yeast - For Belgian & Strong Ales - Ingredients for Home Brewing - Beer Making Supplies - [3 Pack]](https://m.media-amazon.com/images/I/51bcKEwQmWL._SL500_.jpg)


")