Wiche Pres
Member
- Joined
- Mar 11, 2018
- Messages
- 18
- Reaction score
- 3
Here is mine.


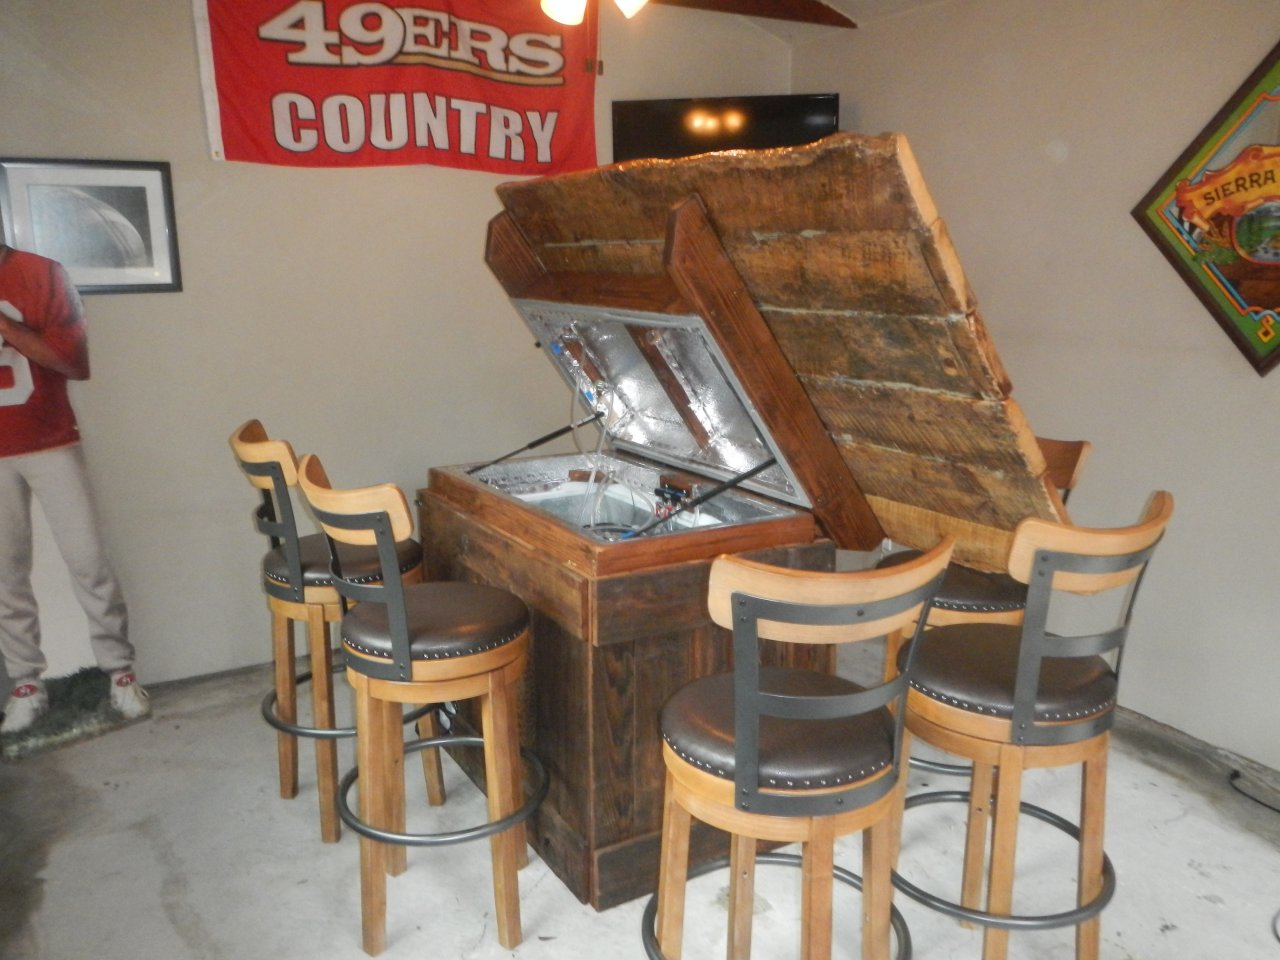
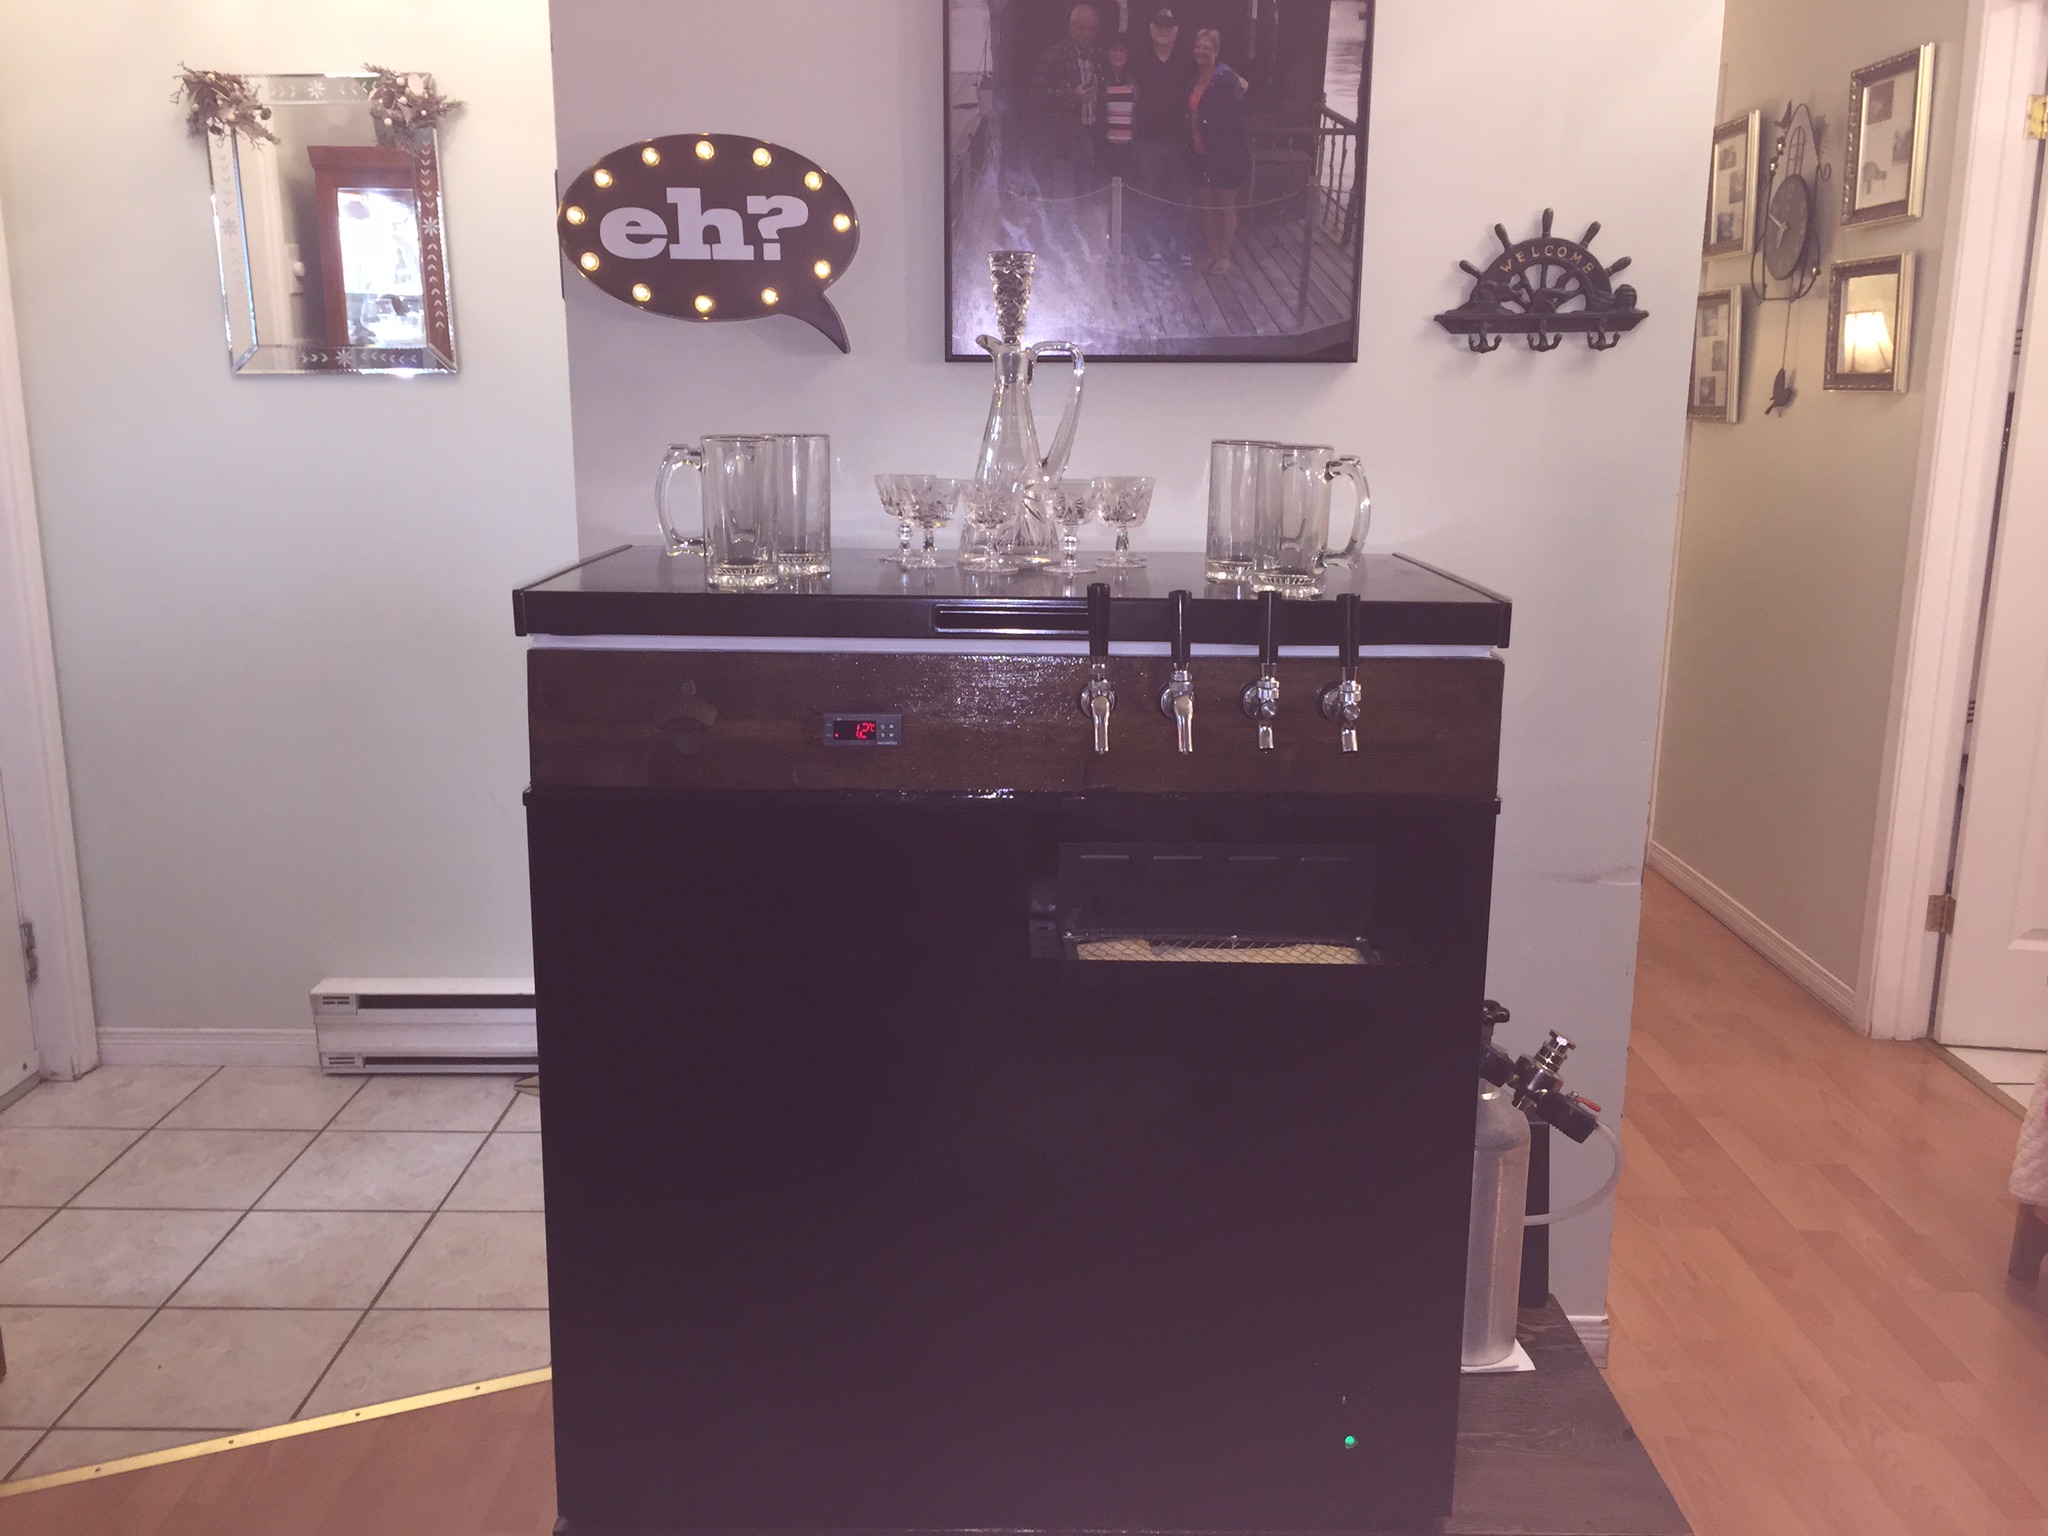
This is the Keggerator and the Home Bar I built a couple of years ago.
View attachment 569950 View attachment 569951View attachment 569952 View attachment 569953 View attachment 569954
![Craft A Brew - Safale S-04 Dry Yeast - Fermentis - English Ale Dry Yeast - For English and American Ales and Hard Apple Ciders - Ingredients for Home Brewing - Beer Making Supplies - [1 Pack]](https://m.media-amazon.com/images/I/41fVGNh6JfL._SL500_.jpg)


Looks like Raspberry Pints displayed on a tablet...Using Taplist.io? What device do you have it displaying on?
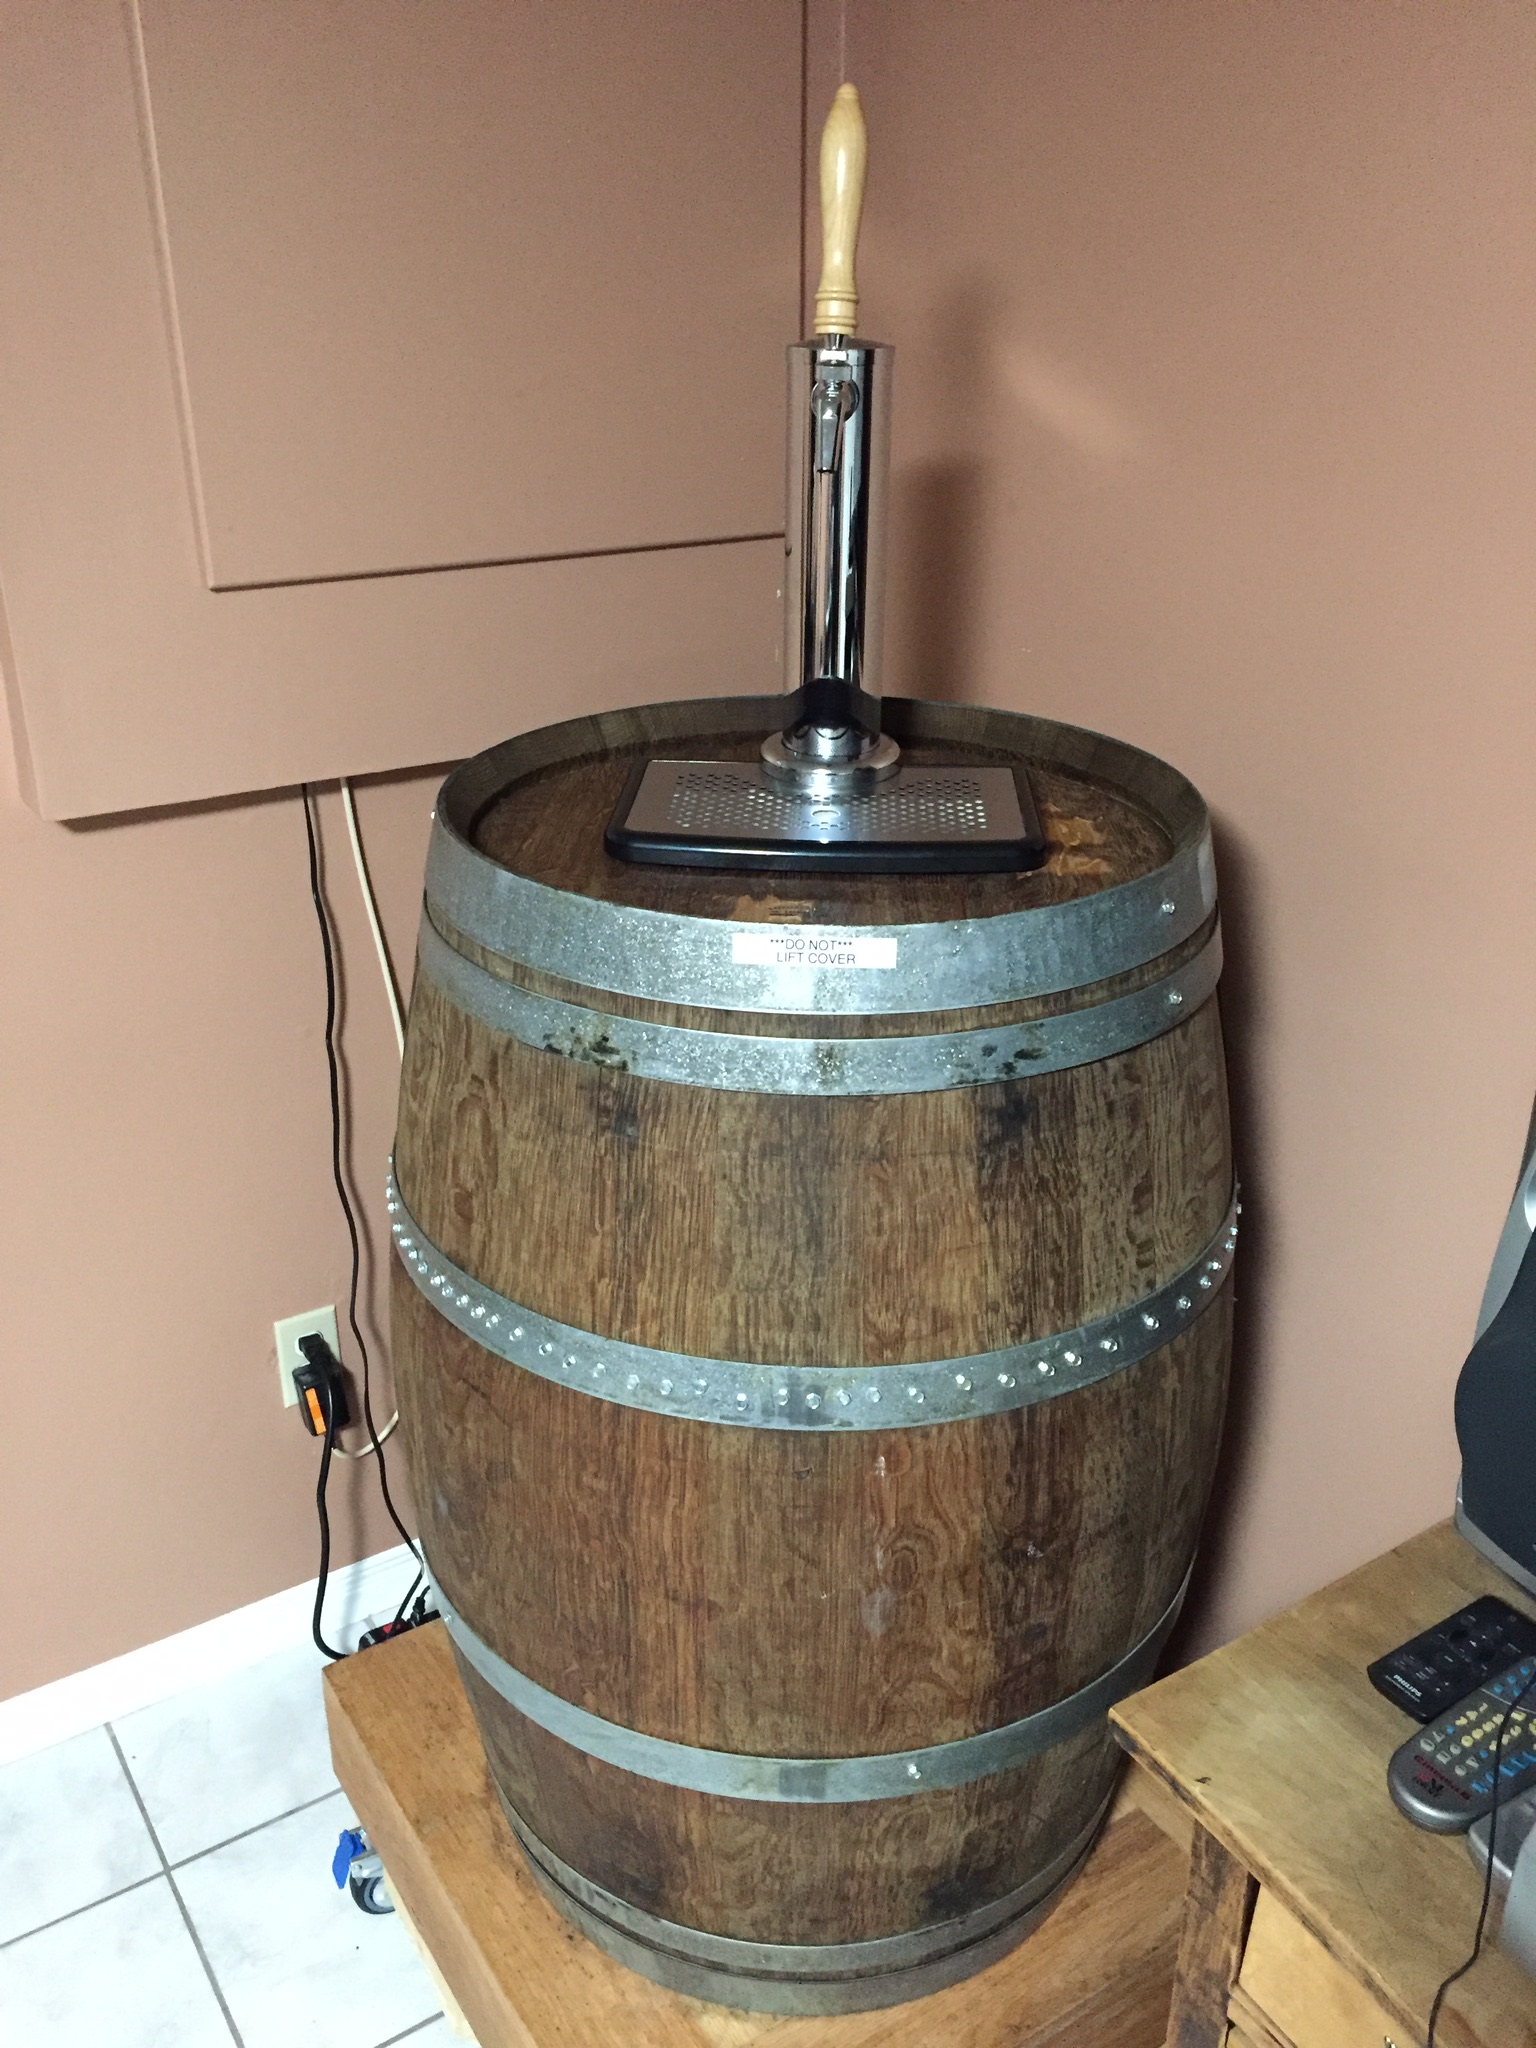
Here's my latest - kind of got out of hand a little...
View attachment 572653 View attachment 572654

Hey I searched and didn't see a thread like this yet, so I figured we could all post our Kegerator pictures here.


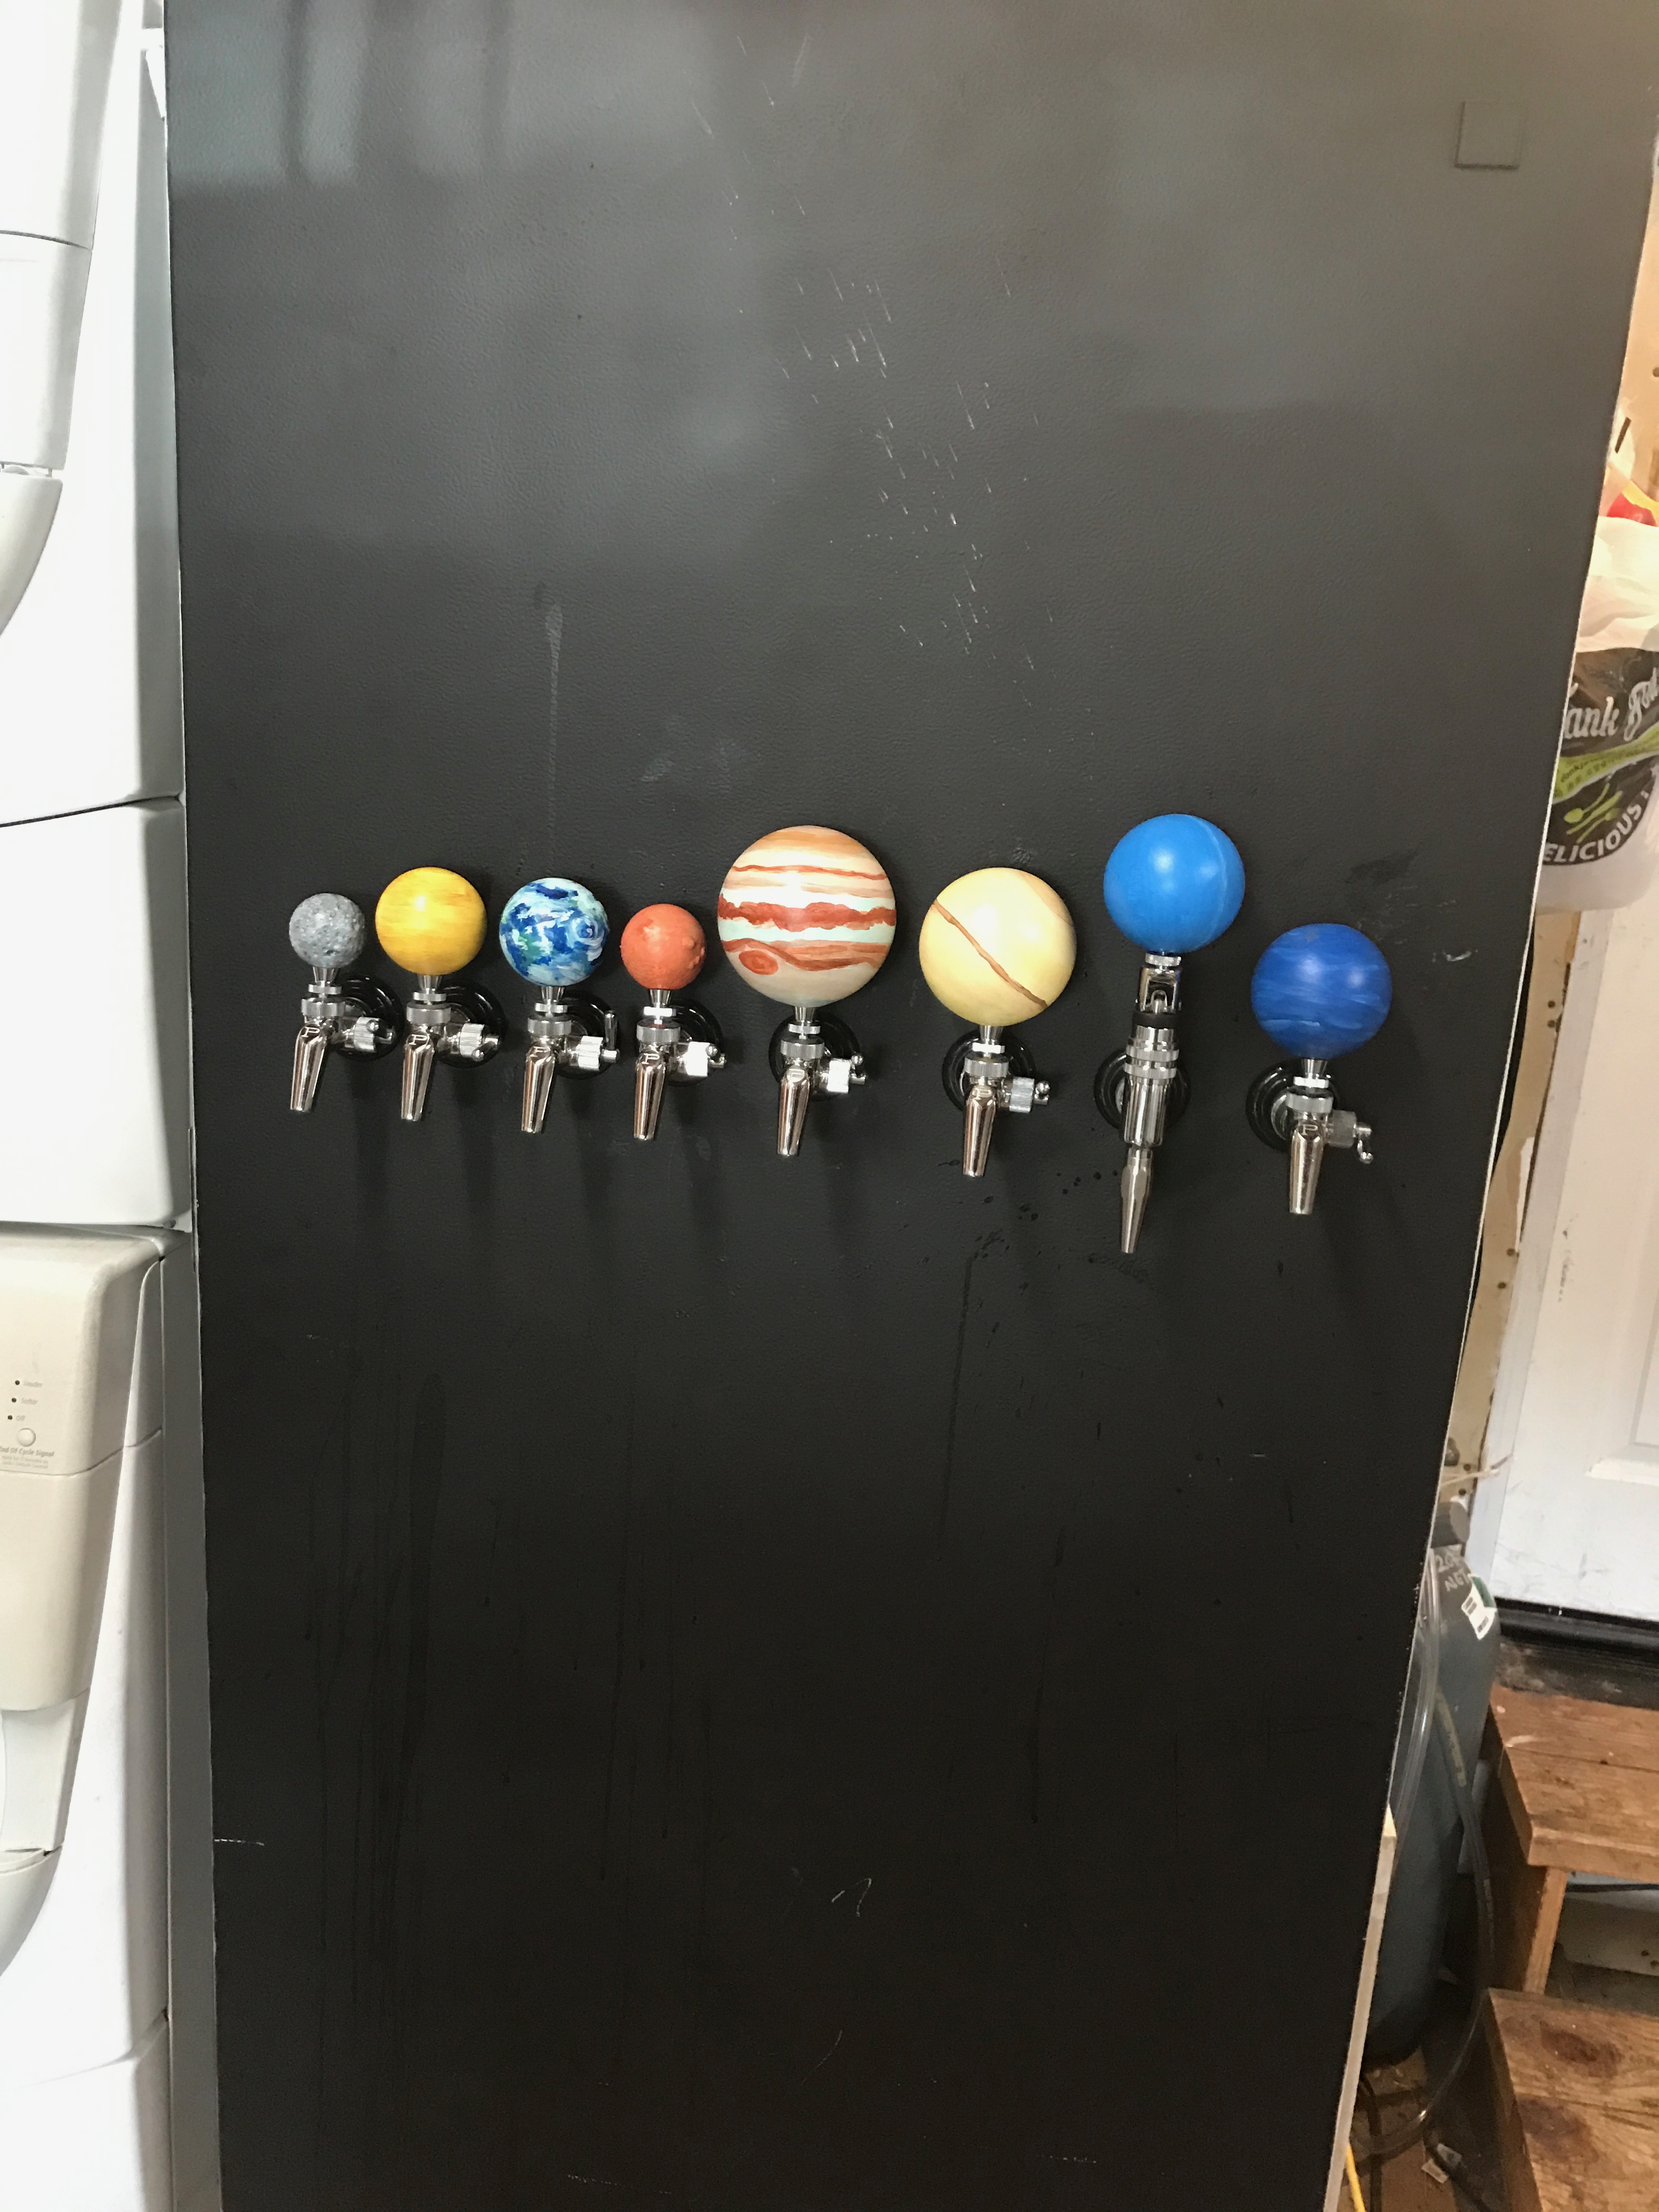
Hey, how often do you grab Uranus?
Hey I searched and didn't see a thread like this yet, so I figured we could all post our Kegerator pictures here.
I own 2 custom kegerators... let me know what you think?


.jpeg")
2 of the kegs kicked the night b4I'm surprised that you notice a difference as there's waay more gas than beer in all three lines.
Something ain't right when that happens...
Cheers!

My cozy lil kegerator View attachment 574637View attachment 574638

Thanks! Appreciate the welcomeKiller setup! Also a heck of a 1st post! Welcome to the forum

I'm short two taps but might add another two on the hump as well.
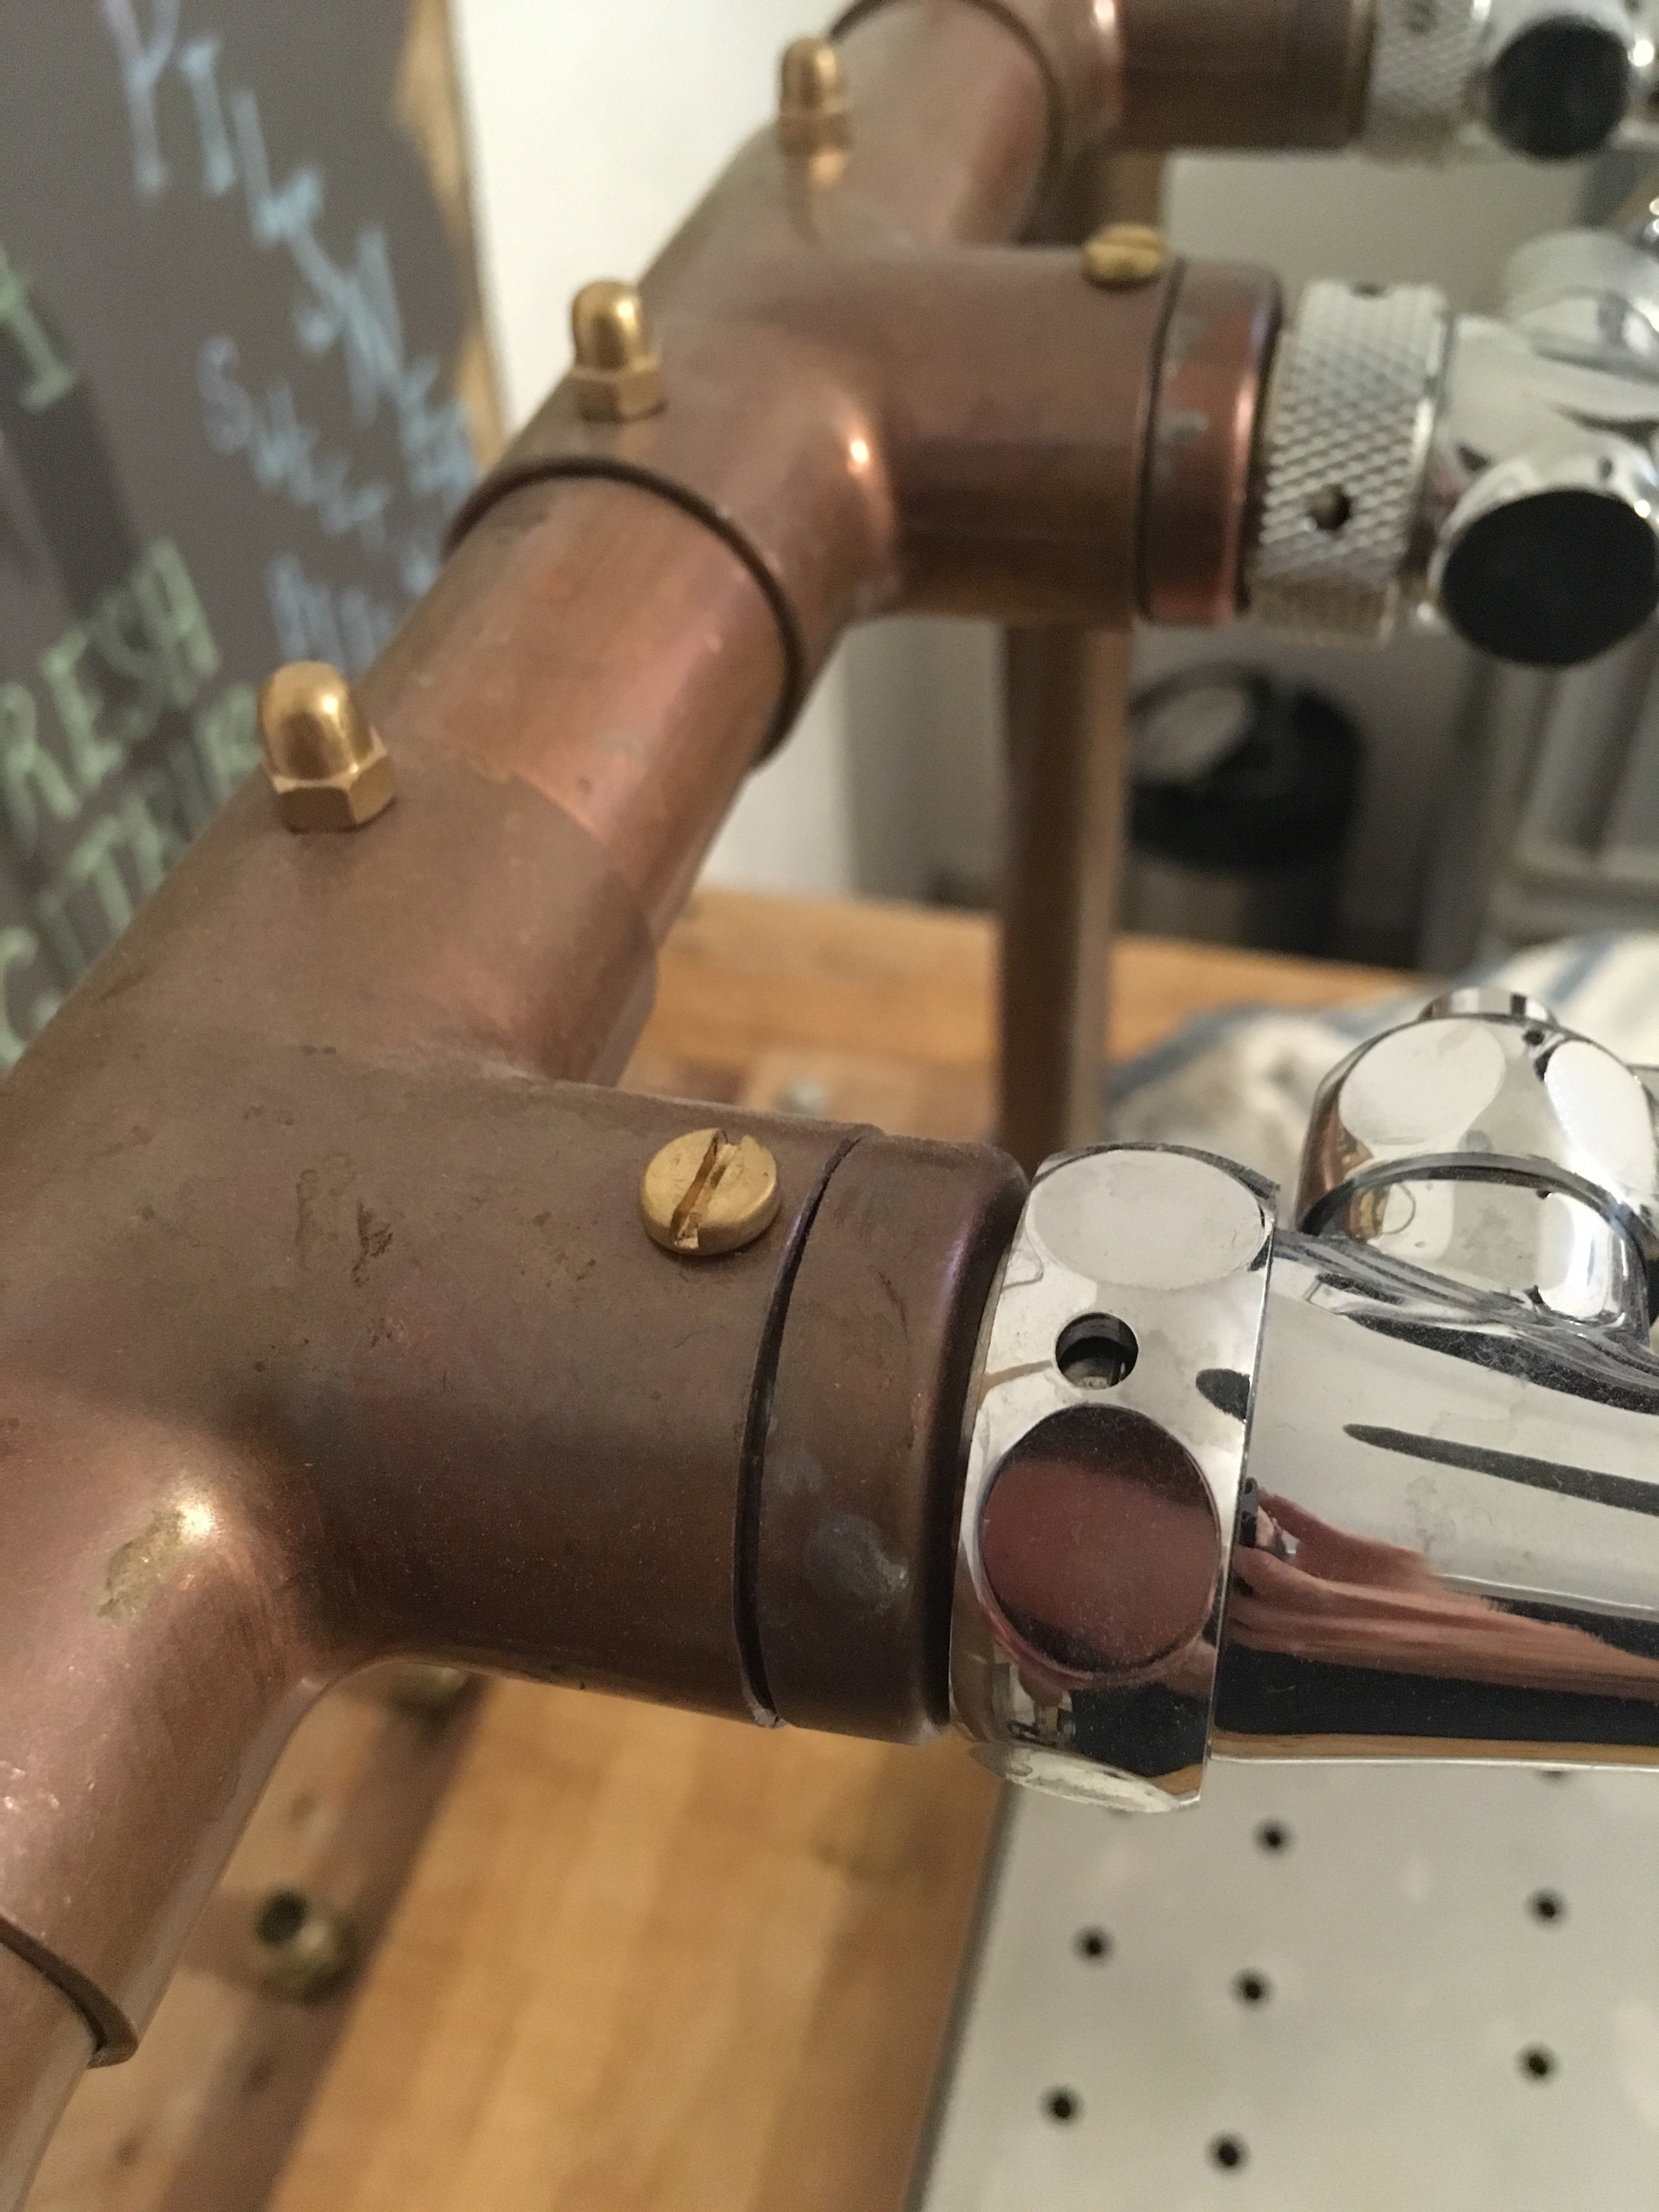
What diameter pipe did you use and how did you transition from the tee fitting to the shank thread?
Thanks,
Mark
Sorry for the late reply Mark. The pipe is 32mm and the shanks are simply passed through the (drilled out) end-caps on the T-pieces(which are attached to a short piece of pipe as an insert and held in place by small brass screws as shown in the picture. This makes them easy to remove in case of a leak etc. The whole frame is only bolted together for the same reason. Cheers!
Pour one for the south! View attachment 575046
You don't have rethink much. That's an impressive set up! You have a separate regulator on each keg? That rocks. What are the two contraptions on the upper left? Temp and ??Good gawd... After looking at many of the pictures in this thread, I'm wondering if expert woodworking is a prerequisite for home brewing. Those are beautiful.
I have a simple collar on a freezer. That's it. May have to re-think the next one.View attachment 569955
Thanks!You don't have rethink much. That's an impressive set up! You have a separate regulator on each keg? That rocks. What are the two contraptions on the upper left? Temp and ??
Thanks!
The smaller blue controller is for the keezer.
The larger grey controller is for my fridge fermentation that sits on the left of the keezer.
That is a pretty slick setup. Dumb question but did you drill a hole in the collar for each gas line?