lhommedieu
Well-Known Member
- Joined
- Oct 22, 2012
- Messages
- 751
- Reaction score
- 86
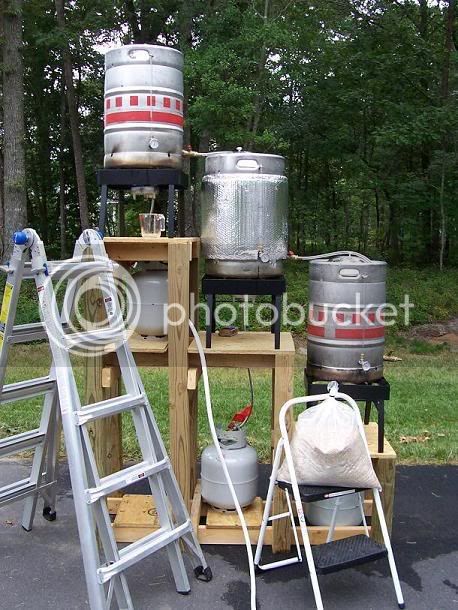
My rig as of last fall. I'm going to cover the top with stainless steel and polyurethane the rest. No need for the top tier any more as i'm going to use pumps for transferring from the hot water tun to the sparge tun to the boil kettle.


![Craft A Brew - Safale S-04 Dry Yeast - Fermentis - English Ale Dry Yeast - For English and American Ales and Hard Apple Ciders - Ingredients for Home Brewing - Beer Making Supplies - [1 Pack]](https://m.media-amazon.com/images/I/41fVGNh6JfL._SL500_.jpg)


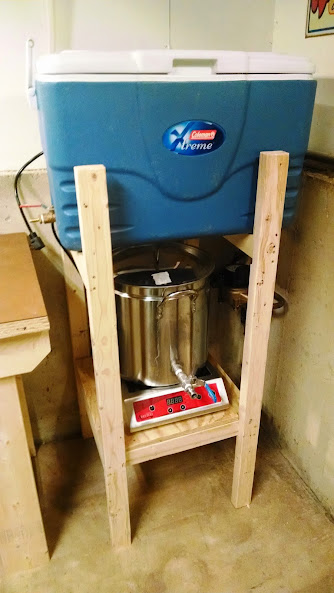

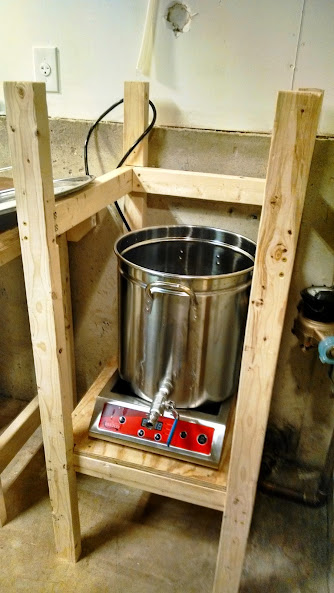
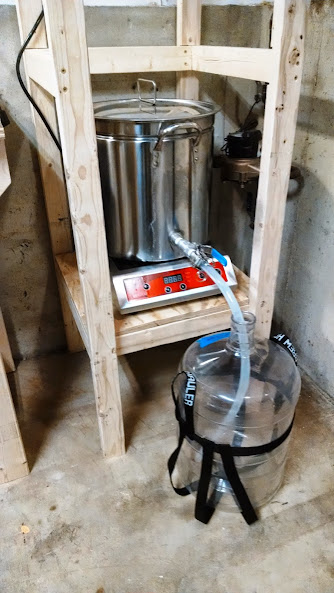
") Anyway, pics are below with a description of features.
Anyway, pics are below with a description of features.