Shed Expansion for Dedicated Brew Space

Homebrew Talk - Beer, Wine, Mead, & Cider Brewing Discussion Forum

Help Support Homebrew Talk - Beer, Wine, Mead, & Cider Brewing Discussion Forum:

This site may earn a commission from merchant affiliate links, including eBay, Amazon, and others.

Doed

Belching Dog Brewery
Joined
Nov 7, 2011
Messages
596
Reaction score
69
Location
Steeleville
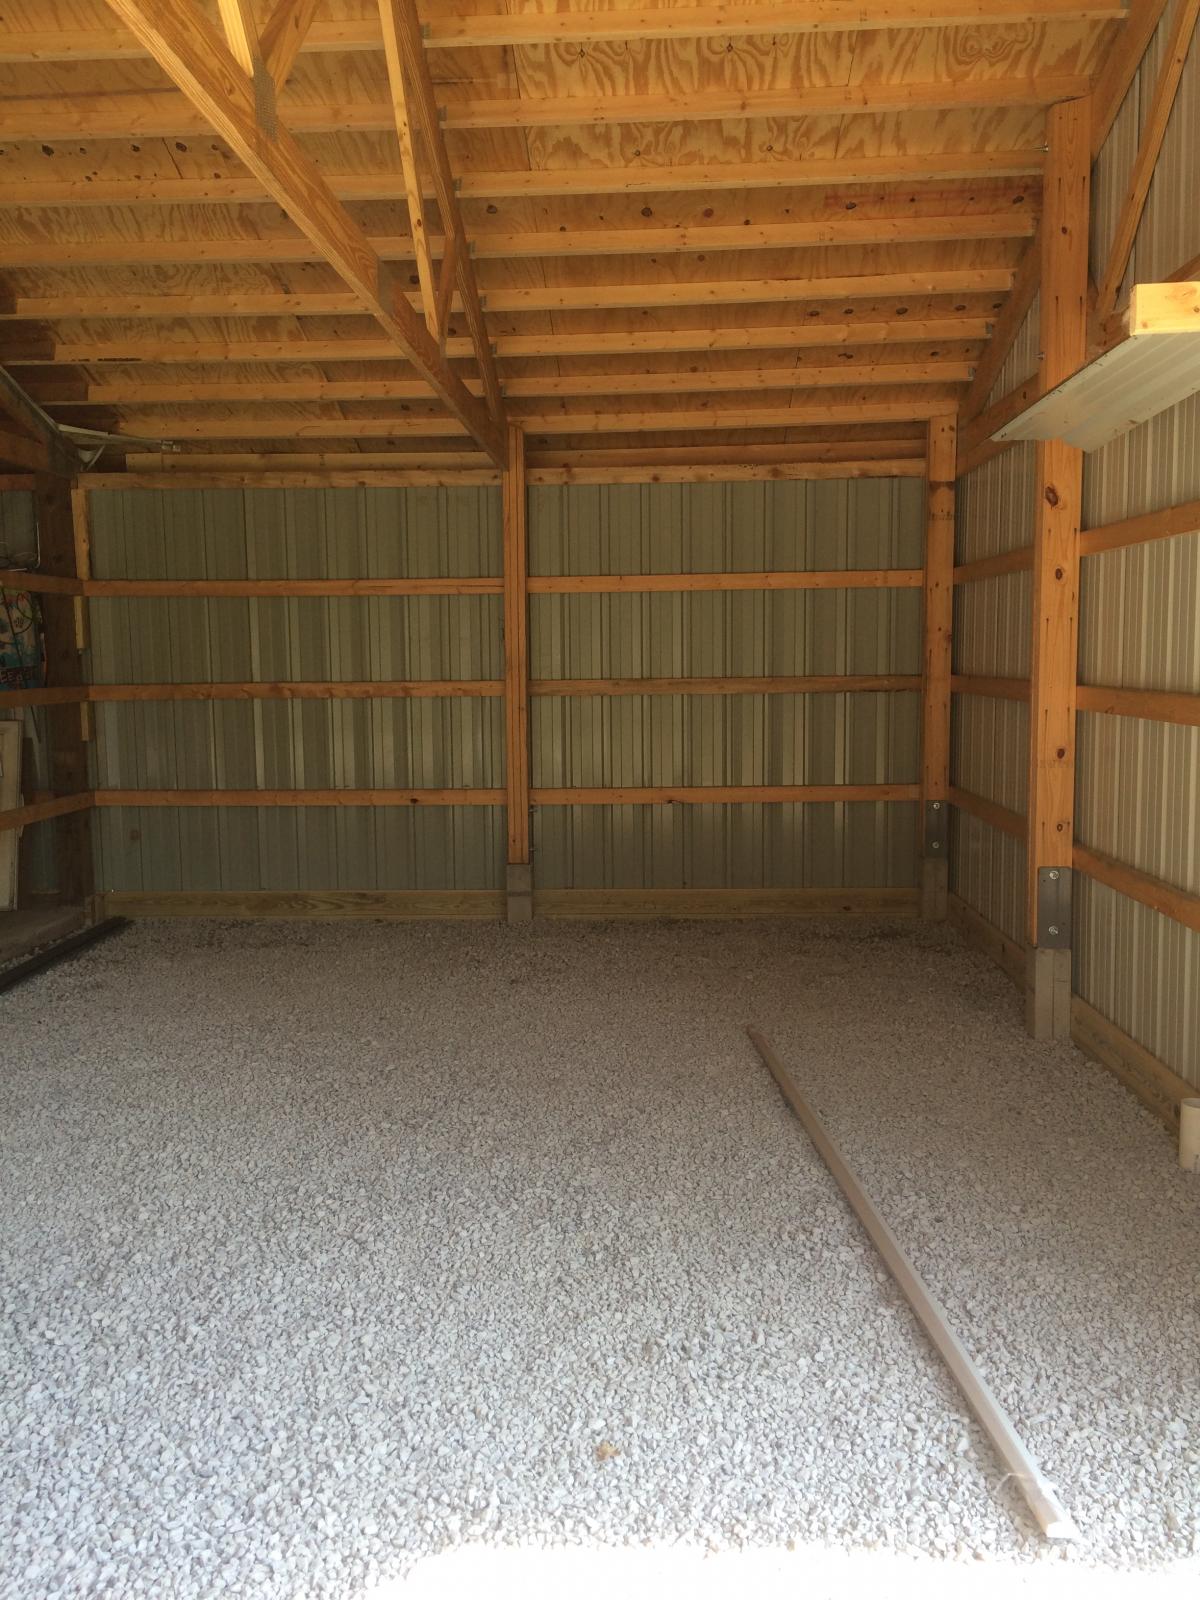
Like a lot of brewers, I store my gear in the basement. When I want to brew, drag it all outside, brew, clean it, drag it back into the basement for storage. I recently saved up enough cash to expand my existing shed, where I had to move stuff to brew at, so I began a DIY project to create a dedicated brew location. What follows is the journey. I plan on creating storage for my brewing gear, run water to it so I don't have to schlep water across the yard, and put in a sink to clean up.

The expansion dimensions are 16'x24'.

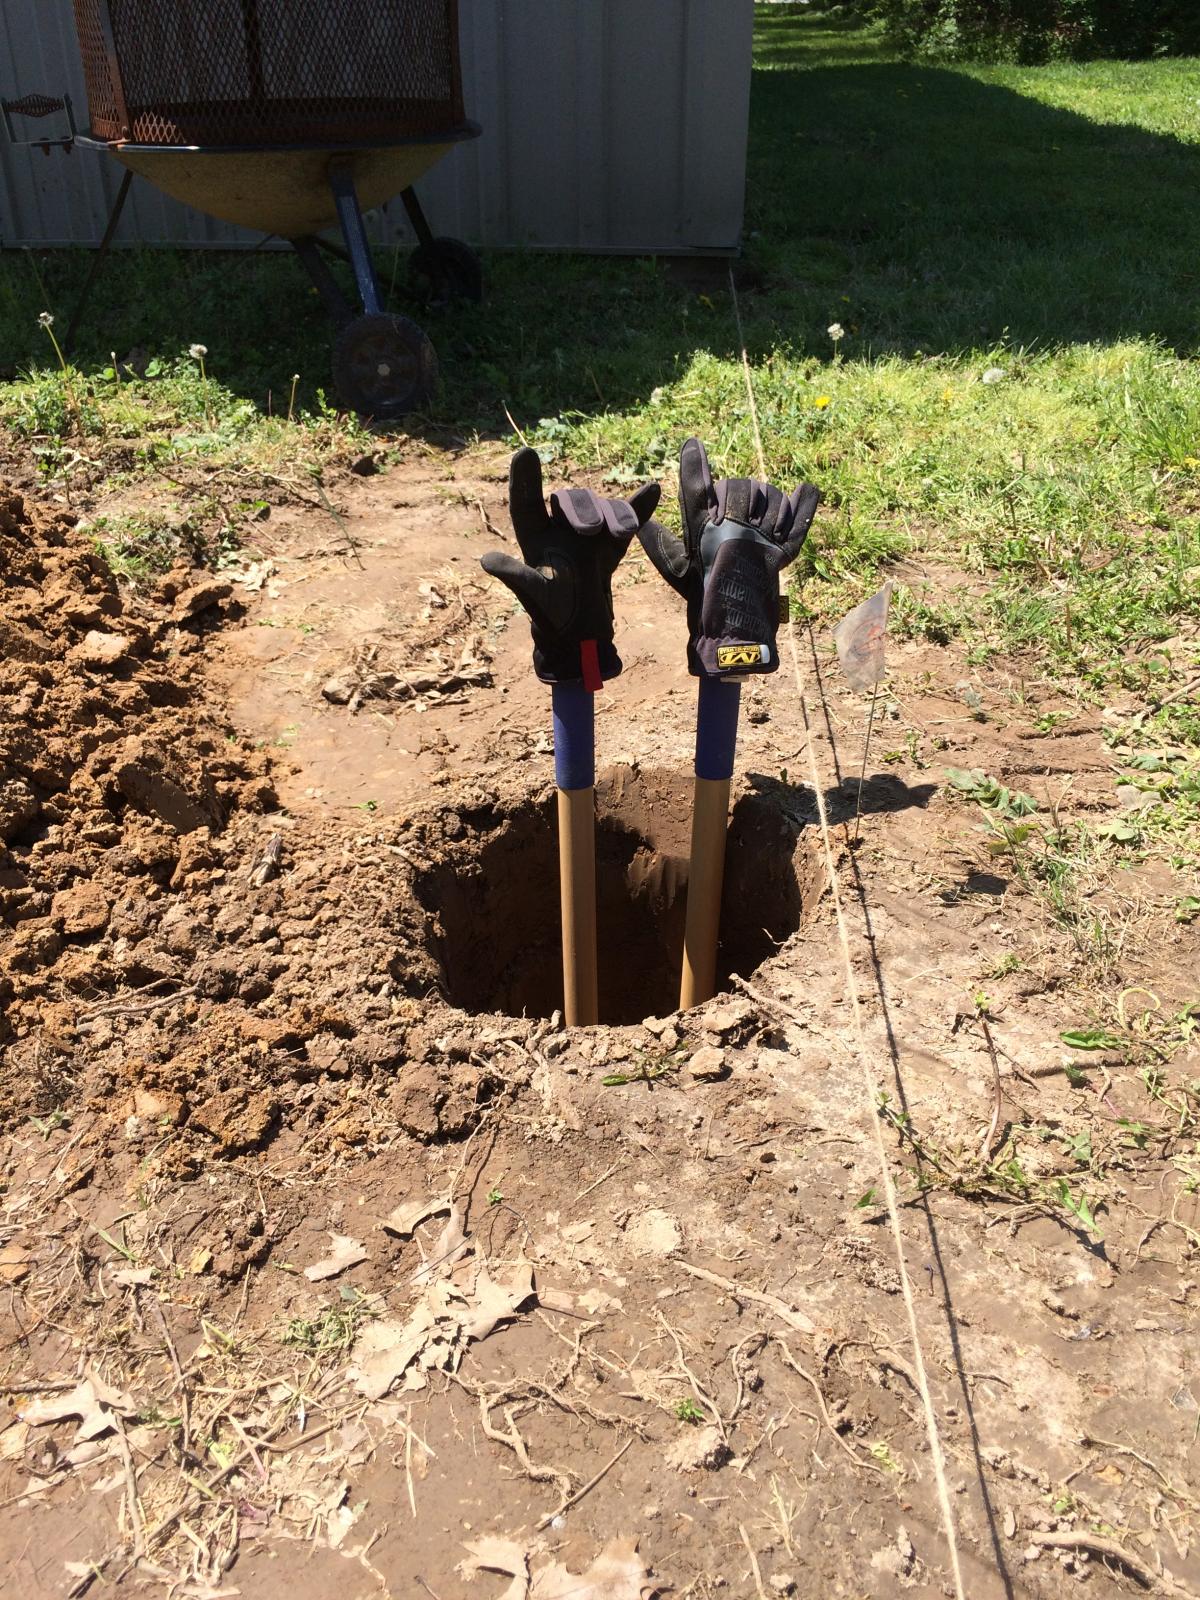
First picture is the Perma-Column post supports. Yes I dug the post holes by hand.

perma-column.jpg


post-hole.jpg


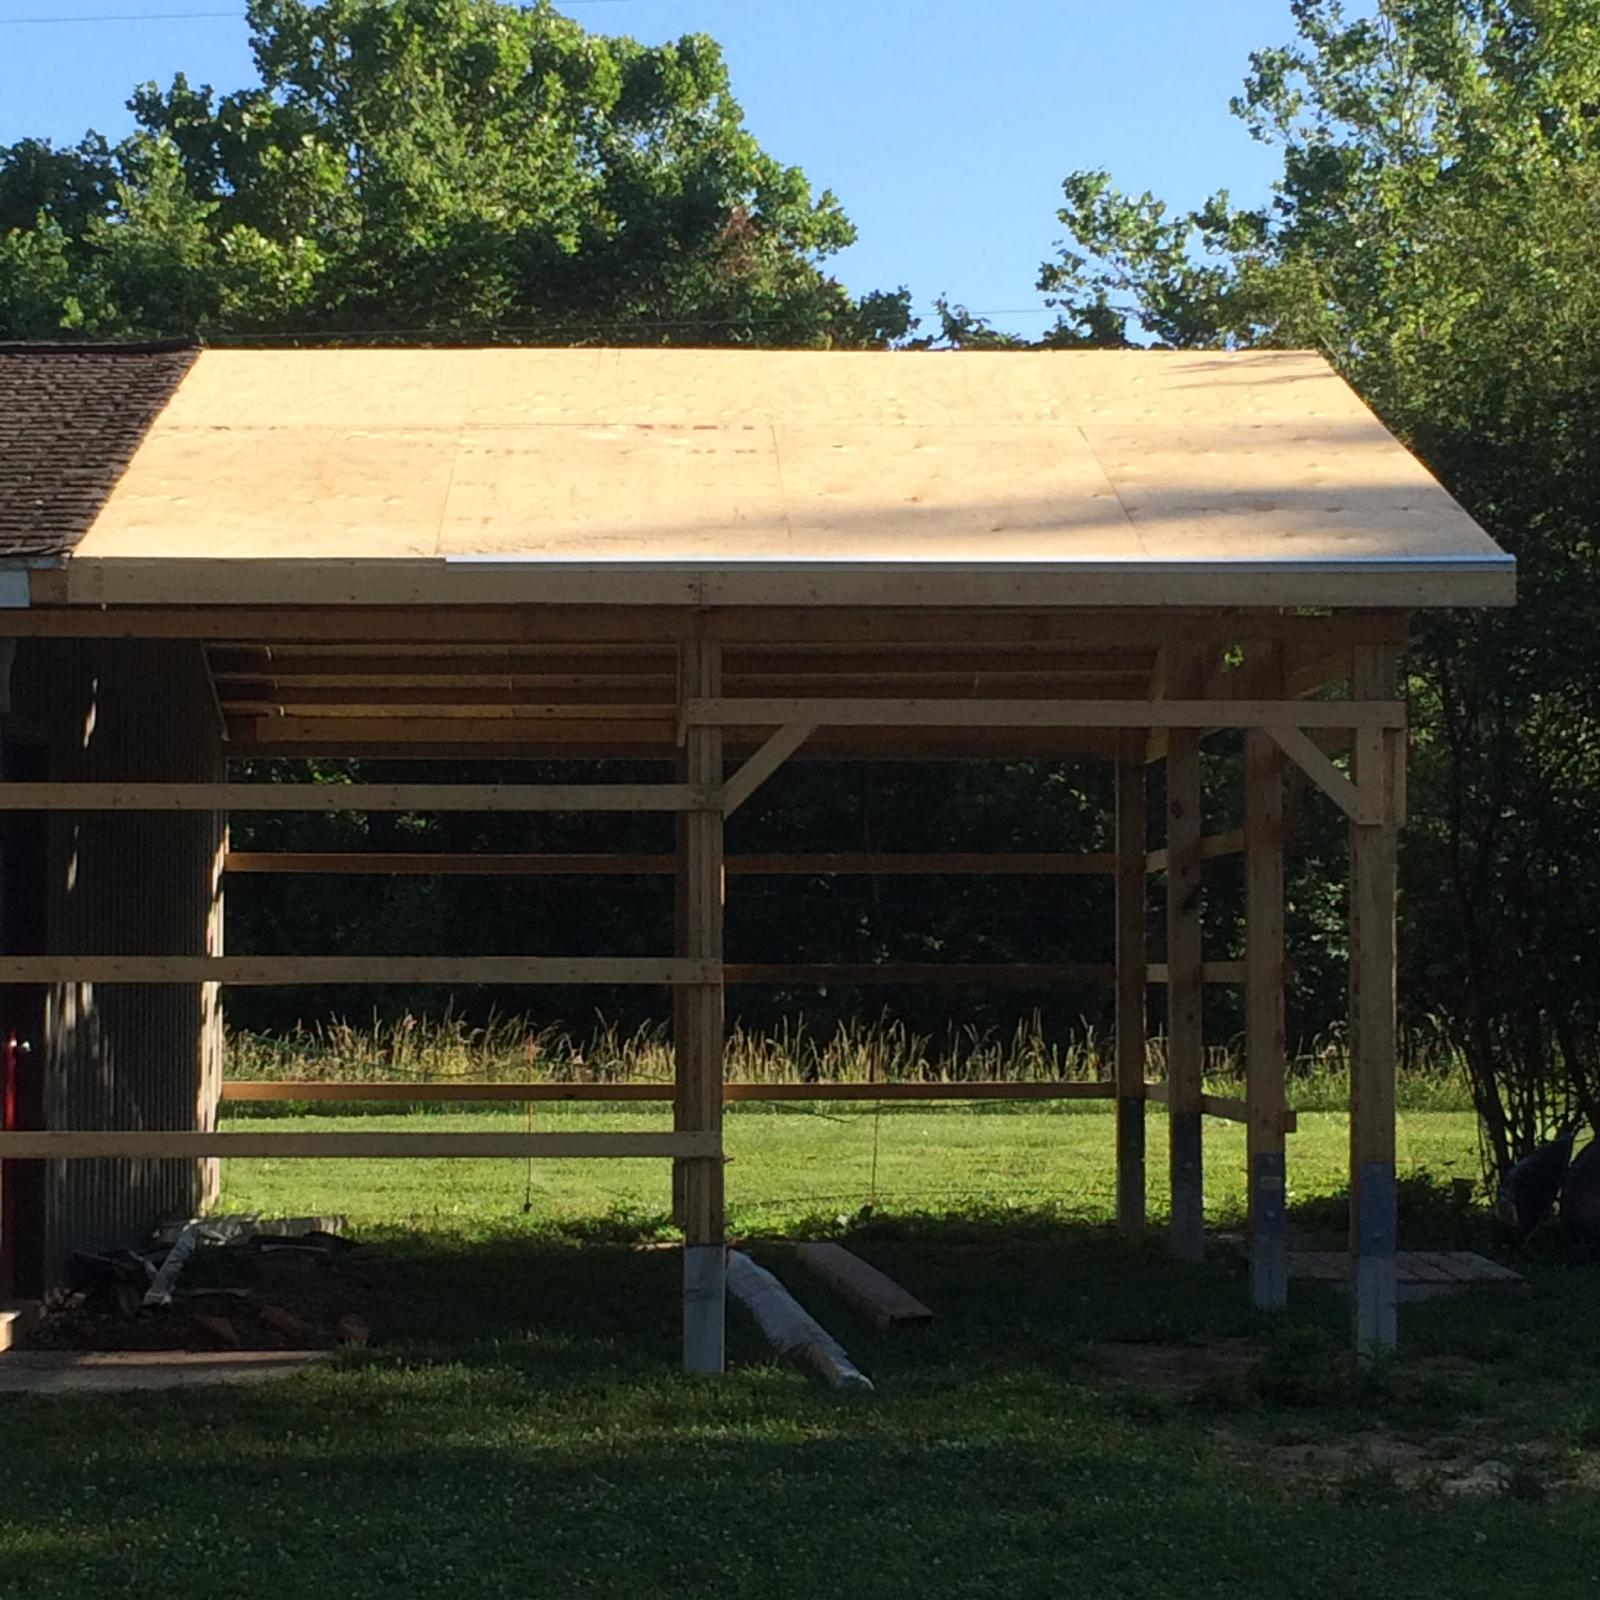
posts-up.jpg


girts-up2.jpg
 
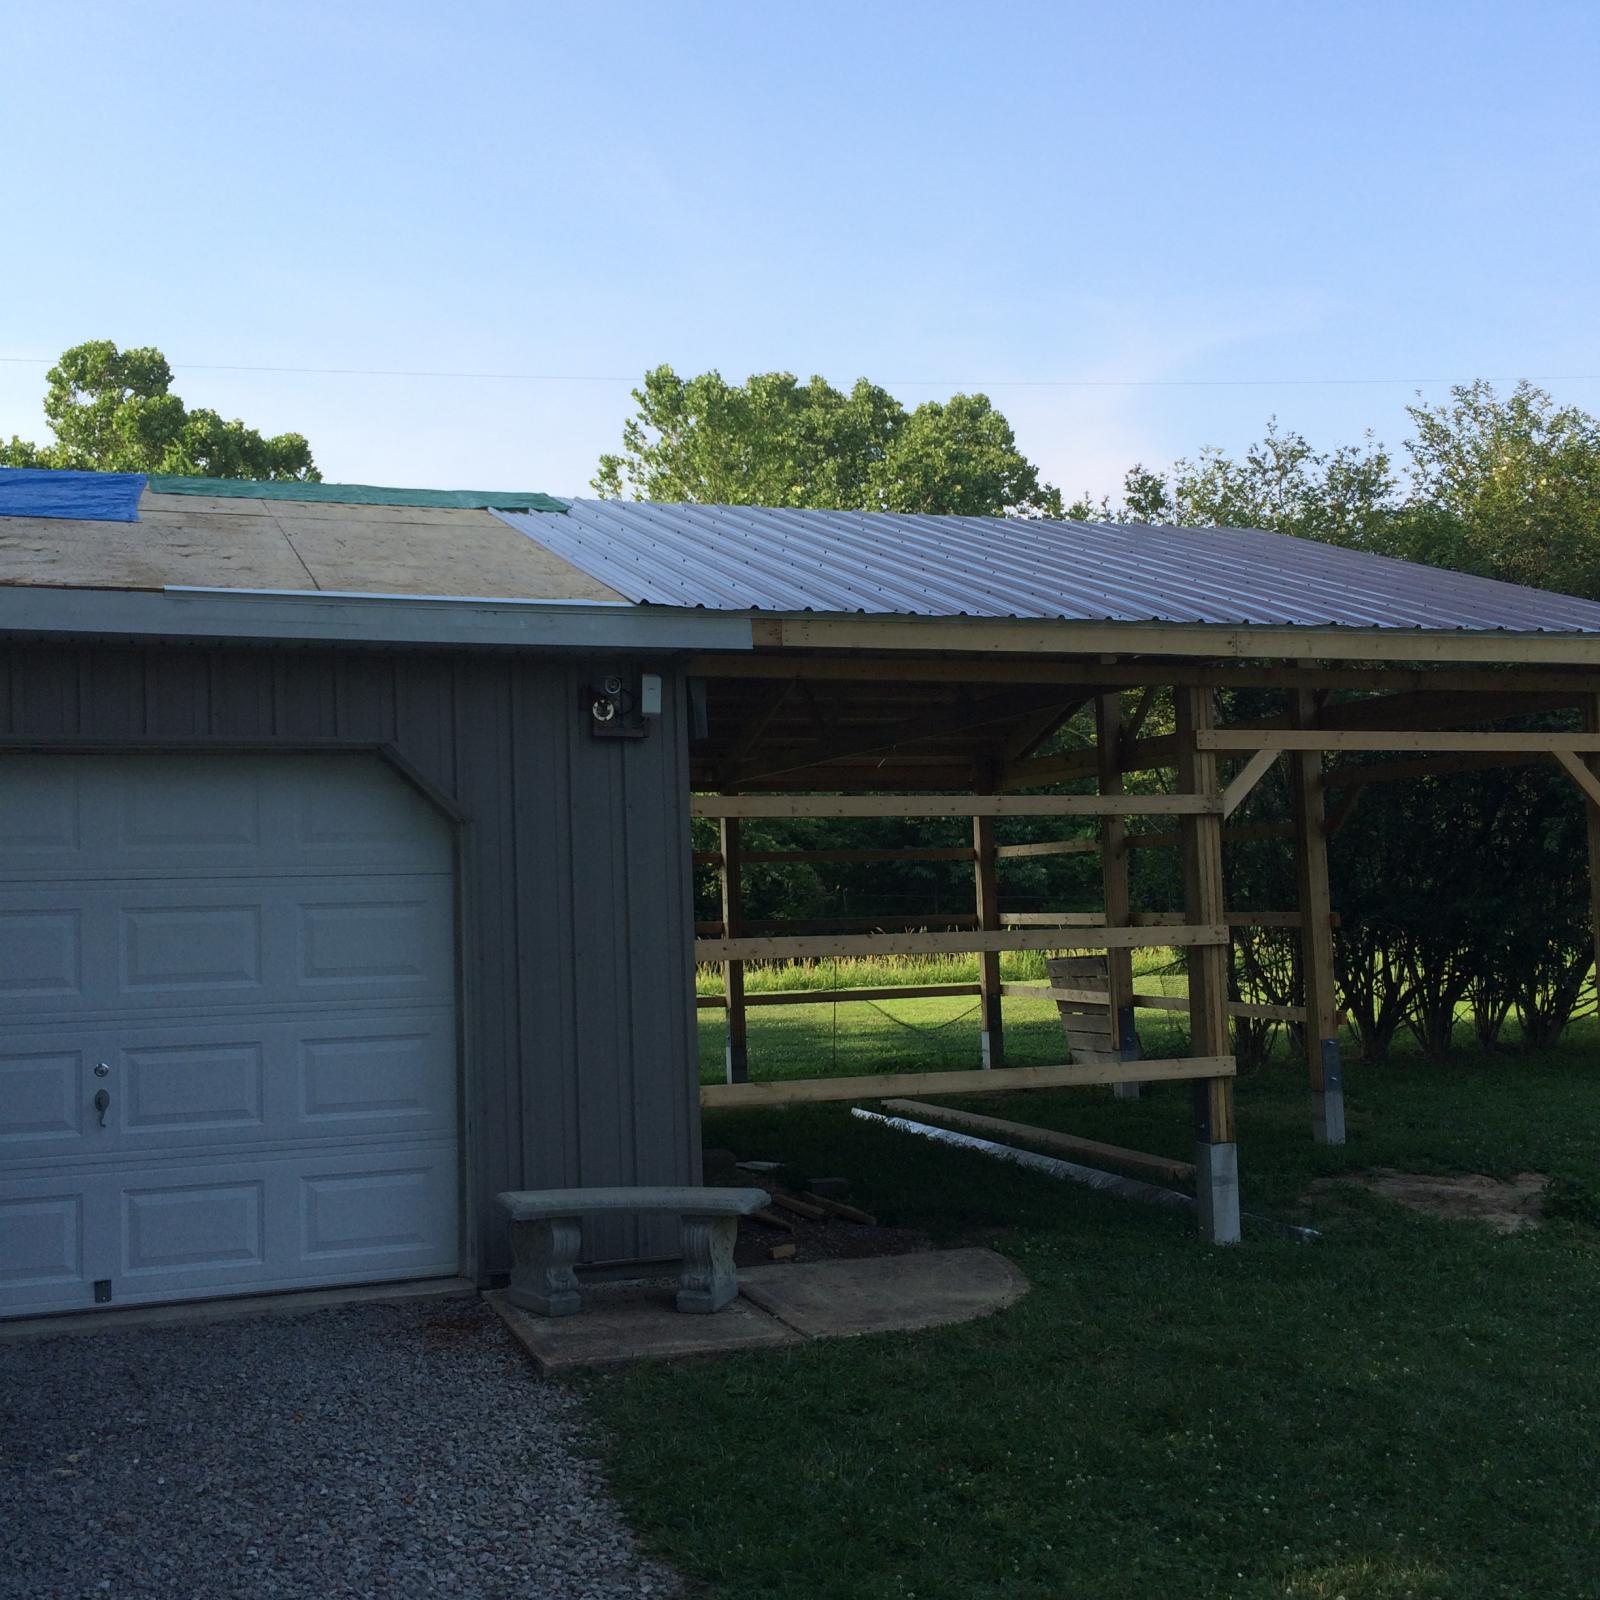
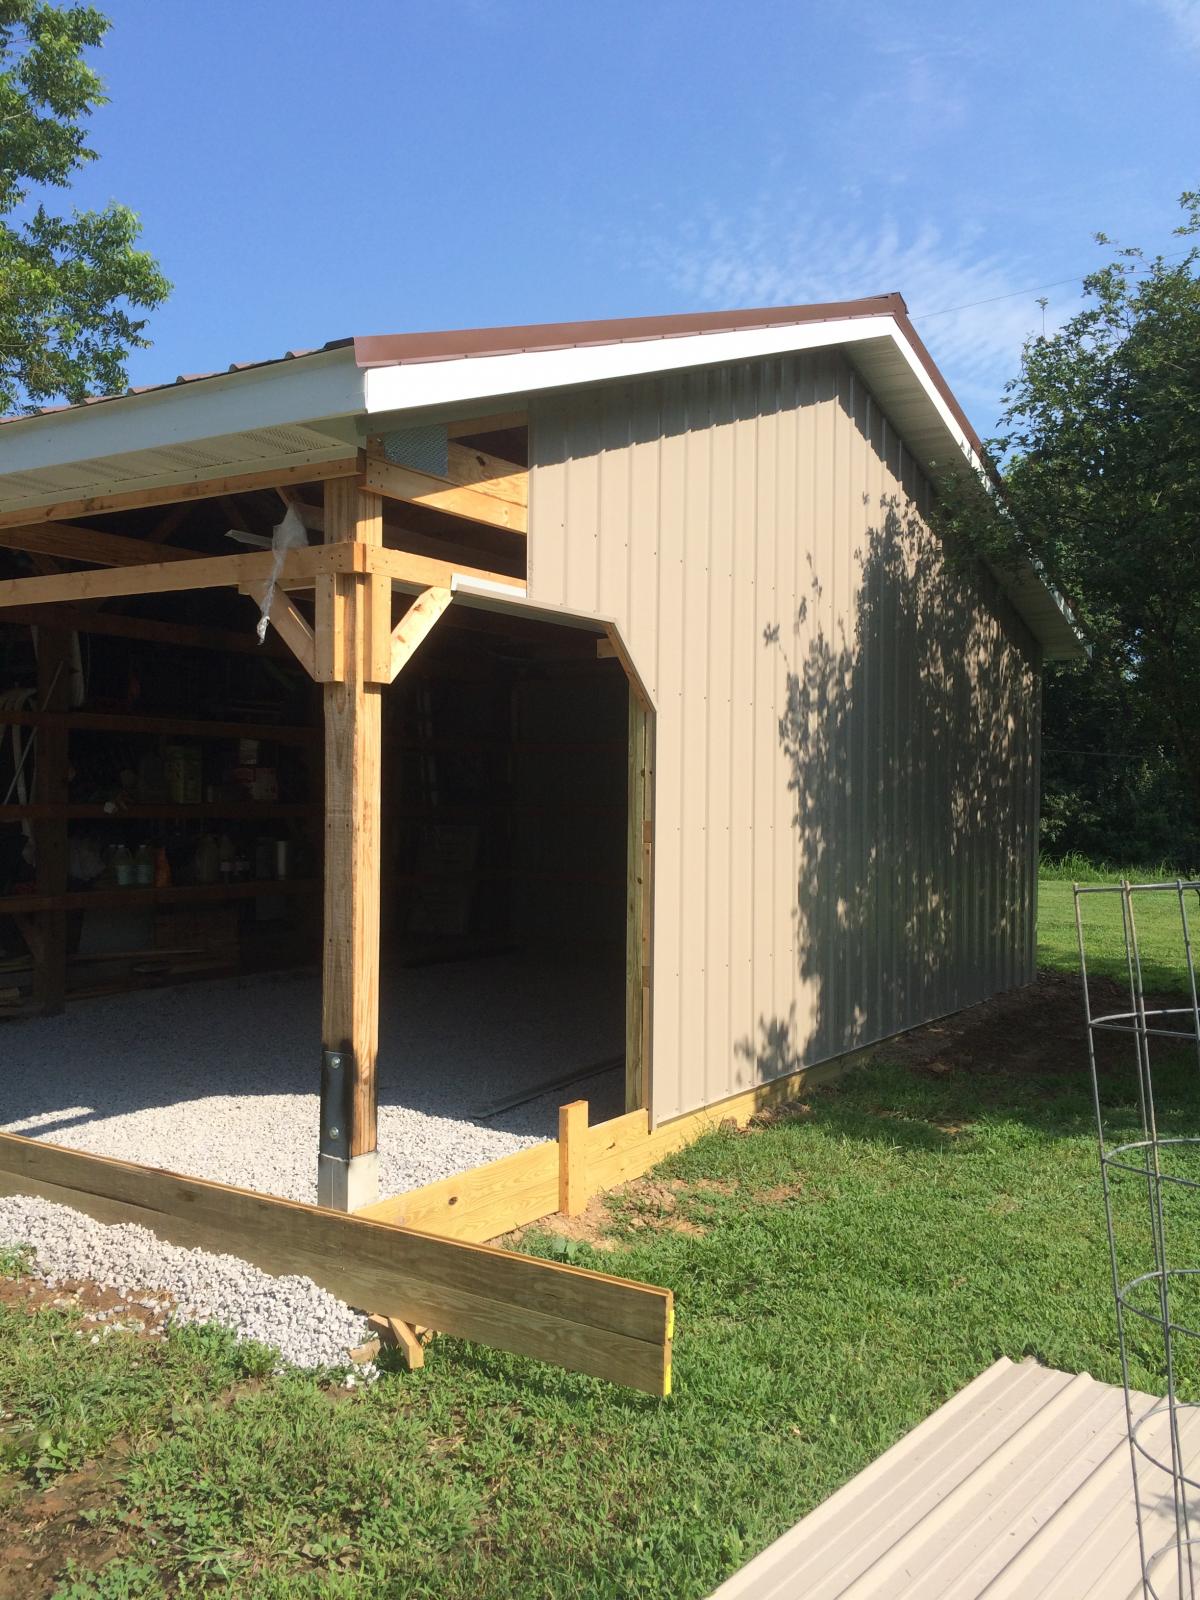
Roof is complete. The original shed had shingles. They were shot so I decided to replace them with metal.

Shed-roof-done.jpg
 
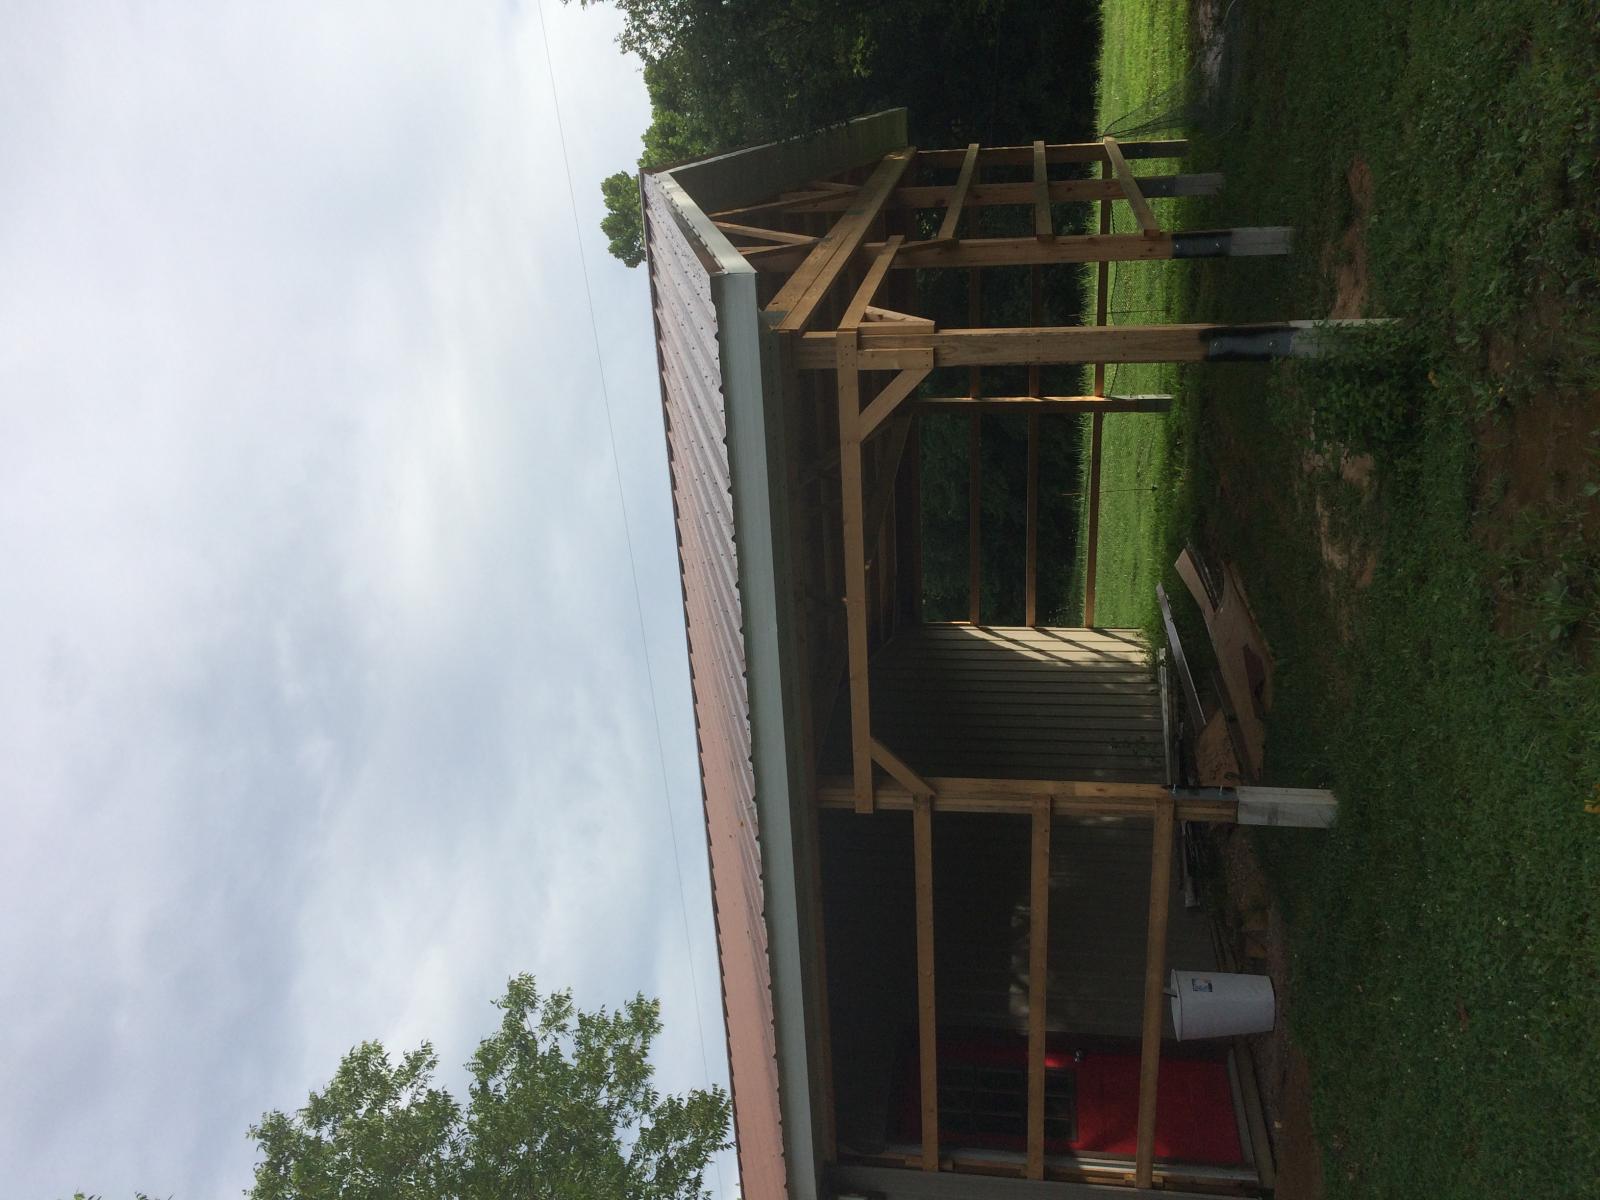
The side tin is up. I took the old tin off of the east side of the shed and put it back on the north side so that the tin would match. The original tin is not made anymore and the new tin is slightly different so I wanted the tin on the north side to match because that is the side of the shed people see when driving by my property.

side-tin-up.jpg
 
The picture above is the new east side with the new tin. You can see the old east side wall and the junk on the shelves I made at the back of the picture.
 
Dang...the county assessor drove by and called me wanting to stop by and take pictures. I told her I wasn't finished yet and give me a month. Everybody has their hand in your pocket. sheesh
 
couple of trim work pieces to finish up then time to start on the actual brew space on the inside
 
Very nice. But I would have included that corner into the total space. At least having some way to open it up to the rest of the space..

I have a porch where my brew sculpture, pots and tun stay, It has water from a RV hose to a utility sink and through a filter to fill the hlt. But it is not large enough for my fermentation chambers or grains, tools etc. so those are in the basement. Thus I don't have to haul out everything, but there is still a lot that I have to.

I really want a space big enough for everything......

Keep us up to date on the progress on the inside. :mug:
 
Nice work! One day I hope to have enough space to be able to do something similar. Right now it's the garage for me and hauling my gear back and forth to the "extra" closet in the spare bedroom. PITA...
 
Very cool, and very jealous. Living in an apartment I've made the tough call to scale down to BIAB. Anything bigger than 1 gal just isn't realistic for me at the mo.

Adding this project to my "someday" pile :mug:
 
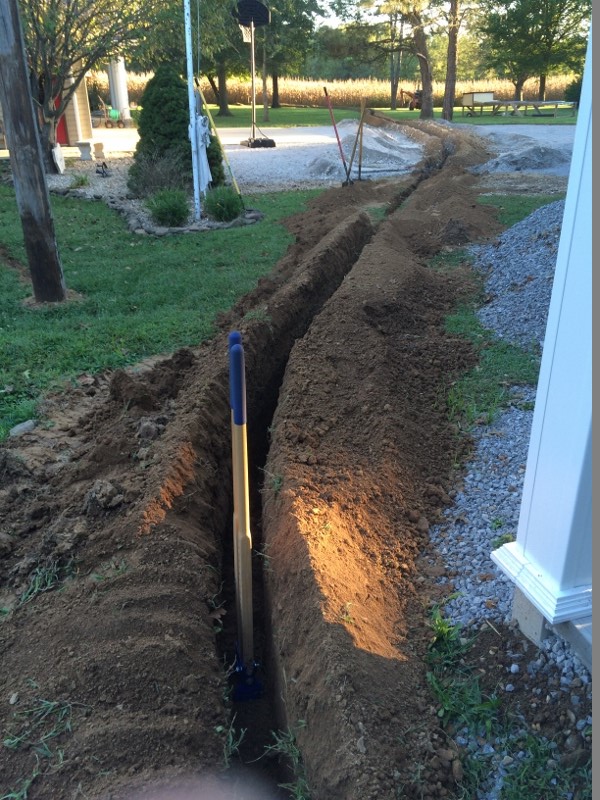
Water line trenched and installed. No more schlepping water out to the brew shed.

Nice picture! You'll get 50 points for that (beer judging scale of course).

Did you dig that whole trench with a post hole digger? Yowsers!

Just an observation, if you want to use this water line during the winter, shouldn't it be dug under the frost line? Like 42" below grade, or whatever your location requires? I lived in the mountain region in NE Pennsylvania and my water line was 60" below ground. And I still had to watch for freeze ups during extreme cold spells.
 
@islandlizard - if you look real close you can see the trencher in the background. I was just using the post hole digger to "clean out" the dirt that fell back in.

Frost line in my area is 20", the trench is 24" or deeper. The main water line into the house is 24" deep and (knock on wood) we have never had an issue.

Ah, now I see it, behind the tree on the right. That makes sense.
Lucky you don't have to dig deeper where you live. Past 24" it gets much, much more difficult.

Very nice brewshed project!

Now for the assessment lady/board, it's only a garage extension, right?
 
Now for the assessment lady/board, it's only a garage extension, right?

Building permit I filled out said shed extension. They called it a lean-to, but they know it has a concrete floor.

They have no idea what is going to go on inside. :D
 
Nice work! One day I hope to have enough space to be able to do something similar. Right now it's the garage for me and hauling my gear back and forth to the "extra" closet in the spare bedroom. PITA...

I don't want to derail the thread, but I'm in the same boat as you--tired of hauling stuff from the basement to the garage and back. I thought of shelves on which to store my equipment, but I wanted something enclosed so flies and such weren't depositing their stuff on my stuff.

Bought the below at Sam's Club for $209. It's 72" tall, 36" wide, and 18" deep. I can roll it into a corner where it's fine, and pull it out for Brew Day. I keep fermenters in the basement along w/ grain and mill. It's saved probably 20 minutes per brew day, plus all the up and down which is good exercise but bad juju. it's all right there for me to use.

I'd love a permanent brew space--can't talk SWMBO into building another house custom-designed for my needs. :( But for now, this rolling cabinet helps.

But it's not as good as my own brew shed. :)


cabinet2.jpg

cabinet1.jpg
 
That is pretty sweet. Do the doors seal or can they have weather stripping applied to keep bugs out? I have been thinking about what I want to do, either build cabinets, buy some cabinets, or buy something like that. I am leaning toward the rolling storage bin like that.
 
That is pretty sweet. Do the doors seal or can they have weather stripping applied to keep bugs out? I have been thinking about what I want to do, either build cabinets, buy some cabinets, or buy something like that. I am leaning toward the rolling storage bin like that.

They're not airtight if that's what you mean. But they are tight enough that I don't think a fly could enter. I doubt a fruit-fly could either but maybe at the top.

But you could add some thin weatherstripping or some such if you wanted to do that. Later I'll check on just how tight the seal is. The left door is held w/ a magnet catch. You can see that at the bottom and top in the pic. The right door overlaps the left and is held in place by the keyed lock.

I'm glad that was some use for you--didn't want to derail what is a great thread, and I'm sure I'll get some ideas from how you end up arranging your brew space.

Anyway--originally I was looking at a place like Menards for permanent cabinetry, and it was pricey. I stumbled across this in Sam's Club and originally didn't believe the price. It's got a stainless front, it's solid, and unlike most cabinets, deep enough at 18" to accommodate my burner, boil kettle, the milk crate on which I perch the other kettle (did you know that in this application the kettle which receives mash runnings is called a "grant"?), and so on. Shelves are movable.
 
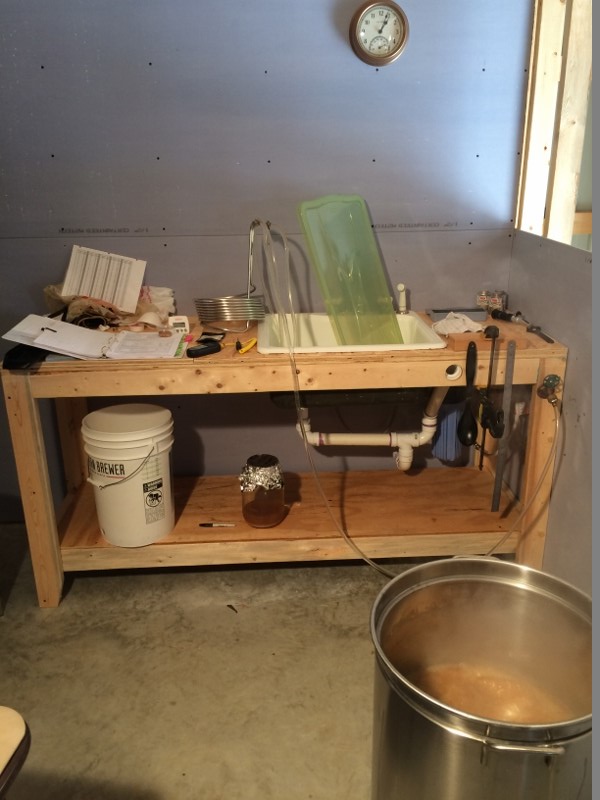
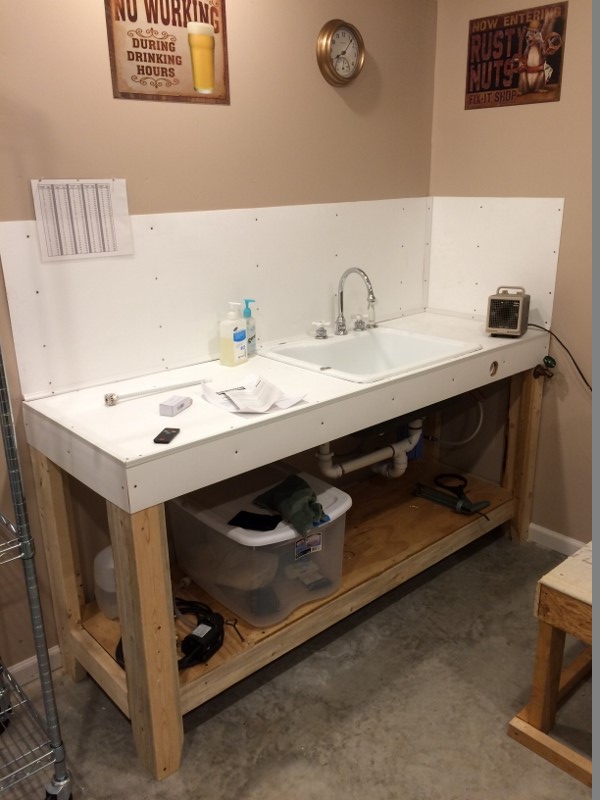
The sink-table that I built. I need to cover the top, most likely will be FRP, and I will use FRP around the walls to protect them from splashing.

I have the water and drain plumbing complete. This was a major improvement over the way I used to have to move the water.

Still have a ways to go on this project but it is coming along.

Sink-Table (600x800).jpg
 
Placed an order today for an exhaust fan and duct pieces. Will need to get those put in before I can brew again.
 
Great work so far! I am jealous wish I had the space to build something like that.
 
The sink-table that I built. I need to cover the top, most likely will be FRP, and I will use FRP around the walls to protect them from splashing.

I have the water and drain plumbing complete. This was a major improvement over the way I used to have to move the water.

Still have a ways to go on this project but it is coming along.

Hmmm....now you have me thinking....which can be dangerous, of course. :)

I have an old metal sink w/ sideboard I salvaged from a junk day here in town. You can see it here:

rosystem.jpg

But while it's great compared to not having one, it's shallow, and doesn't have a sprayer, and isn't as large as I might like. I have to clean my kettle and fermenters in the kitchen, and I'd rather do it right where I'm brewing.

So--your approach above has me thinking....instead of buying a ready-made sink system, I could build my own cabinetry to fit the space, and drop in whatever sinks I could find to fit. I could use whatever faucets I'd like, and perhaps even permanently install the RO system underneath someplace.

Hmmm.....
 
@mongoose33 - that sink-table is just 2x4's and some left over plywood from the roof. I doubled the plywood on the top for strength. I got the sink from a buddy of mine who is remodeling his home. It isn't exactly what I wanted but the price was perfect -> $0

The table top has now been covered with FRP. I'll post some more pictures when I finish the drywall and paint. BTW, I can stand on the table and it doesn't move and I'm 200 lbs. It took me a few hours one afternoon to build.
 
This project is just about complete. I have to cover the rafter sticking through the ceiling sheetrock and that should finish this phase.

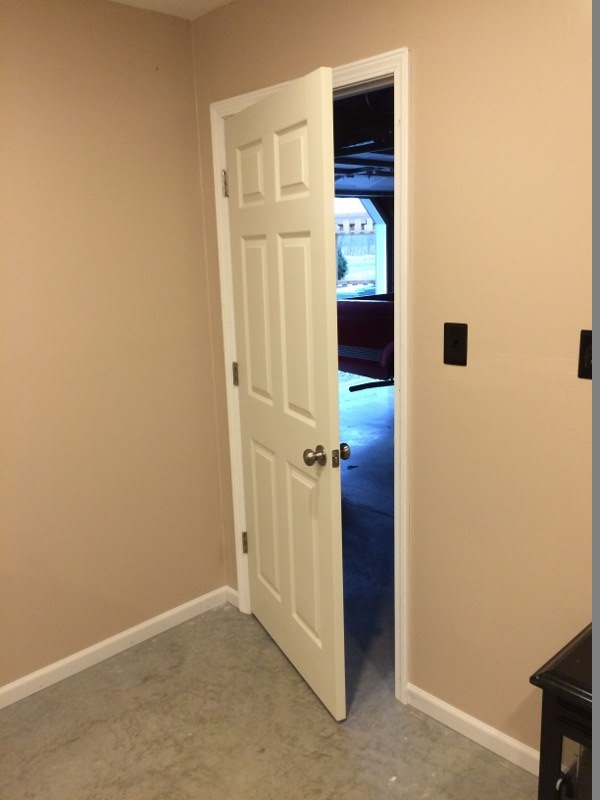
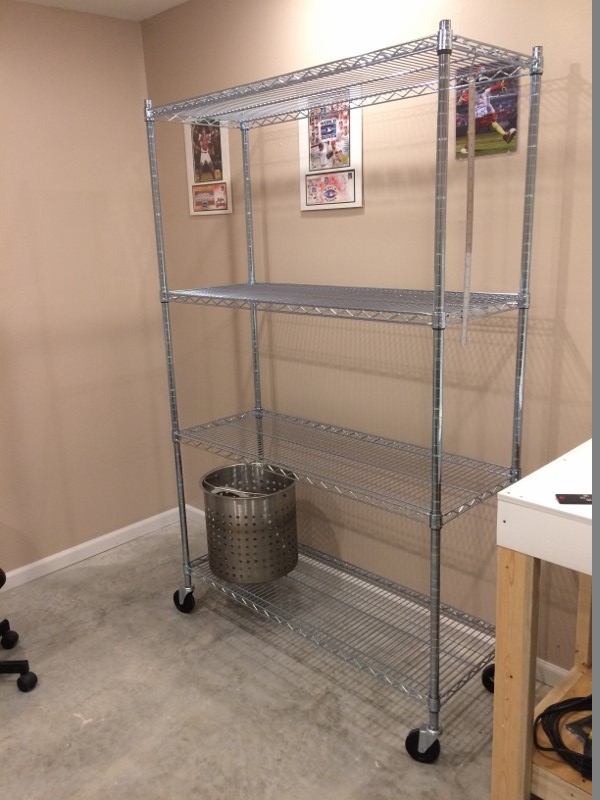
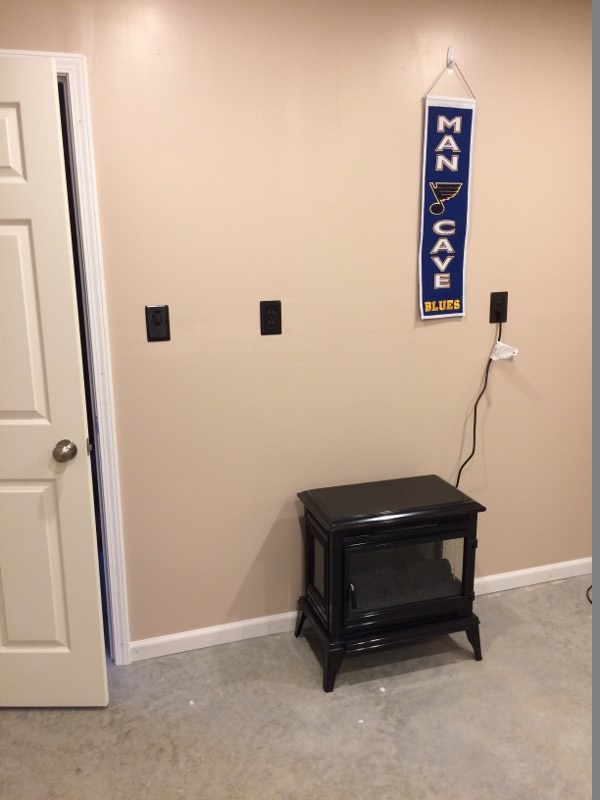
Here are some more pictures.

DoorInside (600x800).jpg
 
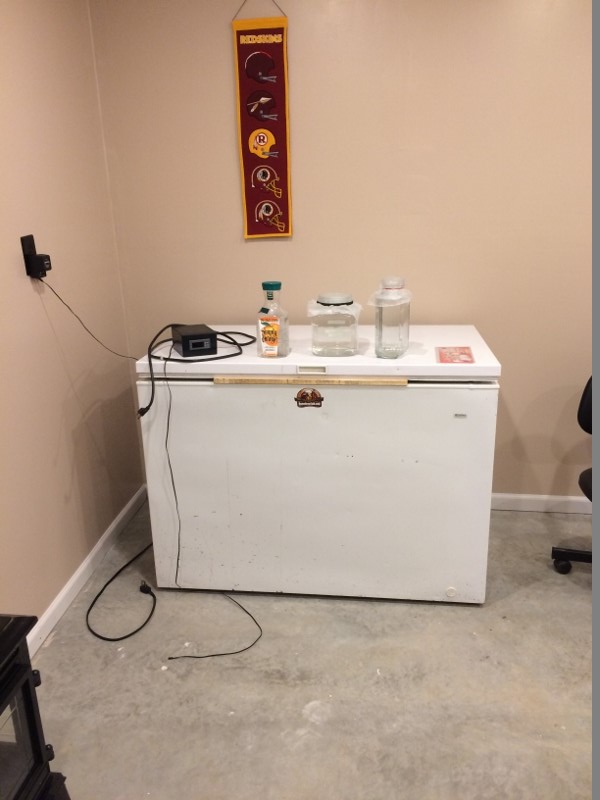
This virtual tour around the brewery continues with the fermentation freezer

Fermentor (600x800).jpg
 
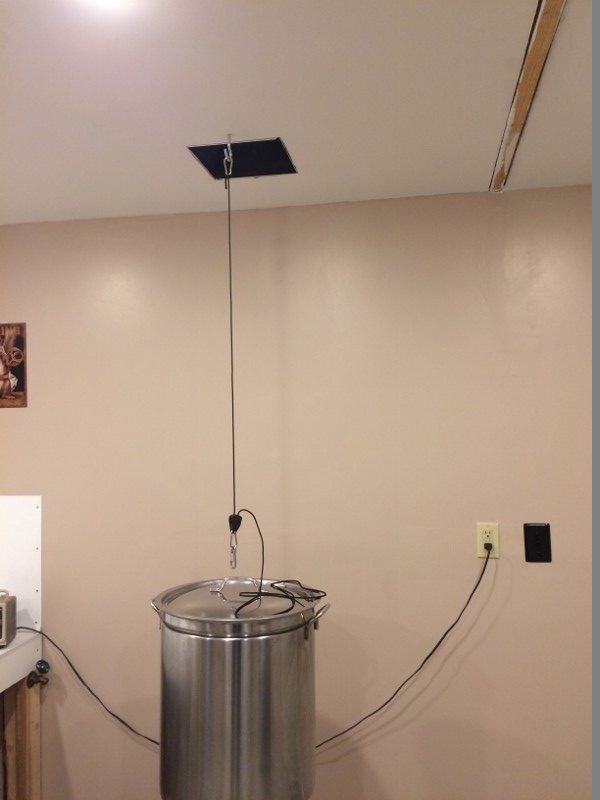
Need to get rid of the moisture and fumes so I installed this 8" exhaust fan above the brewery venting outside.

ExhaustFan (600x800).jpg


ExhaustDuct (800x600).jpg


Damper (600x800).jpg
 
Back
Top