Sapele Keezer

Homebrew Talk - Beer, Wine, Mead, & Cider Brewing Discussion Forum

Help Support Homebrew Talk - Beer, Wine, Mead, & Cider Brewing Discussion Forum:

This site may earn a commission from merchant affiliate links, including eBay, Amazon, and others.

Wort_Cleaver

Well-Known Member
Joined
May 3, 2012
Messages
58
Reaction score
19
Location
Florida
A while back I bought a bunch of rough cut Sapele boards to build a nice wine chiller credenza for my wife. As I got into that project, I just couldn't seem to keep the panels from cupping in my warm and humid workshop. So that project was scrapped. I had long been wanting to build a nice keezer but never had the time with other projects getting in the way. But now I needed an excuse to use up all that expensive hardwood, so the Sapele Keezer project was born. I have a busy life with three young children, so this has been more than 2 years in the making, a few hours here and there. I tried to take pictures along the way to document the progress, mostly so that I could give back to the HomebrewTalk community, because I definitely borrowed heavily from other projects posted on here while designing and building my own. If anyone else out there is looking to build something similar, feel free to ask any questions and I'll do my best to answer.

The before and after.
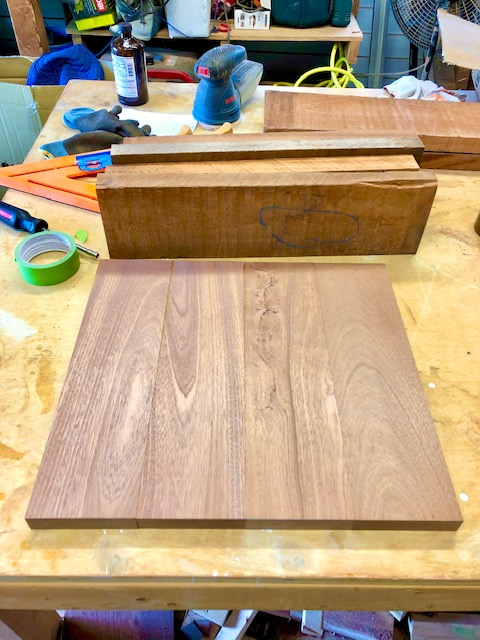
This is what $1,000+ worth of 8/4 Sapele boards look like. I live in South Florida, so sourcing hardwood is not easy. I had to special order this and then drive 2 hours both ways to pick it up. After milling it I found out that the majority of the boards were flat sawn, so it gave a much different grain pattern than the typical ribbon stripes that you see on most Sapele pieces. There was a lot of variation in grain pattern and board color, and I really cared more about arranging them based on fit and working around defects than any attempt at grain/color matching. Had to work with what I was given and I am by no means a professional woodworker.
IMG_5040.jpg
IMG_9969.jpg

I will follow this up with several more posts to describe the build process in more detail.
 
This was the original frame that I built. I left a lip around the perimeter for the panels to sit on. It was rock solid, but I figured out pretty quickly that it would not work. Unfortunately, 2x4's from the big box stores are nothing close to straight, and there was no way the panels would sit flush. So this first iteration was torn apart and became fuel for the fire pit.

IMG_5965.jpg


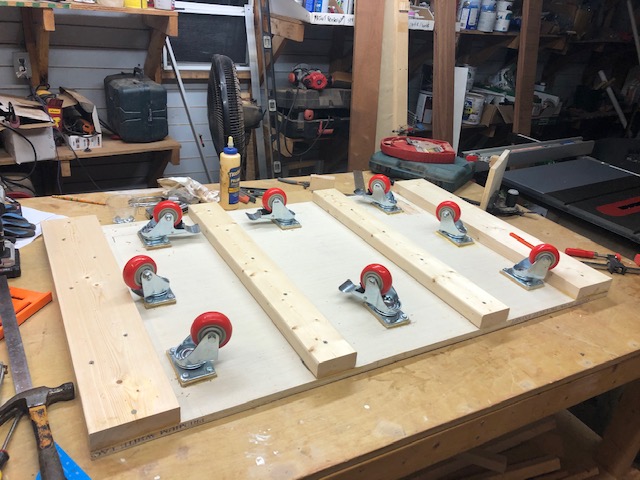
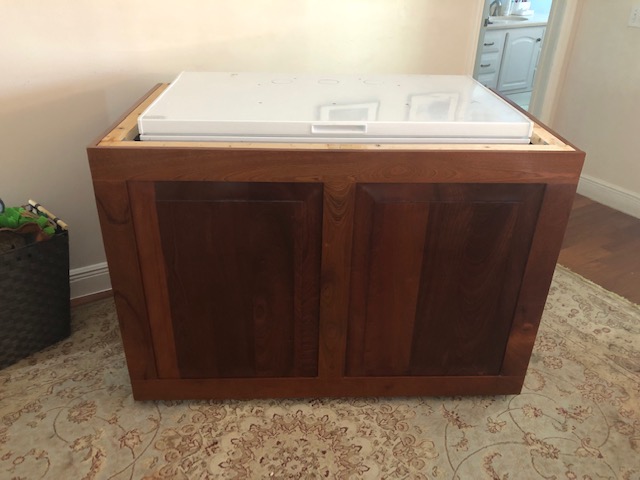
Back to the drawing board. The base is a piece of 3/4" birch plywood reinforced with 2x8's and 2x4's that I ran through the jointer to flatten out a bit. Then I added several casters so that it would be nice and mobile.
IMG_6013.jpg

Then I built this jig to make some box joints.
IMG_5994.jpg

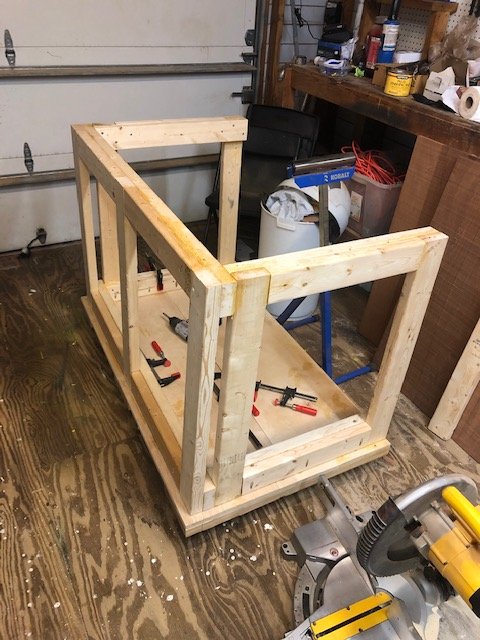
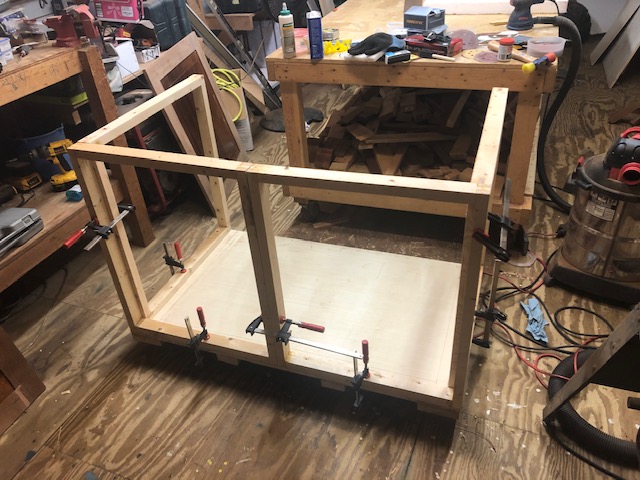
The frame is built from 2x4's that I milled down with the jointer to get them perfectly flat and uniform size. The squares are reinforced with finger/box joints at the corners. They were glued and screwed flush with the edge of base platform. I will show how I attached the panels later on.
IMG_8118.jpg
 
Last edited:
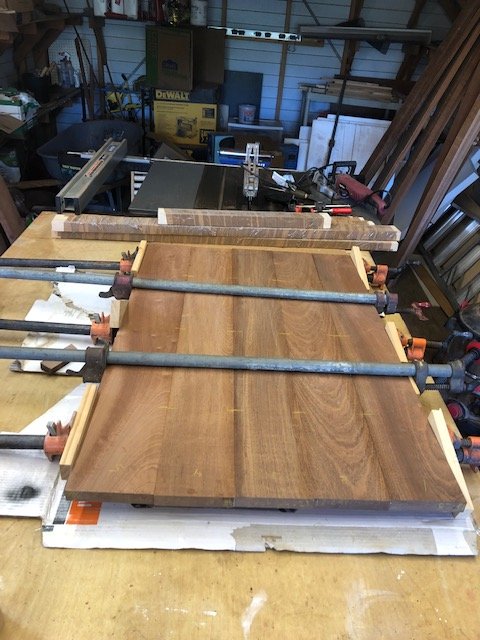
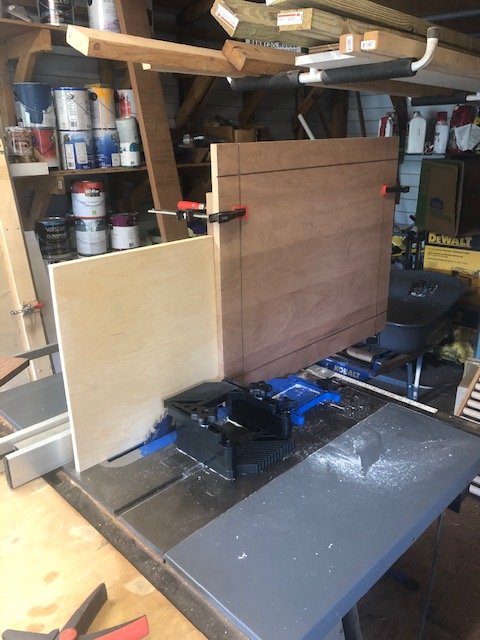
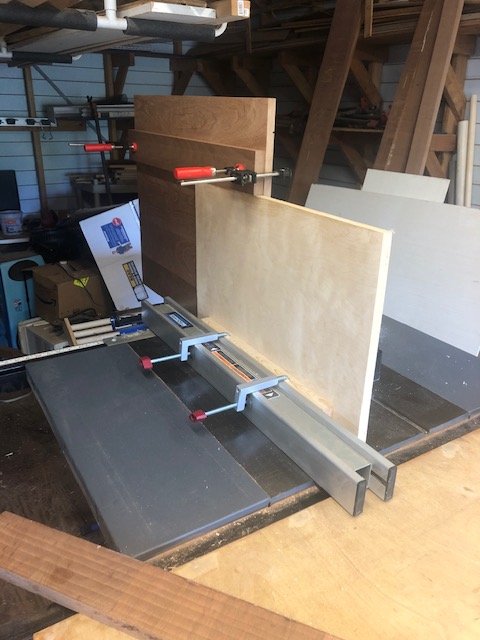
Boards were milled and glued up into panels and cut down to size. Then using another jig with a sacrificial fence, I made them into raised panels.
IMG_5566.jpg

IMG_6086.jpg
IMG_6087.jpg

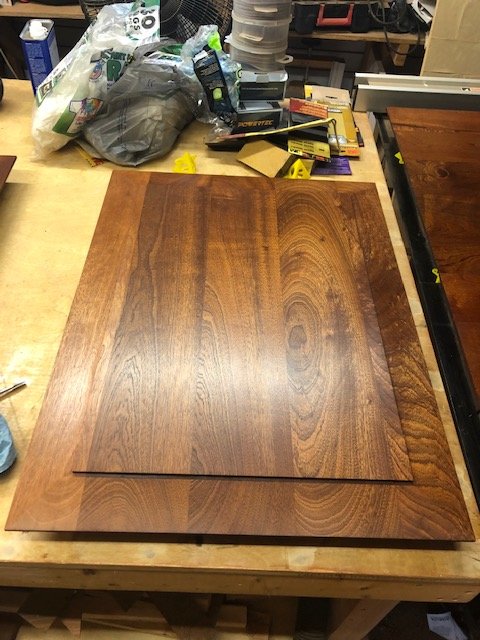
These panels were sanded and finished first with a coat of danish oil.
IMG_6139.jpg
IMG_8014.jpg
 
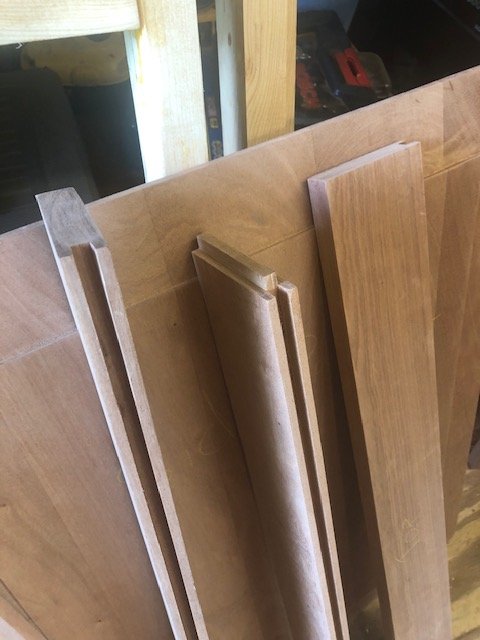
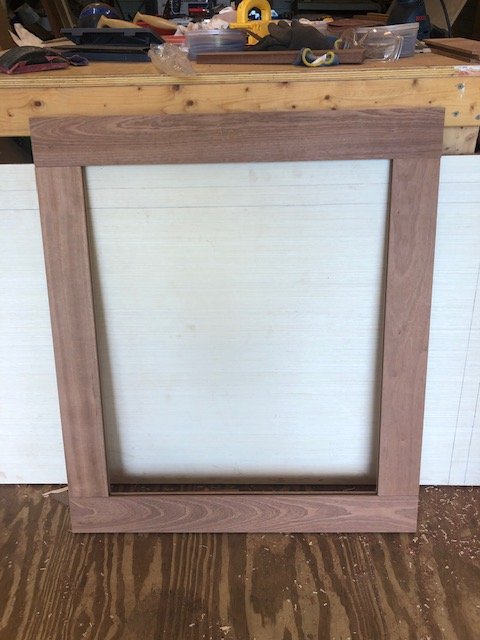
I then milled up some more boards for the frames and created some tongue and groove fittings with the dado stack.
IMG_6150.jpg
IMG_6149.jpg

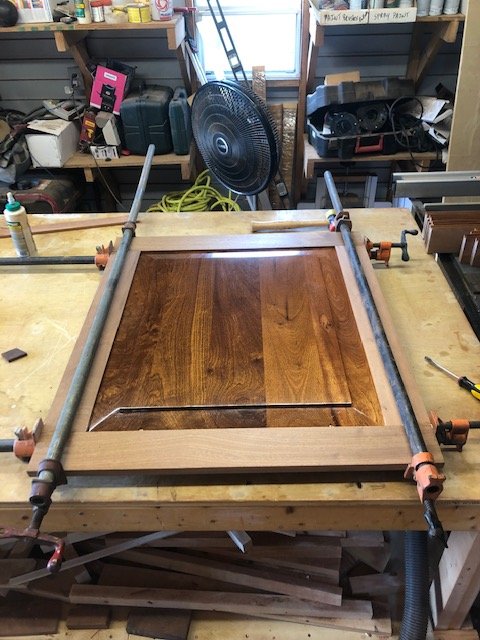
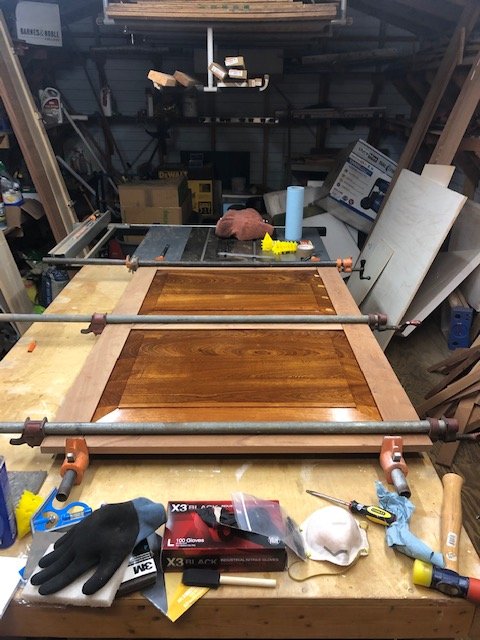
The panels were placed into the frames with small rubber bead spacers and glued up. The double panel was a little tricky to get clamped up on my own, but I managed to get it done.
IMG_8078.jpg
IMG_8092.jpg

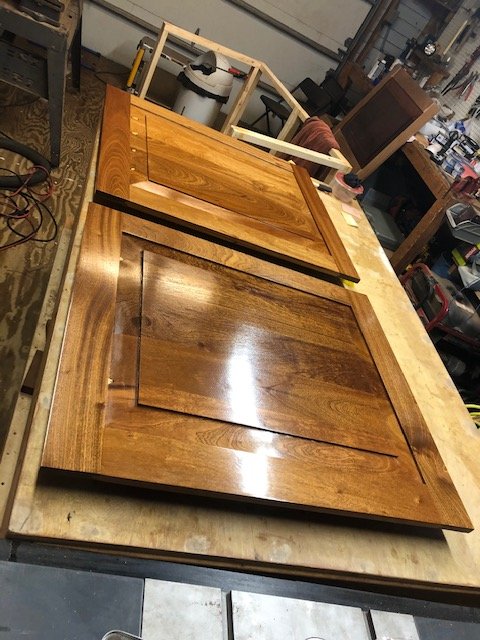
All the frames got a coat of danish oil and then everything was finished with semigloss Arm-R-Seal. You may notice the glaring spots of light colored wood at the base of some of the panels. This is because the panels were initially glued up with the intent of being used for the credenza project. I used biscuits during the glue up, and when the panels were repurposed for the keezer, some of them were exposed when they were trimmed into raised panels. It really drove me crazy for a long time, but I eventually just embraced the unfortunate result and after a coat from a brown Sharpie wood touch-up marker, the spots are barely visible under most lighting conditions.
IMG_8160.jpg
 
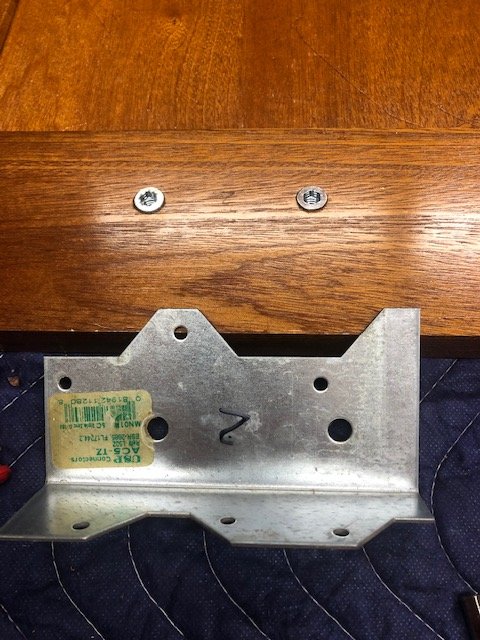
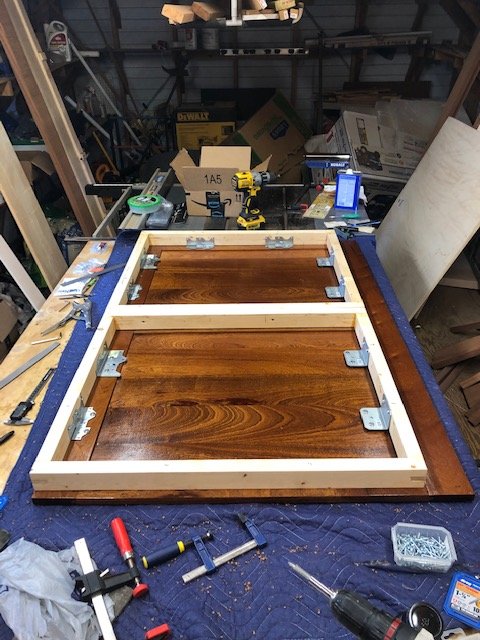
The panels were then attached to the frames using metal brackets, bolts, and threaded inserts. The threaded inserts are nice because they give you a secure fit, but with a lot less risk of cracking/splitting the wood than plain screws. Theoretically, I could also remove the panels from the frames in the future if I ever needed to for some reason. It was much easier to attach the panels to the frames and then the frames to the base than it would have been to attach the frames to the base and then try to attach the panels. Just something to think about if you also decide to go this route.
IMG_8329.jpg
IMG_8357.jpg

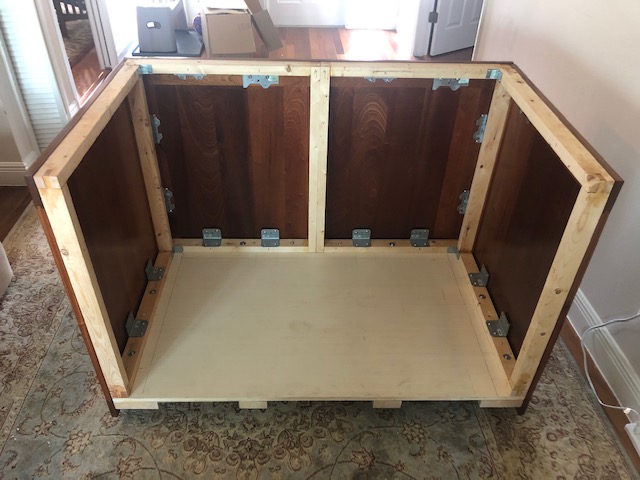
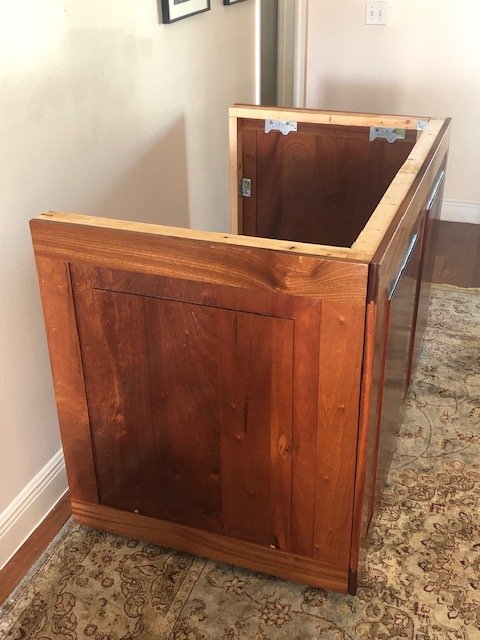
The frames were then attached to the base with glue, screws, and bolts, and finally the project started to take shape.

IMG_8367.jpg
IMG_8360.jpg
IMG_8949.jpg

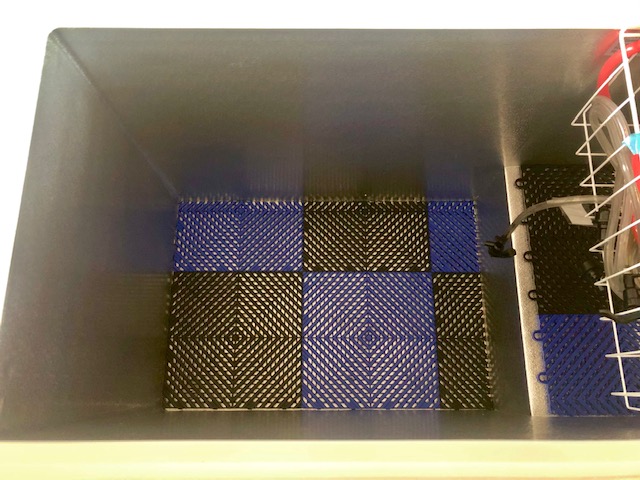
The bottom of the freezer was lined with some plastic grates to keep the kegs off the floor in case there was any leaking or condensation.
IMG_8459.jpg
 
Last edited:
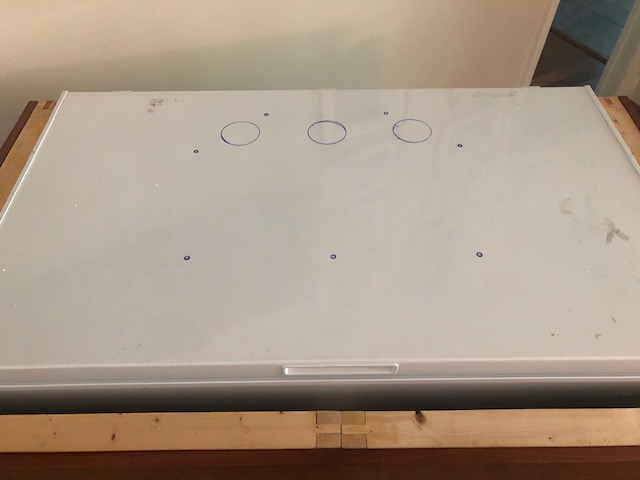
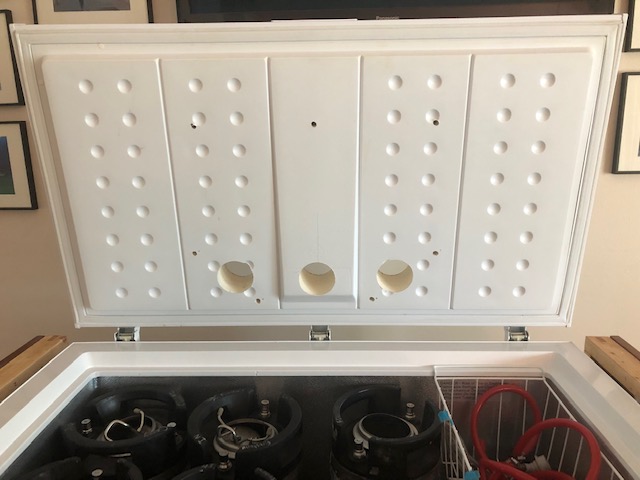
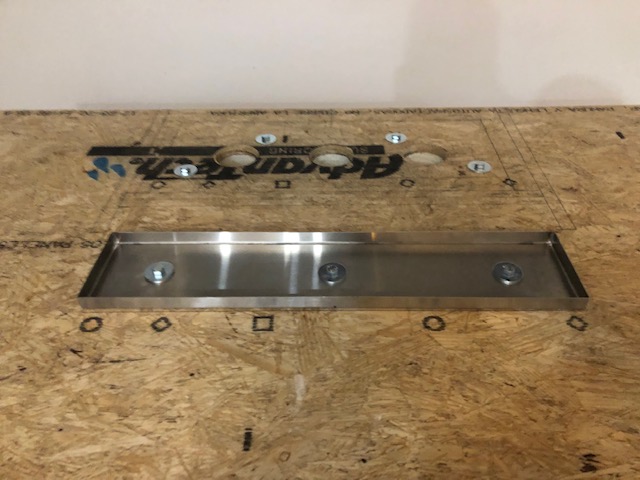
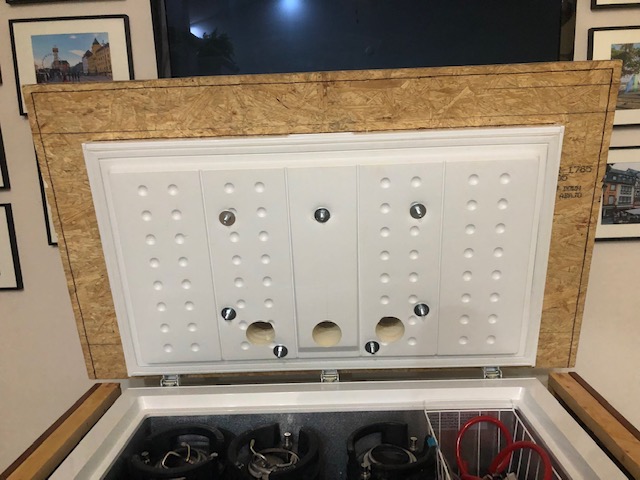
After this, the focus shifted towards building the lid. I wanted to attach the top of the keezer to the lid in a way that would allow it to be detached in the future if necessary. This way, if/when the freezer dies, I could in theory buy a new freezer of the same dimensions and swap it out for the old one. I planned to tile the top, so I spaced out the bolts I used to attach everything so that they would be accessible through the coffin box and the drip tray. The freezer lid was marked and drilled out. The hole in the middle would be for the beer lines and the ones on the left and right would have computer fans pulling cold air from below on one side and pushing back to the freezer on the other. They were drilled out with a corded drill and a 3" hole saw bit.
IMG_8950.jpg
IMG_8951.jpg

I then attached a sheet of 3/4" exterior grade Advantech OSB subfloor for the tile to sit on. This stuff is heavy as ****, but it's moisture resistant and strong enough to support the weight of the tile with no sagging on the outside where it hangs over the edge of the freezer lid. I tried using some 1/2" plywood first to cut down on the weight, but it was not strong enough and probably would have warped from the wet mortar I used to attach the backer board. This sheet was bolted down and was quite secure, even without the use of any adhesives.
IMG_8953.jpg
IMG_8954.jpg
 
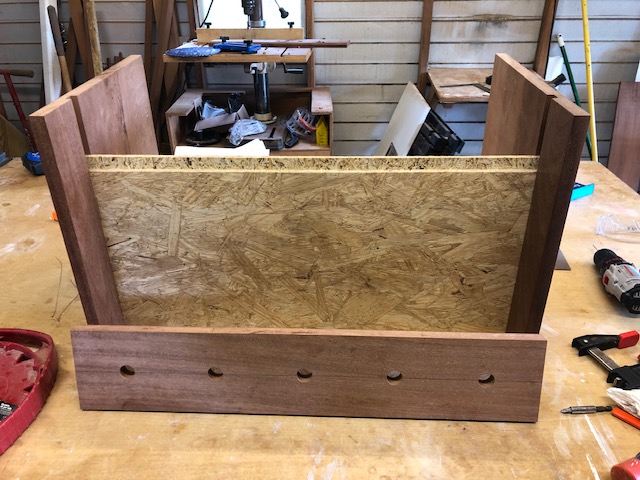
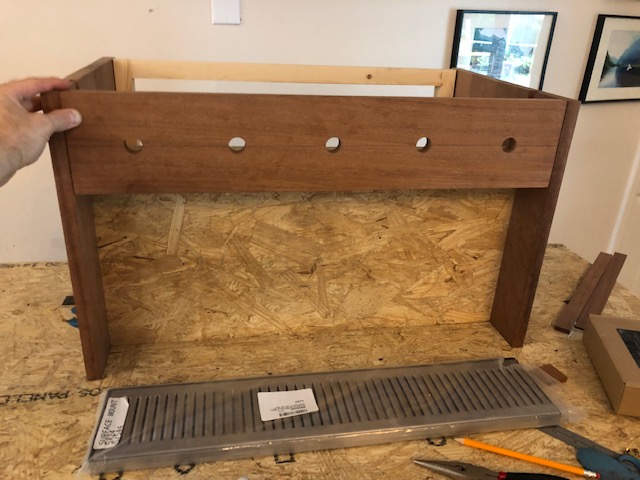
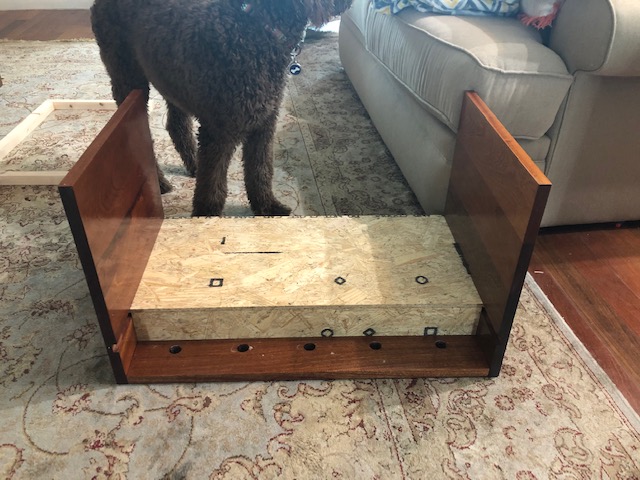
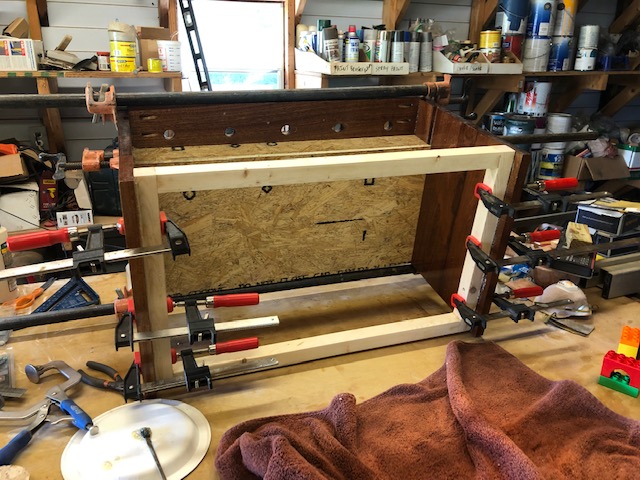
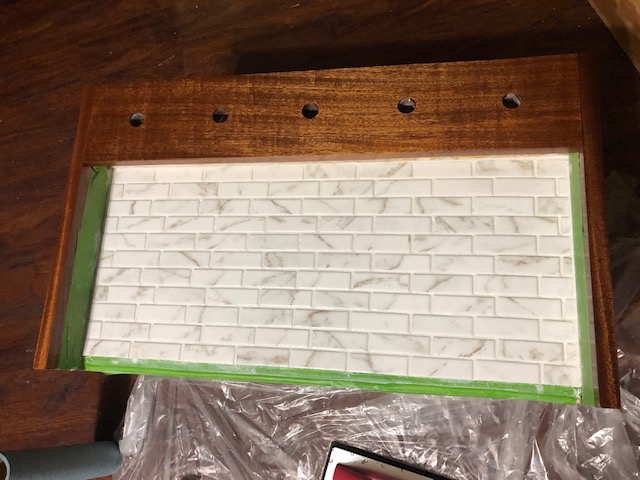
Once I had the subfloor attached, I started building the coffin box. This started with more board milling and panel glue ups. I then cut holes in the face plate for tap shanks and dadoes in the side panels to hold more OSB for the tile backsplash. I made another wooden frame to support the back end of the box.
IMG_8473.jpg
IMG_8731.jpg
IMG_8735.jpg
IMG_8733.jpg


IMG_8736.jpg
IMG_8738.jpg

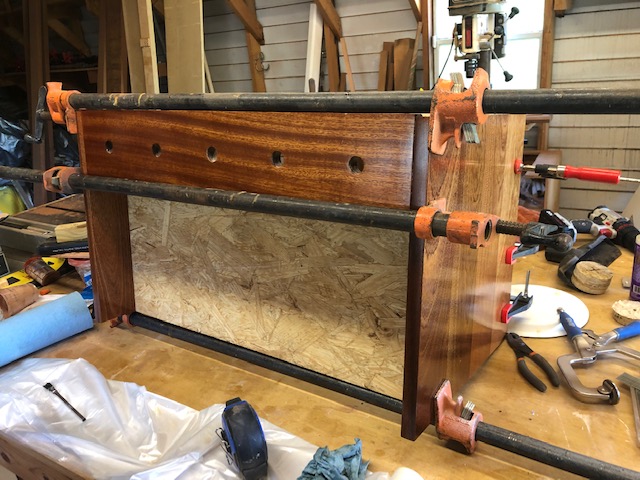
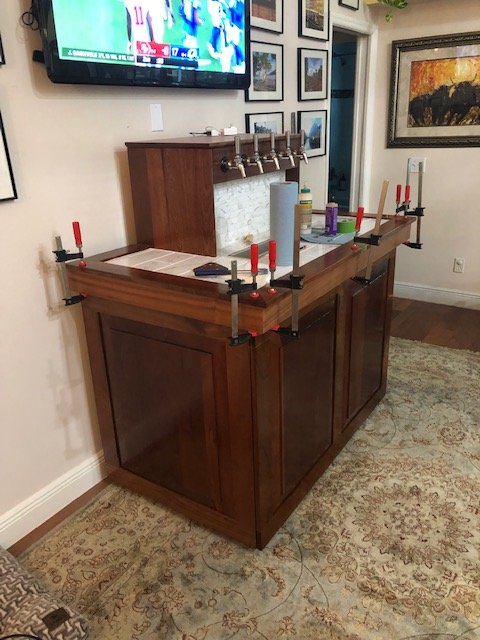
Then everything was finished and glued up. It was easier to finish the pieces separately before the glue up than to try to do it after it was already a complete box. It was all lightly sanded and re-finished again after the clamps marred the finish during the glue up. Small price to pay.
IMG_8918.jpg
IMG_8991.jpg
IMG_8992.jpg

I also made a solid wood panel for the lid and routed the edge, but I didn't seem to take any pictures of that. This is the view from behind after the box was glued up and set in place.

IMG_8995.jpg
 
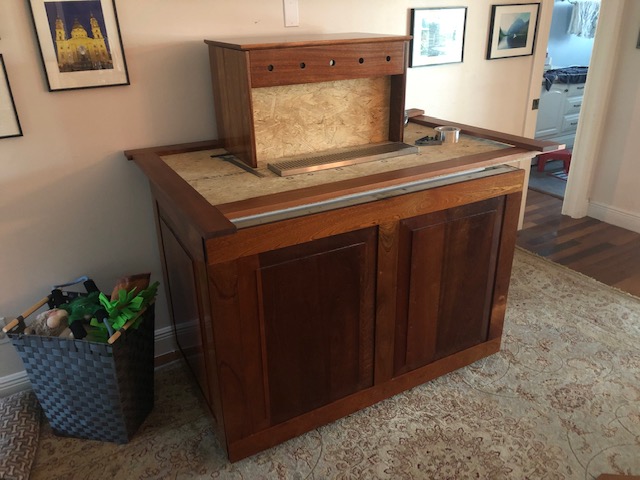
Once the box was completed, I started working on the next phase for the lid. I got a piece of 1/4" Hardiebacker board and cut it down to size, including an opening for the drip tray.
IMG_9519.jpg

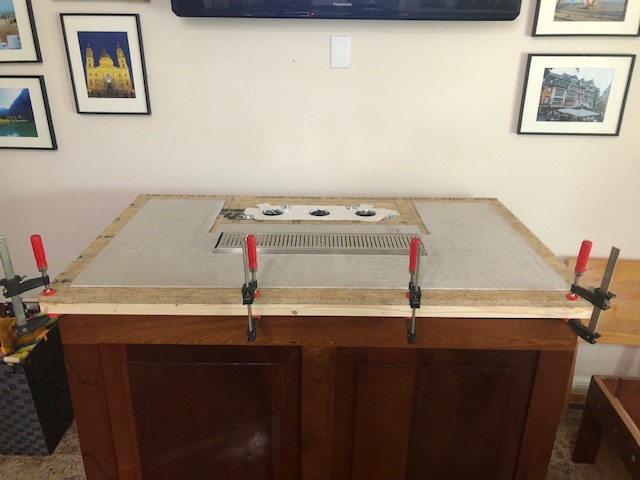
I then glued and screwed some small 2x2 boards to the underside of the OSB so I would have more surface area to attach the trim later on.
IMG_9520.jpg

I cut and milled more boards and started to piece out the trim.
IMG_8994.jpg

I attached the backer board to the lid and coffin box with mortar and screws. The corners of the trim pieces were cut with miter joints and glued into place. I did glue down some thin 1/4" boards underneath to raise them up a bit. Without this, the tile would have ended up sitting flush with the trim and I didn't want that. With the trim pieces raised up just a bit, the tile ended up being recessed with the surface sitting below the trim
IMG_9677.jpg
IMG_9678.jpg
 
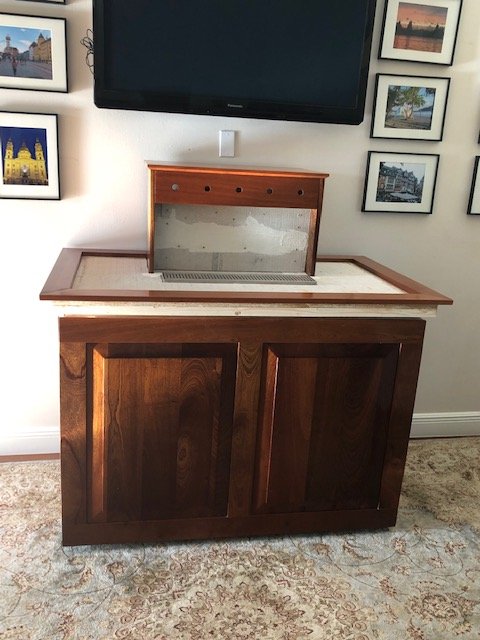
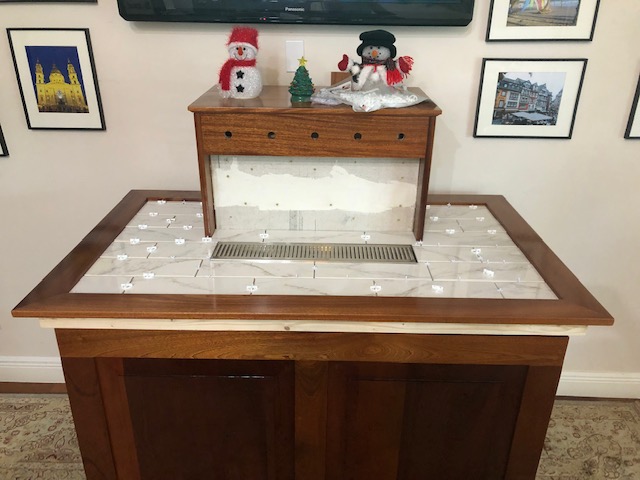
Next, I moved on to the tiling. Going into the build, this was the part that I was the most apprehensive about. I had done a good bit of woodworking in the past and felt comfortable with a lot of that. But I had never tiled anything before. In the end, this turned out the be one of the most enjoyable parts of the whole project. I picked up some ceramic tile, a cheap tile saw, and got everything laid out.
IMG_9681.jpg

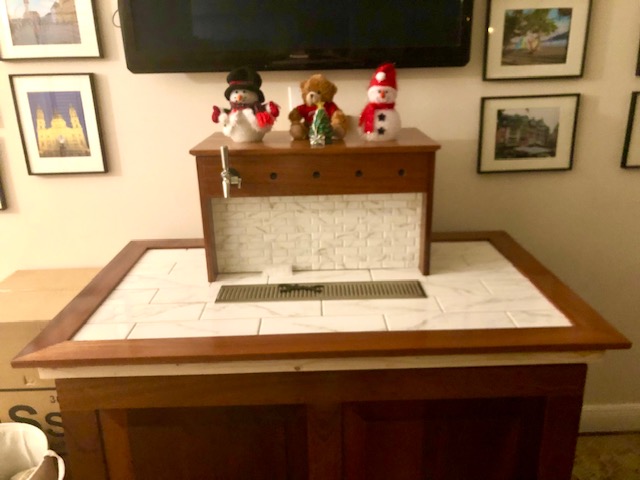
Then I attached the mosaic tile for the backsplash and grouted it.
IMG_9702.jpg

Once the coffin box was tiled, I attached an LED light strip and ran the wire up through a small hole I drilled.
IMG_9703.jpg

Then I attached the coffin box to the lid using mostly liquid nails construction adhesive and mortared down the larger tiles to the lid. This was then grouted as well.
IMG_9743.jpg
 
Last edited:
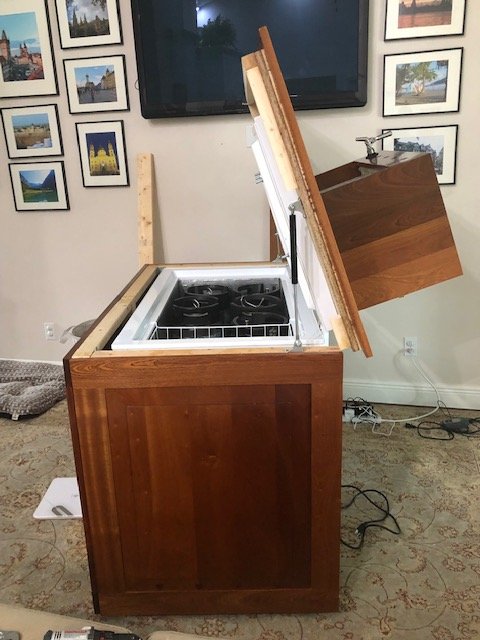
By now, the lid of this beast was getting pretty damn heavy. I'm still using the original hinges that were attached to the freezer. In order to ease the load and help keep the lid from falling while working on the kegs inside, I attached some gas struts. These were rated to 60lbs each, I believe, and they get the job done ok.
IMG_9805.jpg
IMG_9806.jpg

With the struts in place, I finished up the trim pieces.
IMG_9839.jpg
 
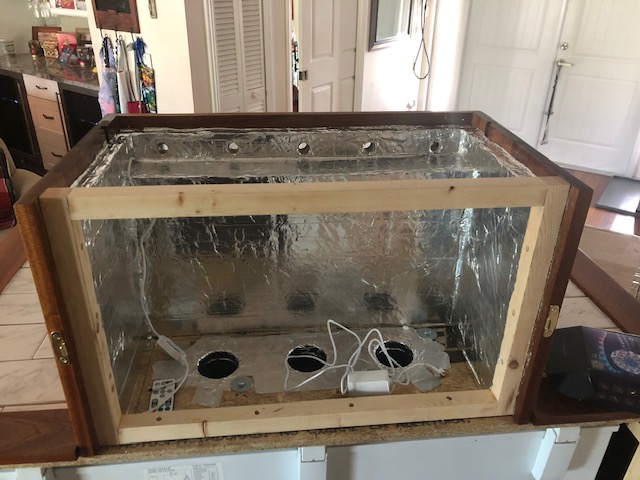
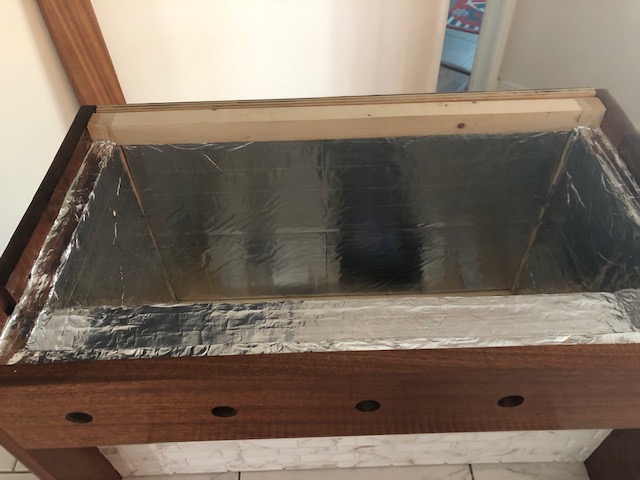
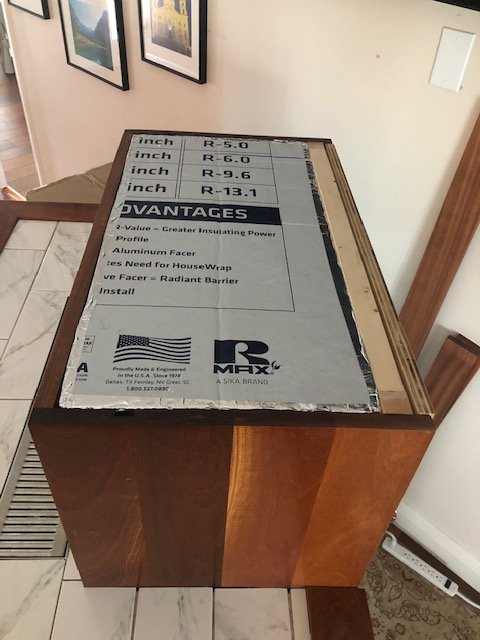
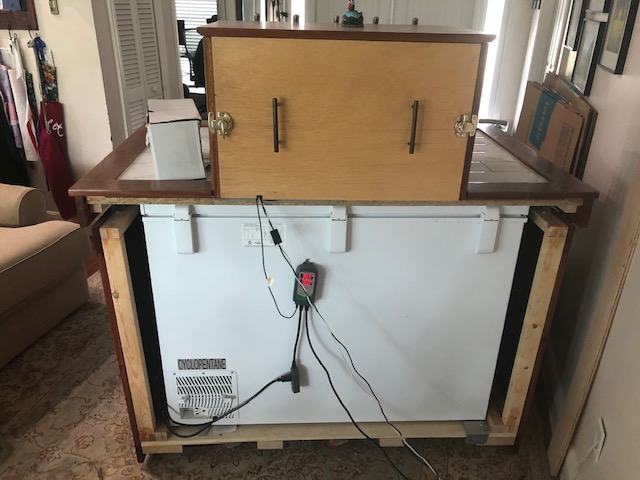
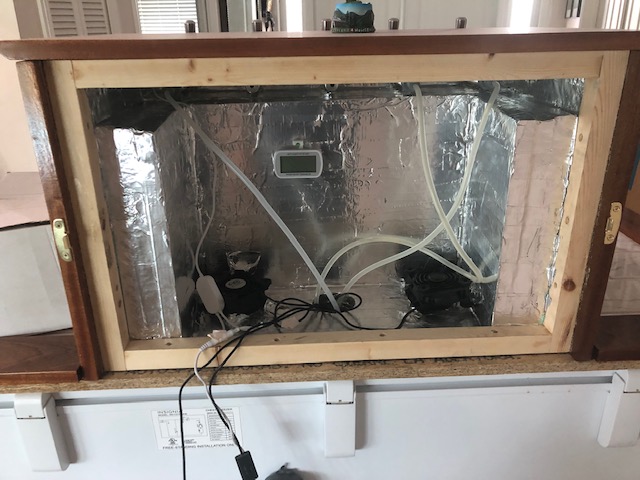
I wanted to make sure the coffin box was fully accessible from both the back and the top. This makes it relatively easy for me to get to the shanks and fittings without having to squeeze my hands into any small places. I made a back panel out of 3/4" plywood and attached some handles, latches, and insulation. I eventually cut out a little slot for the fan/LED wires to run out the back and used weather stripping to seal it. I insulated the box with foam insulation and foil tape.
IMG_9689.jpg
IMG_9722.jpg
IMG_9725.jpg
IMG_9726.jpg
IMG_9723.jpg
 
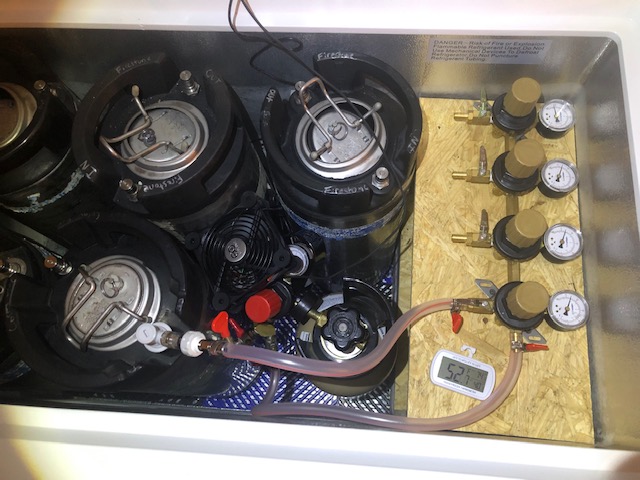
The inside of the keezer will hold 5 ball lock corny kegs and a 10lb CO2 cylinder. I have a Y-splitter to run gas to a 4 gauge manifold and the 5th keg. Also inside the freezer is another computer fan for air movement and an Eva-Dry dehumidifier. Haven't had any moisture issues thus far.
IMG_0056.jpg
IMG_0057.jpg
 
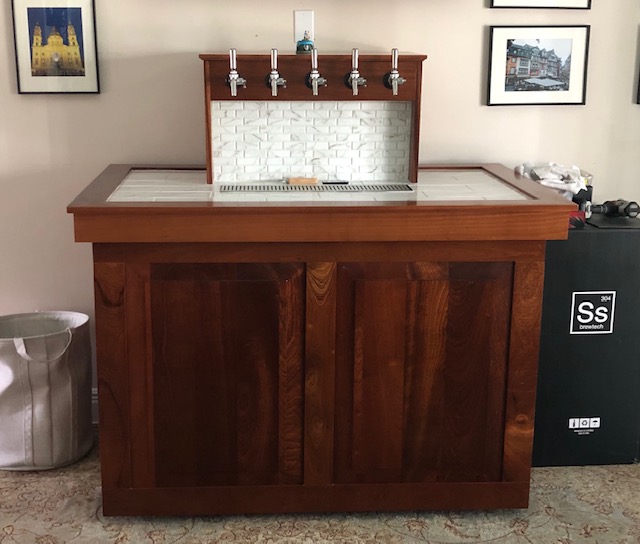
And this is the final-ish product. It's far from perfect and I'm sure there are still some things I might tweak and adjust, but so far she's working pretty well. In total, I can't even begin to estimate the number of hours I put into this thing. Especially if you count all the time I spent sketching things up and planning things out in my mind before I even started and through every step of the process. I'm just crossing my fingers and hoping that this freezer gives me at least 5-10 years before it craps out and I have to decide what to do with it.
IMG_0195.jpg
IMG_0196.jpg
IMG_9969.jpg
IMG_9971.jpg

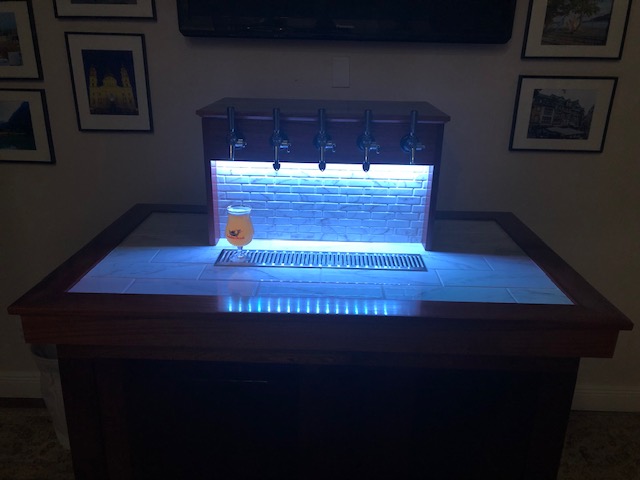
First brew on tap - a nice, dry saison. Cheers everyone!
IMG_0075.jpg
 
Last edited:
Thats very similar to my build looks great!

Question for you, how is that gas strut configuration working out? That's not the "correct" way to install them, but like mine, if you install them correctly the lid closing will tilt the freezer backwards.
 
Thats very similar to my build looks great!

Question for you, how is that gas strut configuration working out? That's not the "correct" way to install them, but like mine, if you install them correctly the lid closing will tilt the freezer backwards.
The struts work pretty well. I initially tried some rated for 120lbs and they were way too strong and would push the whole freezer back when they opened. I swapped them for 60 pounders and those work better. It still takes some muscle to lift the lid and get it moving, but once it’s up, the struts keep it from falling back down or opening too far. So I can work inside the freezer without worrying about the lid crashing down on me or tipping the unit over backwards. It may not be exactly how they were designed to be used, but it works perfectly for this application.
 
Back
Top