• Please visit and share your knowledge at our sister communities:
  • If you have not, please join our official Homebrewing Facebook Group!

    Homebrewing Facebook Group

Pros and cons of "fast ferment" ?

Homebrew Talk

Help Support Homebrew Talk:

This site may earn a commission from merchant affiliate links, including eBay, Amazon, and others.
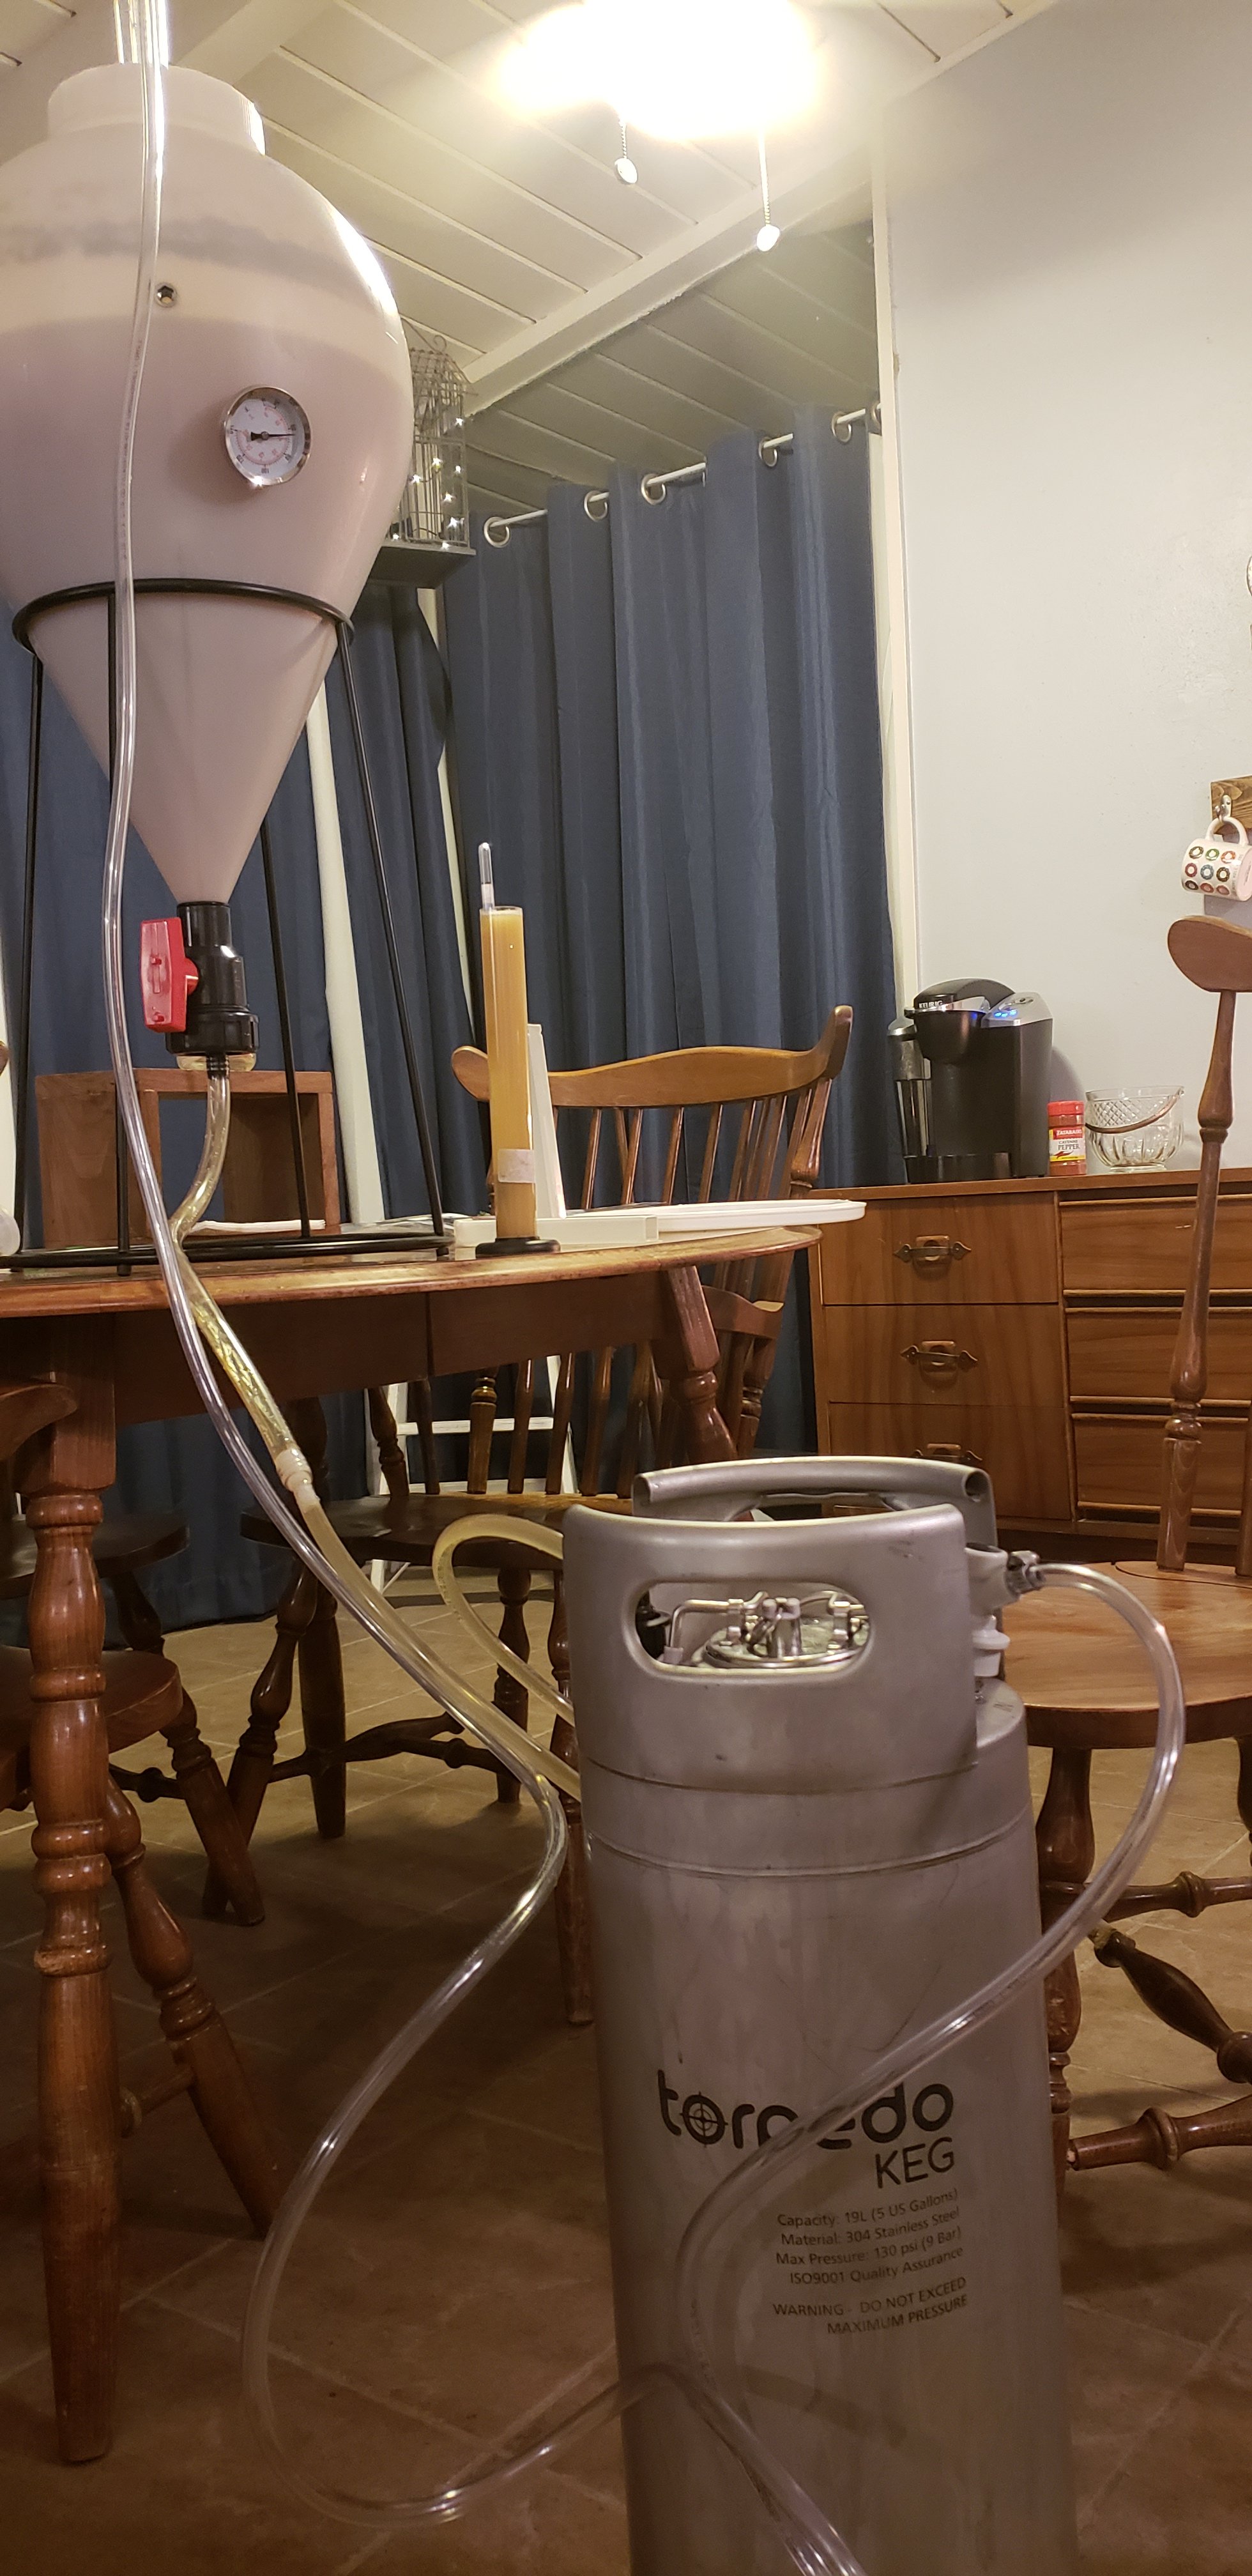
I bought one of the 3 gal FF units to do half-batches. It works fine once you understand how to work around it's issues. It's a PitA to get it water-tight to start with but I have learned using about 5 layers of plumbing tape on the threads where the valve attaches to the bulb and it won't drip. Also, I had issues where the valve body would not detach from the jar unit without causing a leak. I had it screwed down so tight it didn't want to unscrew again w/o loosening other connections that needed to stay tight. I had to siphon out of it because it wouldn't come apart once. After that I started using keg lube on all the o-rings and they come apart without leaking now. Keg lube also helps the leaky screw top o-ring seal like it should. It makes good beer when you get it tweaked, but its kind of a bitch getting there. You gotta leak test the crap out of it without screwing the bits together too tight. I think I paid about 45 bucks for it. Doesn't strike me as a long term piece of equipment. I'd have paid twice that if it was built better.
 
I have had zero issues with mine leaking . I've had it for 2 to 3 yrs now
I think its a hit or miss thing. Plastics manufacturing can be like that. This is why I pointed to quality control, where such faults should be detected prior to shipment.

Once this batch is done, I am going to send it back. perhaps an exchange will be sufficient. Hopefully my next one is correct.
 
I think its a hit or miss thing. Plastics manufacturing can be like that. This is why I pointed to quality control, where such faults should be detected prior to shipment.

Once this batch is done, I am going to send it back. perhaps an exchange will be sufficient. Hopefully my next one is correct.

I have three FFs, one from the first generation and two from the second generation. The key to keeping them from leaking is not too much nor too little Teflon tape. I do two 450° wraps, only enough to go around once plus a bit to hold the ends together. One wrap goes high and one goes low, such that they overlap on their edges in the middle. This is sufficient with a proper tightening to stop leaks every time.

I found that if I overdid the tape, it would prevent me from screwing the components fully together, thus creating leaks. I mean, they go and go and go when screwing together. I can imagine people stop, as they might be afraid they’re going too far.

The other trick is knowing how to break down the valve into parts to clean and sanitize it. Once I’m done with a batch, the ball is disassembled, cleaned, and kept in parts until the next batch. I then sanitize it with One Step or hydrogen peroxide (since the ball will trap liquid), and put it back together.

If you do find that your new one leaks less, let us know.
 
That was the deal killer for me, I brew outside and ferment in bottom level. No way to transport it. I love the bottom and iirc they redesigned bottom to be bigger. Love the idea of dumping yeast into ball and tossing in fridge for next brew.
Not very easily lol. I use my cf5 most of the time now . Occasionally I'll use the FF and its awkward to walk from where I brew to where it ferments
 
How do you carry it?
I put mine in its stand and then pull the carrying strap up over both the FF and stand. I can then walk around easily with the pair. I’m not sure I’d want to navigate stairs with it.

I also found a rolling stand for it on Craig’s List. Someone welded together a light metal stand with wheels that has the FF metal holders. I can place a FF in it and roll it around. I don’t use it for transportation but instead for garage fermentation. I only have wall space for two FF, so if I brew a third I’ll use it to ferment in the walkway, rolling it out of the way if needed.
 
I've been considering buying a temperature control loop from Ball and Keg. It's made for a carboy, however, due to the depth of the conical, it would work for a FastFerment as well. It would require modifying the lid with a new hole to hold the stopper.

Ball and Keg: Home Brew Keg Level Indicator

Got my ball and keg temp control loop two weeks ago. Plan to use in fastferment as well. Do you or anyone know if fastferment sells a lid without a pre drilled hole in it? Would like to drill a hole for a stopper in the center for the control loop but air lock bung is off center toward the edge of their lids. Can make due if needed just figured they might sell a plain lid but I can’t find one. Either way excited about the ball and keg purchase. Can’t wait to use it.
 
Got my ball and keg temp control loop two weeks ago. Plan to use in fastferment as well. Do you or anyone know if fastferment sells a lid without a pre drilled hole in it? Would like to drill a hole for a stopper in the center for the control loop but air lock bung is off center toward the edge of their lids. Can make due if needed just figured they might sell a plain lid but I can’t find one. Either way excited about the ball and keg purchase. Can’t wait to use it.
Fantastic! Let me know how that system works for you.

As far as I know FastFerment doesn’t sell a lid without a hole. I purchased a small rubber plug that keep in mine when I have the airlock off for sampling. I use commercial pipettes to pull out small samples for the hydrometer while fermenting.
 
Here’s an update that’s past due. The ball and keg chiller loop works great on my 7 gallon fastferment. Drilled a hole on the lid to fit the #10 stopper that came with the loop. Drilled the new hole at the location where the airlock hole was previously located in the lid. Running some frozen water bottles in the cooler changed twice a day to keep things at 63F. Once midday and once before heading to bed. If you grab bags of ice even better. This device cools rapidly and keeps temps great. It’s well made. Though I’ve only gone to 63F feel like you could get to lagering temps easy. Especially with a jacket. It would just be a matter of how much maintenance to maintain those temps for a long period of time? That said I’m in Florida so don’t have the benefit of “cool times”. It’s ales or lagers fermented at ale temps for me.
Here’s a pic. Hope this helps since I could not find a lot on the inter webs about modifying a FF with a chiller loop.

B9766422-5304-445B-BD44-D8A4ED325986.jpeg
 
What did you use for the reducer? I have been trying to find something that would work. Any help you could give would be amazing. Thanks. Cheers!

I dont remember where it came from but its diameter on one side is bigger . It worked but did leak a tiny bit . My advice is spend a few bucks on spigot . It will make it so much easier .
 
I dont remember where it came from but its diameter on one side is bigger . It worked but did leak a tiny bit . My advice is spend a few bucks on spigot . It will make it so much easier .


Thank you so much for the response. I had the spigot on my first FastFerment and I hated it because I felt like it was just always in the way, although I think I may have put it in the wrong place....I may have to try it again and see what I can do. It does seem like an easy way to do it from the spigot, especially if it's places low enough. Thanks again. Cheers.
 
Closed transfer like vtx1300 said

What is the actual step by step with this process? What pressure is the keg? Do you connect the CO2 line first to the fermenter or start filling the keg first? Sorry just trying to understand so I can incorporate with my FastFerment and minimize oxidation
 
Transfer tube off of the spigot to the kegs out port . Connect the air lock of fermenter and keg in port via tube .

If you have the fermenter higher then keg then it will Transfer via gravity easily. If it's not elevated you'll need co2 connected to air lock pushing 2 psi instead.

You don't need any pressure in the keg . Only time that's needed is if your beer is already carbed and fv is pressured . Then you'd want your keg a couple psi less then your fv .
Okay great, thanks for the quick response. I assumed you needed some pressure in the keg as well.
 
Back
Top