
lucianthorr
Well-Known Member
- Joined
- Jun 19, 2016
- Messages
- 45
- Reaction score
- 2
Hi. Yesterday was my first brew with a plate chiller and chugger pump and unfortunately, it was a bit of a disaster so I'm really curious how other people's setups work and how they troubleshoot issues.
I decided to run mine directly from kettle to fermenter rather than recirculating. I had kettle > pump > plate chiller > fermentor with a garden hose > immersion chiller in ice > plate chiller > back yard going in the other direction. It was about 95 degrees yesterday here in NC so that was the best thing I could think of for dropping the temp.
My biggest concern is how do people deal with the pump drying up and losing the flow due to clogging or other problems. I was using an anvil kettle strainer (first time for that too) and it clogged within the first few minutes and continued clogging through the whole transfer.
And then my second concern is how do you manage the temperature control without losing the pump's flow control. I had the kettle's output valve open all the way and then tried to limit the fermentor's input valve to get a better temperature. To get it down that low, I had to nearly close the valve completely which then got me paranoid I was hurting the pump by not letting it flow. Is that a valid concern or is the pump running dry the only thing I should watch for?
And finally, how do you deal with clogging in the plate chiller and maintain sanitization?
I realize this is a long question and I really appreciate any feedback. The dry pump problem definitely seems like an issue that I haven't seen mentioned much in forums so I'm most interested in reading any related insight.
Thanks,
Jason


![Craft A Brew - Safale S-04 Dry Yeast - Fermentis - English Ale Dry Yeast - For English and American Ales and Hard Apple Ciders - Ingredients for Home Brewing - Beer Making Supplies - [1 Pack]](https://m.media-amazon.com/images/I/41fVGNh6JfL._SL500_.jpg)


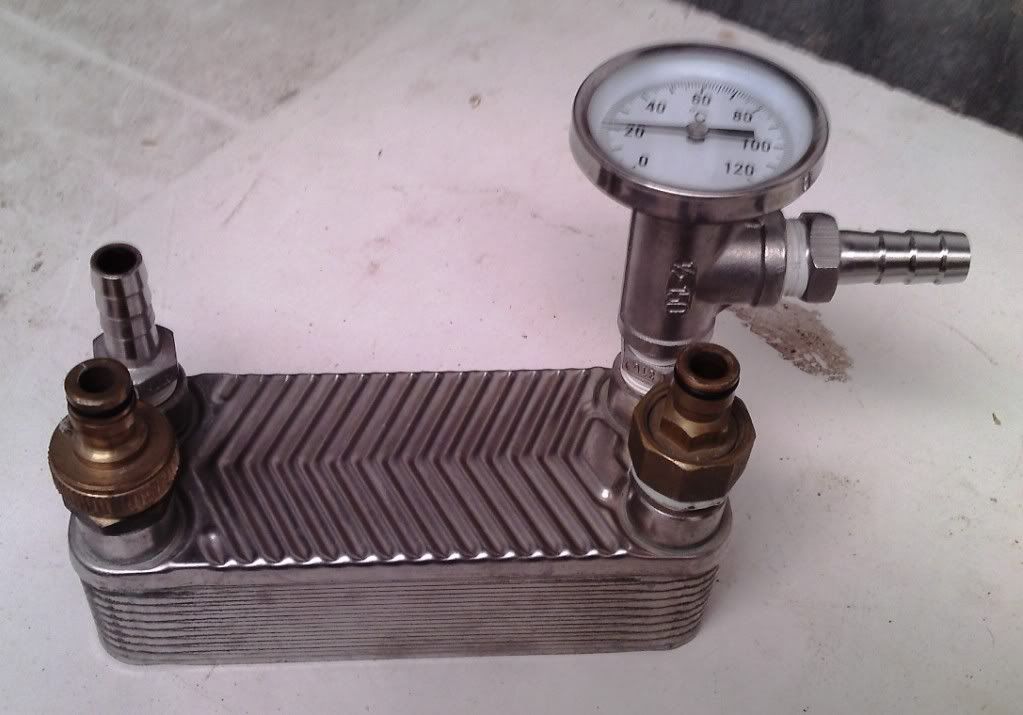
") water 15-20 min forward and 15-20 min backwards. Then I fill & drain the chiller with star-san and I'm done. Next brew, I recirc hot wort back into the kettle for about 10 minutes before running off into the fermenters.
water 15-20 min forward and 15-20 min backwards. Then I fill & drain the chiller with star-san and I'm done. Next brew, I recirc hot wort back into the kettle for about 10 minutes before running off into the fermenters.