• Please visit and share your knowledge at our sister communities:
  • If you have not, please join our official Homebrewing Facebook Group!

    Homebrewing Facebook Group

New Electric Brewery Build

Homebrew Talk

Help Support Homebrew Talk:

This site may earn a commission from merchant affiliate links, including eBay, Amazon, and others.

siscoe

Member
Joined
Feb 3, 2013
Messages
7
Reaction score
2
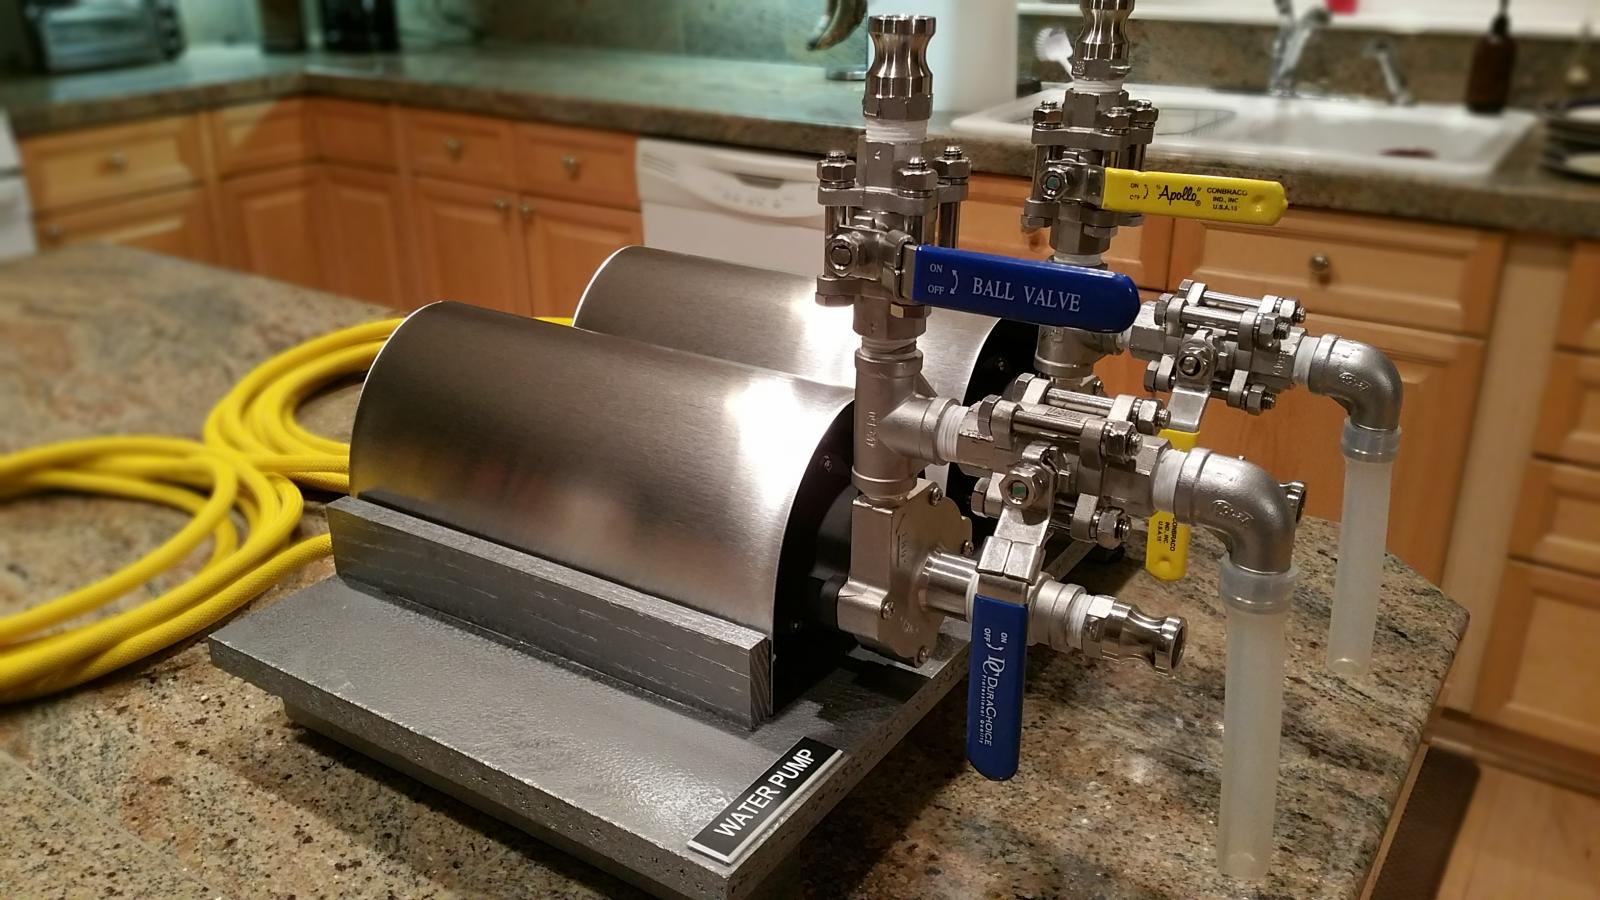
Hi all! New to the forum... Been working on this system for the last few years and was finally able to pull off my first batch this weekend. A few things that need "tweaked" but overall good to go! Had an issue with the pumps overheating but was able to cool them with a fan. Snapped a quick video to share. The goal is to eventually brew in the basement once I get the right setup with power and plumbing. Until then its outdoors. Looking forward to many more brew days!

Uploaded a few more photos...

Cheers! https://youtu.be/NQwYqHx4PZk

View attachment 1441771729144.jpg
20150107_211146.jpg


20150313_195904.jpg


20150327_183127.jpg


20140214_084154.jpg
 
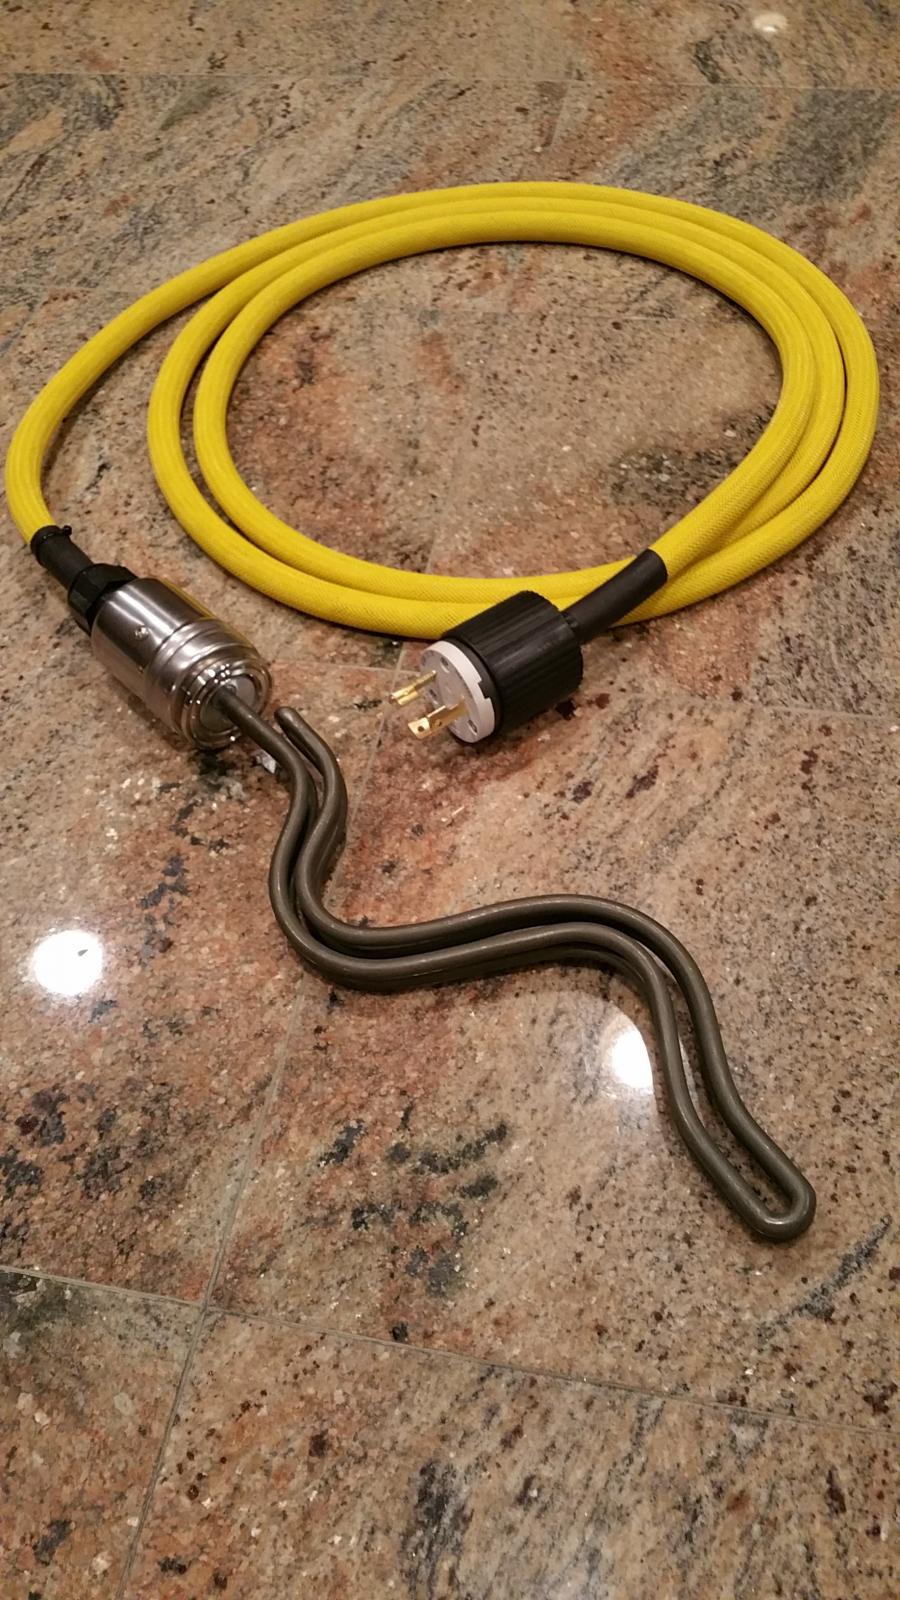
Looks good! Only one very minor suggestion I would make, make a cable management system to hold the wires off the floor. That way when liquid gets spilled on the floor (especially sticky wort) it won't get all over the wires since I assume that the yellow part is webbing? makes it a pain to clean.

Just grab some Velcro straps at Home Depot and use those to suspend the wires and bundle them together. Makes it really easy to pull apart too and keeps the wires nice and tidy and out of the way.
 
Looks shiny! I have a similar setup that was in our former basement but moved to an area with no basements so will be relegated to the garage to brew and not looking forward to it. Our garage is still full of boxes from the move but starting to look at how to get power to a brewing station in a garage that's completely finished.

Do you think those shields over the pumps are really necessary? They are probably contributing to your overheating situation.
 
Agree cable managment needs to be improved. As for the pump covers I did find them helpful during small spills and when spraying down valves with sanitizer. The covers didn't help the heating issue I'm sure. Thinking of implementing small 120vac "muffin" style fans in the back...
 
Agree cable managment needs to be improved. As for the pump covers I did find them helpful during small spills and when spraying down valves with sanitizer. The covers didn't help the heating issue I'm sure. Thinking of implementing small 120vac "muffin" style fans in the back...

A fan would definitely help but I think the main culprit are those covers. I don't have covers on mine and I sometimes run the pumps a lot with boiling wort and I've never had an overheat problem.

Maybe make a larger cover for both pumps instead of two smaller ones sitting right above the pumps? They are close enough together that you could fashion a larger one and put it higher up for better air flow.
 
I never put any covers on my pumps due to potential overheating (and they do get hot) and I have the wooden slat table..With them being under that metal table, you are even safer than I am with mine.

15 batches in and I have yet to spill anything into them and my first batch I ran through mine I made a real mess with learning the hose swap with minimal liquid loss (or forgetting to close one of the valves).

These days unless I drink heavily and brew (which I don't do), I probably only spill a very minor amount of liquid these days with my system. Honestly most of my liquid loss is from the pumps draining post-hose DC and that goes into a bucket I keep handy on brew day.
 
I have a cover like that on my pump and never has overheated. Mine is open at both ends. Are you controlling the pumps with a variable voltage by chance? Or the voltage is low?

Edit: At least an inch is needed between the sides of the pump motor and shield.
And a great looking setup!
 
Thanks for feedback everyone. The outdoor temp was in the 70's and HLT temp around 154. The pumps were very hot to the touch and would just stop pumping at times. Once I put the fan in behind them they worked just fine. The covers may have to go! Plus, given my first time brewing I'm sure my "messes" will be minimized going forward during hose swaps. The covers provide a little relief on protecting the investment, however, seem to be causing more issue than it's worth!

Cheers!
 
That's crazy. I think those covers must be bad news. It's been in the upper 80s for my last few brews and the pumps run fine. They get hot, but they have their own fan built in, so it's cool (pun intended).

-BD
 
Really nice looking setup. Very clean. I have covers like that on my pumps and they have protected from numerous inadvertent spills. I would say they are mandatory. My pumps are the Marsh and I've never had a problem with overheating - at similar temps in the 70s to 80s.

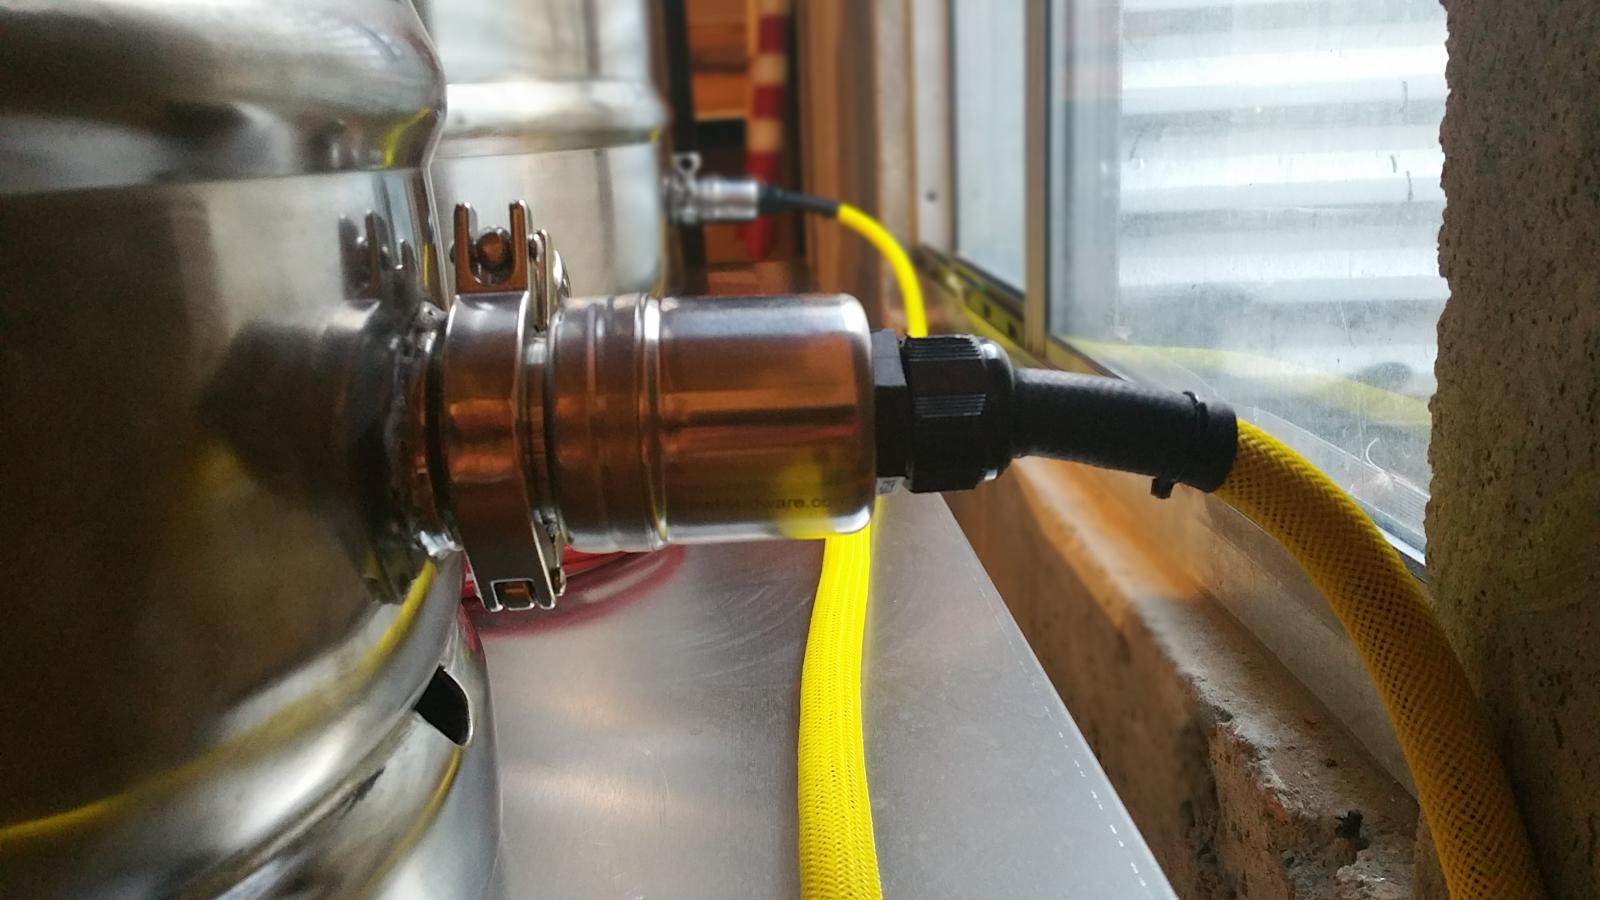
I especially like the tri clamp fittings on the elements. Probably makes break downs a breeze. And I take it those are SS element bases? Sweet.
 
Thanks jcav ... philipmeese I like the covers as welll! Only one pump was giving me fits and I'm wondering if its a defect with just that pump. No doubt they get really hot running during bree day... Will be running batch number 2 through on Saturday and will see how it goes.
 
In 3 years I've never spilled anything on my pumps which sit under my brew table and I'm not overly careful so I just think those are not needed if you're having a problem.
 
Really nice looking setup. Very clean. I have covers like that on my pumps and they have protected from numerous inadvertent spills. I would say they are mandatory. My pumps are the Marsh and I've never had a problem with overheating - at similar temps in the 70s to 80s.

I especially like the tri clamp fittings on the elements. Probably makes break downs a breeze. And I take it those are SS element bases? Sweet.

I've got Stilldragon element housings, similar to his a d I can tell you, it makes breakdown and cleaning easy. I also bought 2" Triclamp can s to close the hole on the kettle for easy cleaning, keeps the water in.
 
Does the still dragon element kit have the weld on triclamp for the kettle? I don't think it's on the element enclosure on their site. Pricing a couple of these and trying to find the best prices out there, but these use 2 tri clamps per piece which I think is a bit much

http://stilldragon.com/index.php/element-guard-kit.html

No, it doesn't come with the triclamp ferrule for the kettle. I had my kettles custom made by Spike Brewing and they pre welded them on.

Www.brewhardware.com has complete kits. Go with a 2 inch housing and ferrule since you're doing it from scratch, makes taking out the wavey elements much easier.
 
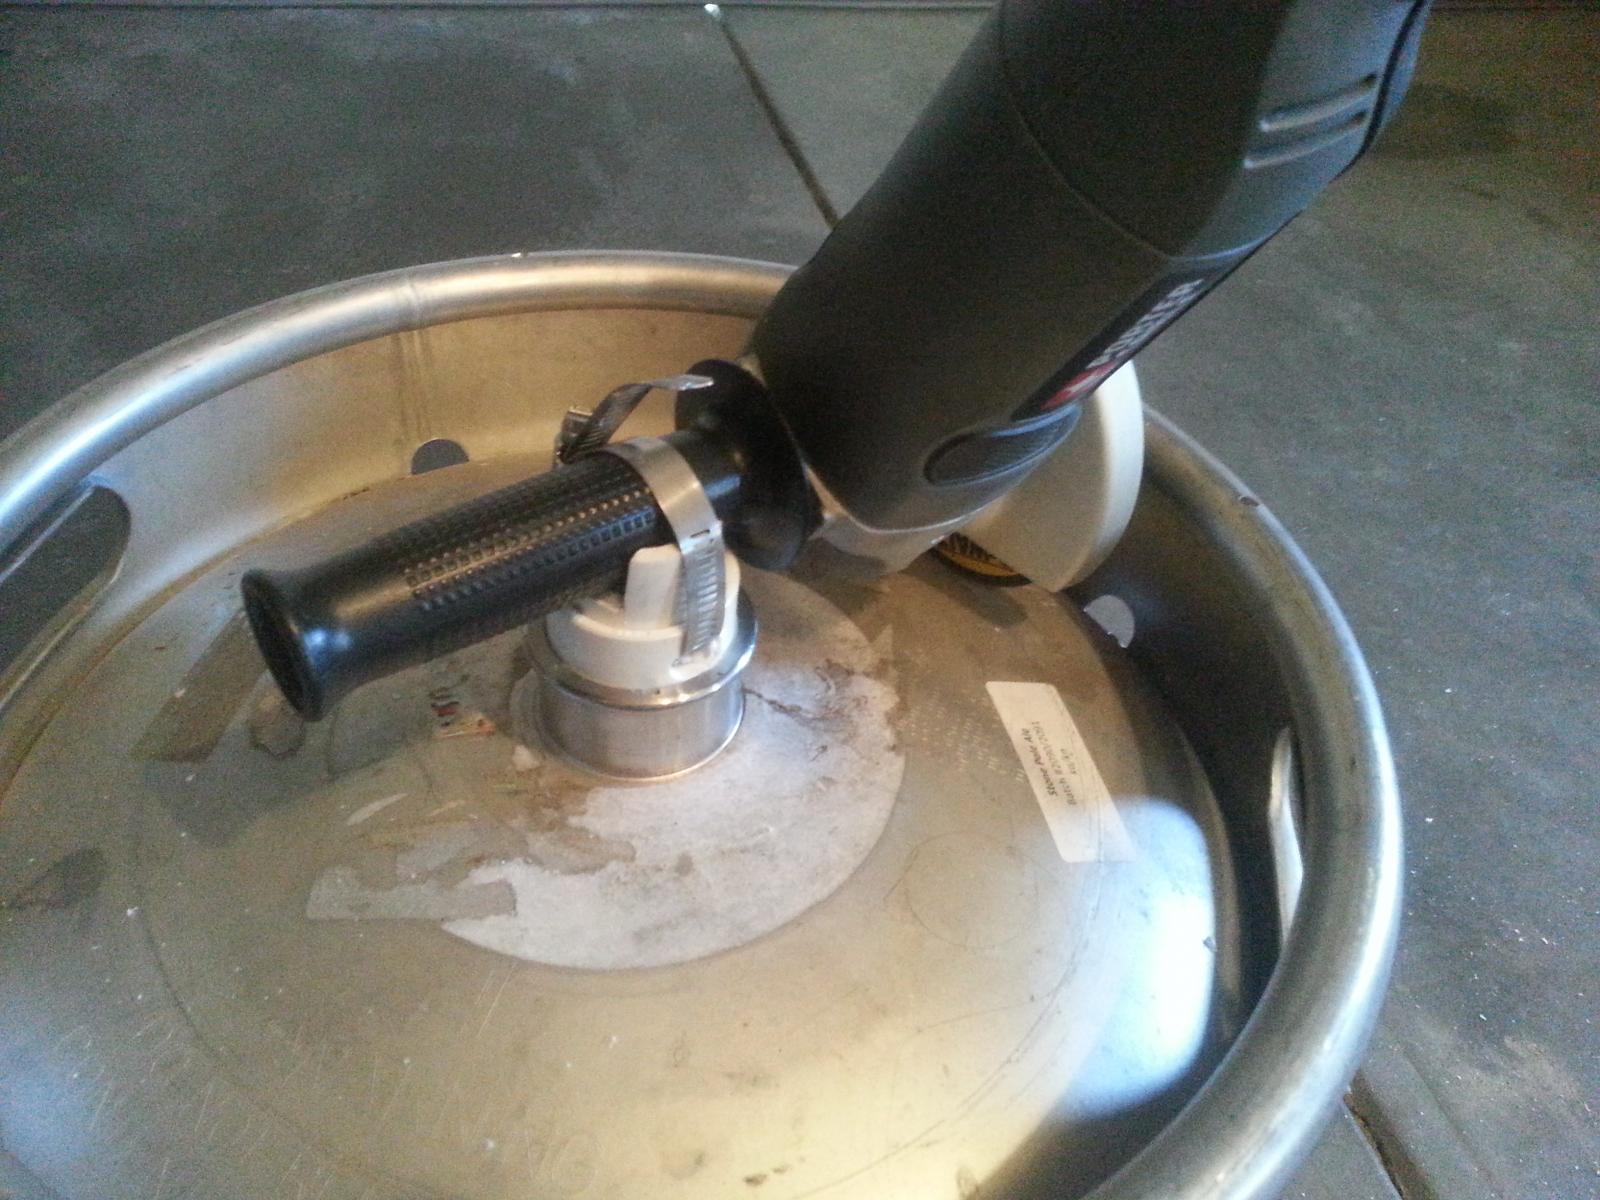
I used the brewhardware setup and silver soldered the ferrule onto the keg. Tri-clamps make it a breeze. Plus I can simply take out the element and then use a flat "plug" that mates up to the ferrule with the tclamp in the event I wanted to use propane heat. I like the simplicity of it. Not a fan of the electrical gang box attached to the keggle.
 
I used the brewhardware setup and silver soldered the ferrule onto the keg. Tri-clamps make it a breeze. Plus I can simply take out the element and then use a flat "plug" that mates up to the ferrule with the tclamp in the event I wanted to use propane heat. I like the simplicity of it. Not a fan of the electrical gang box attached to the keggle.
Me either and will likely go the TC route when I am ready to pull the trigger on the build parts. Stuff adds up fast
 
I used the brewhardware setup and silver soldered the ferrule onto the keg. Tri-clamps make it a breeze. Plus I can simply take out the element and then use a flat "plug" that mates up to the ferrule with the tclamp in the event I wanted to use propane heat. I like the simplicity of it. Not a fan of the electrical gang box attached to the keggle.

I thought about this method as well; however, would the silicone gasket be okay with all that heat? I suppose it is not much different than the heat from the element, but I wondered.
 
I thought about this method as well; however, would the silicone gasket be okay with all that heat? I suppose it is not much different than the heat from the element, but I wondered.

Silicone gasket can handle high temps, no worries on that. Besides, the temps aren't that hot on the housing to ferrule, if they were you would be more worried with the wires in the housing and not the seal.
 
I used the brewhardware setup and silver soldered the ferrule onto the keg. Tri-clamps make it a breeze. Plus I can simply take out the element and then use a flat "plug" that mates up to the ferrule with the tclamp in the event I wanted to use propane heat. I like the simplicity of it. Not a fan of the electrical gang box attached to the keggle.

Excellent point, just get a 2 inch tri clover cap and clamp it on. Then when you remove the element you have a water tight seal if you want to use the vessel on a propane rig, and you can use the vessel on a buddy's rig or at a brew event that uses propane. My stand still has propane burners attached, even though they are manual as I removed the Honeywell valves, if I want to just boil up a quick extract batch, or brew away from the 240v outlet I can do it. Just saying......

John
 
Back
Top