• Please visit and share your knowledge at our sister communities:
  • If you have not, please join our official Homebrewing Facebook Group!

    Homebrewing Facebook Group

New E-Ketttle and Brewing Room

Homebrew Talk

Help Support Homebrew Talk:

This site may earn a commission from merchant affiliate links, including eBay, Amazon, and others.

Bigarcherynut

Well-Known Member
Joined
Dec 27, 2013
Messages
374
Reaction score
70
Location
Stoughton
Well about a month ago I came across a portable whirlpool that the motor went out in and the manufacturer said was obsolete. It was heading to be recycled when I came upon it. I decided to do the rebirth.

2 years ago my daughter bought me a Mr. Beer for Christmas. Being a beer drinker was excited to try this new hobby out. Wasn't long and I was doing 5 gallon batches. I've had great success and have done a variety of styles. Never thought I could stray from my Miller Highlife. Lol

While I did a thread about my find, wilserbrewer, a member on the forum mentioned it looked perfect for an e-kettle. Unknown to me at the time what that was I started my research on it. I had done a partial grain clone of a Black Butte Porter and that got my interest in all grain. I did a thread in regards to being ready to go all grain I didn't have the equipment. The research began and once I read about the e-kettle I came across BIAB. Wow, sounded great to me so the project began.

Not only did the e-kettle excite me being an electrician but I could move my brewing from our kitchen and make my wife a little happy. The basement was perfect. I had an old counter area with cabinets above we use for can goods. I removed the cabinets and installed fiberglass paneling. Water is 3' away and my daughter had found me a used frig for converting into my brewing frig.

Here are some pics of my project.

Here's the kettle as it was just before hitting the recycling bin.
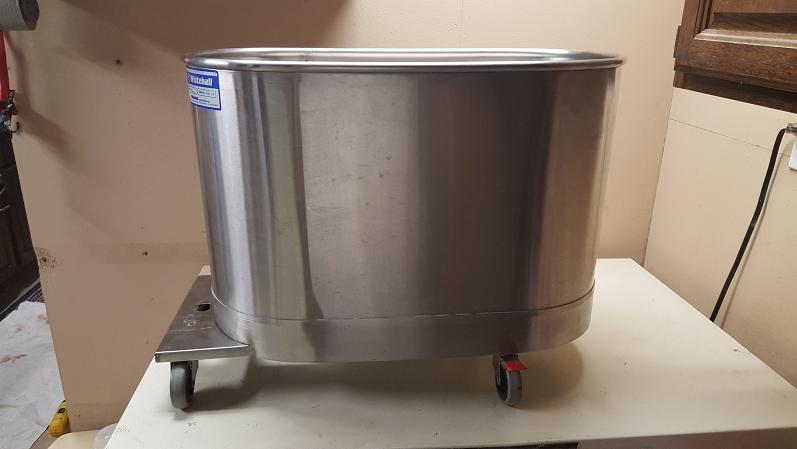
Pre Work.jpg
 
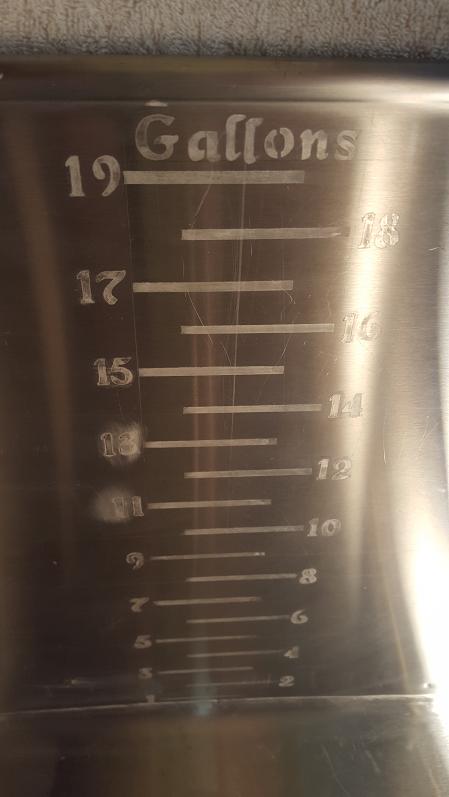
Read a thread on etching the stainless steel and tried my luck. Didn't come out to bad. Working upside down got a couple backwards but polished it out and tried again.

Etching 2.jpg


Etching.jpg
 
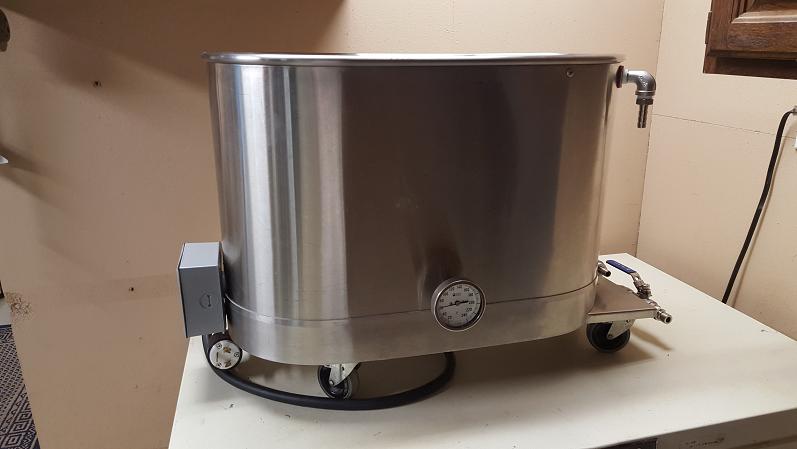
Here's the kettle after the changes started.

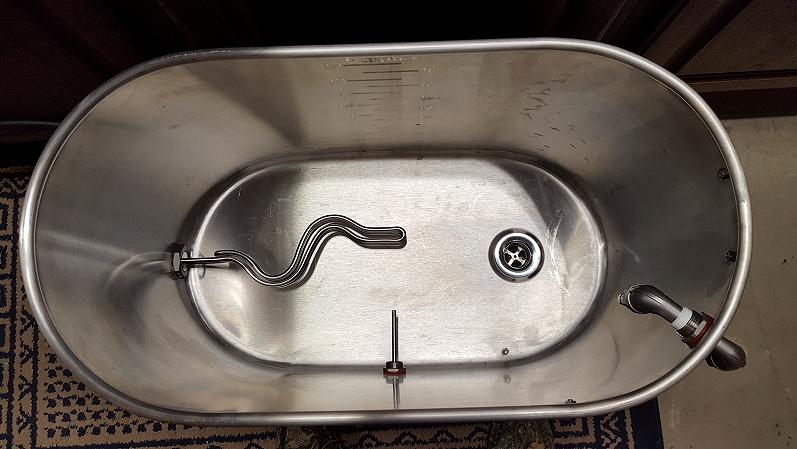
4500 Watt element

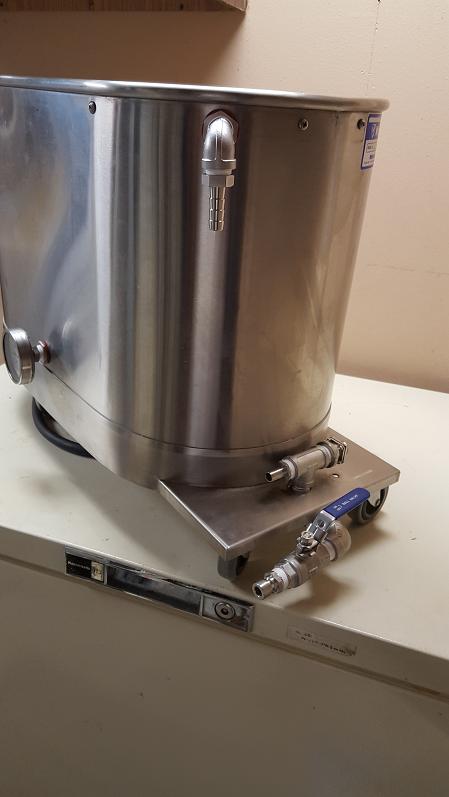
I'm adding a circ pump so the upper connection will go to the pump and the lower connection with the valve is for the bottom drain.

Added a thermometer to go along with PID temp read out. May not need it but with the temp sensor in the pump line thought it would be a good idea.

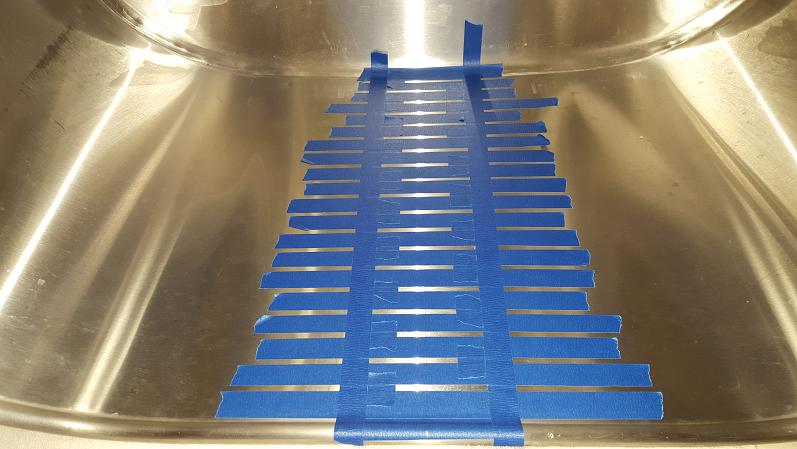
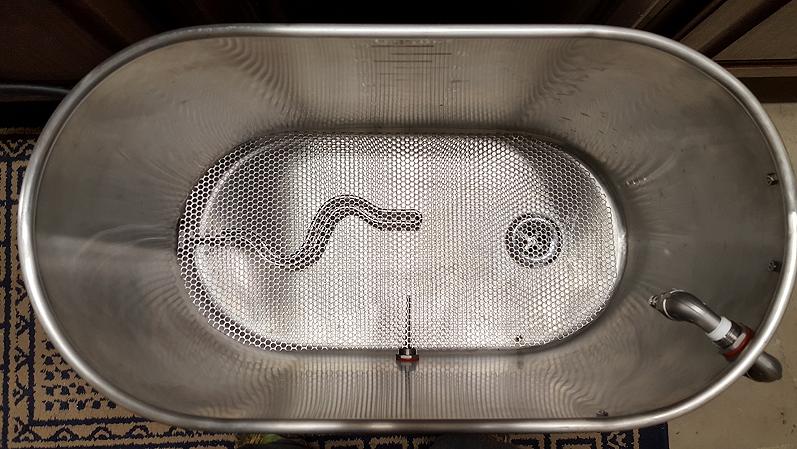
After reading sounded like I needed a false botton to keep the bag off the element and drain.

Front View.jpg


Valve and Pump End.jpg


Kettle 15.jpg


Kettle With Screen 15.jpg
 
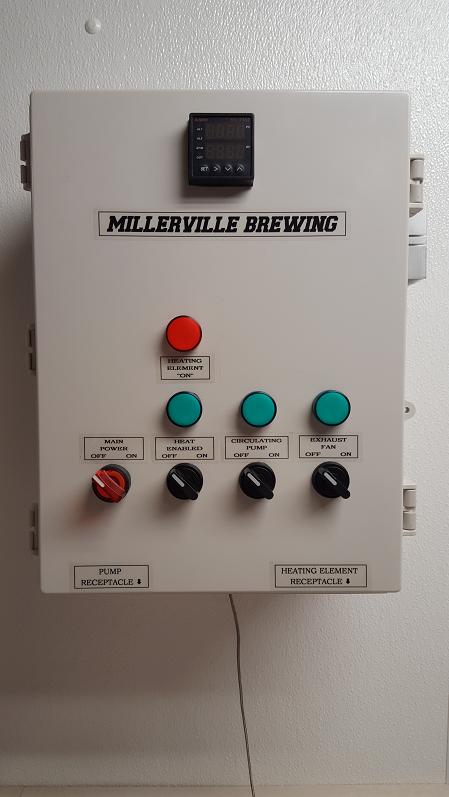
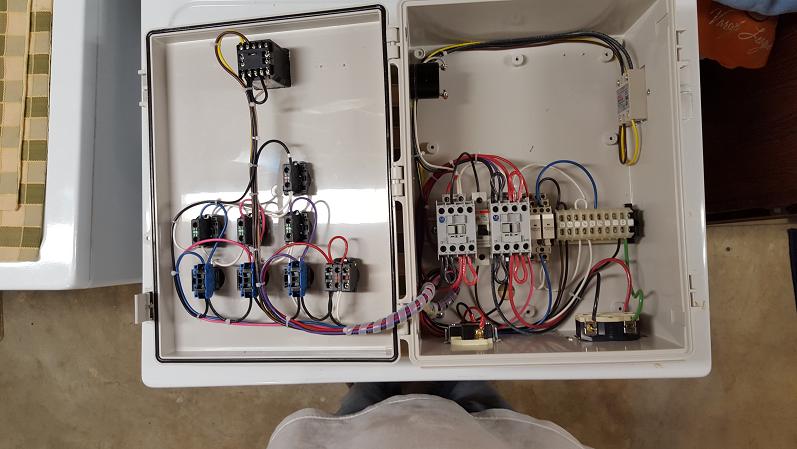
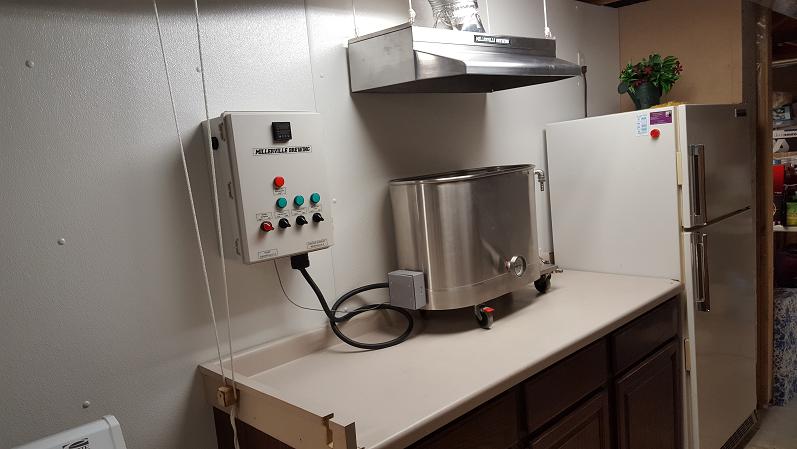
Here's the control panel. Being an electrician by trade this was the easy part.

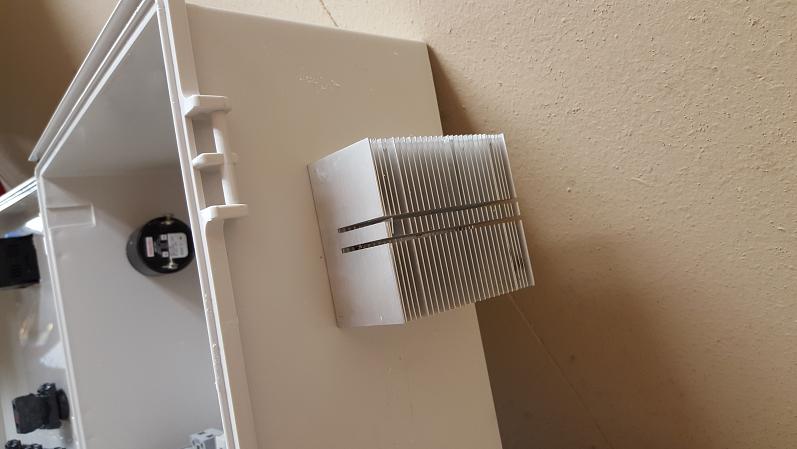
I'm glad I read about a heat sink on the SSR. Stripped this out of an old PC. Only 18amps on the 40A SSR so size should be good.

Control Panel Outside.jpg


Control Paanel Inside.jpg


Heat Sink.jpg
 
Awesome! We should start calling you Deceptive Brewer... cuz that kettle looks way smaller than 19gal? Nice clean build and way to go at re-purposing something old and worn out ( ;
 
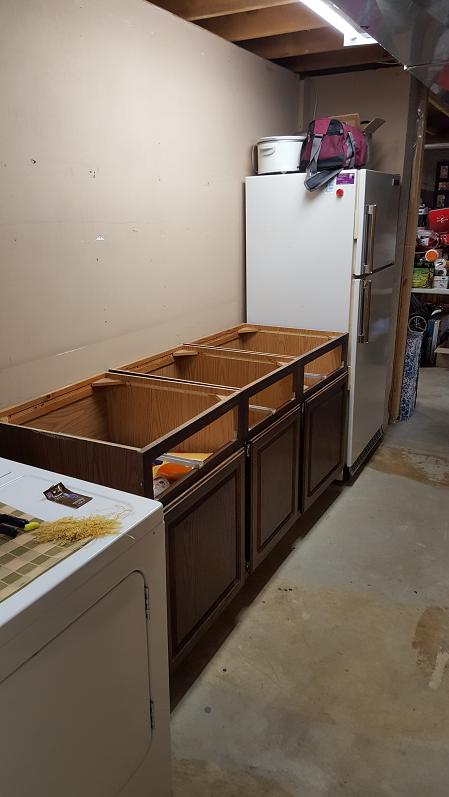
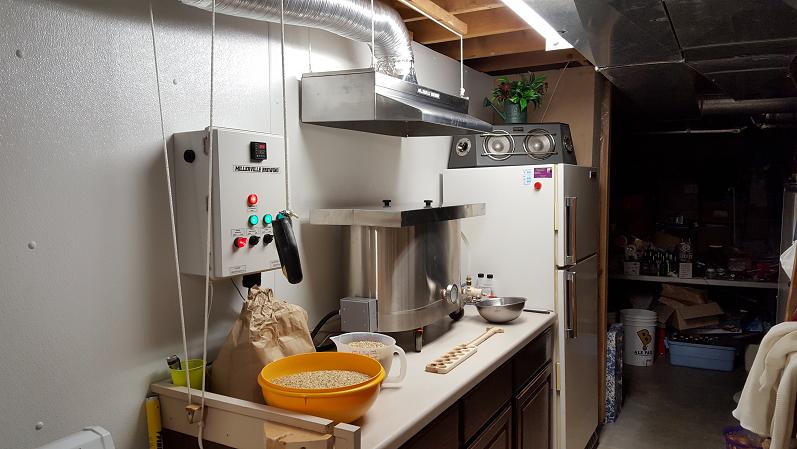
Here's some pics of the basement area I cleaned up. Good to be out of the kitchen and in the basement where my frig and storage for the rest of my brewing supplies are. No more carrying 5 gallons of wort downstairs.

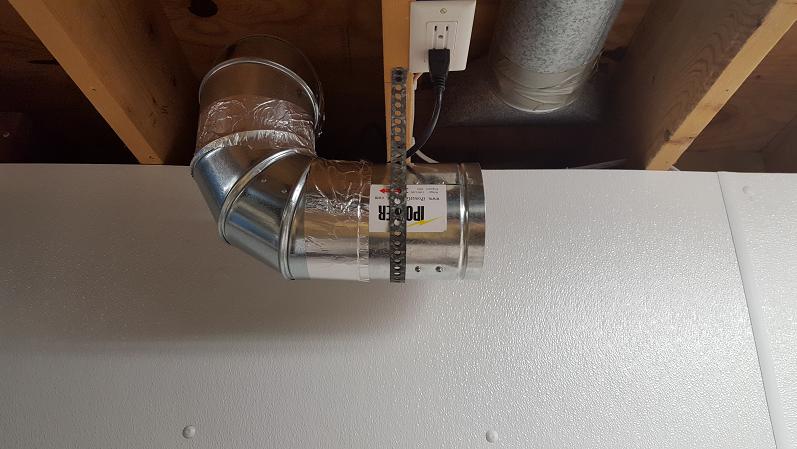
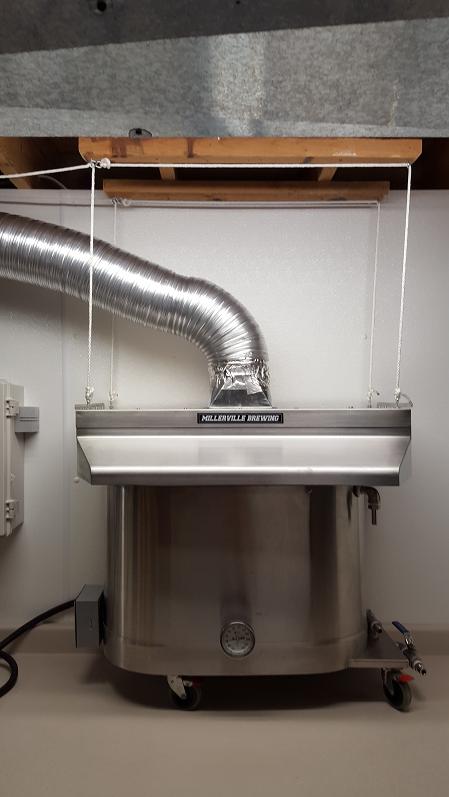
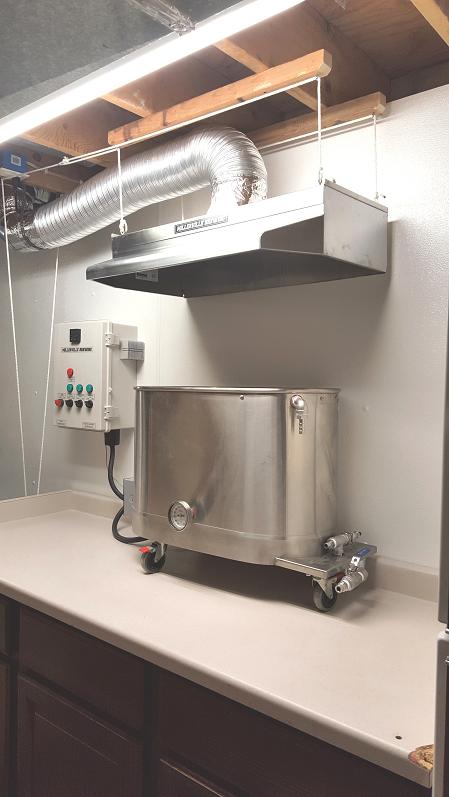
Removed the cabinets, installed fiberglass panels and installed an 6" exhaust fan.

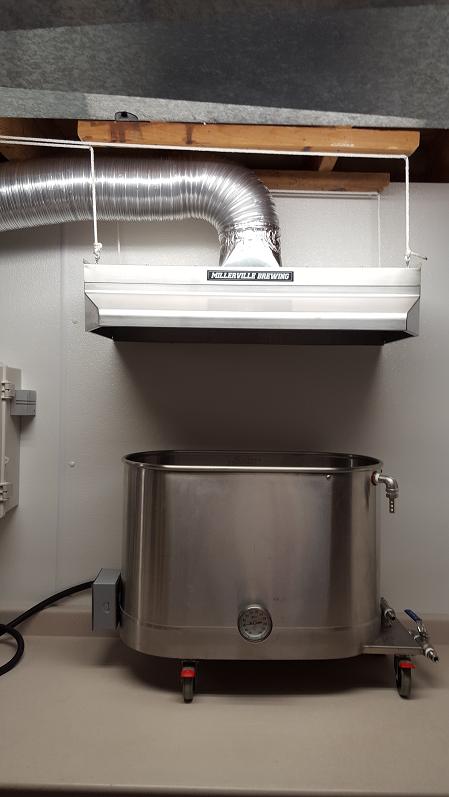
I found a stainless steel hood fan on Craigslist for $10. Removed the fan and light section and added a piece of stainless steel.

Room Start.jpg


Exhaust Fan.jpg
 
Wanted to make sure the fan will remove all the moisture and odor from boiling so put a pulley system on it to raise and lower the hood.

Fan Up.jpg


Fan Down.jpg
 
Here's some of the final install pics. I've posted a thread in regards to BIAB brewing and have had many post and help me with my questions. A BIG thanks to all of you.

I'm close to brewing. Had a little leak on a test run Sunday that leaked into the junction box on the element. Ended up shorting out the SSR. Rebuilt the box so not to trap any leaking wort and new SSR's coming Wednesday. Yep, bought a spare.

Thanks again to everyone for there input and help. Please feel free to add anything you may see that would help me to happy brewing.

I know there will be modifications but hoping to get off to a good start.

Finished Room.jpg


Room Done.jpg
 
Lookin good! For larger 10 - 15 gallon batches, perhaps a 5500w element, not sure if you have the amps available.

A kettle that large is a pretty big heat sink and the 4500w element may be a tad slow without an aggressive boil. Time will tell..
 
Outstanding! I think you should talk to wilserbtewer about a custom biab bag. :)
 
Lookin good! For larger 10 - 15 gallon batches, perhaps a 5500w element, not sure if you have the amps available.

A kettle that large is a pretty big heat sink and the 4500w element may be a tad slow without an aggressive boil. Time will tell..

I thought about that so I built the panel with a larger input line and also a 40A SSR just in case the 4500W doesn't have the punch.

Thanks

Don't be upset with my next post. Lol
 
Outstanding! I think you should talk to wilserbtewer about a custom biab bag. :)

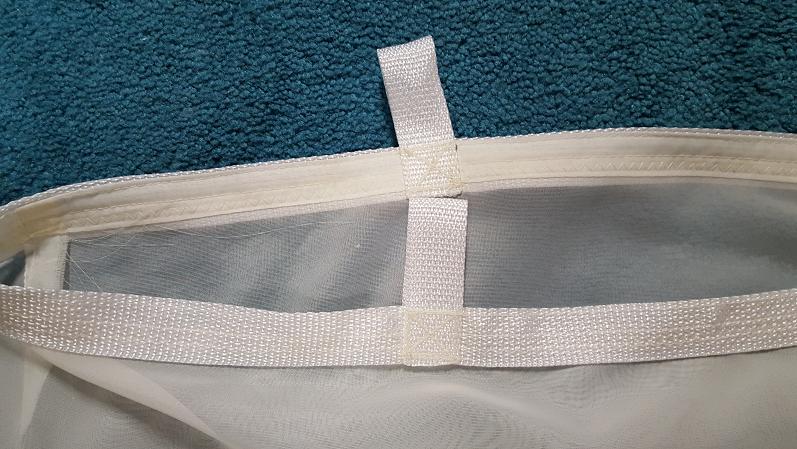
He's not going to like this but I talked about this in another thread I have. I'm very frugal and don't buy anything I can make. I know he has quality bags but my wife and I are very good at sewing. I was taught at an early age. I'm quit handy and decided to make my own bag. I did say if it fails I will be placing an order. Lol

I put a lot of faith in my wife's sewing ability.
 
Here's some more. I actually brewed my first batch today and went well. Just a few tweaks and should be set.

As I mentioned I don't buy things I can make so with ideas I've seen on the forum went to town. Thanks to the many that I copied.

Bag 1.jpg


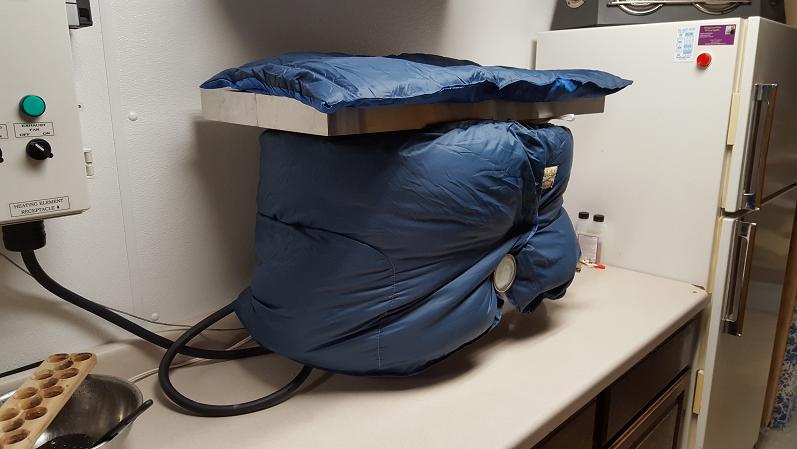
Blanket Wrap.jpg


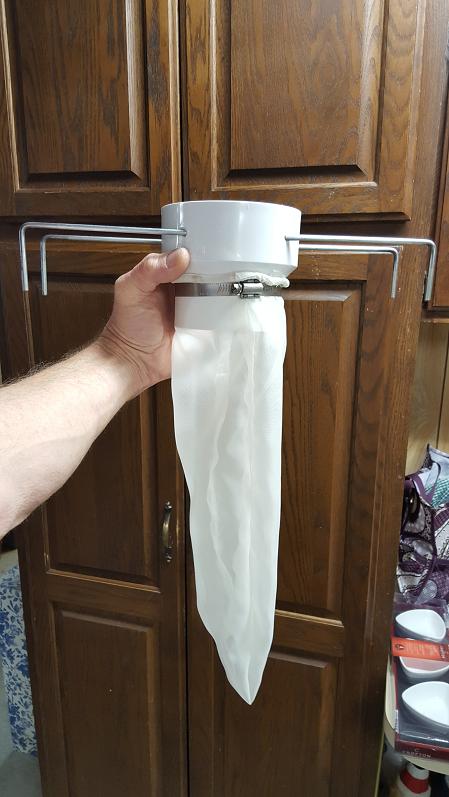
Spider.jpg


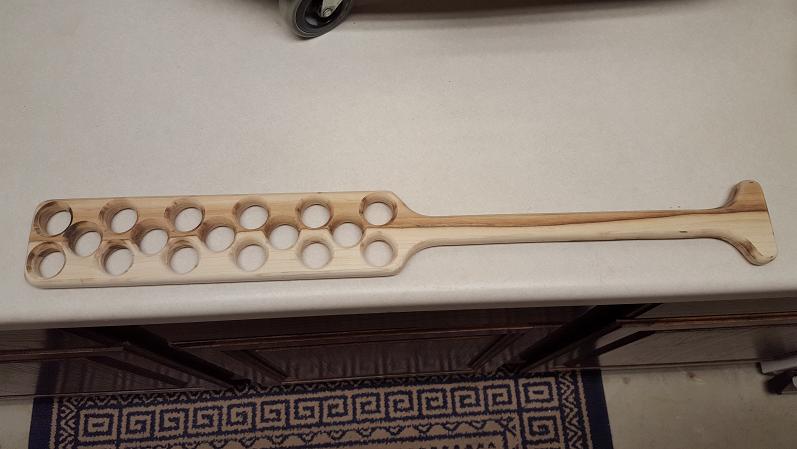
Paddle.jpg
 
Getting ready to start.

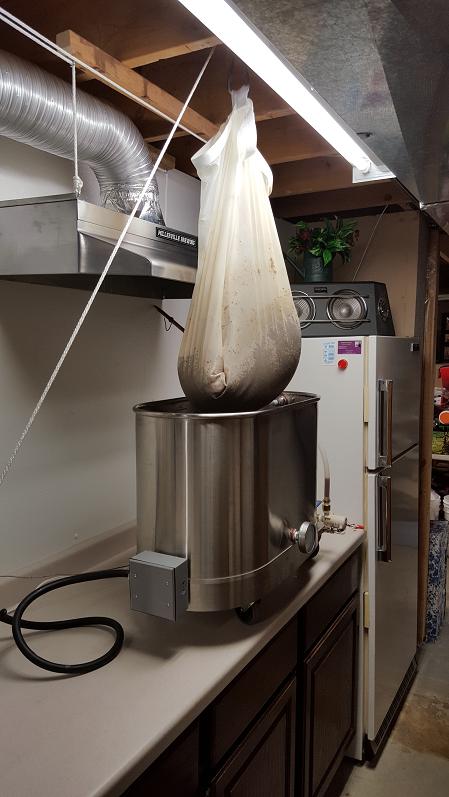
My wife helped me with the bag. She did good. It stayed together. I had no doubts.

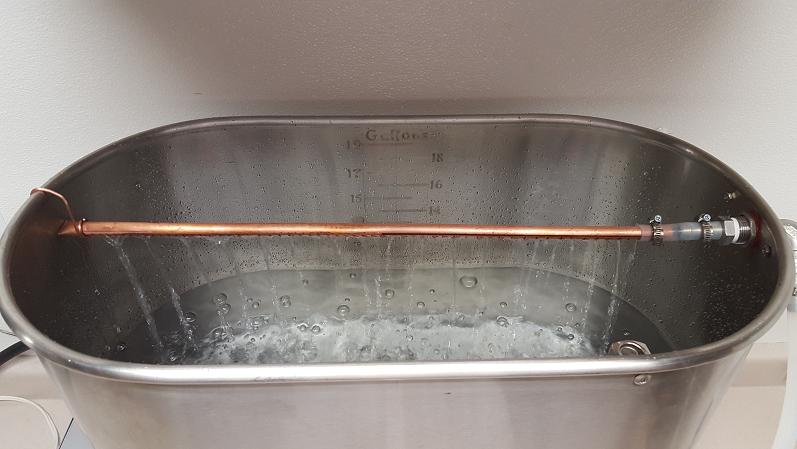
The spray tree I threw together not knowing how it would work but I think it worked well. The numbers are being analized so I should know soon how efficient the system was.

Brew Day One.jpg


Hanging Bag.jpg


Spray Tree.jpg
 
Nice work. I really don't want to know what was in that portable whirlpool in its original incarnation...

Anyway, why does the hood get raised and lowered? I would think this is not needed assuming it has enough oomph (aka... it sucks hard).

-BD
 
This has been fun to watch.

Thanks and it's been an adventure for sure.

One note, after reading about the issues with the pumping problems and wort below the bag my system worked perfect. I did do a .04 double grind and waited 15 minutes before I started to circulate. Not sure if it helped. I would have to try different ways to see if I create a problem. Hoping my numbers show fairly decent efficiency.

One other thing I added was a piece of 3/8" SS pipe that acts like a vent tube from above the bag to below my FB. Wilserbrewer mentioned about the bag sealing around the kettle and a suction from the pump collaspsing the FB. I just thought if the bag is sealing around the sides of the kettle and was starting to plug up due to the fine mash this would keep the pressure equal between above and below the bag and not allow the FB to be destroyed from the suction.
 
Nice work. I really don't want to know what was in that portable whirlpool in its original incarnation...

Anyway, why does the hood get raised and lowered? I would think this is not needed assuming it has enough oomph (aka... it sucks hard).

-BD

Infected feet maybe. :eek:

As for the hood I wasn't sure if the suction would be strong enough so I made it have the ability to be lowered. Wife was a little concerned with the smell. I think it smells wonderful. Now that I have run some test batches and my real run yesterday it's fine being up. May take that option out.
 
That looks perfect for an E-kettle.

You have made amazing progress since November 24th when you were thinking of removing the wheels on that tub and firing w/ propane. Congratulations on a job very well done!!!

Total cost? I ask out of curiosity in that nice systems can be built very economically if you are handy and resourceful, as you definitely are.

Job well done!!!

My only comment is that the copper spray bar tube may not be needed, but rather just placing the hose on the grain bed. The reason I don't care for a spray bar is potential temp loss....ymmv...excellent work, you should be proud!!

Thanks so much for your praise. Greatly appreciated!!!

As for cost, many items I had left over from previous projects. Being an electrician I do obtain many of the items needed for the control panel. The controller, SSR, stainless steel fittings and such were purchased. I think an itemized sheet may help others that would like to do a build see what the cost would be. Itemized sheet to come.

As for the spray tree, just read and saw so many ideas I thought this would be easy and quick to make and get me moving towards brewing my first all grain BIAB batch. I did a partial grain back last spring and once the kettle was to temp, grains added and wrapped in a sleeping bag I never dropped the mash temp. With this spray tree and even though I covered and wrapped the kettle the temp did drop but using the controller helped with maintaining the mash temp. It also got in the way of putting the bag in and over the rim. This is being looked at.

Thanks again for the compliments and anyone reading this please feel free to comment and suggest anything that may improve my system.

Thanks,

Bill
 
Back
Top