joelireland
Active Member
Hey insp79 - that is one very cool and impressive build. Well done. I hope it is giving you the quality brews you deserve! As I sit here finishing a Little Creatures Pale Ale clone, I raise my glass to you! CHEERS!

Hey insp79 - that is one very cool and impressive build. Well done. I hope it is giving you the quality brews you deserve! As I sit here finishing a Little Creatures Pale Ale clone, I raise my glass to you! CHEERS!


![Craft A Brew - Safale S-04 Dry Yeast - Fermentis - English Ale Dry Yeast - For English and American Ales and Hard Apple Ciders - Ingredients for Home Brewing - Beer Making Supplies - [1 Pack]](https://m.media-amazon.com/images/I/41fVGNh6JfL._SL500_.jpg)


Hey, congrats man. I love this thread and plan on implementing some of your ideas in my upcoming brew stand design and construction. I'm glad everything went smoothly on your first brew day.
Great job!
drkwoods said:what have you discovered about the Auber PID's and the cycling of the burners on/off? what parameters if any did you need to adjust from the way they came? love this build BTW!!
4 degrees? What is Hy set at? I ask cause Auber claims it will hold to .5 degree
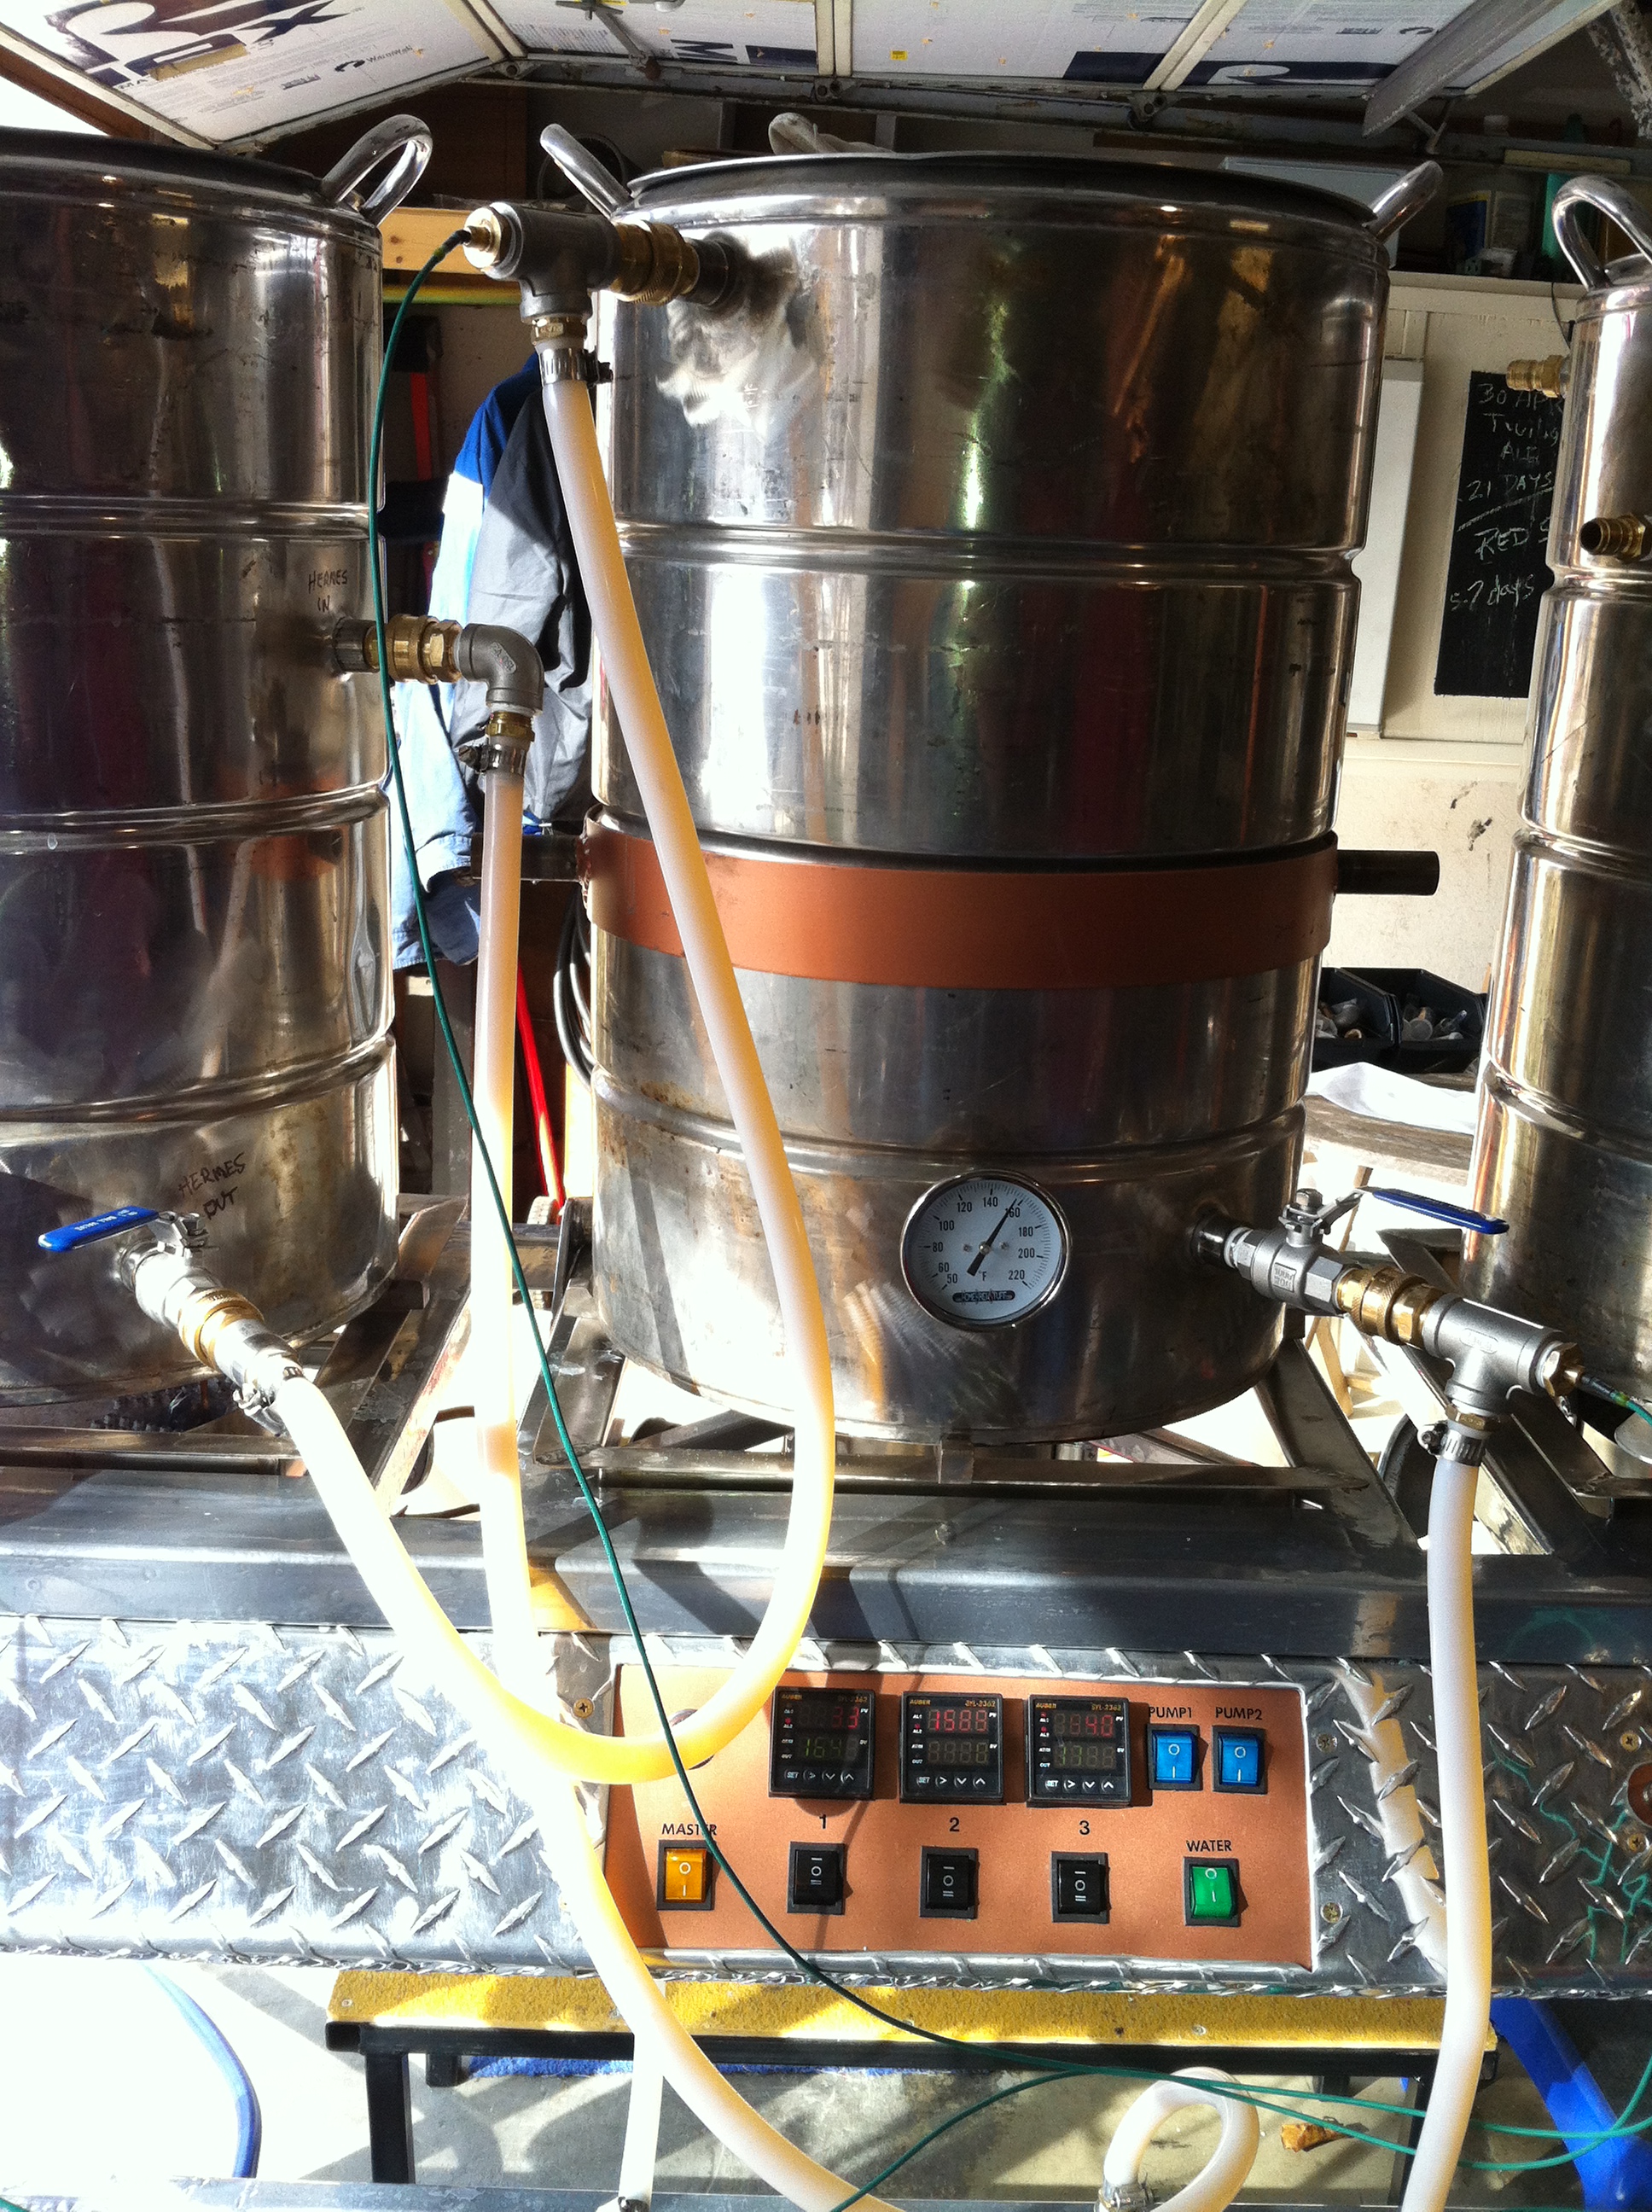
not sure what you mean by 0089 or 0001.. It looks like you have Auber Syl-2362's? let me know.. the Hy band is easy to change and will immed tighten up your temperature drift if you lower it to 1.I haven't messed with the 0089 settings much. Hy is currently set at 003.0.
There are other issues, I have been trying to work on, so I haven't fine tuned the PIDs much.
The 0001 settings are easy to access, and adjust for different temperature settings.
I would recommend the Auber PIDs for controlling Honeywell gas valves.
The LOVE controllers are great for fermenters, and keezers. IMHO.
drkwoods said:not sure what you mean by 0089 or 0001.. It looks like you have Auber Syl-2362's? let me know.. the Hy band is easy to change and will immed tighten up your temperature drift if you lower it to 1.


I ordered the mash tun false bottom from JayBird. I cannot wait for it to arrive.
NorCal Brewing Solutions can make about anything you need for a false bottom in the Mash Tun.
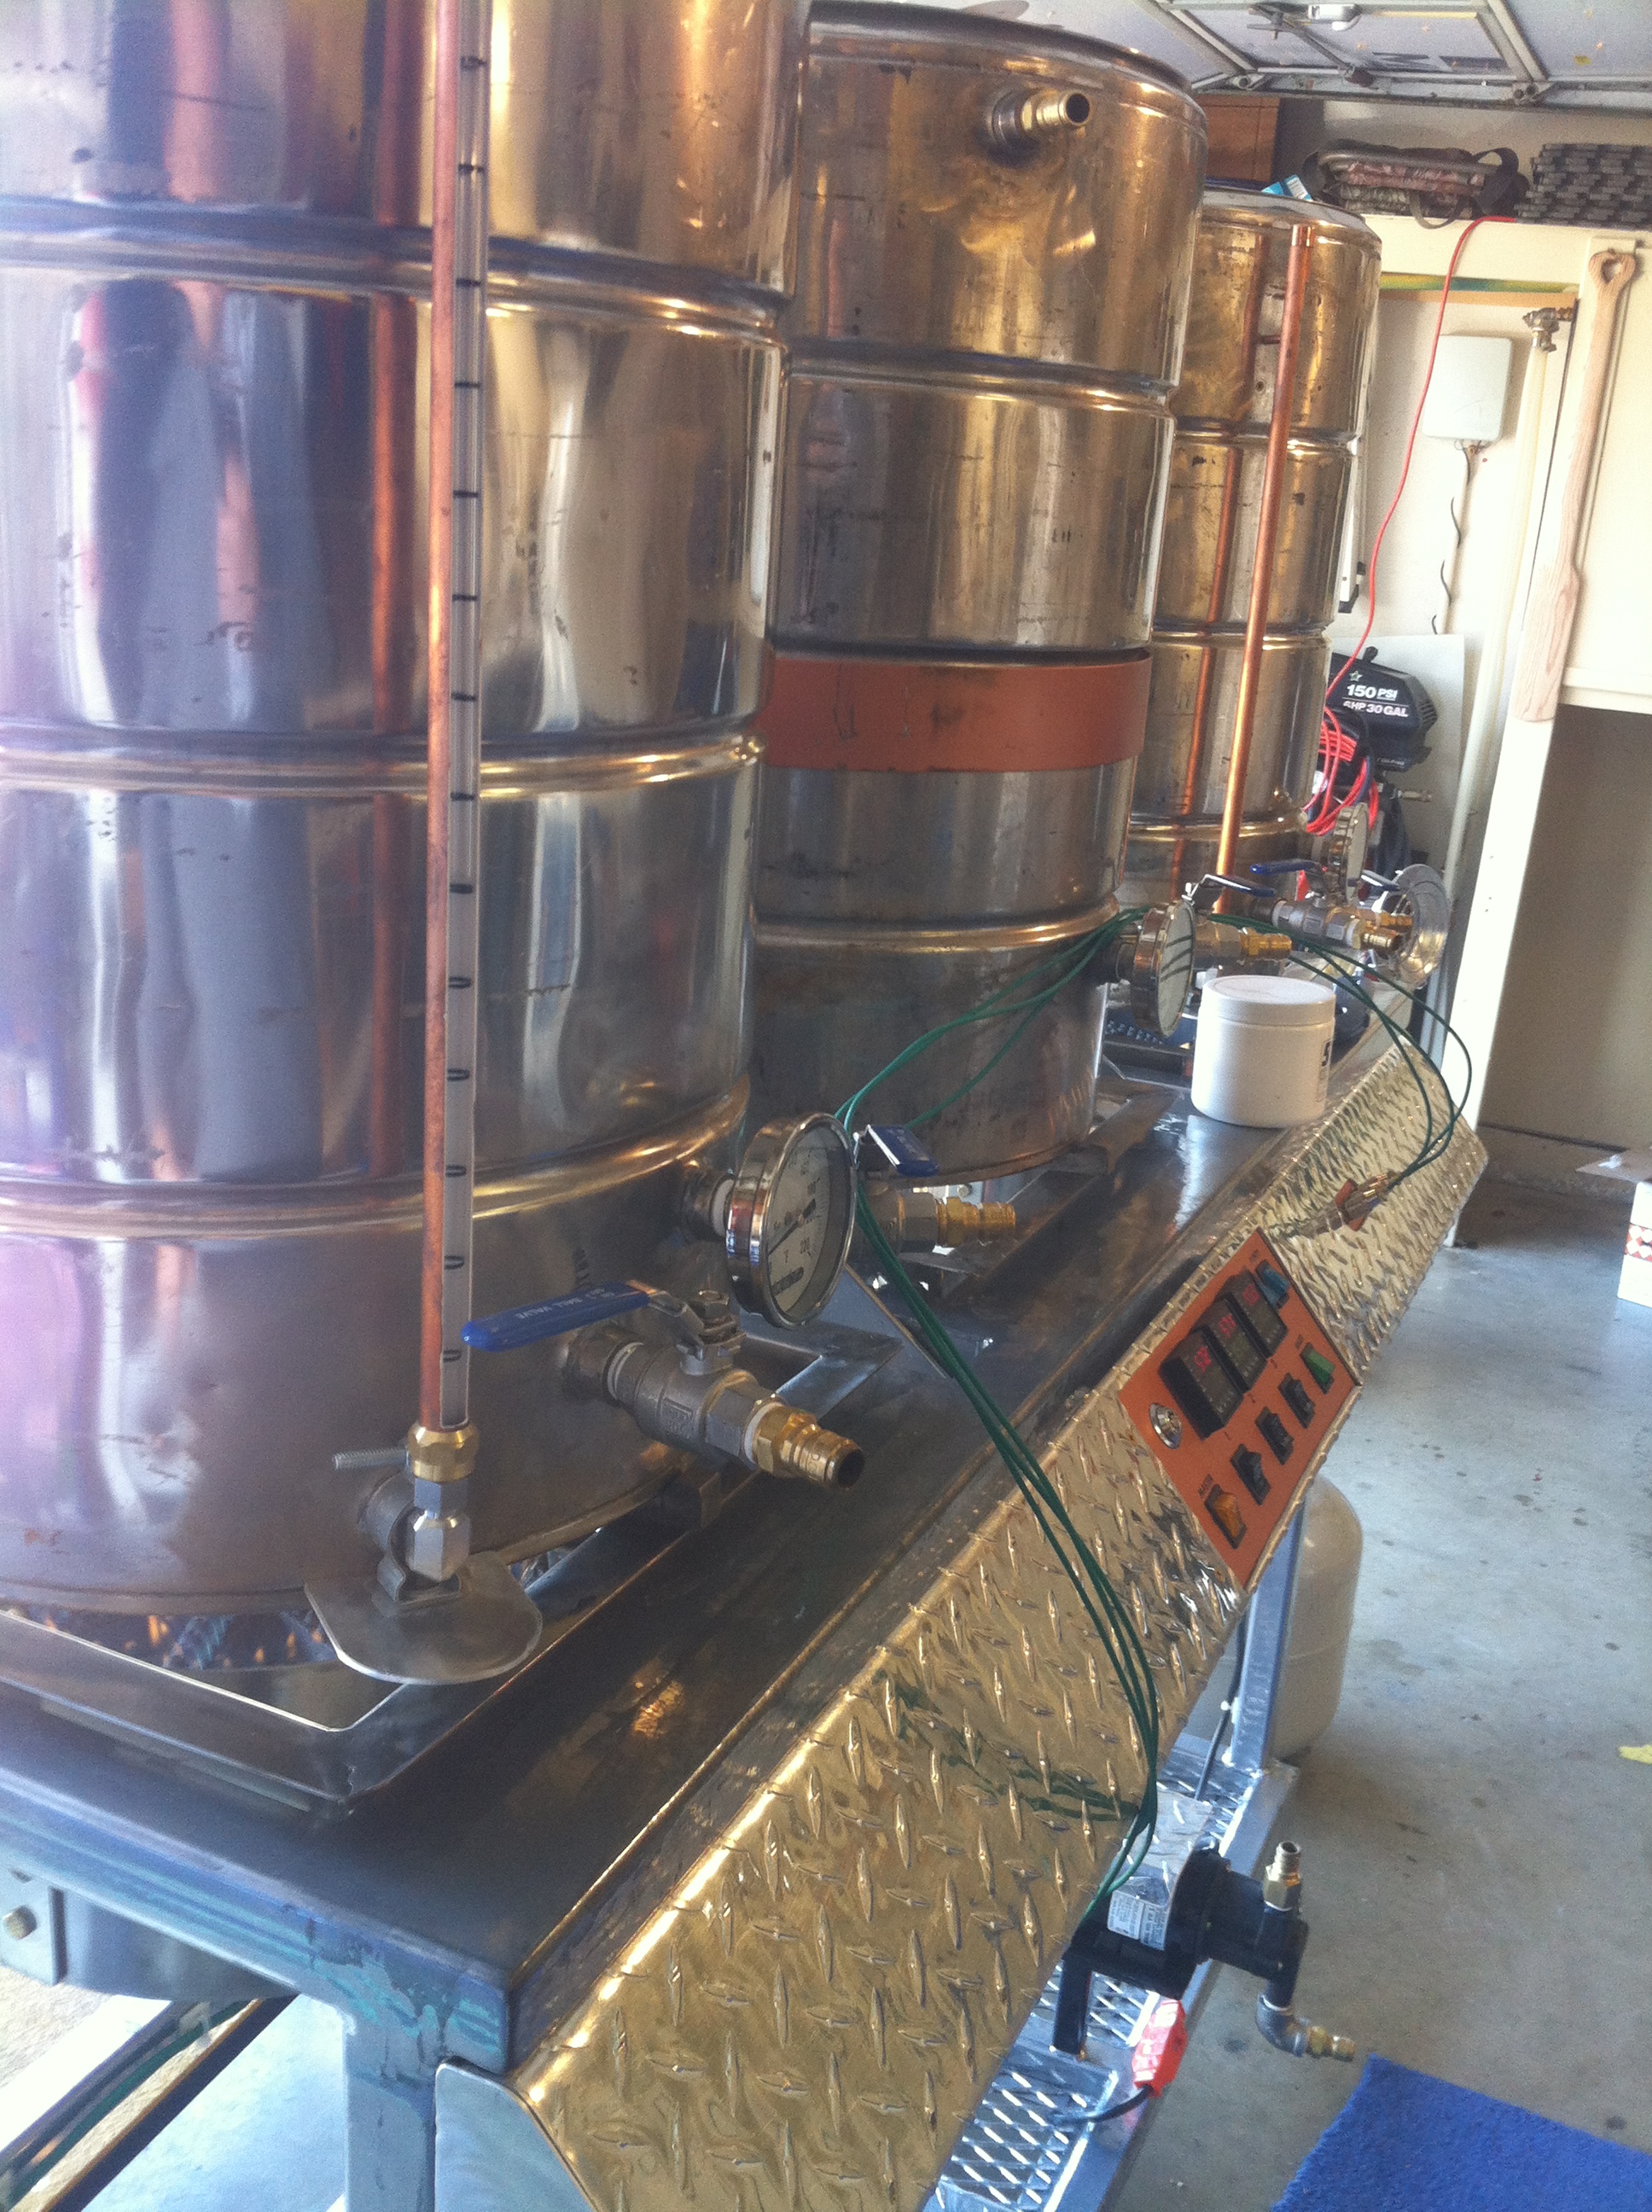
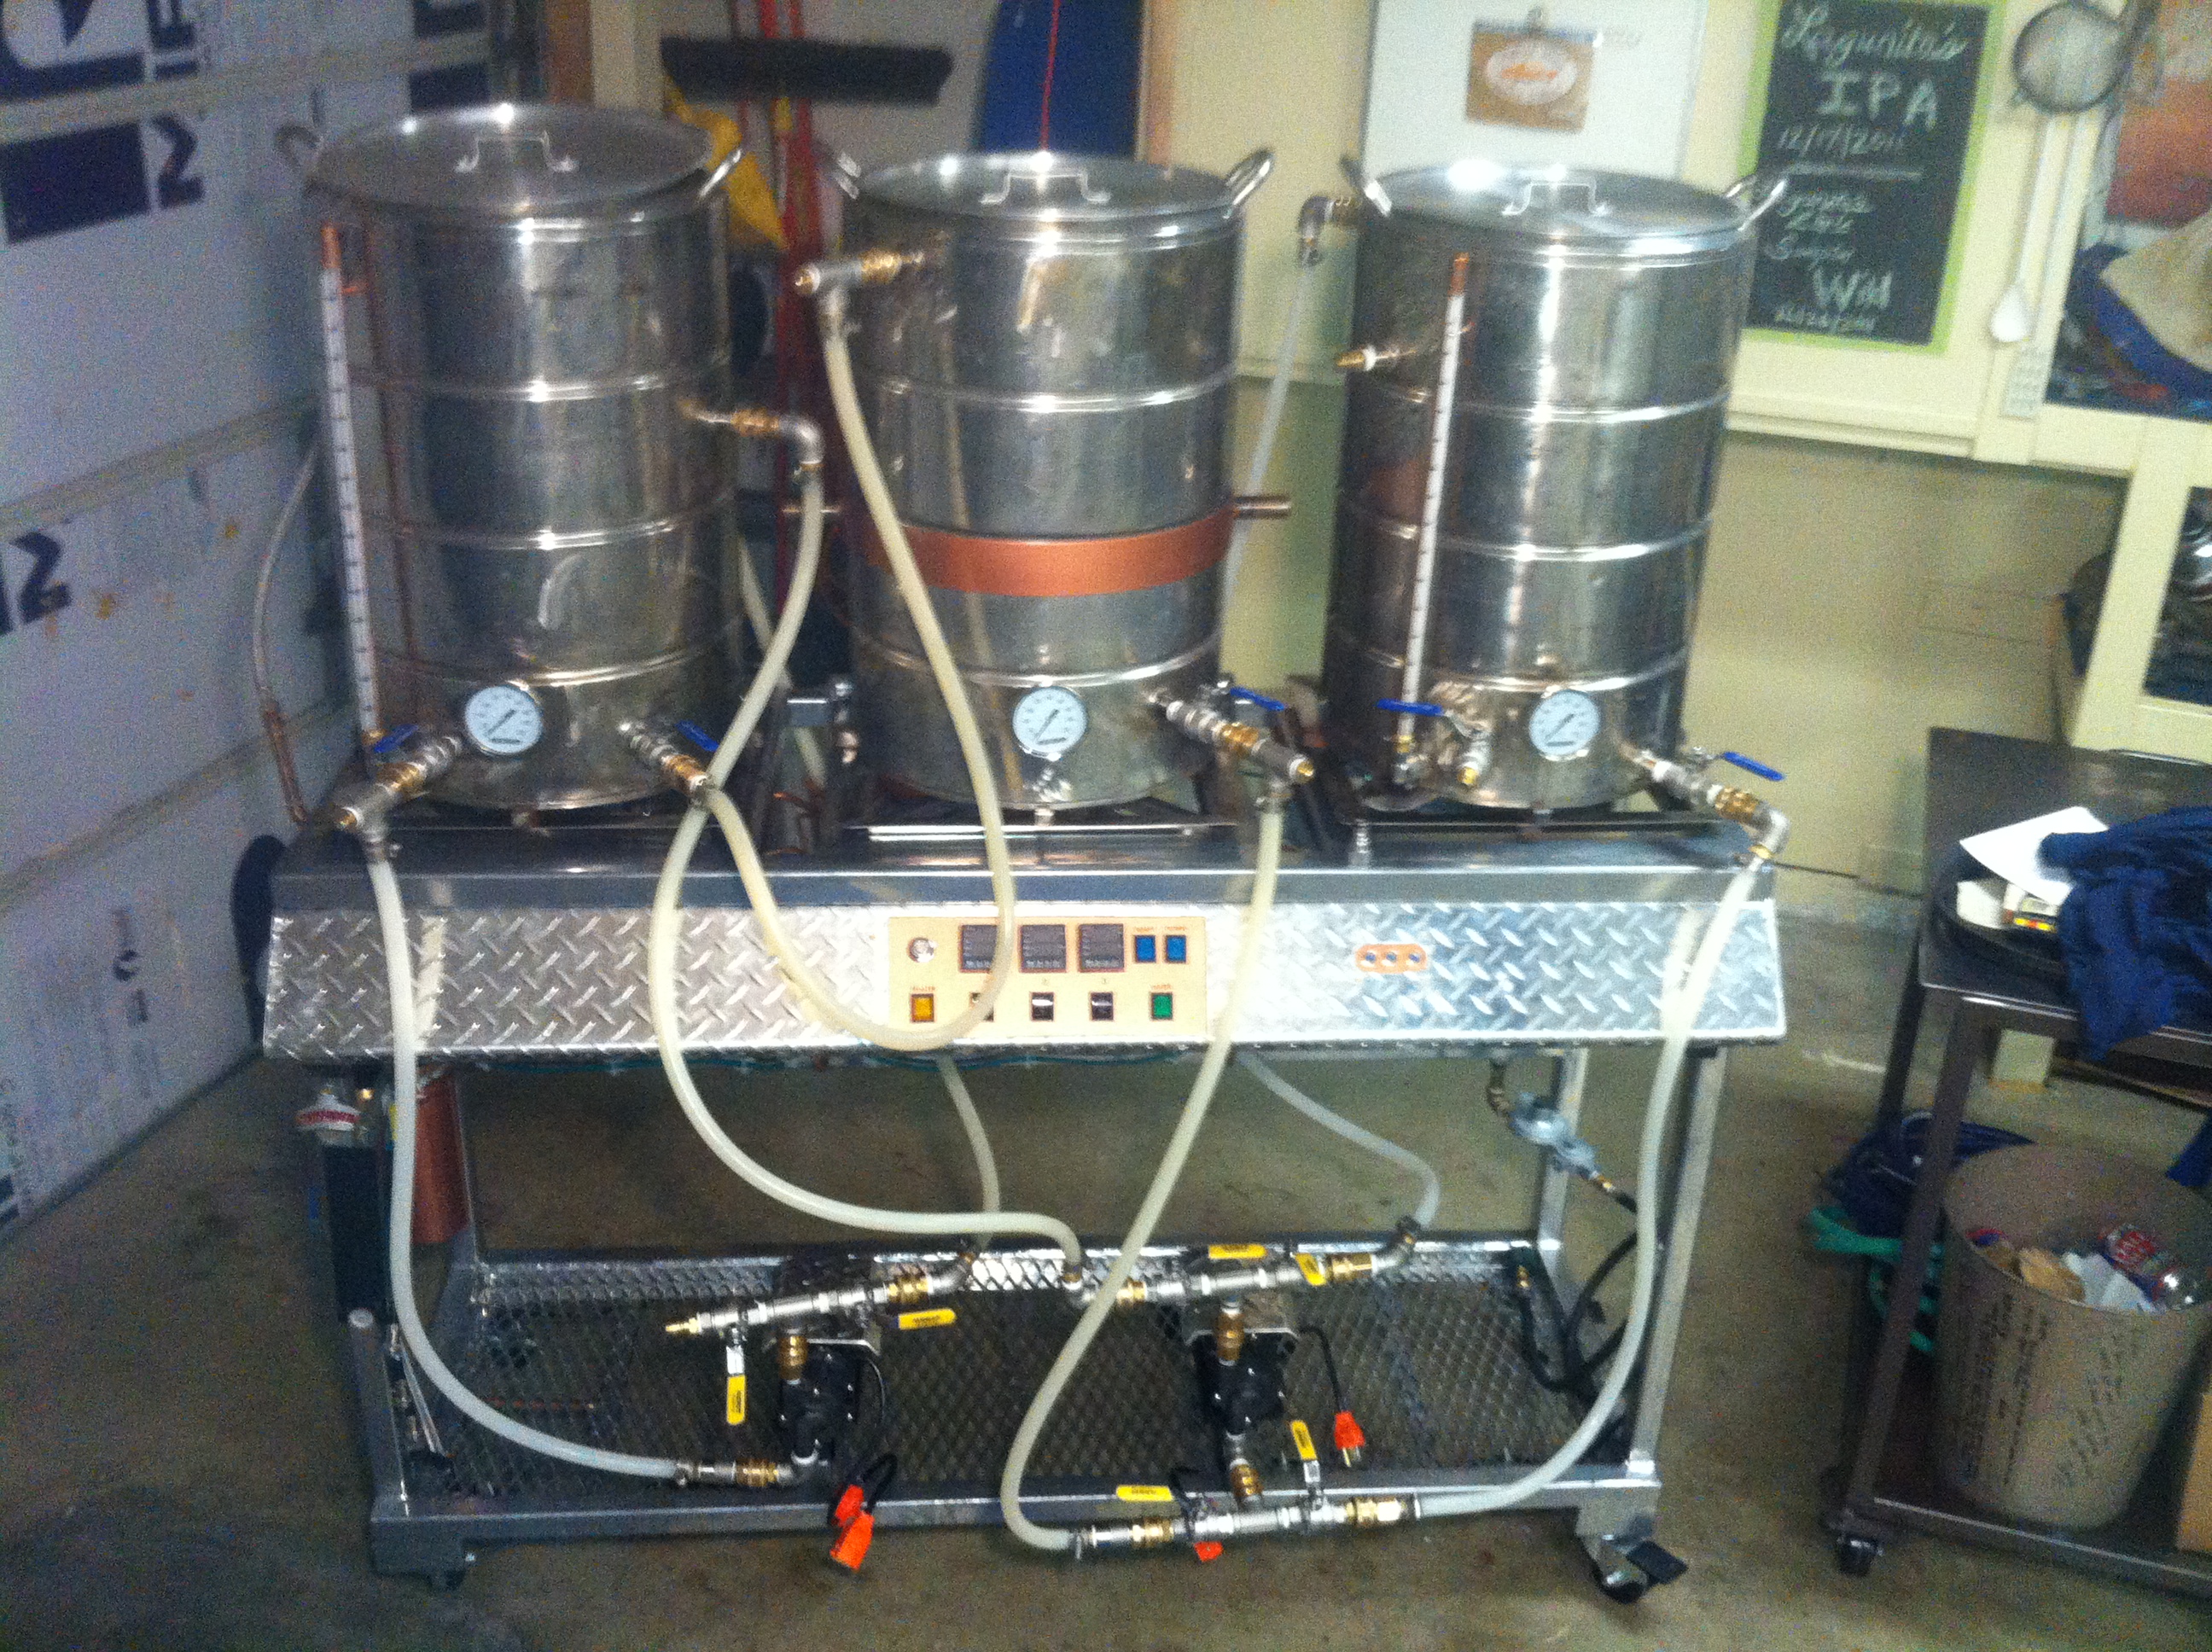
Here is a pic of the design:


