To The Pol,
Simply amazing system.
I'd been debating and planning different setups...Gas vs Electric...cooler vs pot...and I'd
nearly resigned myself to having to buy a complete system as I just didn't have the wherewithal to pull off rigging LP without blowing myself up and the mysteries of electricity end with "I plugged it in, now what?"
Then I find this tread and think "I CAN DO THAT!"
Now I don't know if I can...but I sure know I will try.
So to you KUDOS!
Now on to my questions:
(And please excuse some of them if they seem dumb...but this electricity thing must trip a reason breaker in my noggin)
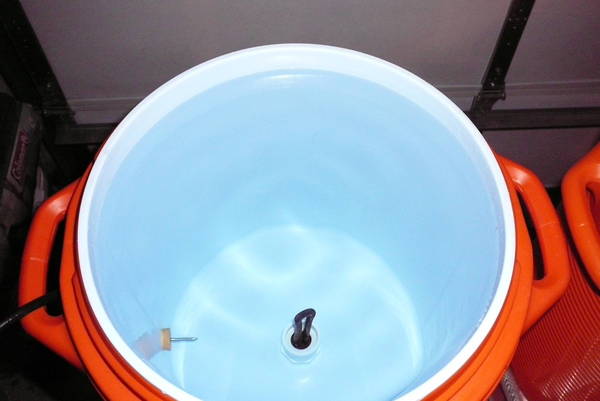
1) I found the picture of the HLT lid in your gallery and from what I saw, I didn't see the thermowell...has it been relocated or was it just not in for the picture? I'm assuming (if you didn't move it) it runs to somewhere close around mid-coil?
The thermowell is a SS tube that the A419 temp probe slides down into. It fits through a hole in the center of the lid, in the center of the HLT and coil.
2) On my lunch break I ran out to HD and grabbed me a 1" threaded PVC coupler and 2000w element and honestly was expecting a bigger thing ("That's what she said"...there ruined it for everyone). Did I get the wrong gadget or are they really THAT small? The thing is only like 7" tall! Also none of them said they were water safe...but the whole section was for Water Heater elements...
Item link...should I be concerned?
NO, they ARE that small, which is nice, because then you do not need to maintain a large volume in the HLT to keep the element submerged. Now, realize that you cannot control that element with an A419, you will need a PID and SSR since it is pushing 17A, the A419's max is 16A.
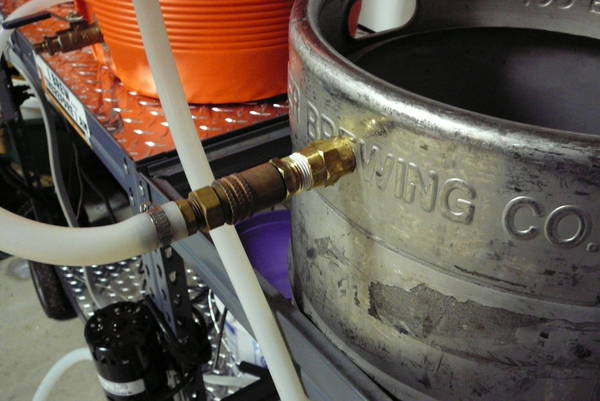
3) Plugging this stuff in...can I run all three things (pump, HE, stirrer) from the same outlet? Like off a power strip? [at least until I get an e-BK & controller like yours...which is a further future project]
How did you do it before you got the box?
Well, if it is a 20A circuit, yes. 17A for the element, <1A for the stirrer and 1.8A for the pump. Now, that is REALLY pushing a 20A circuit and you will want to make sure your power cord can handle 20A. Now this is over the 80% load rule, but that is for continuous loads and yours will not be continuous as the element will cycle on and off. But, you are really pushing it.
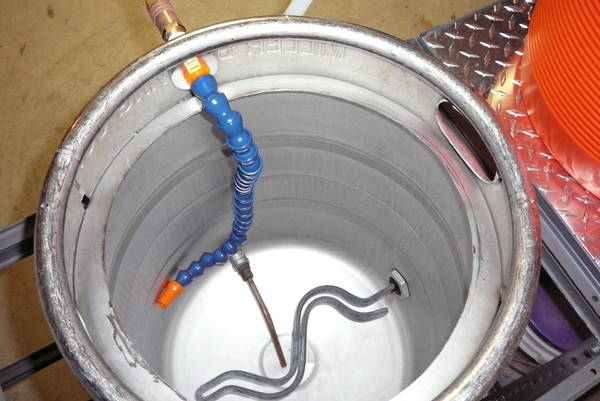
4) On your MLT, you say you got the false bottom from Northern Brewer...assuming the
12" one ...it says it has a 3/8" hose barb on it...did you change to 1/2" or keep it as is?
Kept it as is... all my other plumbing is 1/2" though. I cannot fathom a time that the flow restriction there would be an issue.
All I can think of right now...but I'm sure I'll come up with more as I get building.
And if I didn't say it before...this is seriously killer :rockin:


![Craft A Brew - Safale S-04 Dry Yeast - Fermentis - English Ale Dry Yeast - For English and American Ales and Hard Apple Ciders - Ingredients for Home Brewing - Beer Making Supplies - [1 Pack]](https://m.media-amazon.com/images/I/41fVGNh6JfL._SL500_.jpg)