OP
OP
dker,
I'll post a pic tomorrow, its basically set up.
I'll post a pic tomorrow, its basically set up.


When I read 'brew throne', i had this picture in my head of a brew stand built around a La-Z-Boy, so you could sit there, drink homebrew and still reach all the controls without getting up.
when i read 'brew throne', i had this picture in my head of a brew stand built around a la-z-boy, so you could sit there, drink homebrew and still reach all the controls without getting up. :d


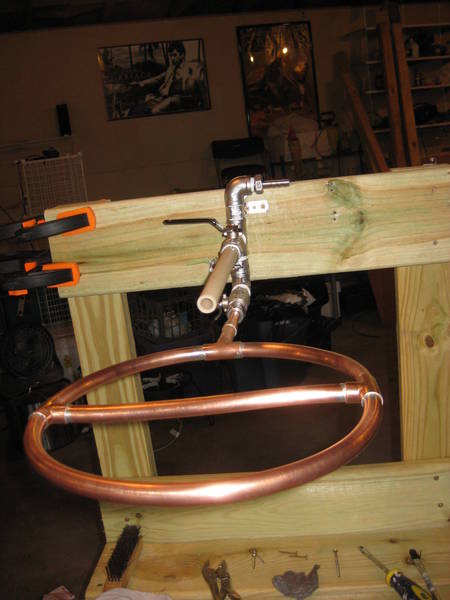
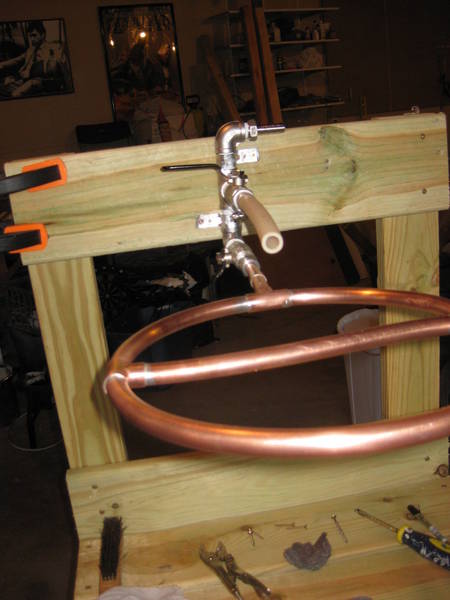
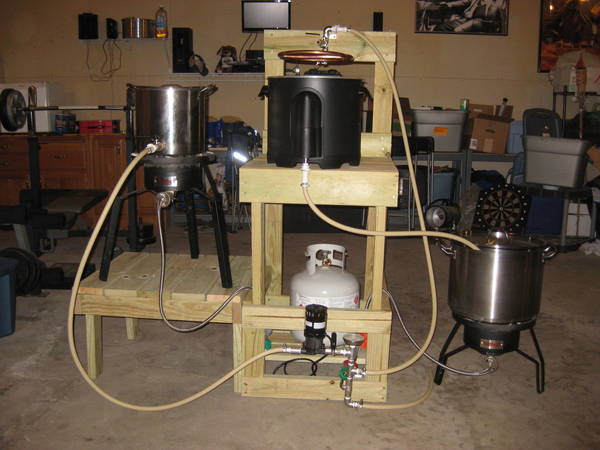
Interesting. Looks like its going to be very compact, and wood.
Will you be able to sit on it when done? Or at least a cup holder for a pint wile you brew.

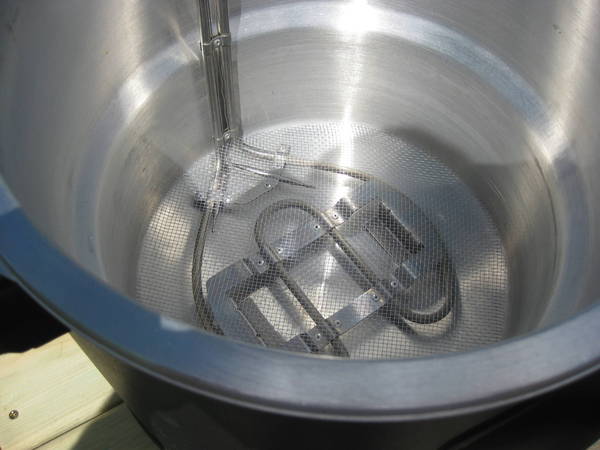
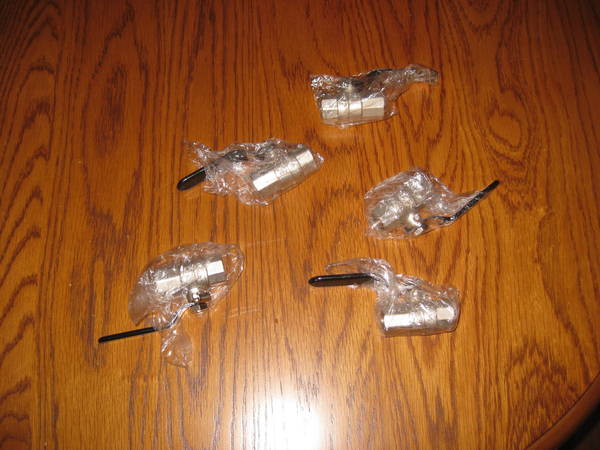
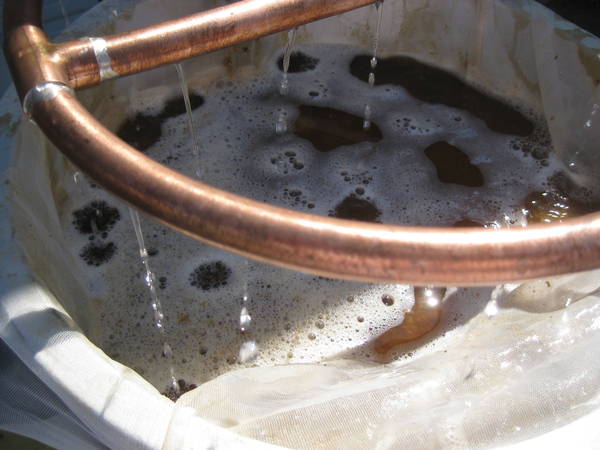
here is the pile of SS valves i got from ebay.
hmmm, they are stamped on the side and look really similar to the fittings i bought from bargainfittings. Either way they work well in my application.
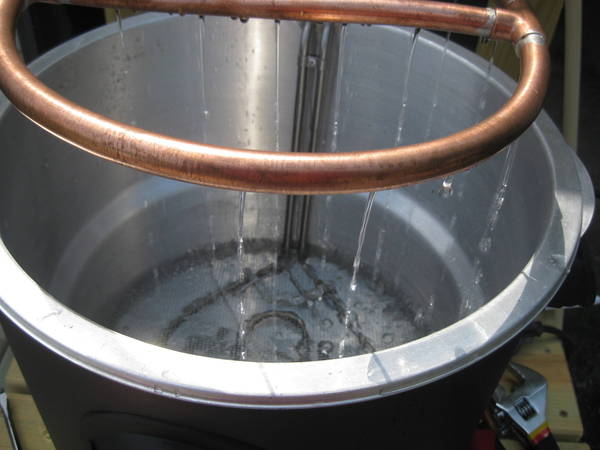
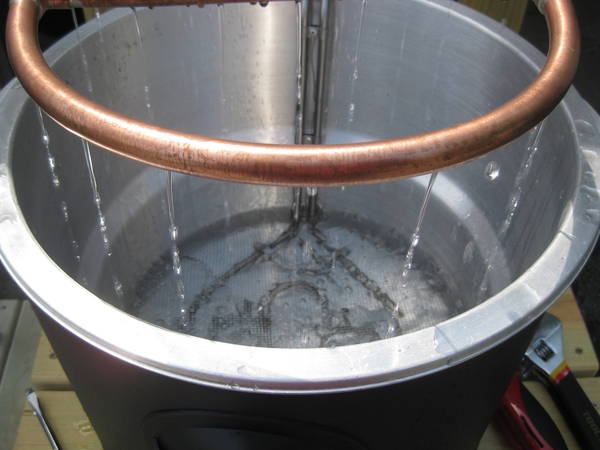
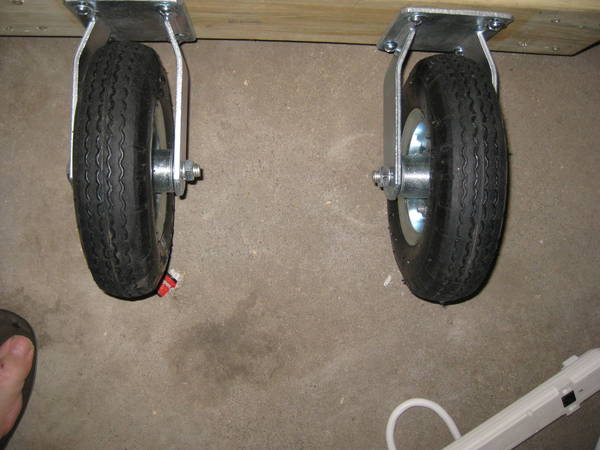
Catt, you are correct on all accounts. The ring does get in the way a bit, but i can turn it perpindicular and still keeep it water tight so i do that. The hight was orignaly for the gravity drain to the boil kettle and i kept the platform and legs becuase i am building a water setup from a garden hose to supply filtered water to the system. Also, I am 6'7" and i HATE working on lower profile stands. This puts everything more my level.
You tall people make it really difficult for those of us who are vertically challenged. It just ain't right.


![Craft A Brew - Safale BE-256 Yeast - Fermentis - Belgian Ale Dry Yeast - For Belgian & Strong Ales - Ingredients for Home Brewing - Beer Making Supplies - [3 Pack]](https://m.media-amazon.com/images/I/51bcKEwQmWL._SL500_.jpg)