Clayton
Well-Known Member
i add water to my grains and have never had a dough ball problem,, but my mash tun is a large square cooler.


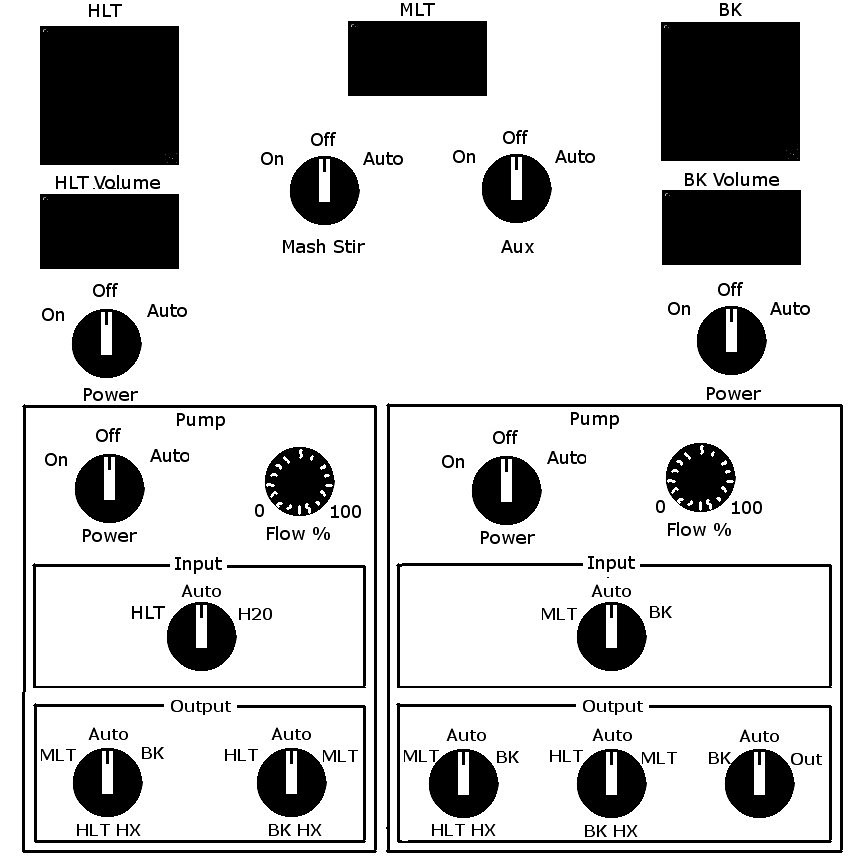
What program are you using for the schematics?


")
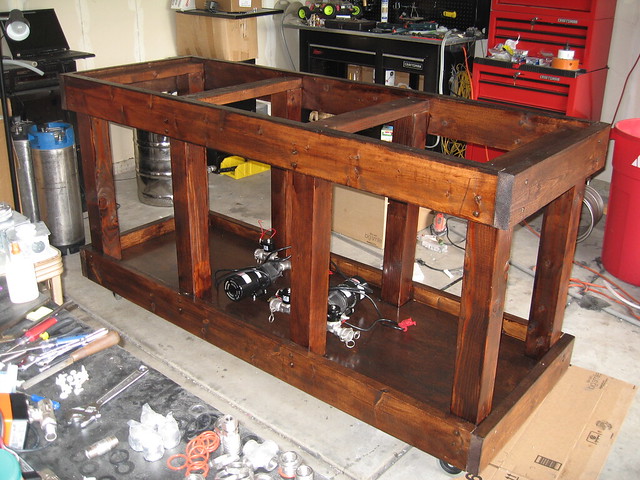

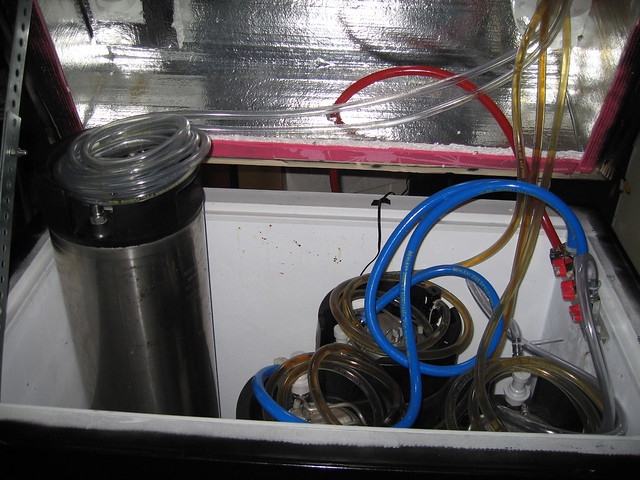

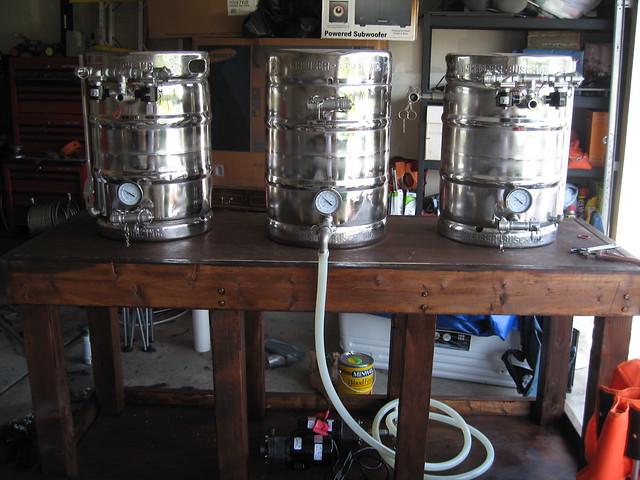
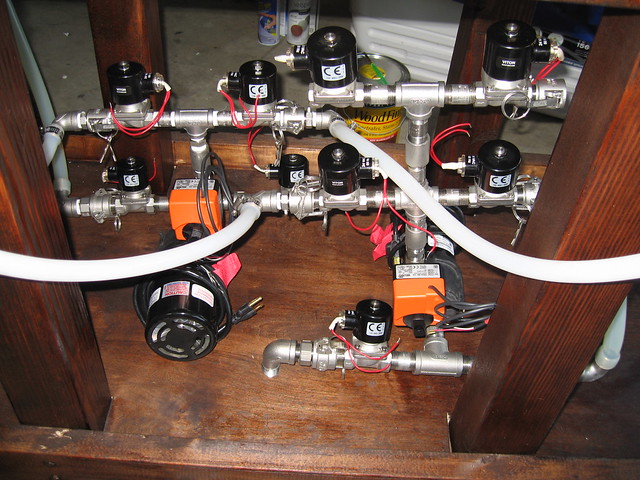
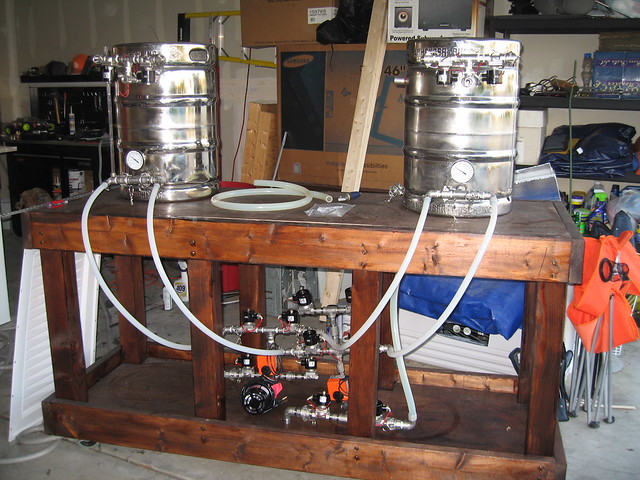
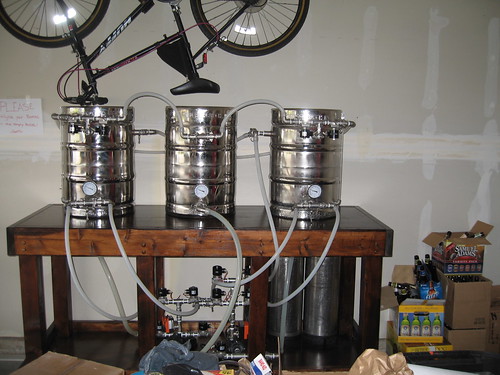
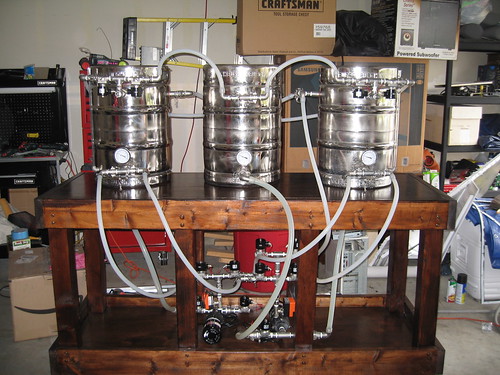
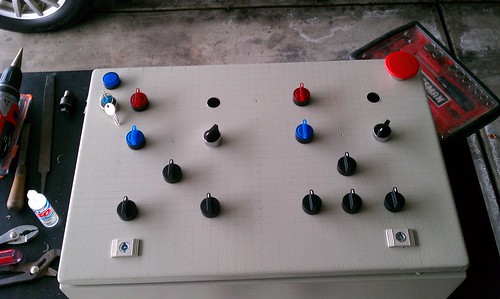
Finally, some pr0n...
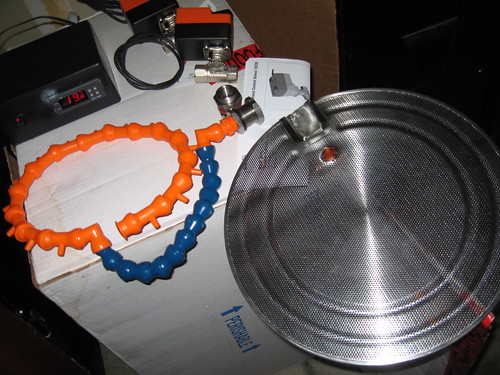
My Little Army
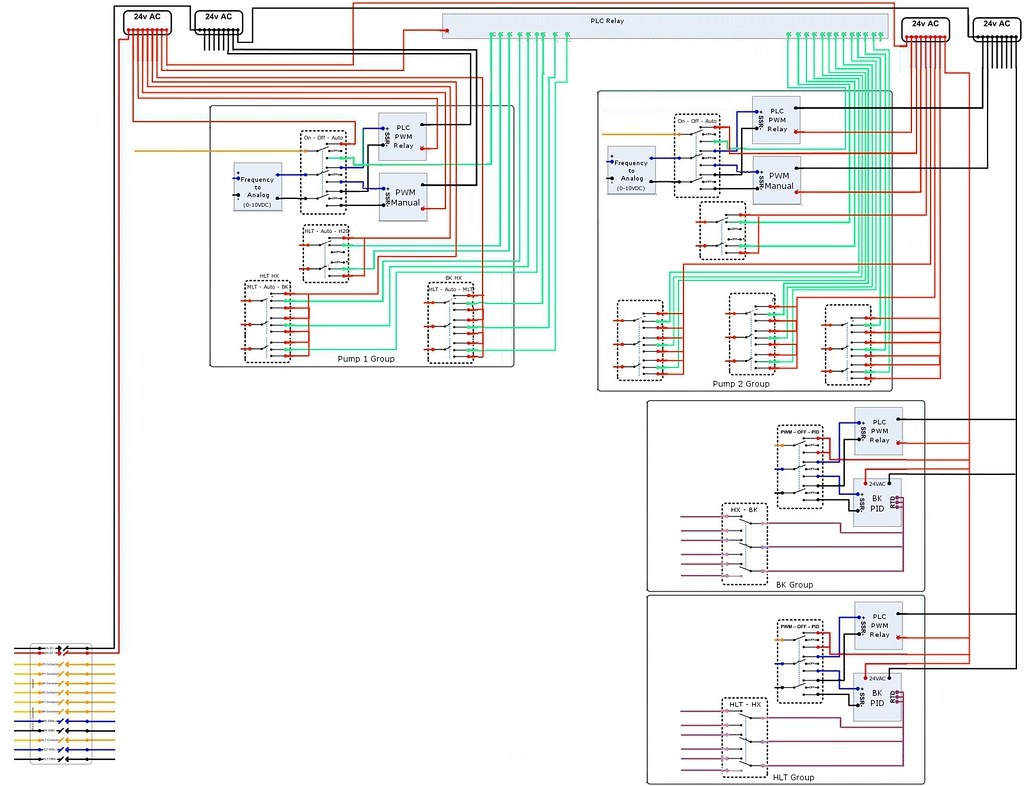
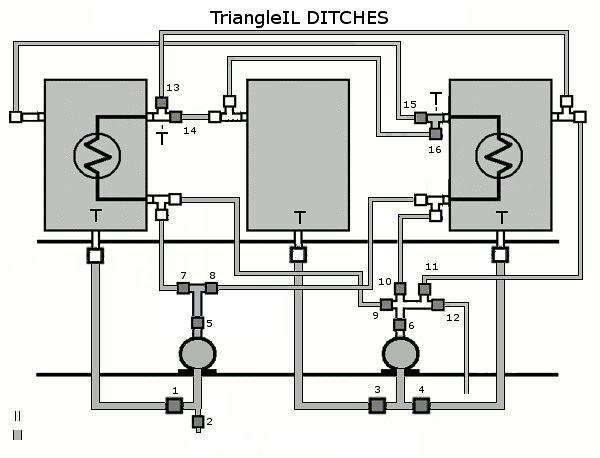
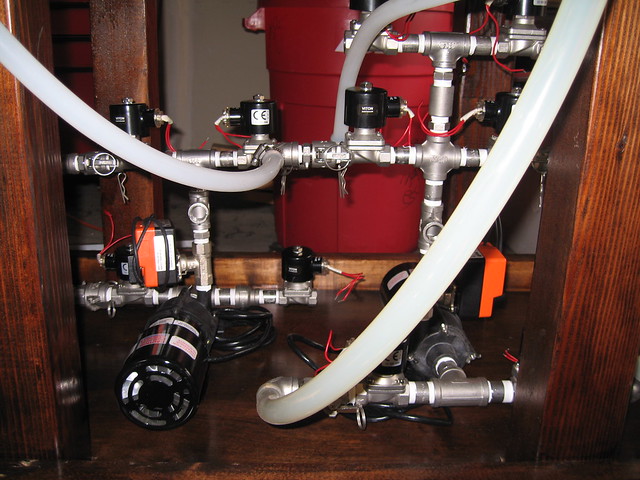
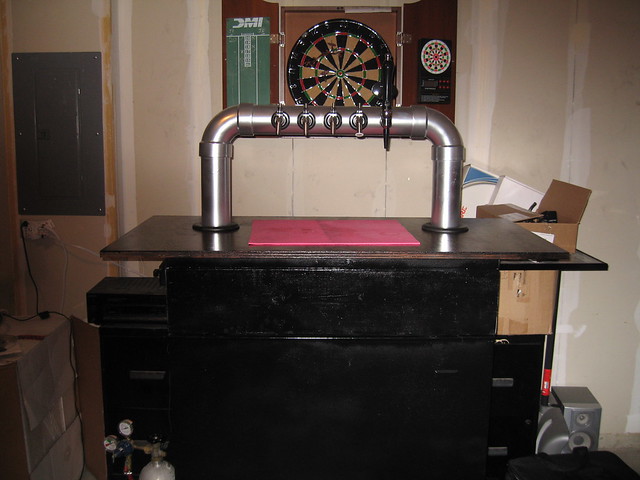
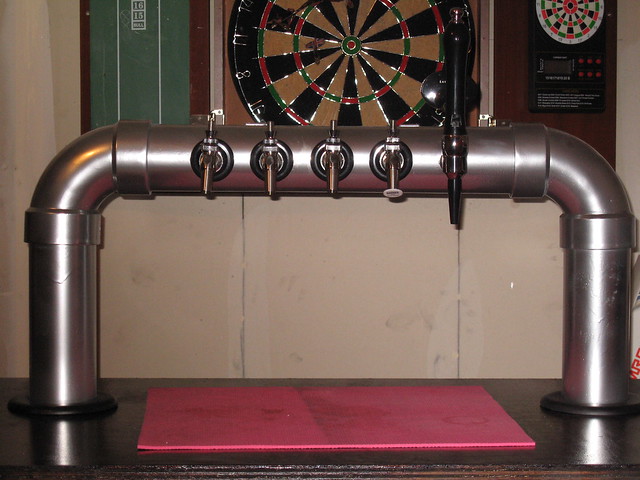
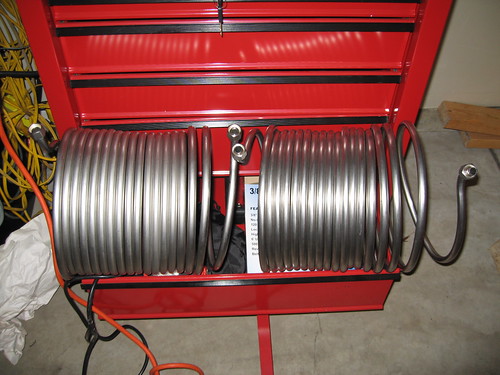
Ferm Temp Controller, Sparge Arm, False Bottom and Belimo "Flow" Valves
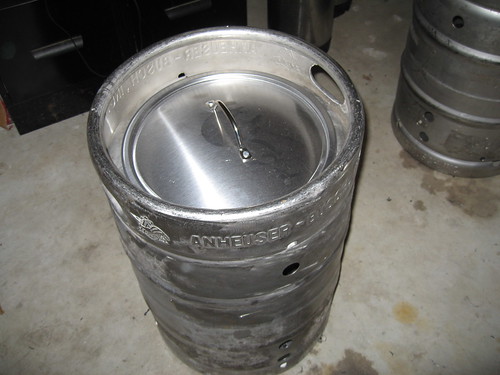
I've got a hat but I really need a bath!
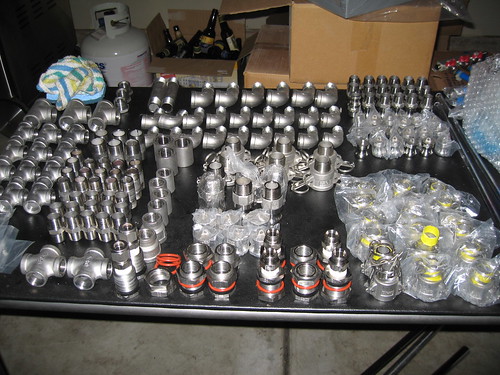
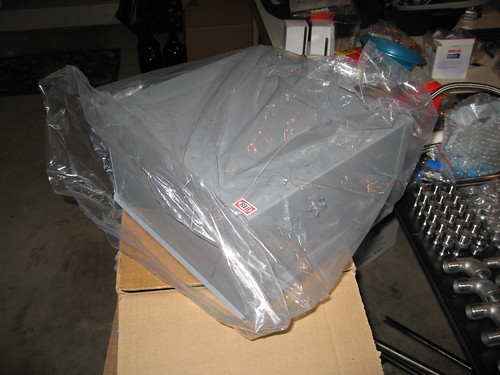
The "skull" still in packaging
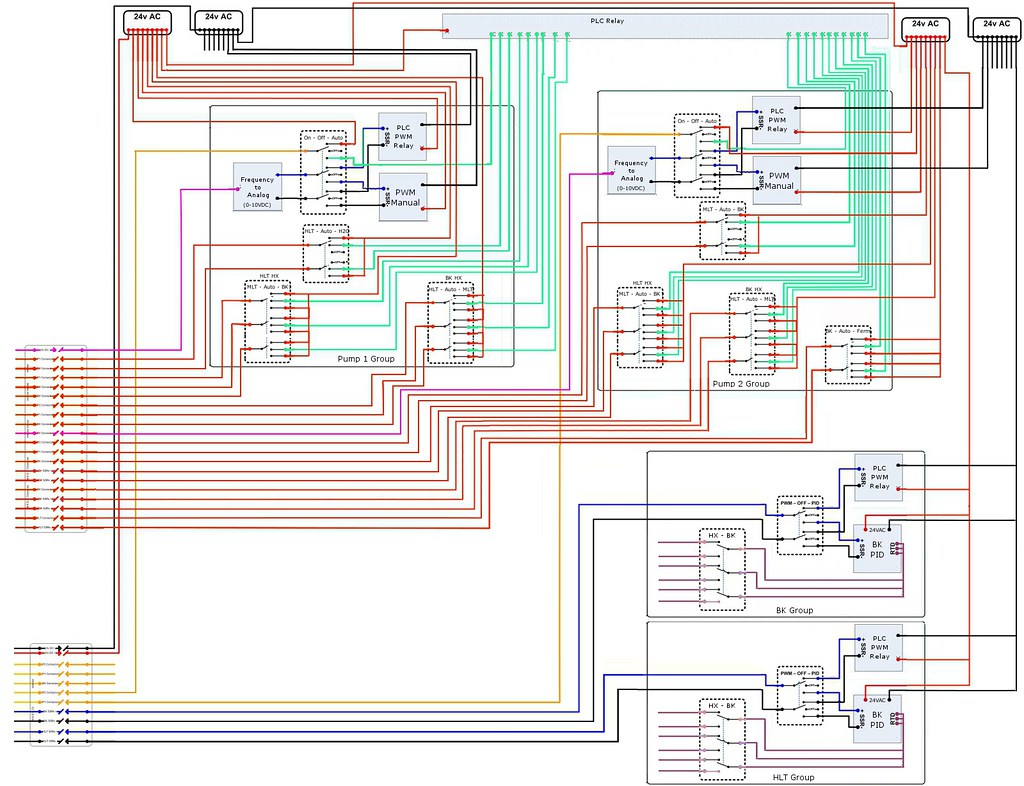
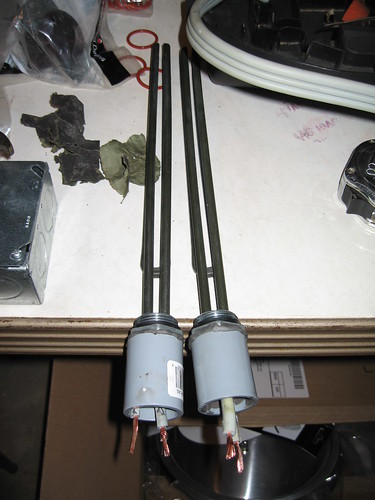
Had a minor problem while mounting the electrical elements, so had to do emergency surgery and cut the plugs off... will have to wire this up later.
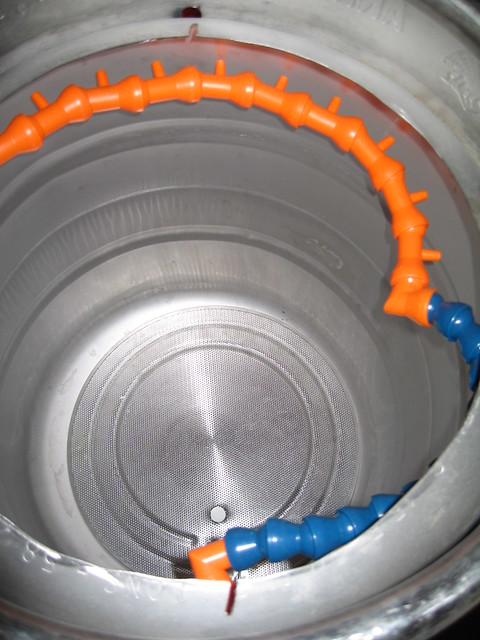
False Bottom Installed
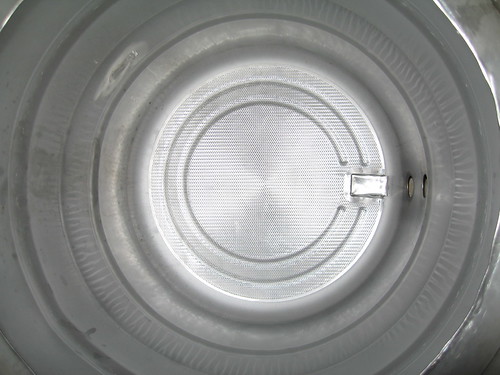
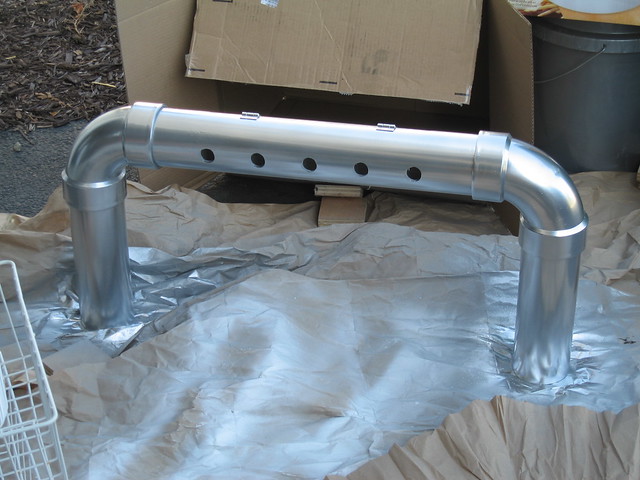
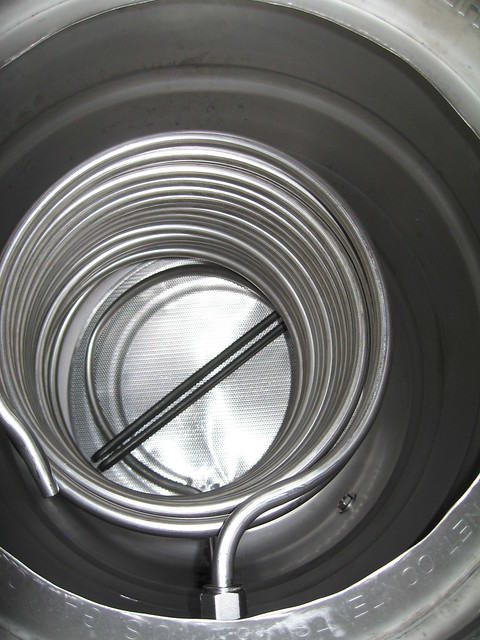
Dual HERMS coils ready for action!
Will be putting all the pieces together this weekend, and then 3-4 weeks of electrical before the first test batch.

There are "no prime" type pumps available to resolve that issue. However, your connections must be air tight so you don't suck air while pumping.Sadly, I only found out about the priming issues with the pumps this morning... that's something I haven't figured out quite yet.


![Craft A Brew - Safale BE-256 Yeast - Fermentis - Belgian Ale Dry Yeast - For Belgian & Strong Ales - Ingredients for Home Brewing - Beer Making Supplies - [3 Pack]](https://m.media-amazon.com/images/I/51bcKEwQmWL._SL500_.jpg)


