
SoCalHomeBrew
Member
- Joined
- May 6, 2016
- Messages
- 15
- Reaction score
- 4
I just completed my touchscreen RaspberryPi kiosk with an 1500 watt 120v electric heater, 2 gallon pot (housing the external herms coil), a single re-circulation pump to drive it all and a Duda 40 plate chiller.
The hardware:
- RaspberryPi 3 Model B with 2amp power supply
- 800x600 HDMI/USB Touchscreen
- A Solid State Relay to control the 1500 watt heating element
- Two small AV relates to control 2 outlest for the pumps(s)
-DS18B20 temp probe
- 12 Gallon pot with a stainless steel basket
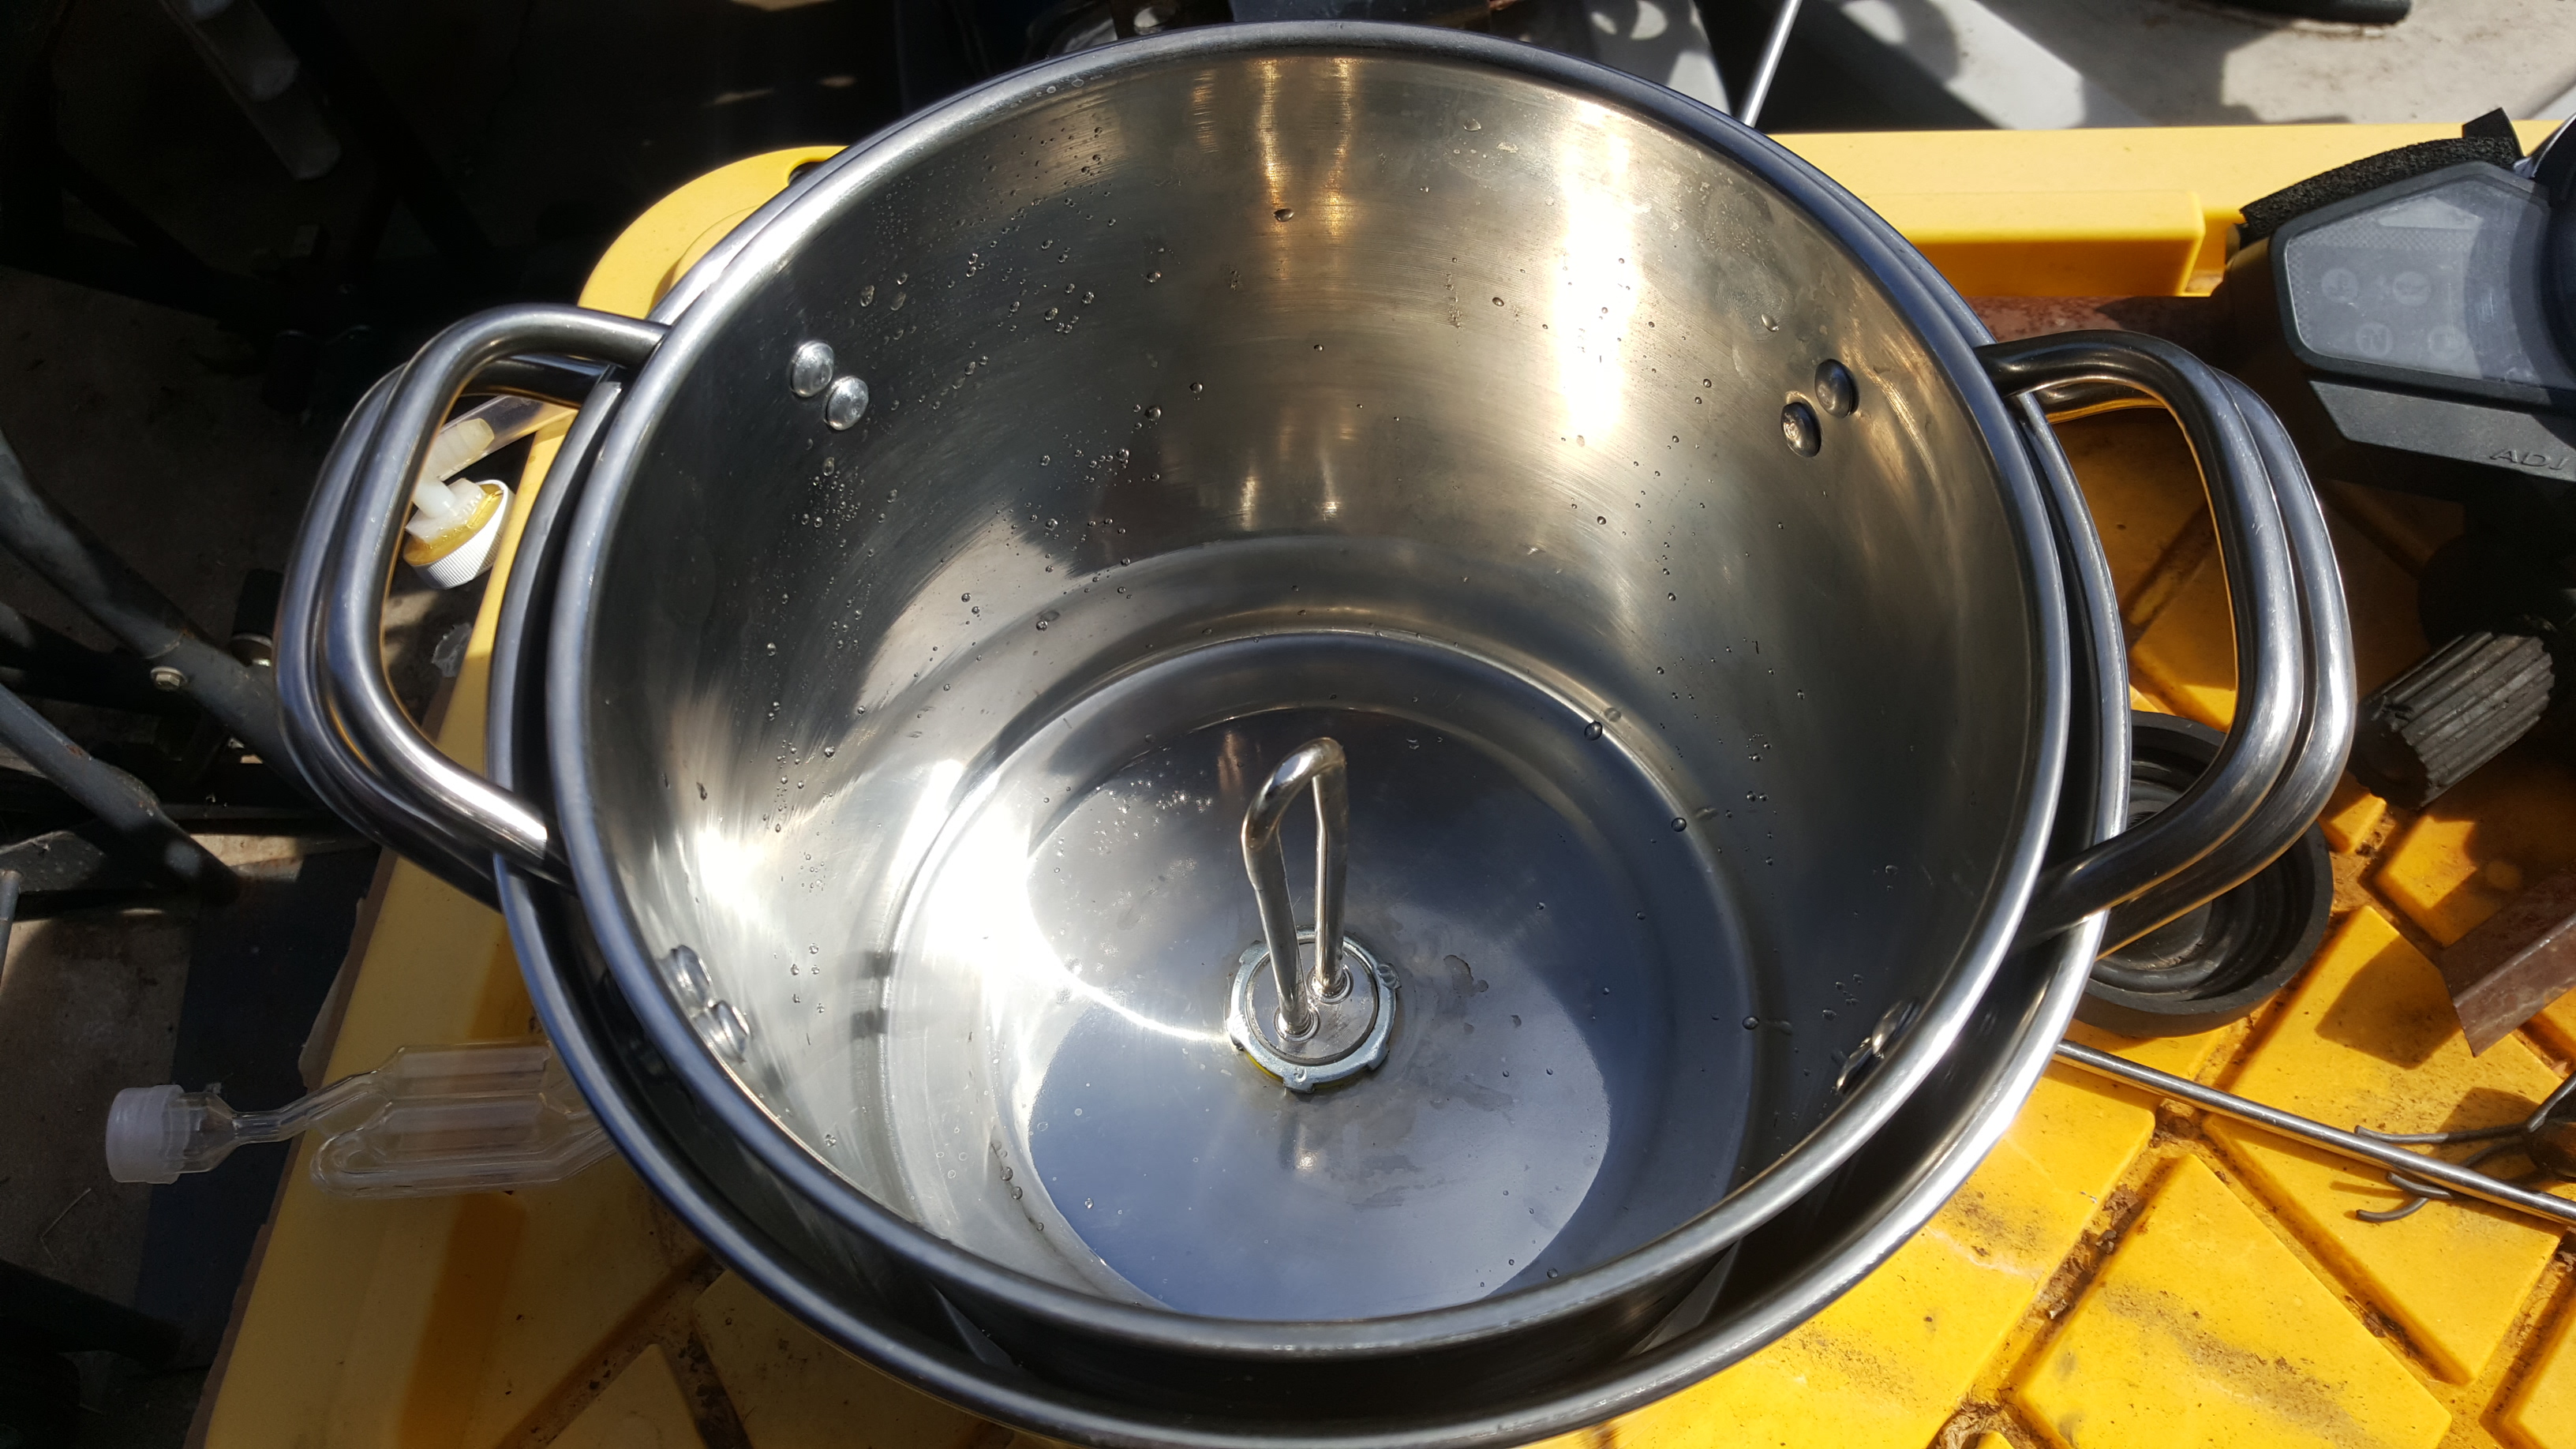
- 2 gallon pot with 1500 watt heating element in bottom
- Ext Herms made from 10ft of 1/2" copper tubing
- Pondmaster model 3 pump now, it is being replaced by a SS Chugger
- Duda 40 plate counter flow chiller
The Software:
- Runs Raspbian OS for a full PC user experience including video/music play during brew and its FREE
- Open source RasPiBrew software is FREE for personal use and drives my entire setup with not one line of code written, only config files.
Wort flows from the 12 gallon pot out the bottom, down to a pump to self prime, and up to a 2 way valve. The first path of the 2 way valve flows into the External herms copper coil submerged in the 2 gallon pot. The water in the 2 gallon pot is heated by a 1500 watt water heater element. The Solid the solid state relay controls the voltage, ramping and duty cycle to the heating element by the RaspberriPi controller. The wort then travels out of the coil back down to the top of the 12 gallon po,t providing full temperature controlled re-circulation. The second path of the 2 way valve flows to the Duda counter flow chiller and directly into a fermenter.


In this last image you can see the two plotting graphs on the performance of the system and how it anticipates the temp so as not to overshoot. For a 5 gallon batch, I start with the electric element off and use my propane burner to heat the main pot with 7.5 gallons of water to a little over 150 degrees (in this case 154) with my re-circulation pump running. The 2 gallon external HERMs pot has about 1.5 gallons of isolated water in it around the HERMS coil. The re-circulation pump ensures the external HERMS water heats up simultaneously with the main pot through the heat exchanger coil (reverse of its normal operation).
At this point, I shut off the propane entirely and start the RaspberryPI and electric heating element to take over. You can see the element load immediately rise to 100% and the measured inline temperature drops 1.5 degrees from 154 to 152.5. Because my temp reading is coming off the exit of the HERMS coil, this is the cooling effect from the differential of the 2 gallon pot water as we were initially transferring heat in reverse. From the 60 second mark on you can see the temps stabilize and begin to rise.
Within about 3.5 minutes, the load begins reducing in advance of the desired target temperature to prevent overshooting.
By 6 minutes I have reached the target temp smoothly and the load normalizes to a steady working load of 30%.
I usually wrap my 12 gallon stainless pot in an insulator when mashing but this time i did not as there was a gusty cold wind outside and i wanted to see how well this system could manage the temps. As you can see the wind had hardly any affect over the systems ability to maintain target temp. While I did crest the target temp of 156 degrees to 156.5 degrees for a moment initially, I not only find this acceptable but also a non issue as you can customize your ramp up to completely eliminate this in the RasPiBrew software.
When the mash is complete, I pull my stailness basket, drain, turn on the propane and begin my boil.

The hardware:
- RaspberryPi 3 Model B with 2amp power supply
- 800x600 HDMI/USB Touchscreen
- A Solid State Relay to control the 1500 watt heating element
- Two small AV relates to control 2 outlest for the pumps(s)
-DS18B20 temp probe
- 12 Gallon pot with a stainless steel basket
- 2 gallon pot with 1500 watt heating element in bottom
- Ext Herms made from 10ft of 1/2" copper tubing
- Pondmaster model 3 pump now, it is being replaced by a SS Chugger
- Duda 40 plate counter flow chiller
The Software:
- Runs Raspbian OS for a full PC user experience including video/music play during brew and its FREE
- Open source RasPiBrew software is FREE for personal use and drives my entire setup with not one line of code written, only config files.
Wort flows from the 12 gallon pot out the bottom, down to a pump to self prime, and up to a 2 way valve. The first path of the 2 way valve flows into the External herms copper coil submerged in the 2 gallon pot. The water in the 2 gallon pot is heated by a 1500 watt water heater element. The Solid the solid state relay controls the voltage, ramping and duty cycle to the heating element by the RaspberriPi controller. The wort then travels out of the coil back down to the top of the 12 gallon po,t providing full temperature controlled re-circulation. The second path of the 2 way valve flows to the Duda counter flow chiller and directly into a fermenter.
In this last image you can see the two plotting graphs on the performance of the system and how it anticipates the temp so as not to overshoot. For a 5 gallon batch, I start with the electric element off and use my propane burner to heat the main pot with 7.5 gallons of water to a little over 150 degrees (in this case 154) with my re-circulation pump running. The 2 gallon external HERMs pot has about 1.5 gallons of isolated water in it around the HERMS coil. The re-circulation pump ensures the external HERMS water heats up simultaneously with the main pot through the heat exchanger coil (reverse of its normal operation).
At this point, I shut off the propane entirely and start the RaspberryPI and electric heating element to take over. You can see the element load immediately rise to 100% and the measured inline temperature drops 1.5 degrees from 154 to 152.5. Because my temp reading is coming off the exit of the HERMS coil, this is the cooling effect from the differential of the 2 gallon pot water as we were initially transferring heat in reverse. From the 60 second mark on you can see the temps stabilize and begin to rise.
Within about 3.5 minutes, the load begins reducing in advance of the desired target temperature to prevent overshooting.
By 6 minutes I have reached the target temp smoothly and the load normalizes to a steady working load of 30%.
I usually wrap my 12 gallon stainless pot in an insulator when mashing but this time i did not as there was a gusty cold wind outside and i wanted to see how well this system could manage the temps. As you can see the wind had hardly any affect over the systems ability to maintain target temp. While I did crest the target temp of 156 degrees to 156.5 degrees for a moment initially, I not only find this acceptable but also a non issue as you can customize your ramp up to completely eliminate this in the RasPiBrew software.
When the mash is complete, I pull my stailness basket, drain, turn on the propane and begin my boil.

