Bensiff
Well-Known Member
- Joined
- Mar 13, 2008
- Messages
- 4,835
- Reaction score
- 413
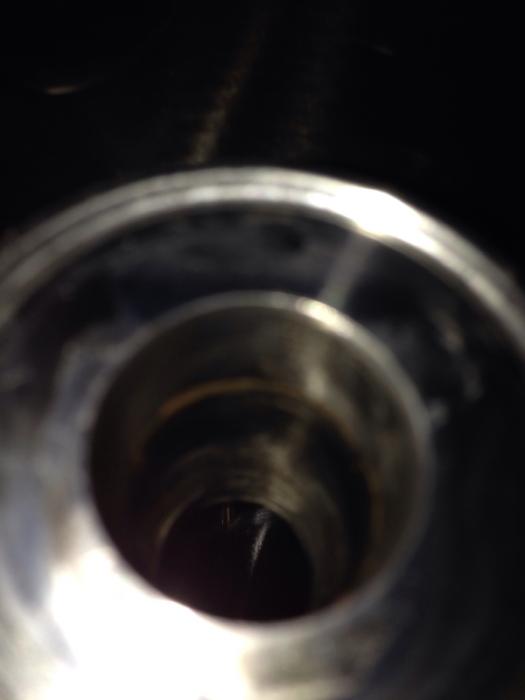
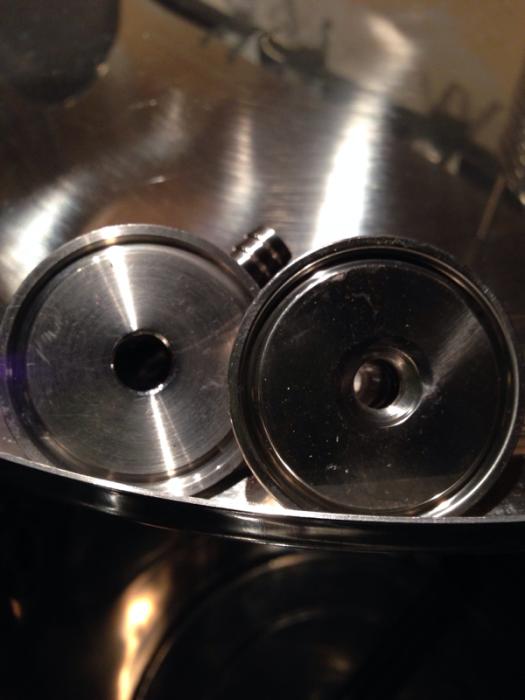
orangehero said:What's wrong with exposing pre-boil wort to threads? The only benefit of homebrew triclover on wort-making equipment is that it's relatively easy to clean. The typical chinese fittings are far from being sanitary level finish, homebrew pumps aren't sanitary, silicone tubing isn't sanitary. Blichmann uses a stainless steel float on the end of the silicone tubing for their sparge device. I think you can special order just the float through a LHBS that carries Blichmann gear. One of those silicone foam stoppers might work too. You should avoid recirculating wort through a sparge arm, it's going to cause a lot of shear stress and aeration.
Easy to clean is no small matter IMO, ripping apart equipment and getting into those threads is a major PIA. Above that they make it easy to switch hoses around and easy to keep uniformity of fittings. As far as them being truly sanitary, probably most microbreweries suffer the same issue of quality. However IME it doesn't matter much, its pretty hard to get an infection that will ruin a beer.


![Craft A Brew - Safale S-04 Dry Yeast - Fermentis - English Ale Dry Yeast - For English and American Ales and Hard Apple Ciders - Ingredients for Home Brewing - Beer Making Supplies - [1 Pack]](https://m.media-amazon.com/images/I/41fVGNh6JfL._SL500_.jpg)