• Please visit and share your knowledge at our sister communities:
  • If you have not, please join our official Homebrewing Facebook Group!

    Homebrewing Facebook Group

My Hopstopper V2 - On Gas - Implementation

Homebrew Talk

Help Support Homebrew Talk:

This site may earn a commission from merchant affiliate links, including eBay, Amazon, and others.
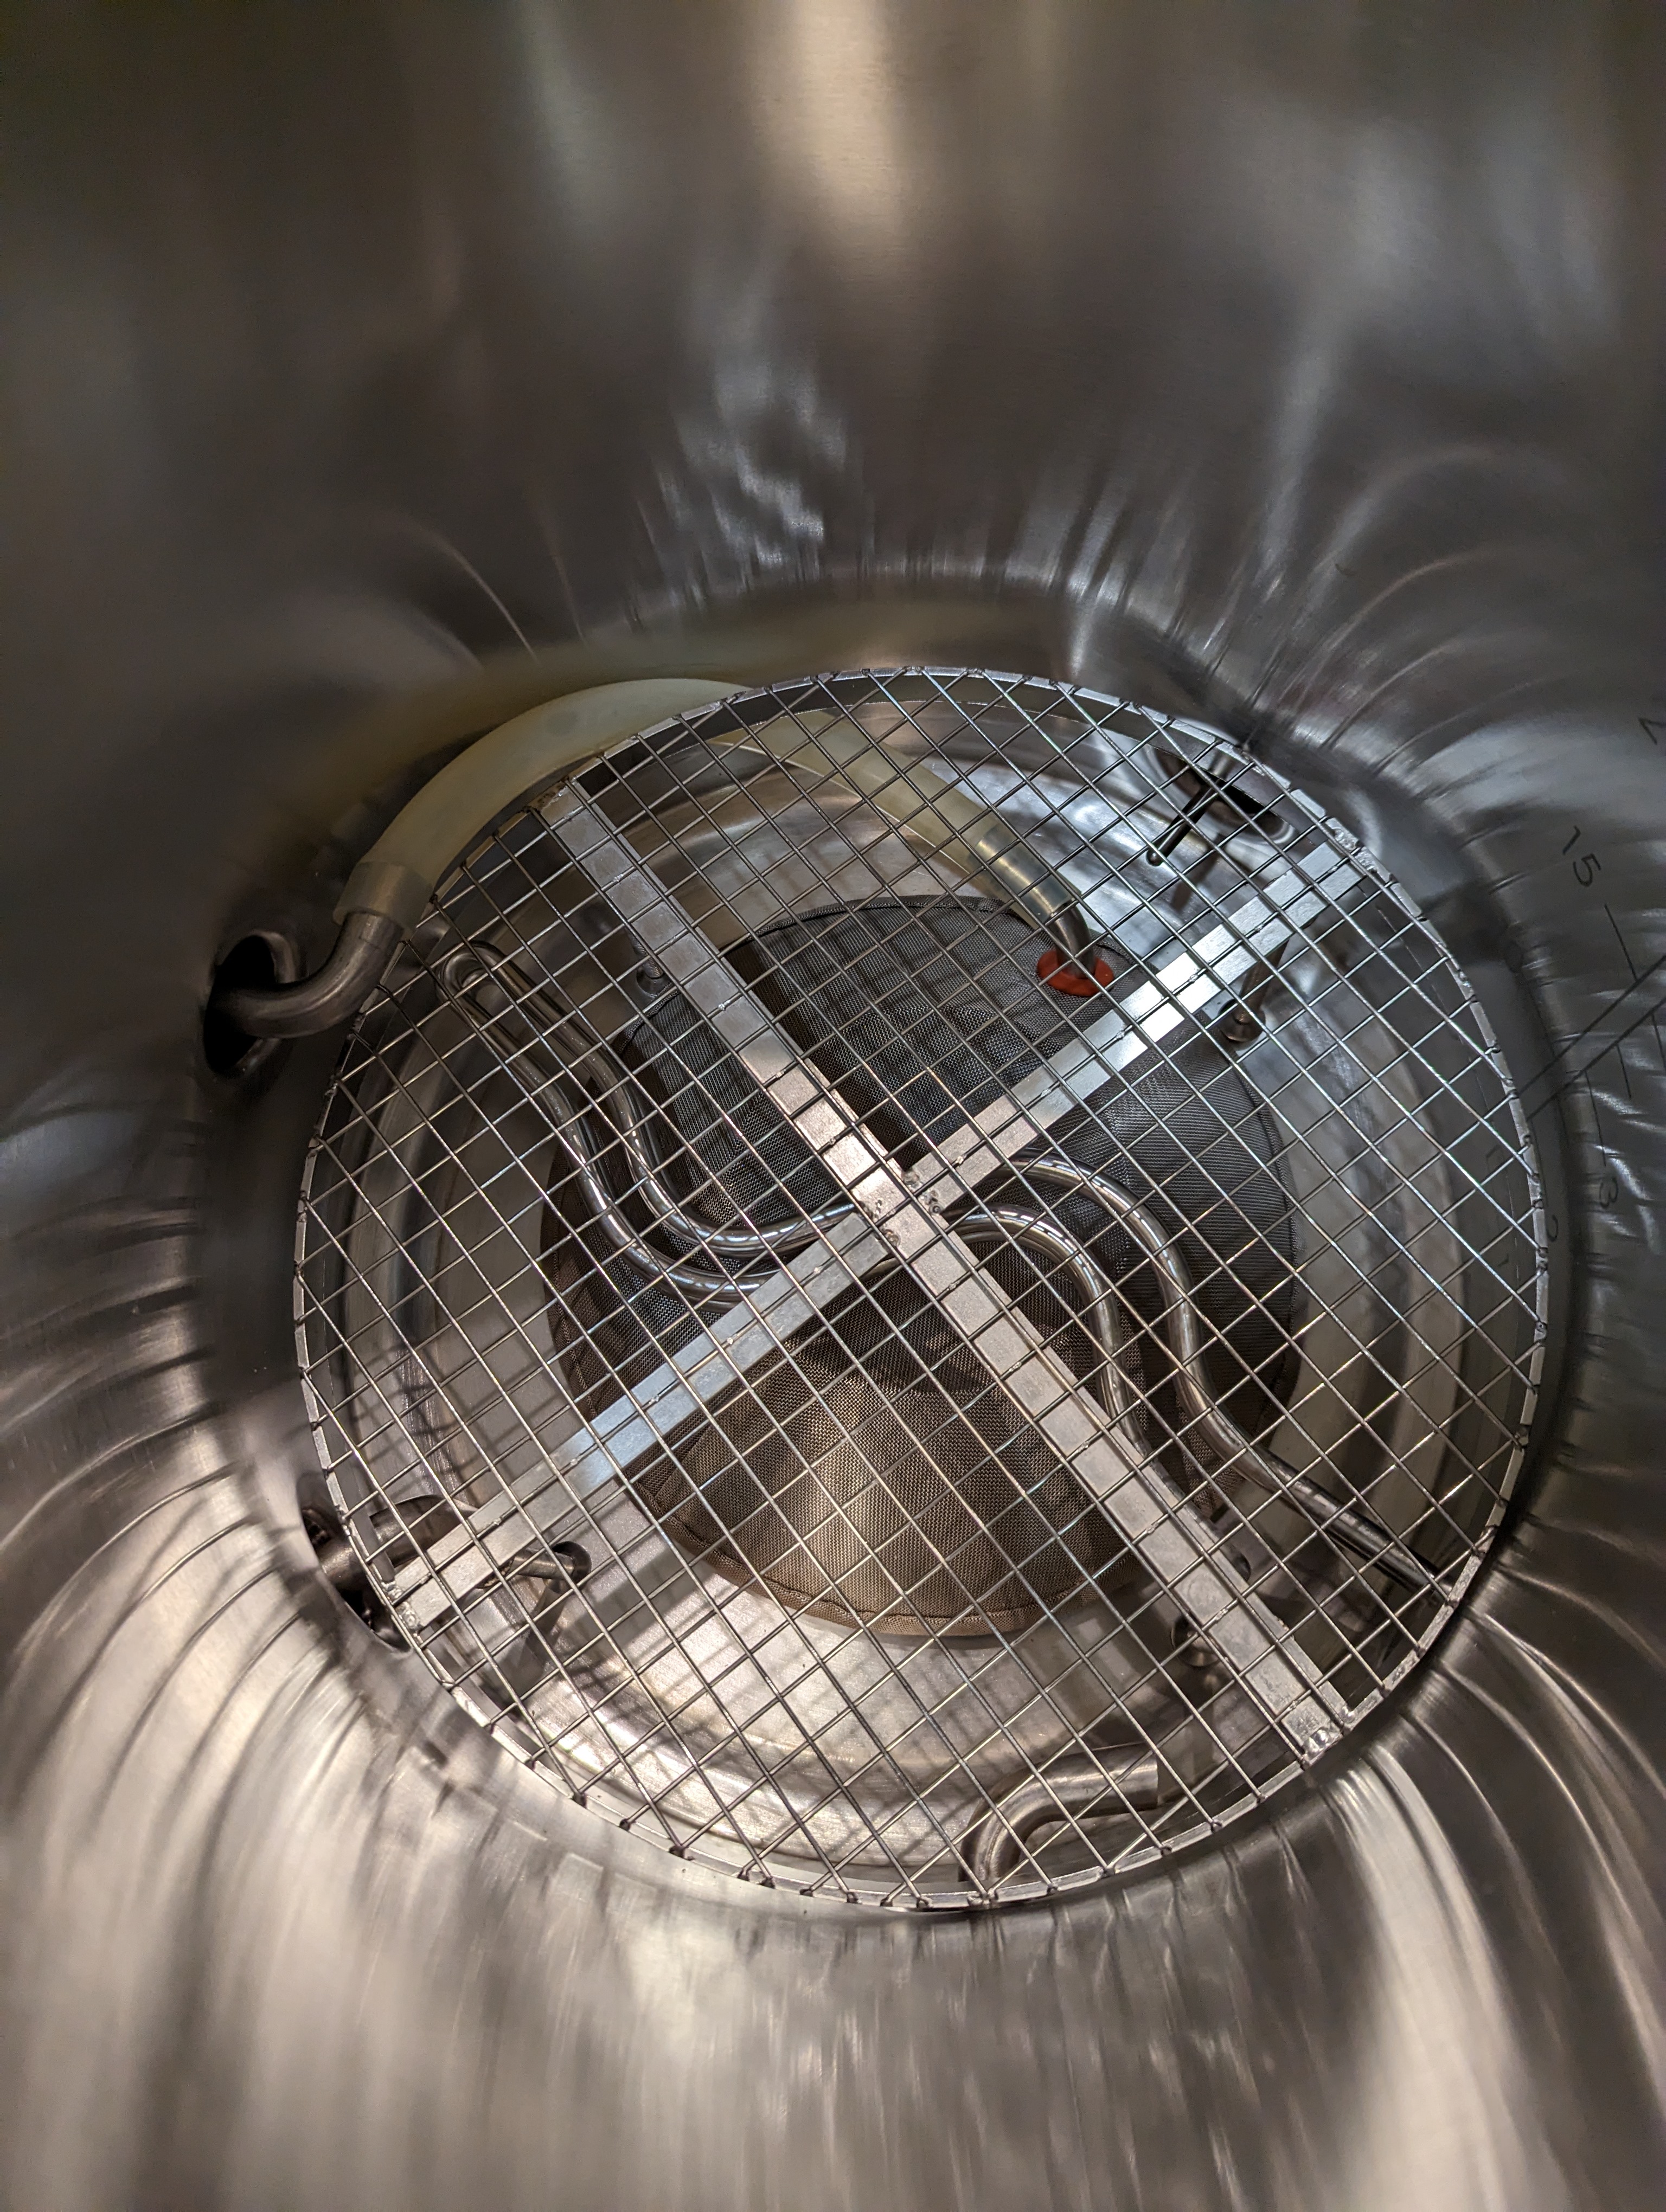
If you visit The Electric Brewery's Hopstopper V2 page they actually kind of feature "you don't have to let the wort settle anymore".

fwiw, what I've been doing: chill via IC with recirculation pump running, when the wort hits pitching temperature pull the IC, and leave the pump running for a minute. Then I shut the pump off, switch the pump input from the high flow port to the Hopstopper port, drop the Hopstopper (you don't need that step obviously :)), then start the 1 gpm runoff to the carboys. So, not setting any real time aside for settling...

Cheers!
 
Another successful outing for the Hopstopper! It's a keeper for sure :)

juicy_bits_7_13feb2021_03.jpg


This recipe uses the same amount of kettle hop pellets as the Julius batch prior - 10 ounces - and using the same "high hop" equipment profile that nailed the fermentor volume worked for this brew as well, so I'm feeling confident about my workaround for BS3's lack of hop loss accounting...

Cheers!
 
That's impressive. Can't wait to receve and use mine. I probably typically leave 3-4 quarts of wort/trub in the kettle after transferring 9 gal to the fermenter. Looking forward to a considerable yield improvement,
 
Thanks for sharing this! I recently upgraded my kettle and it came with two bazooka screens , one short and one long. I didn't see you mention them on this particular forum, so I thought I would ask about them.

I don't like using my hop spider or a hop sock for the same reasons you already pointed out, but since I used a fine-mesh stainless chinois from my cheffing days to filter cooled wort from kettle to fermentor it didn't matter that I had a ton of gunk. However, I just swapped out my IC for a really good plate chiller and pump assembly. It changes my brewing process a lot; I can whirlpool among other things. But now I have to be more in control of what leaves the kettle, as I can't plug up the plate chiller.

If you have used bazooka screens, did they work at all or is the hop blocker v2 just so much better?
 
If you have used bazooka screens, did they work at all or is the hop blocker v2 just so much better?
So...I used a bazooka screen for some 70+ batches in my 8-gal BK and it did a nice job (for the most part).

This year, I was finally able to graduate to my Keggle as a BK. It just so happened that @day_trippr started this thread as I was investigating how I wanted to hold back the trub.

Well, I saw the results and decided to swan dive into the pool. I’m only 2 batches in, but yes, it’s a noticeable difference in holding back the particulates....but as with all things Homebrew DIY, it’s nothing that 2 Franklins can’t solve.

Now...is it worth it? That’s your decision. In the end, what Charlie says, still holds true. RDWHAHB.
 
fwiw, I have zero experience with bazooka or similar tubular lautering screens. Just spiders, and the two versions of Hopstoppers, with V1 being a tragic purchasing mistake ;) but V2 being as close to lautering nirvana as I have gotten :D

Cheers!
 
Well, I finally brewed for the 1st time since I bought the Hopstopper ~2 months ago. Unfortunately, I had 2 significant failures. I stated earlier that I electric brew with induction, but didn't mention that it is BIAB also. I should have been clued in when I heard boiling action when beginning to heat the wort after mashing when the mash temp was barely elevated. I figured there was some localize heating, but didn't think about scorching, having never experienced it. Needless to say, the Hopstopper on the bottom of the kettle results in significant scorching with induction, which is pretty obvious in retrospect. Therefore, it looks like I'll have to be installing the modifications you guys have made for gas brewing. The space on the sidewall of the kettle during mash will restrict the area for the bag, but probably no more than the "false bottom" needed to keep the mash weight in the bag from crushing the Hopstopper.

The beer was a WC IPA with 12oz of late addition loose hops for the HS to filter. I've decided to go forward with the beer in spite of the scorching. I couldn't detect anything in tasting the wort, but I'll taste again before dry hopping. So, the large amount of hops led to the 2nd failure. I had "calibrated" and marked the position of the ball valve for 1 GPM flow ~6 weeks ago, but was slightly confused about how to interpret my mark since it had been awhile. When I started the pump, the flow definitely seemed too high. Instead of just shutting the pump off and readjusting the valve, I adjusted it on the fly and very briefly increased instead of decreasing flow. I quickly adjusted, but the damage was done. It was pretty evident that I had pancaked the HS2. The flow eventually dropped to a trickle, at which time I decide to stop draining, insert a sanitized gloved hand into the wort and remove the HS2 and dip tube. I cleaned the HS2 and attempted to restore its shape before soaking the assembly in Starsan and reconnecting and resuming draining. 20 minutes later and the flow basically stopped again, with 5 of 10 gallons in the fermenter. I finally decide to bypass the HS2 for the remaining wort. Even with this, the amount of trub into the fermenter was maybe 1/2 or 1/3 what I previously have gotten. I'm looking forward to using it correctly in the future.

So this beer has scorching and a risk of infection. I hope that sharing my boneheaded brew day will help the rest of you avoid my mistakes. I will look into trying to add some short pieces of stainless tubing to act as "tent poles" inside the Hopstopper to prevent pancaking. This seems like something that could be added pretty easily to the design initially.
 
Woof. Man, that had to be a tough day. Hopefully your beer survived - I will say the one time I rested my 6"d hop spider on my BK bottom during the boil and caused a deep matching scorch, nobody ever noticed a burnt note in the beer - including me (which, to be honest, surprised the heck out of me). So there's some hope this won't be a harsh experience.

I have zero experience with induction cooking, but it makes sense that the same localized over-heating could occur under the HS2 as I expected with gas. Hopefully you can come up with a similar method as I did that won't get hung up in your mesh bag. That's an aspect I had never considered...

I'll take this opportunity to add to my own story to date: I did two 10 gallon neipas this week and the HS2 worked admirably, and now that I have tweaked my BS3 equipment profile I've been consistently hitting the desired volumes and ending up with 10 gallons +/- a few ounces in the kegs every batch. I will say the lautering through the HS2 is a bit tedious - taking a little over 11 minutes to fill my carboys - but I learned patience is truly a virtue in such things long ago :D

Cheers!
 
I really appreciate you taking the time to share this build. I have been experimenting with both a spider (no free hops) and a bazooka screen (free hops). So far, the bazooka works the best (labor-wise), but I imagine that the hop blocker would work better based upon what I have already learned from your experience. If you would be so kind, I have one more question/observation.

When you drop the hop blocker, it is going to trap some trub under it. If you then start the whirlpool for your cooling, is it then being pumped out from under the hop blocker into the rest of the boil kettle? While it is whirlpooling, is it actually pre-filtering the wort, in a sense, because the hop blocker is acting as a filter during the whirlpool process?

I'm just trying to wrap my head around the process.
 
Thanks for your comments, I appreciate them :)

So, here's the trick: I do not drop the Hopstopper from its hook until the post-boil whirlpool has completed and the wort has been chilled to pitching temperature. While whirlpooling and then chilling I recirculate through the second drain valve I installed - the one with a simple dip tube inside. Meanwhile the Hopstopper is on the original drain valve and still hanging from its hook. This is how I avoid loading up the Hopstopper while I'm whirlpooling and chilling :)

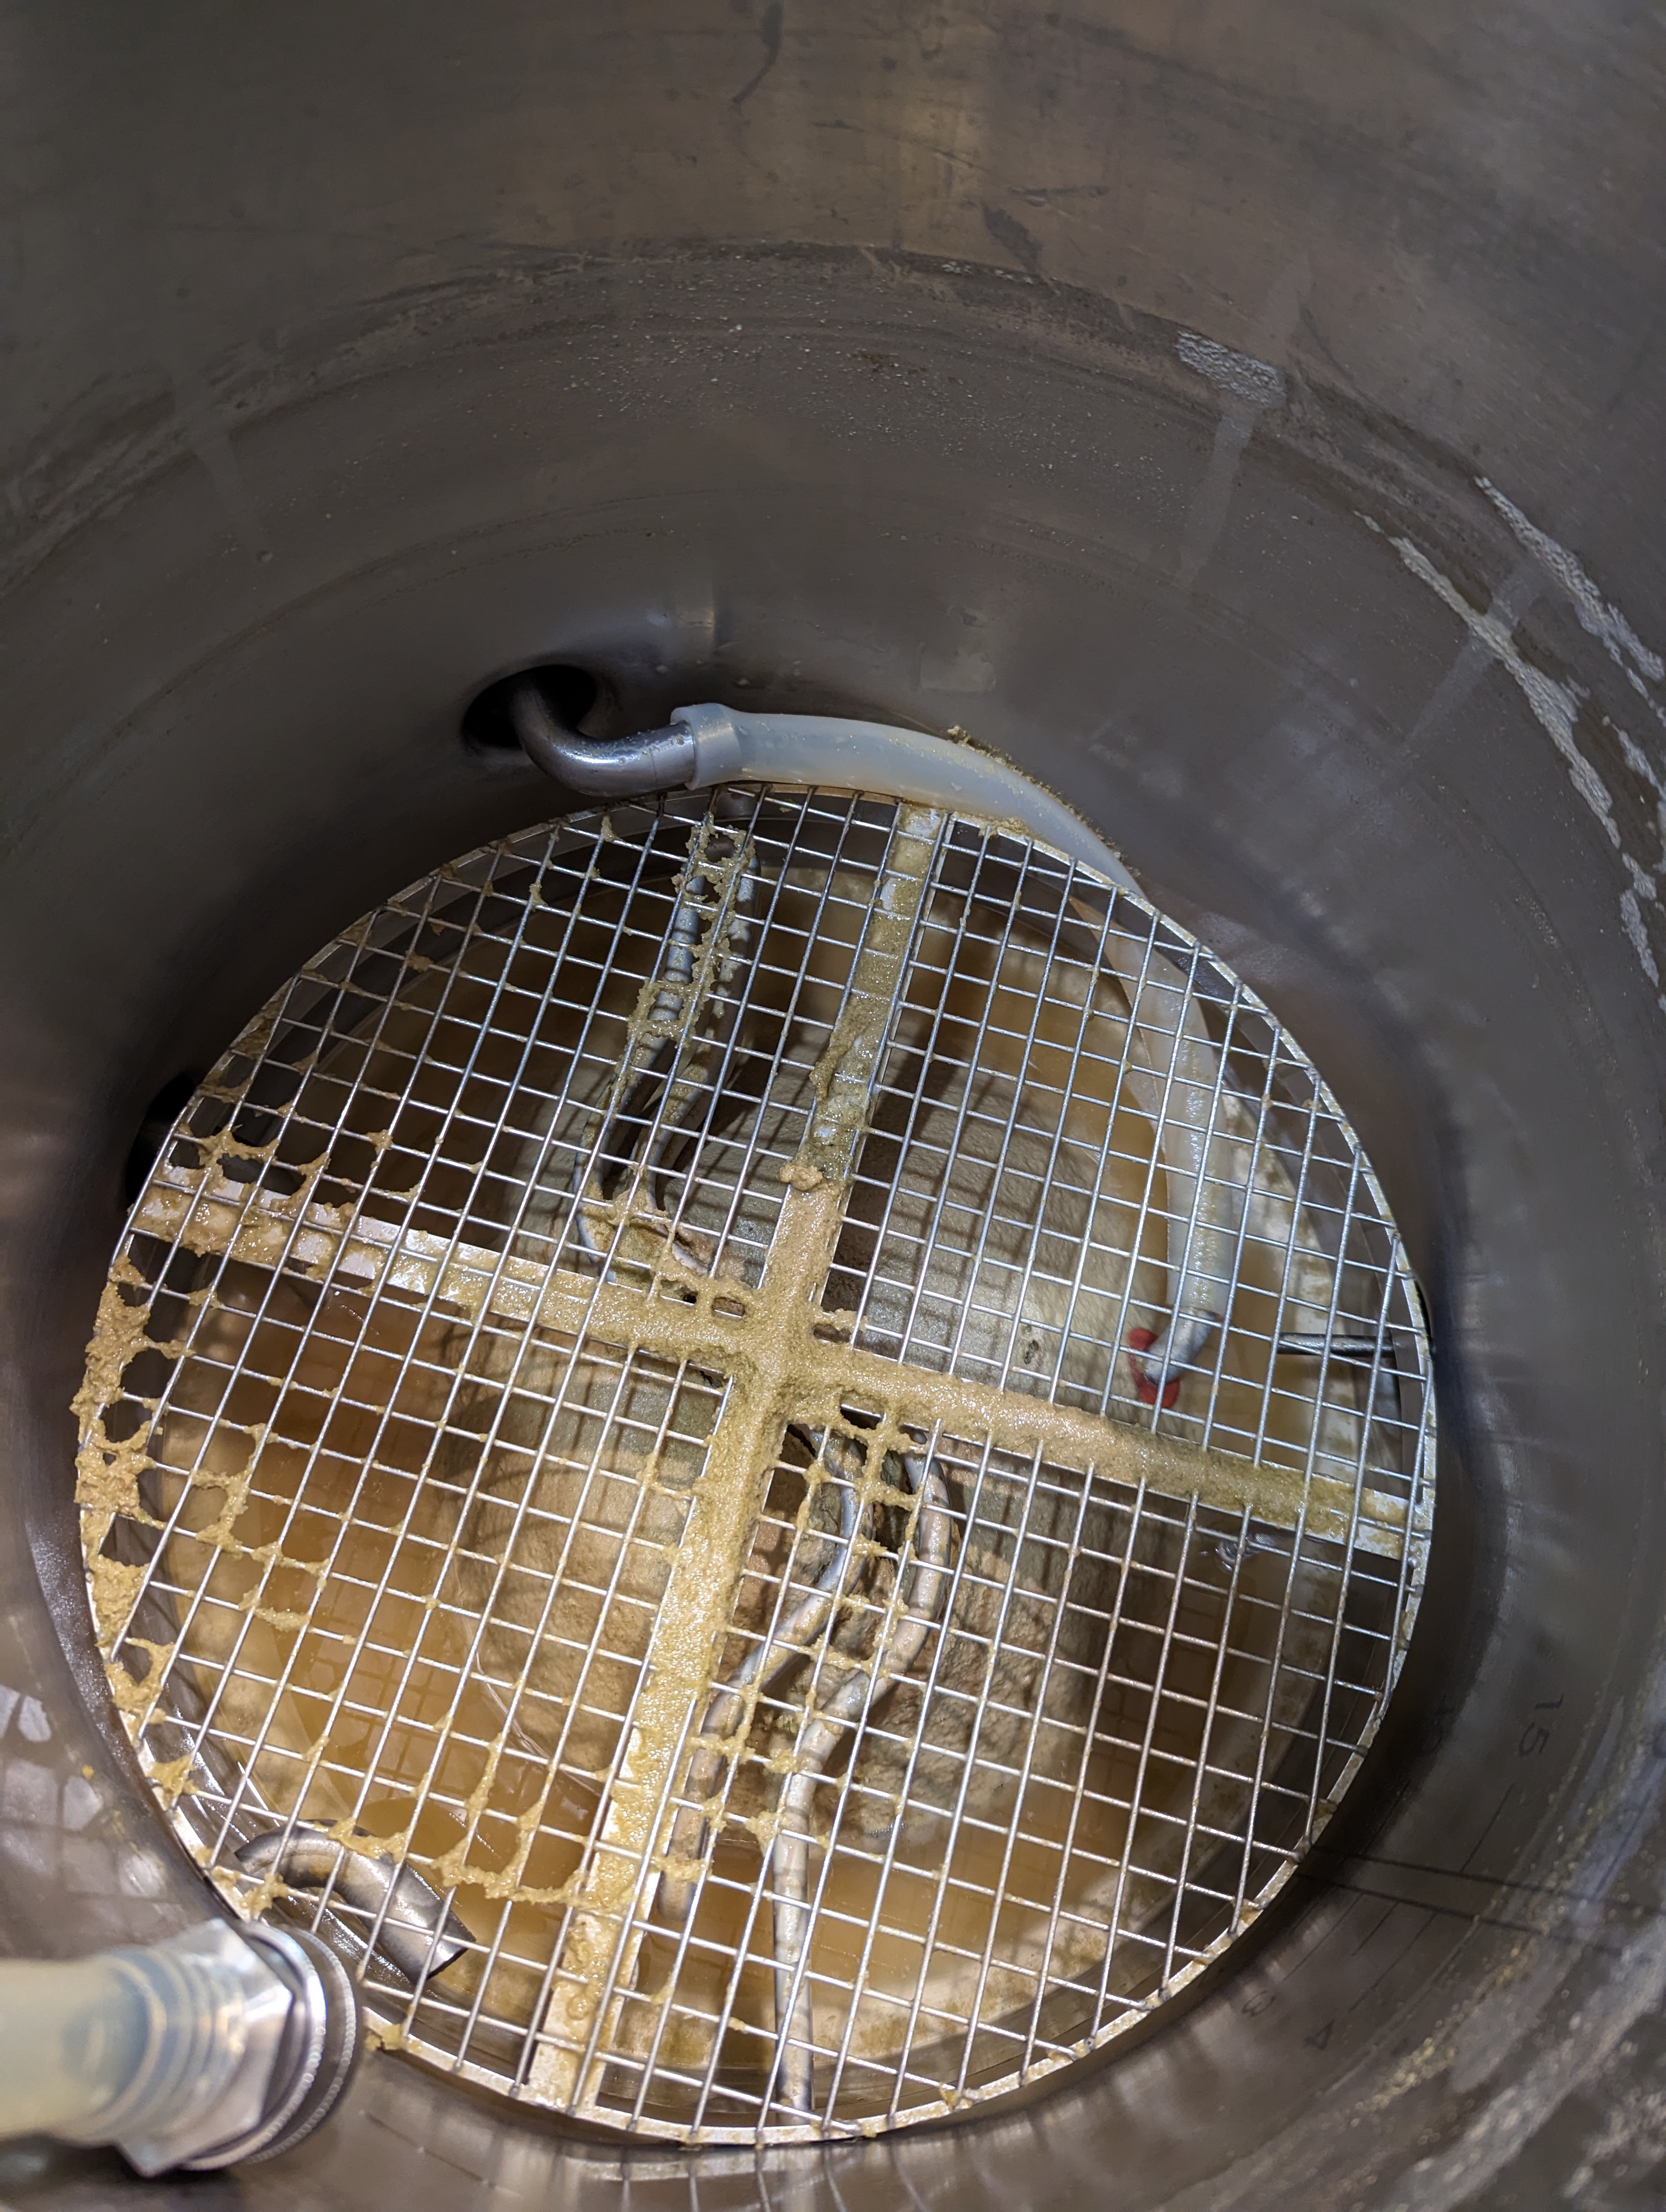
Once the wort is chilled down and ready to pump to my carboys I move the kettle drain tubing to the valve with the Hopstopper, then drop the Hopstopper. I do not wait, nor do I hurry, after stopping the pump. I'm not sure it would matter. Then - very carefully - I start up the kettle pump again and bring the flow rate up to a gallon per minute. I'll put a gallon in one carboy, switch to the other and put two gallons in, then alternate between carboys at 2 gallons per interval, until they're both filed and the kettle has been sucked dry, leaving a super thick hop mass behind.

As I said I don't wait nor hurry to drop the Hopstopper, I usually get it dropped within a minute of shutting down the boil pump. One thing I've noticed is the tip of the dip tube inside always seems to find the bottom so even if there is some thickness to the hops under the mesh it doesn't really seem to matter...

Cheers!
 
Thanks for your comments, I appreciate them :)
So, here's the trick:
<truncated>
Cheers!

I do appreciate your sharing of your knowledge. I asked about the pre-filter/whirlpool filter aspect because I don't want to clog up the plate chiller with hops and trub. Since I am throttling the pump way back to allow for 70F groundwater to cool the wort anyway, I wonder if this would work without putting too much pressure on the mesh; both during a hop-loaded whirlpool and before cooling on the way to the fermenter. Destroying a Franklin is not on my to-do list.
 
Ah, ok, I get it. Definitely a more challenging process that I have specifically avoided: I actually have a Duda Diesel 30 plate 12" chiller on my brew rig but since the NEIPA has dominated my brewing over the last three years now I have been mostly using my SS IC instead. So, you'd be the point person trying the technique of using the Hopstopper to protect a PC. In that regard all I can advise is to respect the 1 GPM constraint. And let us know how it goes :)

Cheers! (and good luck!)
 
Any thoughts on how I can incorporate a hopstopper into my all in one spike kettle? My process right now is to use my spike kettle for the mash and boil. At the end of boil I transfer the wort over to my anvil foundry with a hopstopper installed. I'd love one less thing to clean, remove the foundry from my process, and have the hopstopper in the spike kettle.

My spike kettle has 4 tc ports at the lowest height (thermocouple, 240v element, dip tube pointing down, and dip tube pointing sideways). There's a capped tc port slightly higher than the lowest ports that used to be used for whirlpooling. Because I use a false bottom with a brew bag, the capped wp port is challenging to use as it sits above the false bottom. In addition, I split the recirculation below the bag and top of bag during the mash for temperature stability. Unfortunately the hopstopper doesn't slide under the element so it must be installed before the element.

Any ideas would be welcome!
 

Attachments

  • PXL_20230224_235228590.MP.jpg
    PXL_20230224_235228590.MP.jpg
    5 MB
Sorry, I missed your post until now (happened to visit after linking this page elsewhere).

That setup is a bit of a tough nut to crack, not enough space under the element is clearly the killer as the filter needs to reach the kettle bottom, and obviously the screen and bag of malt alone preclude a solution like mine :)

However the Electric Brewery sells Hop Stoppers of varying geometries and can even do custom designs to fit tight situations like yours. Might be worth a look...

Cheers! (and good luck)
 
Any thoughts on how I can incorporate a hopstopper into my all in one spike kettle? My process right now is to use my spike kettle for the mash and boil. At the end of boil I transfer the wort over to my anvil foundry with a hopstopper installed. I'd love one less thing to clean, remove the foundry from my process, and have the hopstopper in the spike kettle.

My spike kettle has 4 tc ports at the lowest height (thermocouple, 240v element, dip tube pointing down, and dip tube pointing sideways). There's a capped tc port slightly higher than the lowest ports that used to be used for whirlpooling. Because I use a false bottom with a brew bag, the capped wp port is challenging to use as it sits above the false bottom. In addition, I split the recirculation below the bag and top of bag during the mash for temperature stability. Unfortunately the hopstopper doesn't slide under the element so it must be installed before the element.

Any ideas would be welcome!

Complex, let me see if I understand your dilemma. You recirc below (and above) during the mash. So you don't want to do that with the hopstopper in place on the outlet diptube tube (pickup)? The capped port right above the false bottom is challenging to use. In general(?) or just for the hopstopper (?) or both? It seems like you said you could get the hopstopper in place underneath by installing it before putting in the element.

I see a possible solution that permits different options. Install another dip tube in the challenging port that extends below the false bottom, through the screening. It could be a whirlpool port. It could be a tall dip tube that reaches the hopstopper. It could be a pickup tube. If your hopstopper actually fits, best profile for the new diptube would be as a pickup tube straightd down if your other ports allow connection to the hopstopper. If you were using the new diptube as a tall 90 to hit the hopstopper, you would want to be sure that you cut the end near the bottom as recommended because I think your bag would exert pressure on the tube and squish it against the flat bottom.

I am not sure how it might work or look with TC, but a 90 inside the kettle cocked at 45° followed by a 45 could get a whirlpool tube down and then horizontal.

Also, if you hadn't thought of it, you can flip your element over to put the curves on opposite sides if that might be advantageous.

Or longer legs on your false bottom if that might work since you are recirculating in two places.
 
Complex, let me see if I understand your dilemma. You recirc below (and above) during the mash. So you don't want to do that with the hopstopper in place on the outlet diptube tube (pickup)? The capped port right above the false bottom is challenging to use. In general(?) or just for the hopstopper (?) or both? It seems like you said you could get the hopstopper in place underneath by installing it before putting in the element.
Yup you got that right. Either diptube under the false bottom poses problems... Put it on the pickup and the mash particles will clog the hopstopper. Put it on the whirlpool output and the hopstopper will clog in the other direction as well as having to face the diptube downwards instead of sideways.

The capped port above the false bottom is tough to use in general I think. Can't use it during the mash for much... A temp probe wouldn't work in that spot during the mash with the bag of grain resting against it. A diptube would be challenging to get something attached to it that fits through the false bottom. During the boil it could definitely be used for a whirlpool but that doesn't really help with my mash regime.

I see a possible solution that permits different options. Install another dip tube in the challenging port that extends below the false bottom, through the screening. It could be a whirlpool port. It could be a tall dip tube that reaches the hopstopper. It could be a pickup tube. If your hopstopper actually fits, best profile for the new diptube would be as a pickup tube straightd down if your other ports allow connection to the hopstopper. If you were using the new diptube as a tall 90 to hit the hopstopper, you would want to be sure that you cut the end near the bottom as recommended because I think your bag would exert pressure on the tube and squish it against the flat bottom.
I've thought about this too. The problem is the gap between the false bottom and the kettle wall is small. The holes in the false bottom are also small so I don't think anything is fitting through or around it. I suppose I could cut a groove on the outside of the false bottom to allow for a diptube to pass through.

The solution that I've come to if I ever do it is to move the temp probe out of the kettle and into a TC tee. That freed up port on the kettle could then have a diptube attached to the hopstopper.

I am not sure how it might work or look with TC, but a 90 inside the kettle cocked at 45° followed by a 45 could get a whirlpool tube down and then horizontal.

Also, if you hadn't thought of it, you can flip your element over to put the curves on opposite sides if that might be advantageous.

Or longer legs on your false bottom if that might work since you are recirculating in two places.

Thanks for your feedback on my predicament. Any other outside the box thinking is welcome!!
 
Yup you got that right. Either diptube under the false bottom poses problems... Put it on the pickup and the mash particles will clog the hopstopper. Put it on the whirlpool output and the hopstopper will clog in the other direction as well as having to face the diptube downwards instead of sideways.

The capped port above the false bottom is tough to use in general I think. Can't use it during the mash for much... A temp probe wouldn't work in that spot during the mash with the bag of grain resting against it. A diptube would be challenging to get something attached to it that fits through the false bottom. During the boil it could definitely be used for a whirlpool but that doesn't really help with my mash regime.


I've thought about this too. The problem is the gap between the false bottom and the kettle wall is small. The holes in the false bottom are also small so I don't think anything is fitting through or around it. I suppose I could cut a groove on the outside of the false bottom to allow for a diptube to pass through.

The solution that I've come to if I ever do it is to move the temp probe out of the kettle and into a TC tee. That freed up port on the kettle could then have a diptube attached to the hopstopper.


Thanks for your feedback on my predicament. Any other outside the box thinking is welcome!!
The temp probe would work fine on a tee on the out valve. It's where I have my temperature probe for my mash PID. I actually followed parts of @day_trippr 's setup here on my electric BK. I put a new valve port on and use that at the end of the boil to drain only through the hopstopper. I can get the hopstopper in place without removing the element. Dropping it in as he does would be challenging I would think but I wasn't worried about scorching so it has been positioned prior to BK transfer. My BK is a keggle.
 
Back
Top