• Please visit and share your knowledge at our sister communities:
  • If you have not, please join our official Homebrewing Facebook Group!

    Homebrewing Facebook Group

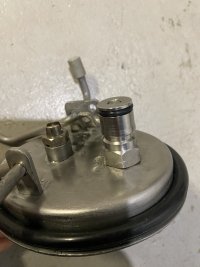
Modified corny keg lid with post no longer fitting

Homebrew Talk

Help Support Homebrew Talk:

This site may earn a commission from merchant affiliate links, including eBay, Amazon, and others.
This is deeply frustrating
This is well meant and please consider giving it a try:
On the surface it sounds like you're trying to re-invent the wheel. As per your previous thread; https://www.homebrewtalk.com/thread...-bending-or-using-a-floating-dip-tube.735221/ you were finally sold on using a floating diptube and also in that thread, @mac_1103 put you on to using fermentation gas to purge your kegs which you adopted...kudos!
What you seem not to have tried yet, is the well-tested and time-proven simple practice of taking your original liquid diptube out and putting it in storage, and using a floating diptube in the time-tested manner. You expressed concern about getting all the Star San out when purging with a floating diptube. As others and myself can attest: As long as your standard float ball silicone diptube is long enough to reach the bottom of the keg, you will purge the same as using the original steel diptube. Residual Star San is truly no big deal anyway but like many others it sounds like you are still uneasy with it so I propose you do yourself a big favour and pour a pint of beer and then pour about a half an ounce of Star San into it and drink it...this is less than the amount that will remain in the bottom of your keg no matter which diptube you purge out of. You won't notice it and there are no detrimental effects whatsoever.
Just try one batch with an ordinary lid and a floating diptube in place of the original steel one.
 
Seems like the guy who is always talking about his brain damage has a much better memory than I do. Or maybe just better search skills?
🤣
Thank You!!! You just made my week! :)
I don't wanna hijack this thread but just to respond: I hate mentioning the brain-damage but for most of my life I put safety first and with the limited working-memory, I too often miss something that should be obvious to a healthy brain so I include it as a kind of 'Warning Label' becuase hey; this is the internet and I'm just 'some guy on the internet who says "you can do this.." and I don't want people to mess up or hurt themselves on my potentially incomplete word. About 99.9% of my 'life' is in my home now, leaving only for groceries or absolutely necessary. This site is the whole of my 'social-media' and 95% of my social life. (after the injury I was gonna terminate myself so I 'disappeared' myself from my friends lives to cusion the blow..that never happened, but I still limit my contact because I know they are deeply depressed to see what has become of me but being a highly social animal, I have to socialize somewhere so I chose this site because it overlaps with recovering the lost skill-set as well as providing intellectual exercises to encourage axonal regrowth. On that note: Your above post is one of the very rare 'outside objective observations' that informs me that my chosen course is working and my memory is improving; Thank You so much!!!
:bigmug:
 
The length of a gas post dip tube that’s installed on a keg, 1.5” I guess. It doesn’t protrude beyond the internal thread at all - would work as a gas post as per option B in my original post.

The problem is confirmed as the height of the post from the surface of the lid, with it have a bushing ring adding to the height.

I couldn’t drill it any closer to the center as there’s a roughly 1mm deep ridge there that would interfere to properly tighten the nut against the o-ring. Almost Guaranteed it would leak if I put the hole there.
 
I’ve gone and bought one of these. I’ll report back either way. This is literally the only one of this kind I could find
 
This is well meant and please consider giving it a try:
On the surface it sounds like you're trying to re-invent the wheel. As per your previous thread; https://www.homebrewtalk.com/thread...-bending-or-using-a-floating-dip-tube.735221/ you were finally sold on using a floating diptube and also in that thread, @mac_1103 put you on to using fermentation gas to purge your kegs which you adopted...kudos!
What you seem not to have tried yet, is the well-tested and time-proven simple practice of taking your original liquid diptube out and putting it in storage, and using a floating diptube in the time-tested manner. You expressed concern about getting all the Star San out when purging with a floating diptube. As others and myself can attest: As long as your standard float ball silicone diptube is long enough to reach the bottom of the keg, you will purge the same as using the original steel diptube. Residual Star San is truly no big deal anyway but like many others it sounds like you are still uneasy with it so I propose you do yourself a big favour and pour a pint of beer and then pour about a half an ounce of Star San into it and drink it...this is less than the amount that will remain in the bottom of your keg no matter which diptube you purge out of. You won't notice it and there are no detrimental effects whatsoever.
Just try one batch with an ordinary lid and a floating diptube in place of the original steel one.
Yeah appreciate this, and you’re assumption based on your research of my forum activity is correct 🤣.

I guess the option of having the extra post just appealed to me. I like options.

I don’t brew often, usually quite a big investment in time and organisation with kids, busy life yada yada. It seems I try something new with each session/batch, and often this leads me down to overthinking my methods/system
 
So after digging through all my parts I remembered why I never did this.
1) Did not like all the threaded parts on the inside of the keg lid that could collect/harbor bacteria
2) As others stated it is easer to just replace the diptube and purge water/starsan through the floating dip tube.
But for testing purposes I drilled a old lid and tried to make this work.
using the post with the hex nuts that I mentioned above
you may want to try this one https://www.aliexpress.us/item/3256803614372007.html?
it seems to be a bit shorter.

1743889185569.jpeg1743889276672.jpeg
Note: the standard dip tube that came with the floating dip tube was not long enough to stick out of the threaded part inside the lid .
I was able to get it in the keg but like mac_1103 said
but I think the issue may be that you just needed to drill the hole closer to the center of the lid.
I bet it would have been easer if it was placed closer to the center as it would give the lid little bit extra room to drop down in the keg
1743889950652.jpeg
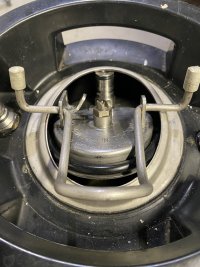
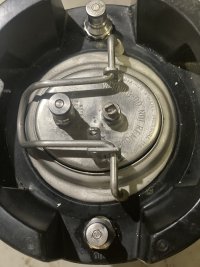
I had a hell of a time getting it to pull up and seat so I could lock the lid closed. After a bunch of fiddling and cursing 🤬 I did get it to close

1743890481007.jpeg
So you "could" get it to work with the hex nut type style post if you
1> were able to drill close to the center of the lid. (I know you said there’s a roughly 1mm deep ridge there), so it depends on the lid.
2> can get a longer dip tube (or cut one down) to stick out just enough to attach the hose
3)> don't mind having the threaded parts on the inside of the keg
4)> or
turn the lid post into your gas post (cut a dip tube short enough so that it doesn't protrude beyond the threads on the inside); then put the floating dip tube where the gas post used to be. If it works it gets you a keg with both rigid and floating dip tubes, which is what you wanted in the first place.
I may try swapping the gas line out but most likely I'll never use this setup. hope it helps some one else looking to try this
 
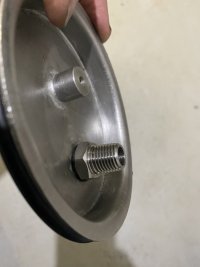
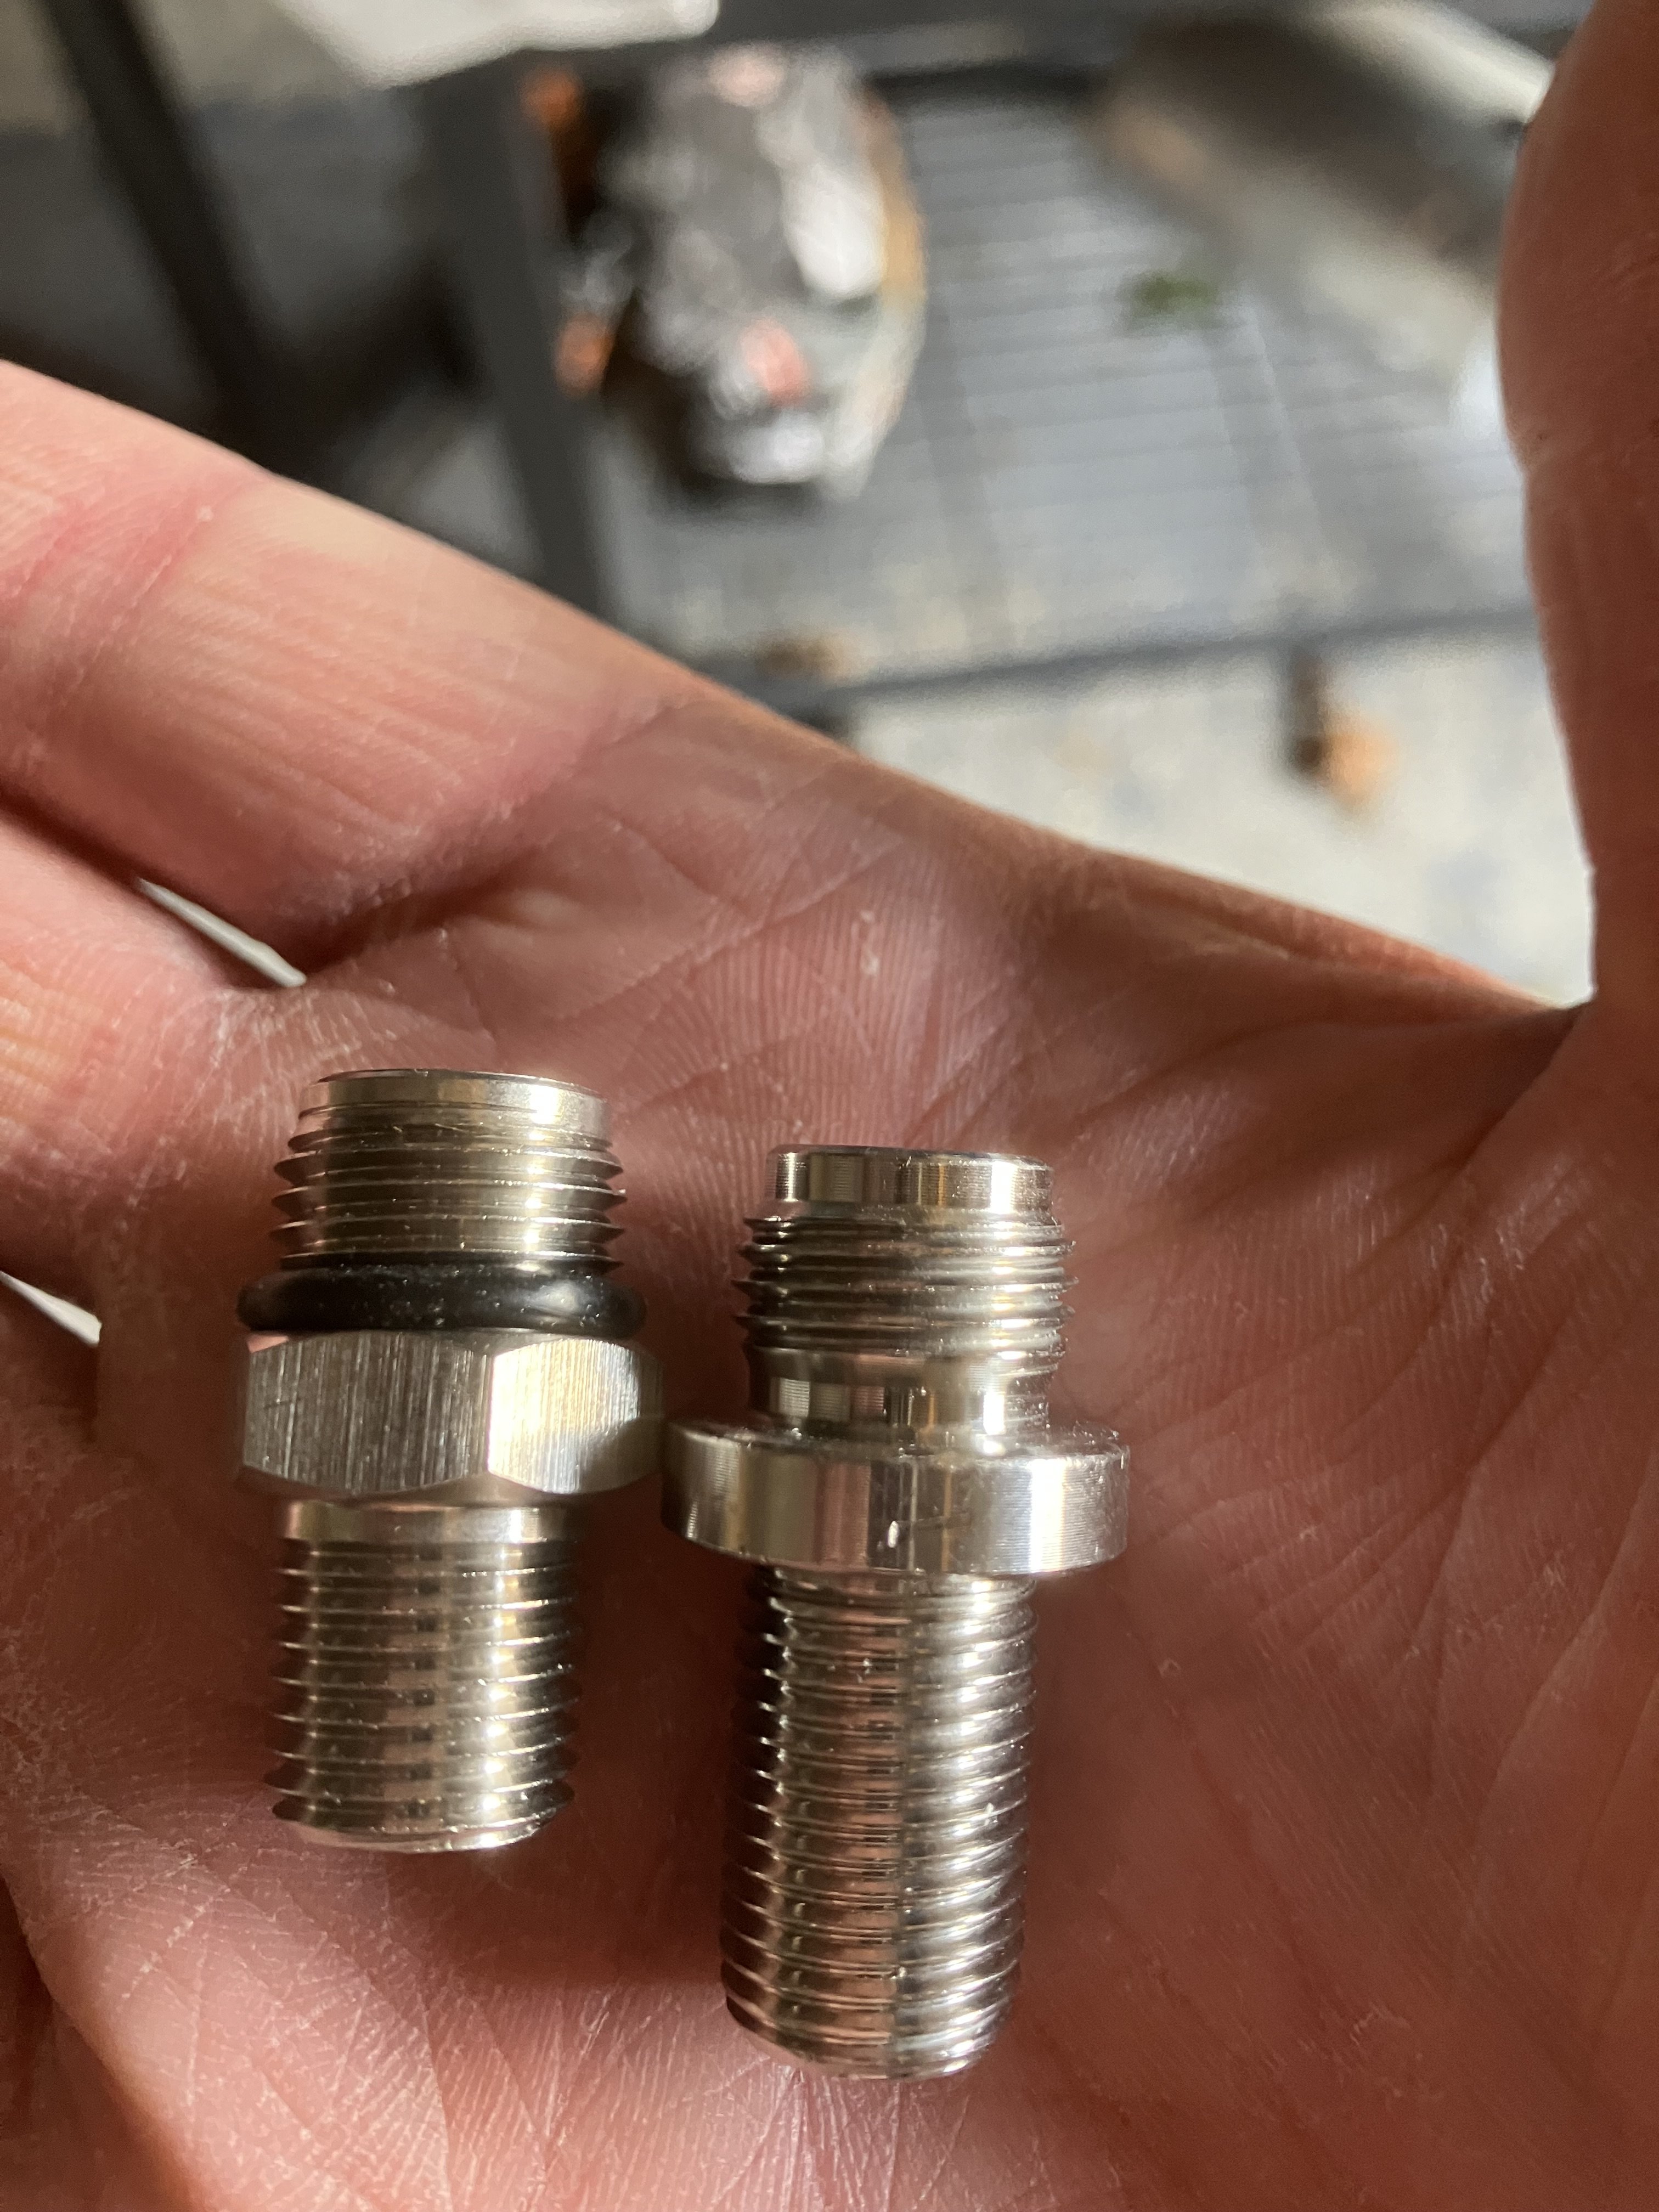
I got the shorter post, and it seems it’s still a no go as the thread on the hex nipple that came with this one (left) is ever so slightly larger in diameter than the hole I drilled for the first (right). ****.

IMG_1386.jpeg

IMG_1387.jpeg

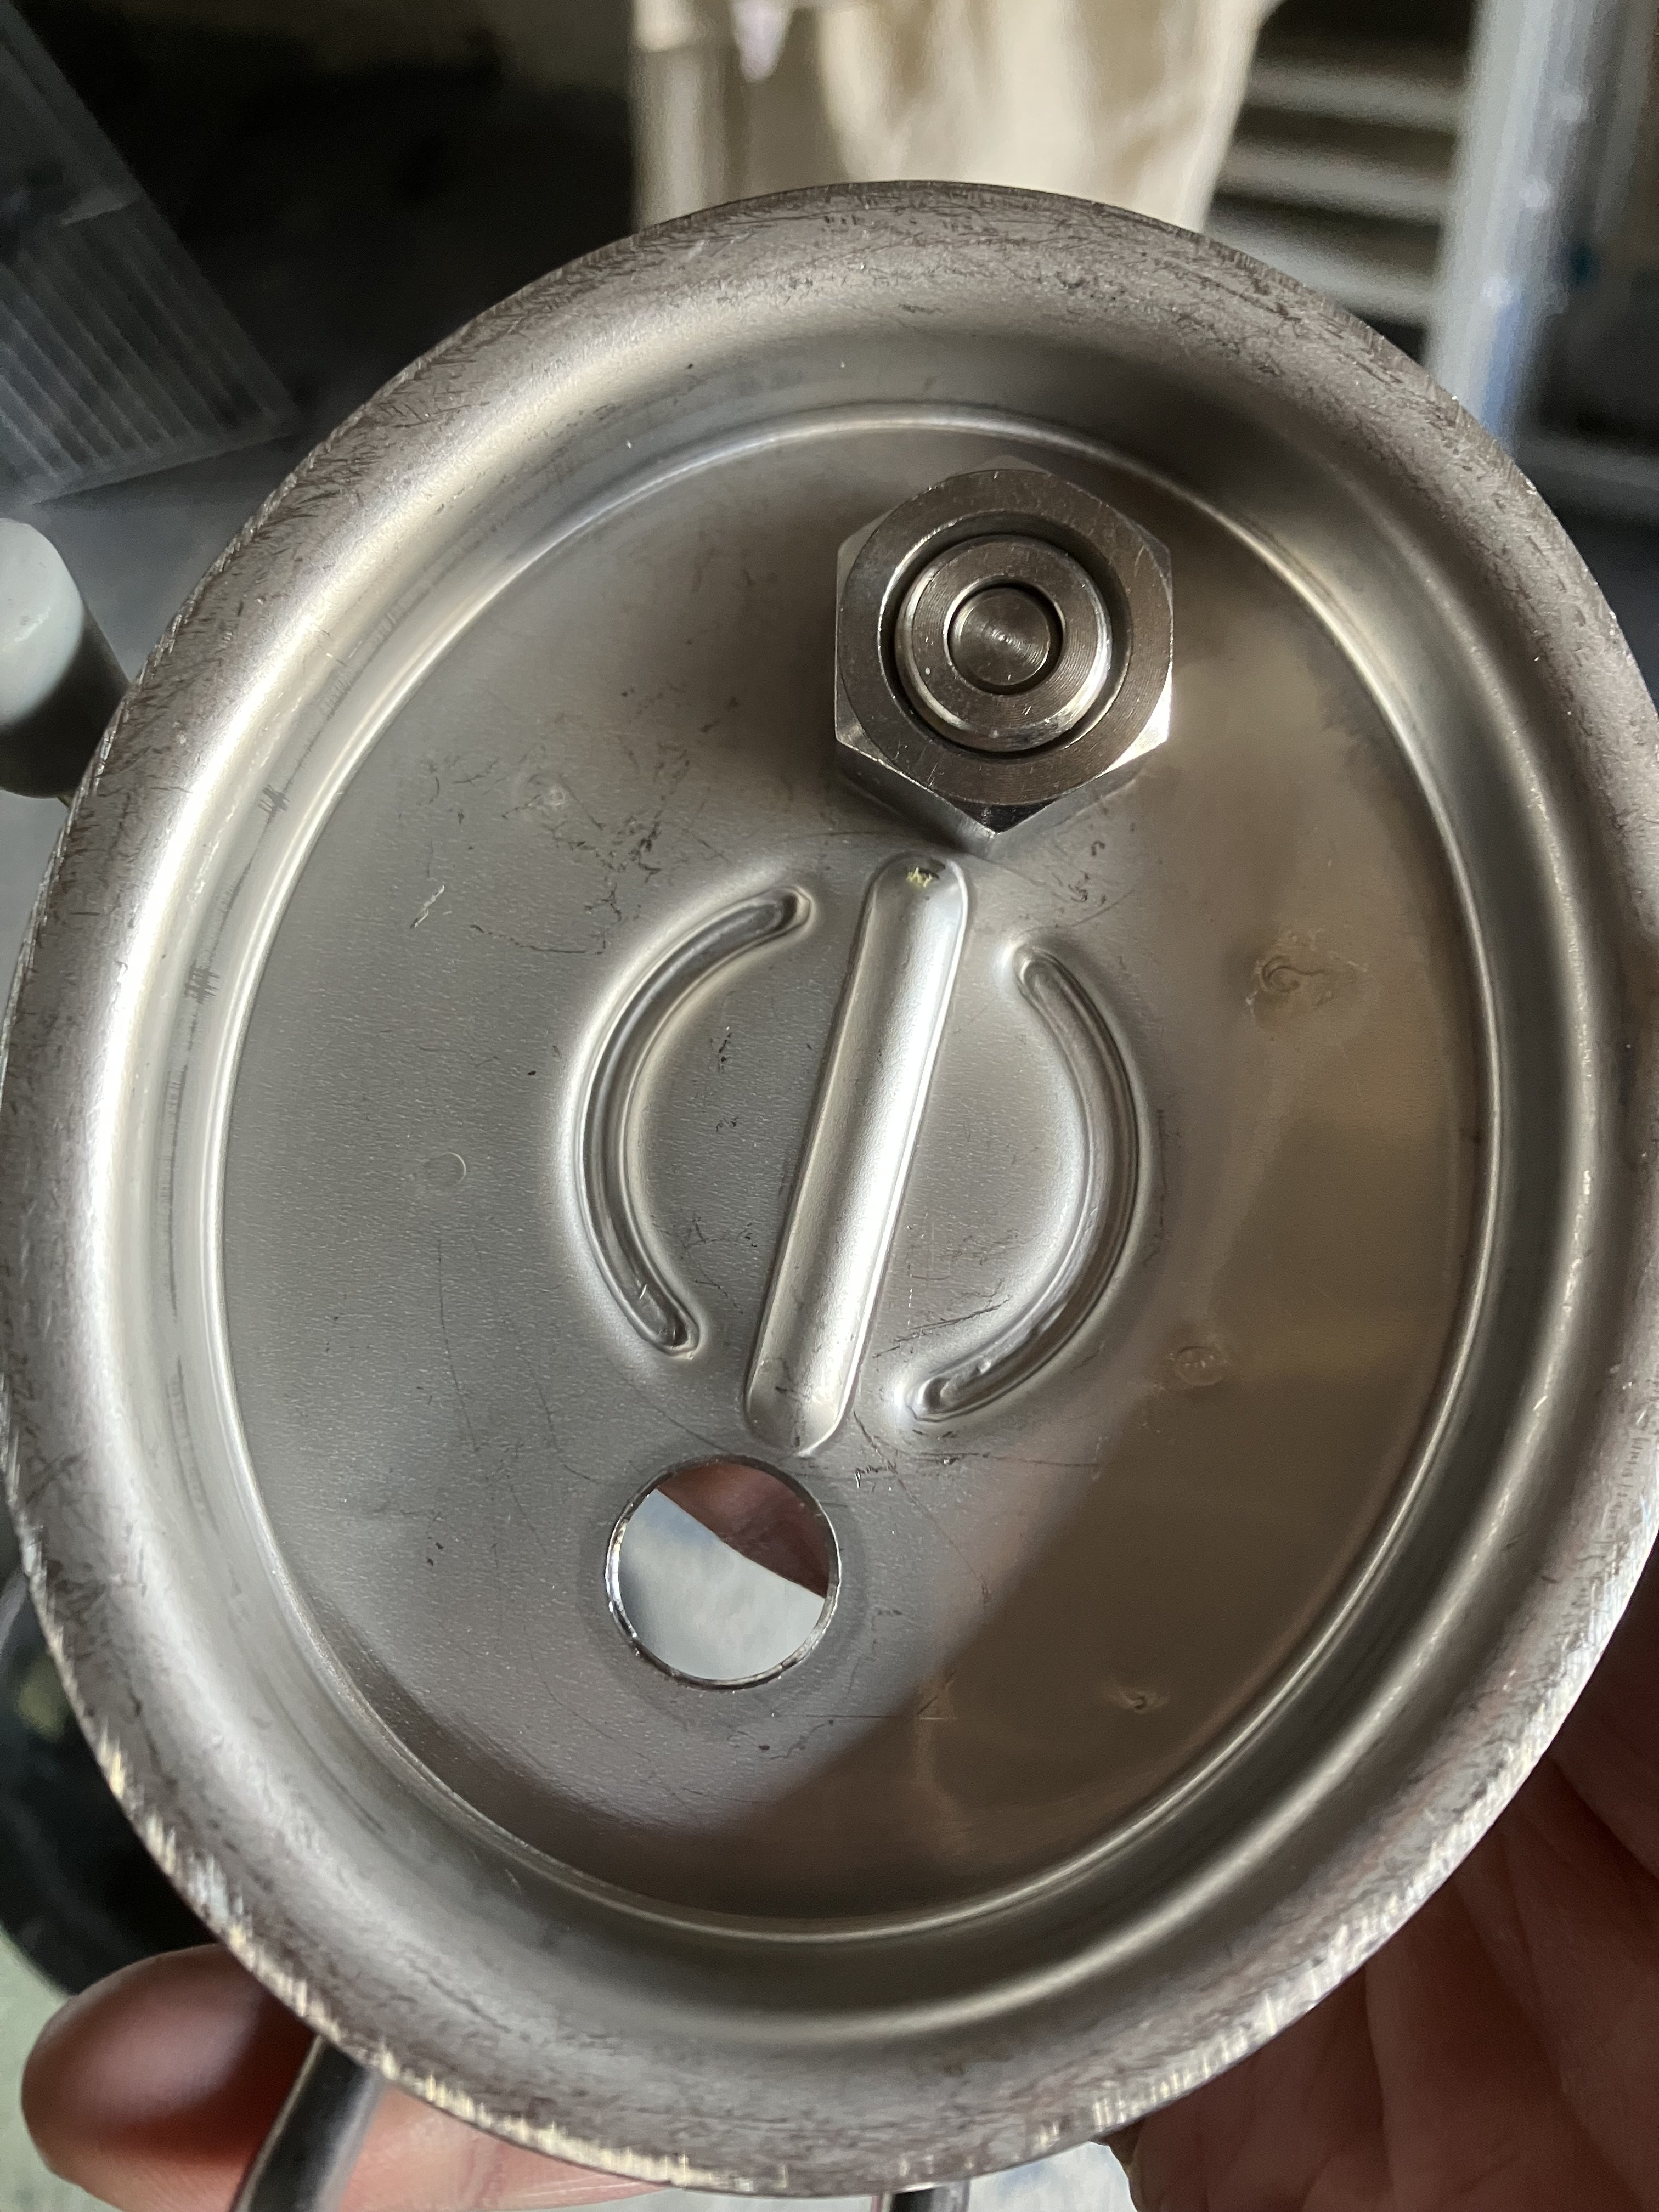
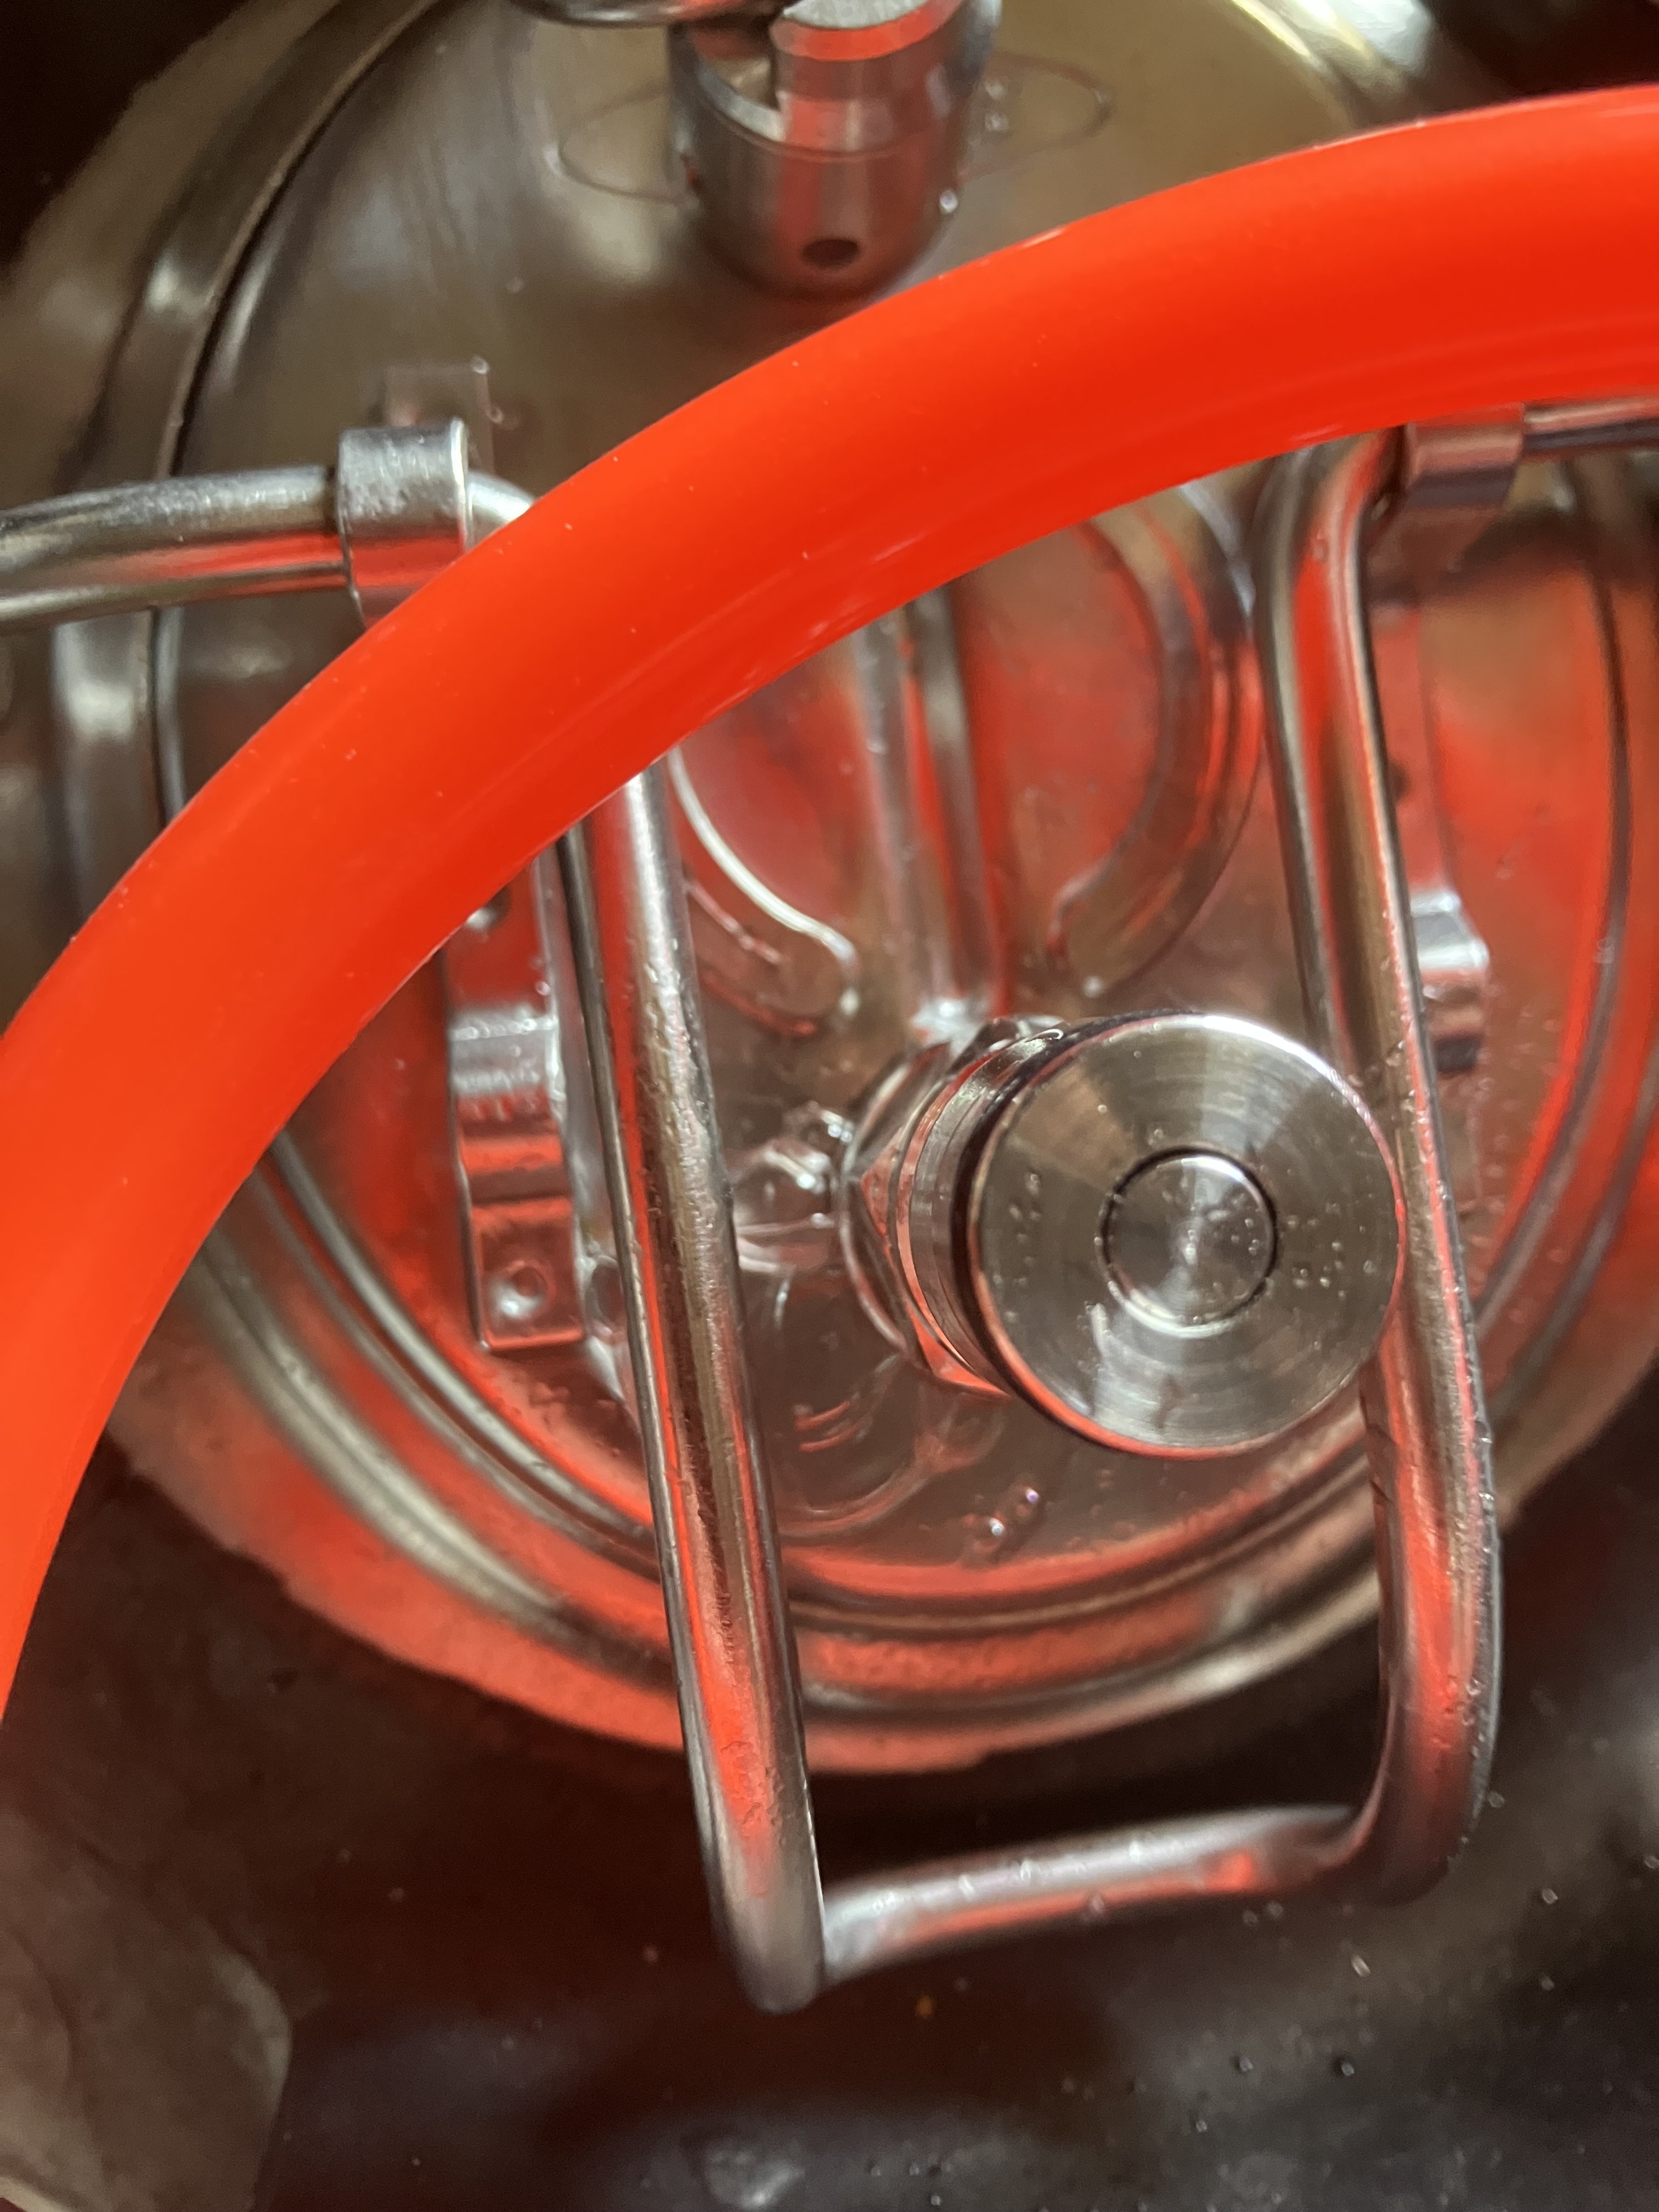
So I tried fitting the lid on with just the original nipple with hex nut and o-ring and then fitting the post on after closing. Good news, lid went on. Bad news it leaked like a bastard
IMG_1388.jpeg

Gas bubbles galore when doing a wet test on the lid. Whether this was down to the nut coming slightly loose on the inside or that stupid ridge in the lid pushing against the oring - I can’t tell. But, it’s not worth pursuing. Doesn’t work with my keg lids.

I’m not about to fork out to replace 4 keg lids with flat surfaced ones just to make it work. That’s a bad use of time and money!

Can’t say I didn’t try I suppose. Now I wonder if I can blank the hold in the lid instead of buying a replacement.
 
Anyway, one decided all is not lost - I’m gonna go with standard floating dip tube config as suggested, but I’ll take the long liquid dip tube, get me some https://www.rubbersmart.co.uk/produ...ynSXfzESr_geMZJxkC4GeNrLMPCpzZt9HzColomUUaGmG 2 hole bungs and use these 4 new posts as vent out/siphon out posts on my Carboy.

Hopefully not another dead end this time 🤞 anyone built something similar with rubber bung?
 
Bad news it leaked like a bastard
I know youve probably given up on this now but did you have the posts o ring on the inside or outside? it should be on the outside. I think in an earlier post you mentioned putting the o ring on the inside.

If its on the inside the gas can simply make its way around the thread of the post and will leak. O rings will only seal when trapped between two flat surfaces, hence it needs to be on the outside squashed between the lid and the wide flat flange of the post.

I think this is a mistake many people make wih this type of fitting and then try to stop the leak using PTFE tape.

It should be the same on everyones fermenters, o ring on the tap first, then tap through the hole and fit the back nut.

Oh and I think the shorter post has a tapered thread, not parallel thread, so wont work in your situation, this one is designed to seal using PTFE tape not an o ring.
I did put the oring on the inside side of the lid, yes. It didn’t seem right to have it the outside, but I’m happy to be corrected on that front.

Either way tho, there isn’t a truly flat surface because of the ridge in the lid, so would probably leak either way.
 
I know youve probably given up on this now but did you have the posts o ring on the inside or outside? it should be on the outside. I think in an earlier post you mentioned putting the o ring on the inside.

If its on the inside the gas can simply make its way around the thread of the post and will leak. O rings will only seal when trapped between two flat surfaces, hence it needs to be on the outside squashed between the lid and the wide flat flange of the post.

I think this is a mistake many people make wih this type of fitting and then try to stop the leak using PTFE tape.

It should be the same on everyones fermenters, o ring on the tap first, then tap through the hole and fit the back nut.

Oh and I think the shorter post has a tapered thread, not parallel thread, so wont work in your situation, this one is designed to seal using PTFE tape not an o ring.
I must thank you for this Neale: This is the correct answer 🙏 when I put the oring on the outside to try it this afternoon there was zero leakage 🙌
 
no problem, its a mistake that many peoples make with threaded connections. It seems logical to put the seal on the inside but doing this leaves a tiny gap around the thread that causes the leak. o ring seals can only ever work when they are trapped between two flat surfaces.
 
no problem, its a mistake that many peoples make with threaded connections. It seems logical to put the seal on the inside but doing this leaves a tiny gap around the thread that causes the leak. o ring seals can only ever work when they are trapped between two flat surfaces.
This is the thing exactly. Makes sense now though, given that the dip tube seals go on the outside of the welded keg posts. I’m just used to putting orings/gaskets on the inside for kettles/mash tuns where it’s only there to hold back liquid that’s not under pressure.

I’ll do a practical test on my next brew, 38l batch spread between two kegs - one with the floating dip tube on the lid post, the other in place of the long liquid tube and see how it goes.

I remembered now that the other reason for doing this was so that I could still serve from the standard long tube post, should there be a problem with the floater at some point (gets tangled or slips off etc) so that I don’t need to open the keg at all in such an event
 
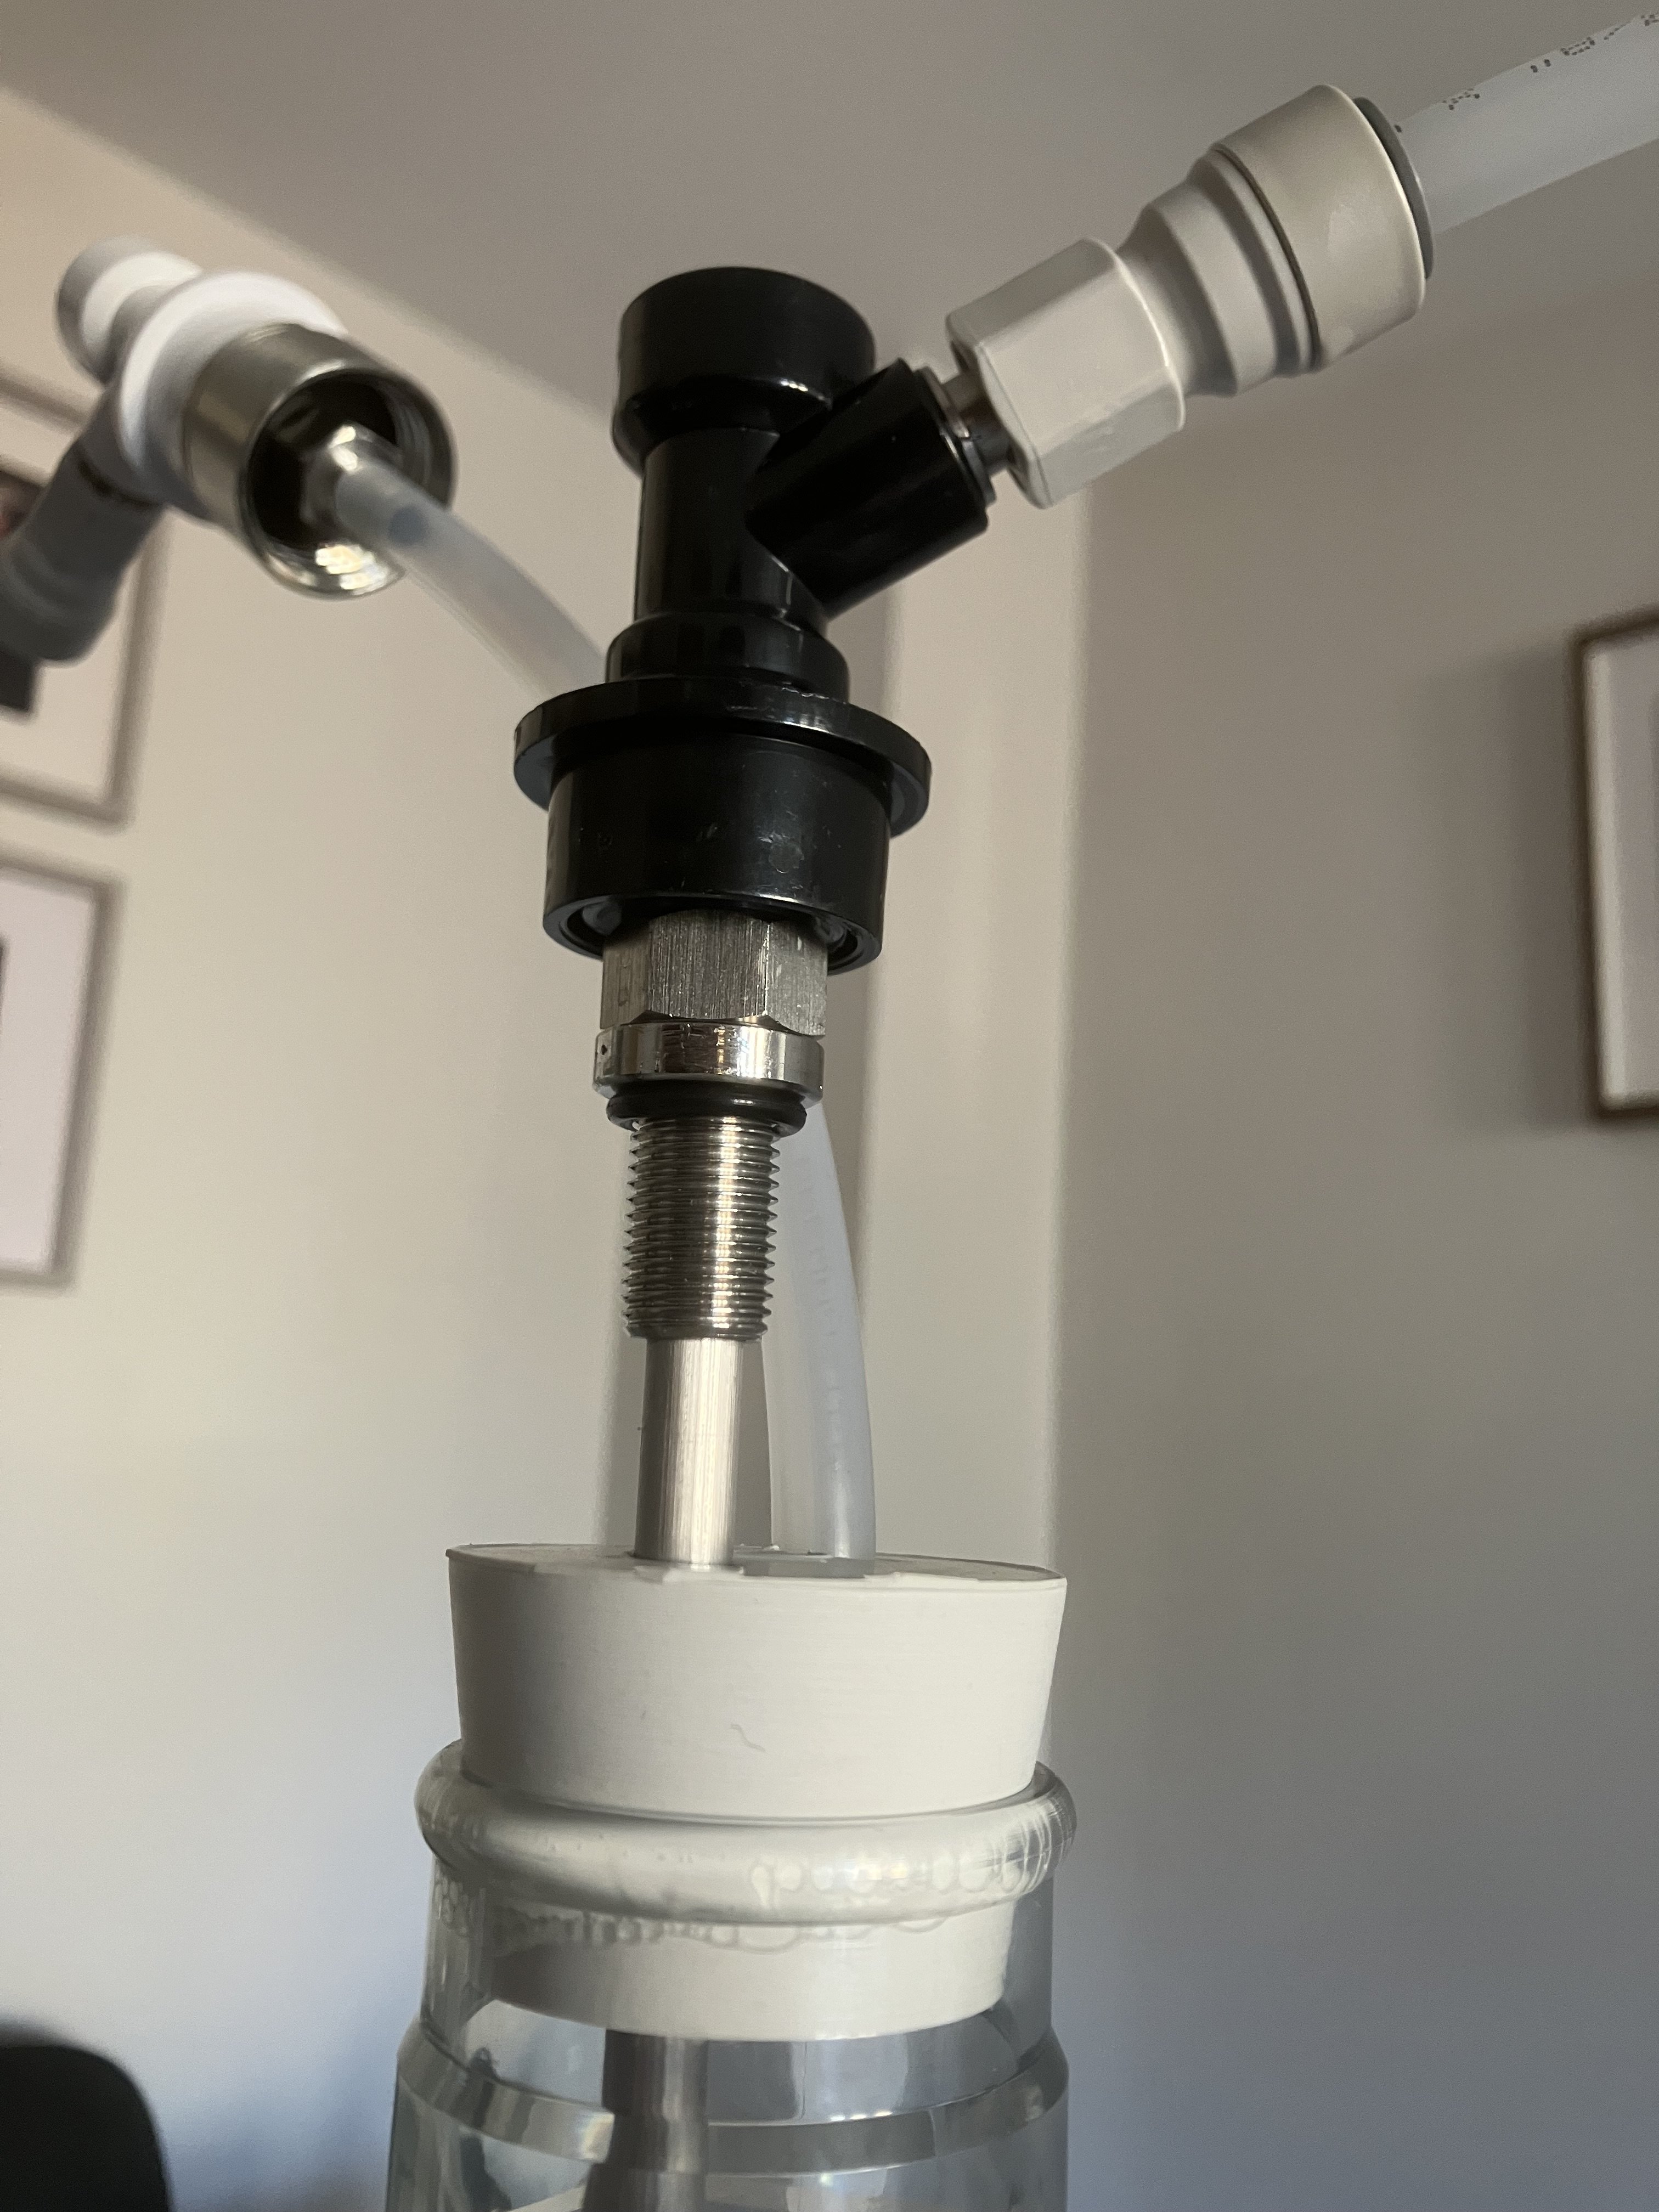
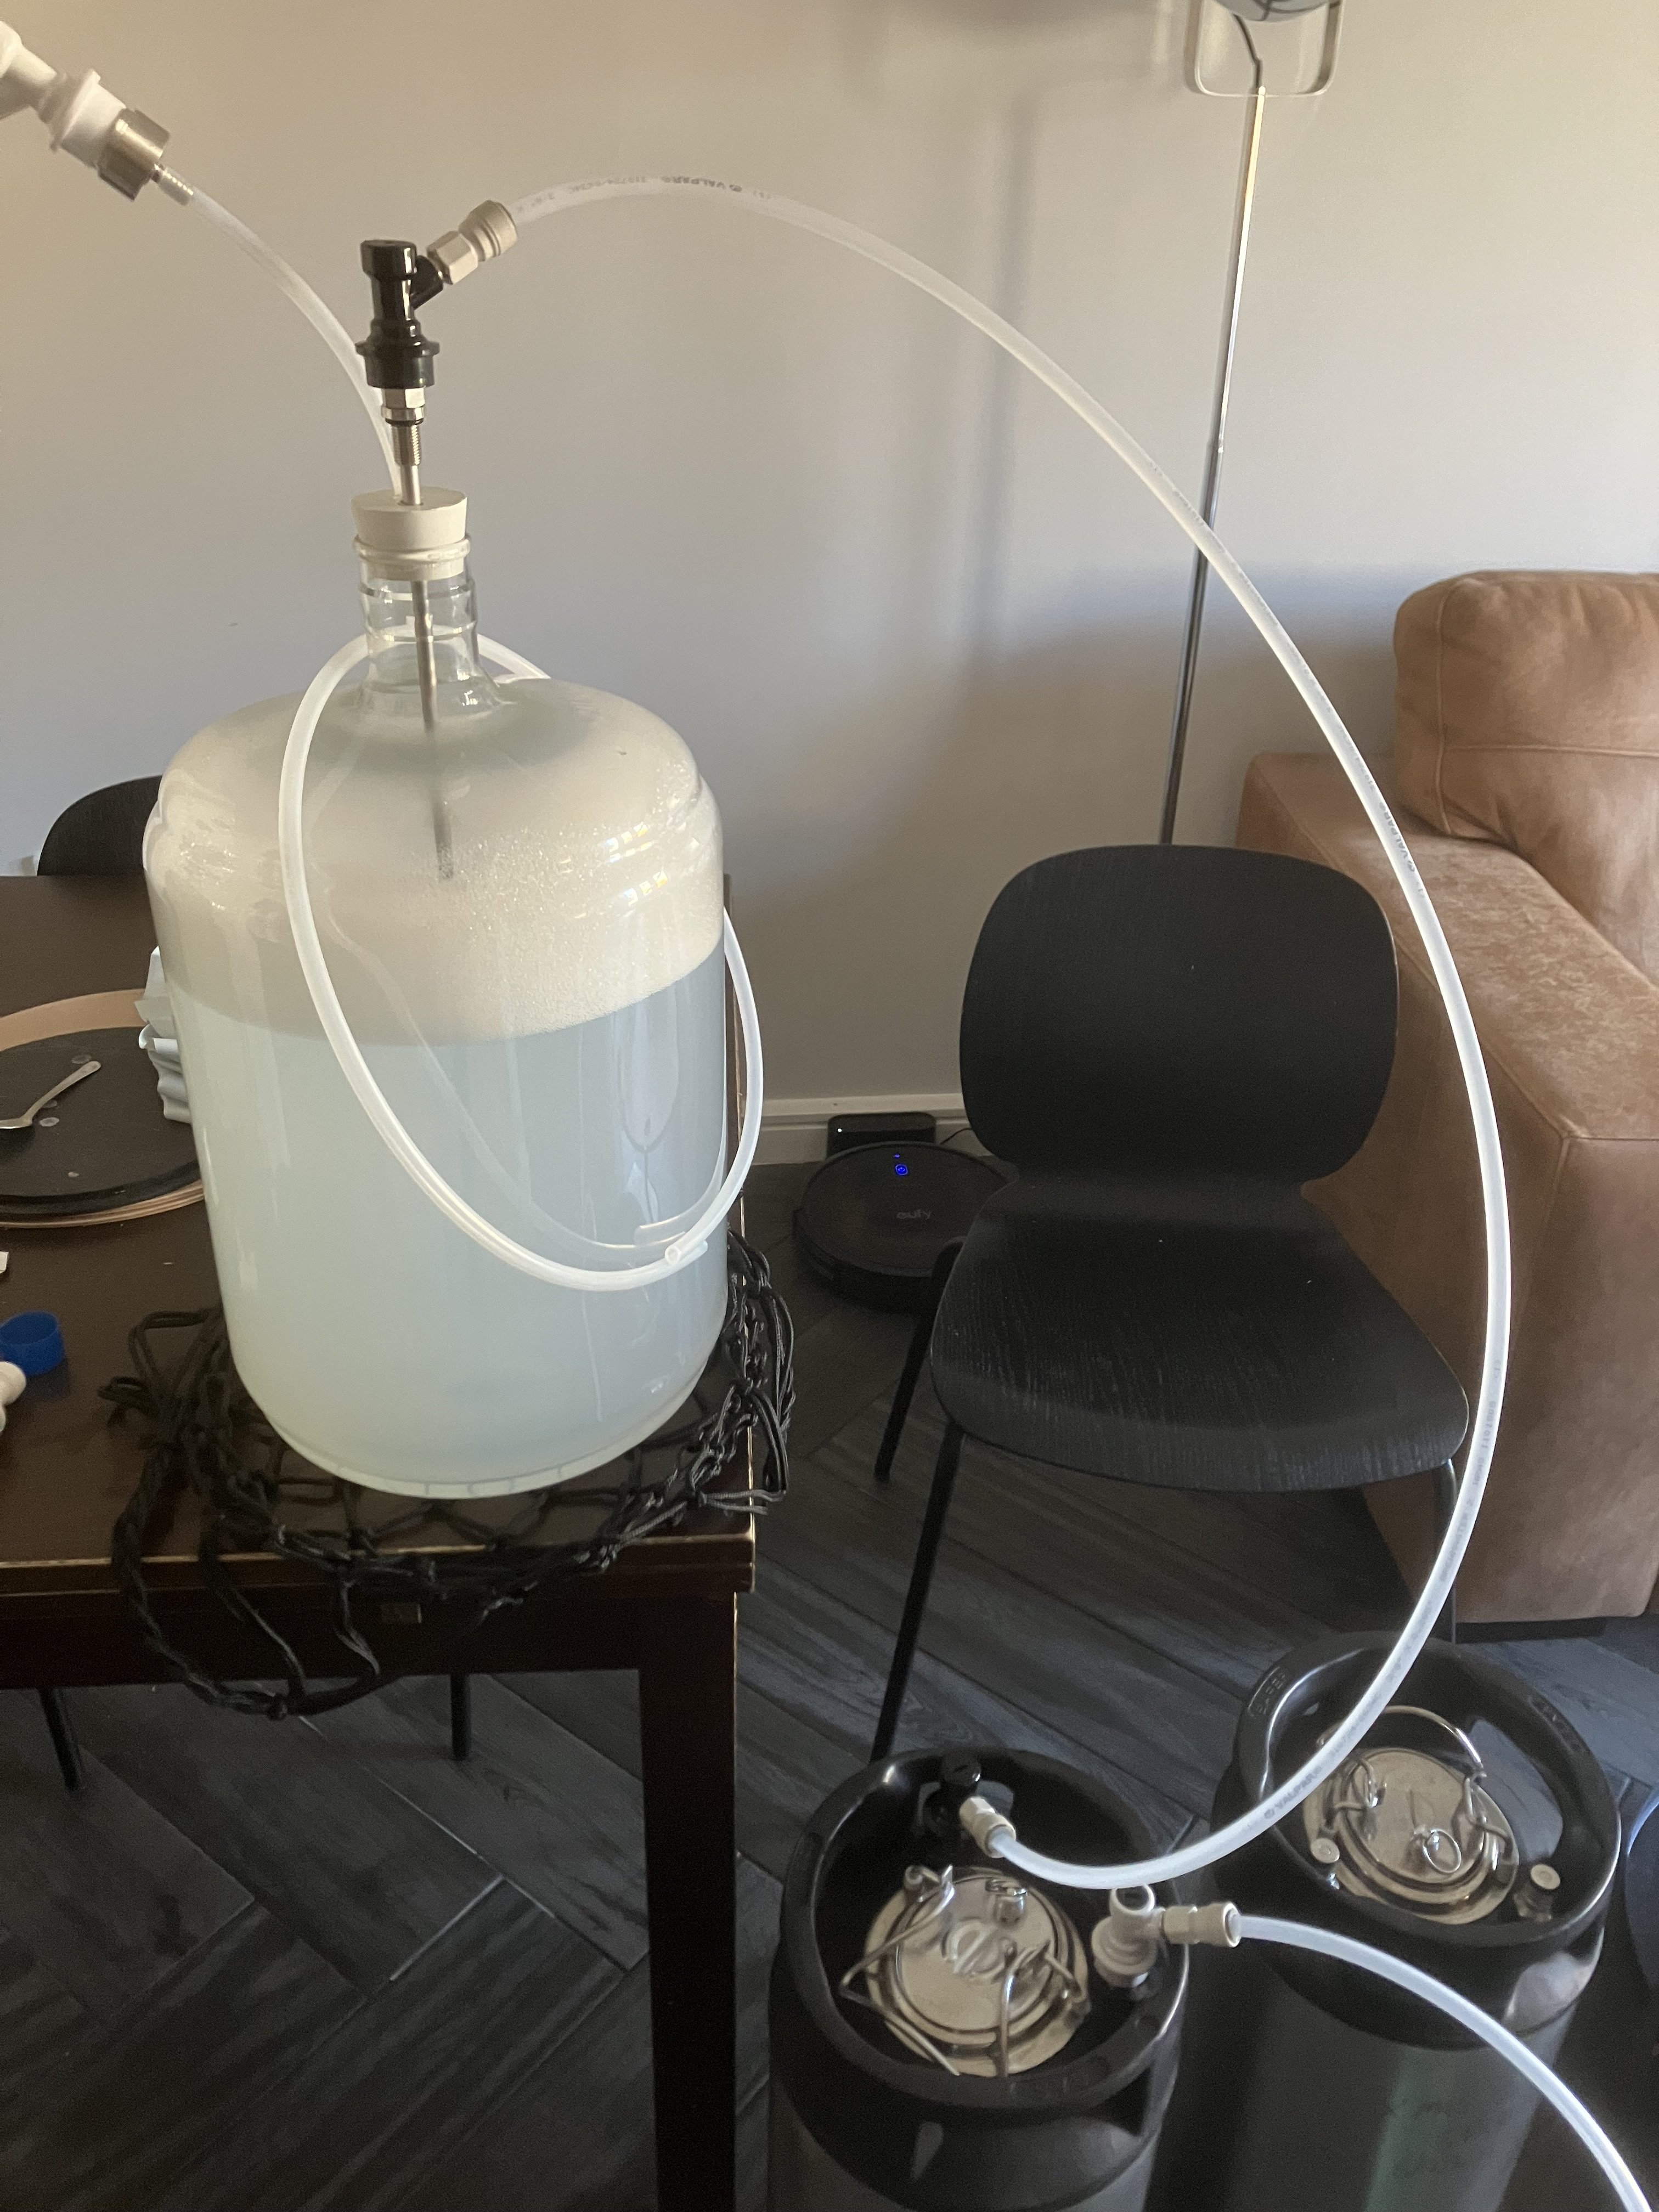
So (a little off topic,but) I ordered 2 size 10 rubber bungs from eBay. bored 2 holes in them. stuffed some beer line through one, capped with a carbonation cap to meet a gas disconnect; and pushed a long dip tube from the keg, finished with one of the posts to a liquid disconnect. Quite pleased with this
Tested, and it works bloody a treat. Will be perfect for purging kegs during fermentation, with a closed transfer at the end.
IMG_1475.jpeg

IMG_1474.jpeg
Just goes to show how plan A can so often lead to a much unanticipated, but superior plan Z in the world of DIY homebrew equipment 🍻
 
Back
Top