So I'm on a big budget, I didn't want to invest in an old deep freezer (I want a newer one once that day comes), but I wanted a way to ferment beers and lager so based off of the "Mother of a Fermentation Chiller" plans, I shrank the original idea down and made my own which fits a single bucket.
I really enjoyed building this, though it's not as finished and nice looking as other projects on here, I'm thinking I'm going to just trim the edges and let SWMBO paint it however she wants then call it a day. I do plan on having a "do over" towards the end of summer as I'm not very savvy with power tools and home carpentry, this was my first time building something up from scratch.
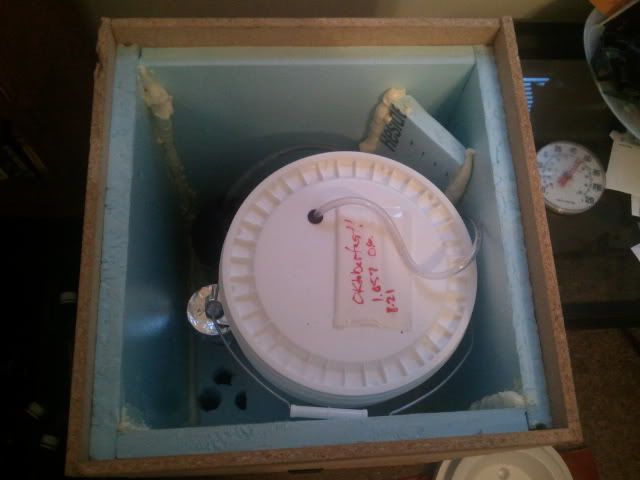
My "Google Sketchup" of the modified chiller showing the air circulation, the bottom 3 compartments are filled with ice packs then fed air by an attached fan (a home computer fan hardwired to a DC adapter), air circulates around the bottom chambers then up into the main chamber, then back down via a small triangular path on the back side:

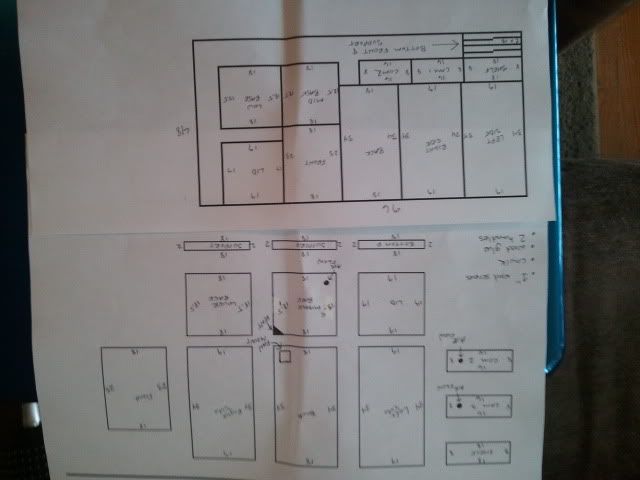
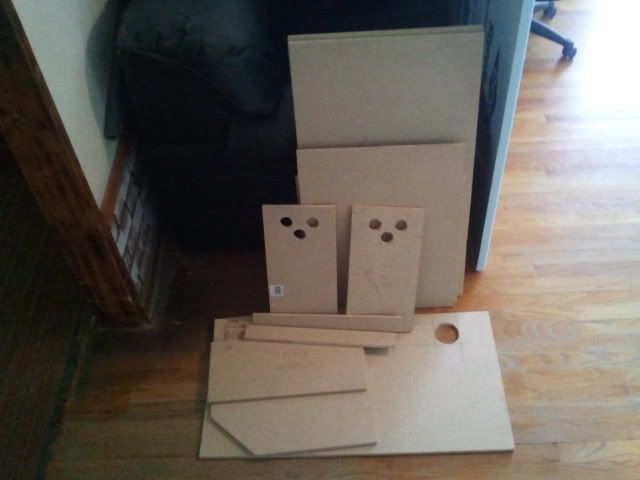
My plans to get everything I need out of a single 4x8 sheet:
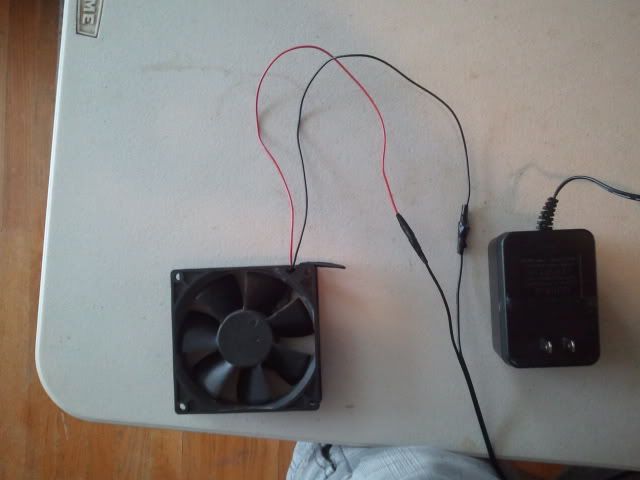
Wired up fan:
Labor (those are hops in the black buckets in the background, since this picture they have all grown well but the Cascade is INSANE. We're getting hops out of it this year when all it was really supposed to do is plant its roots):

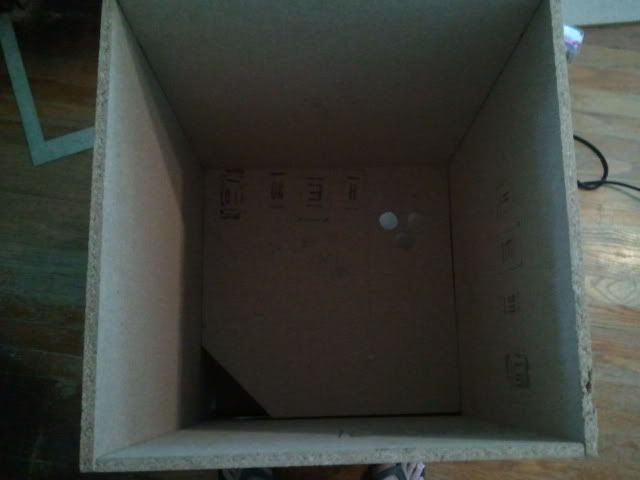
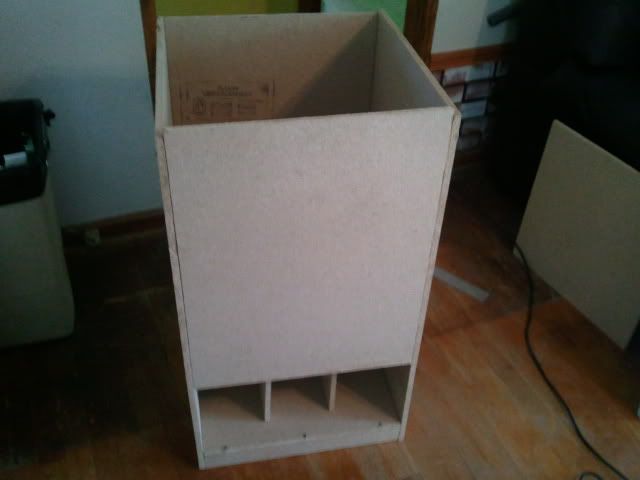
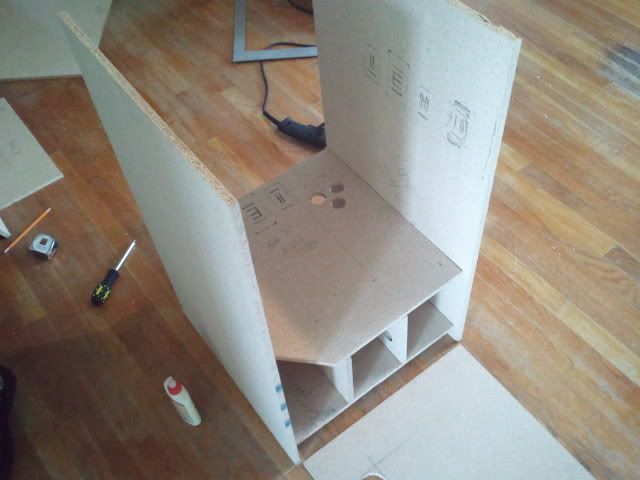
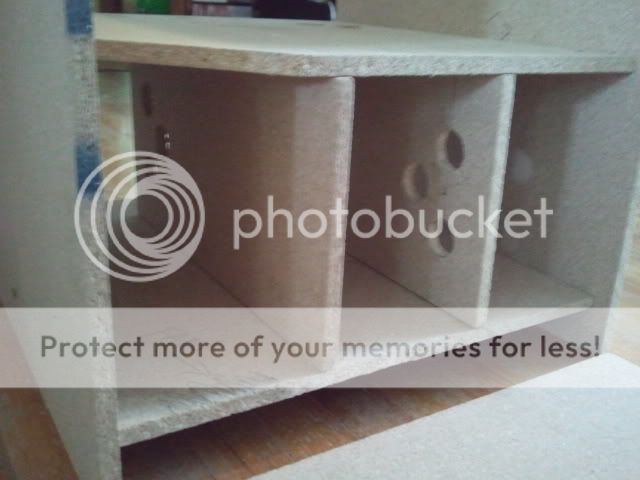
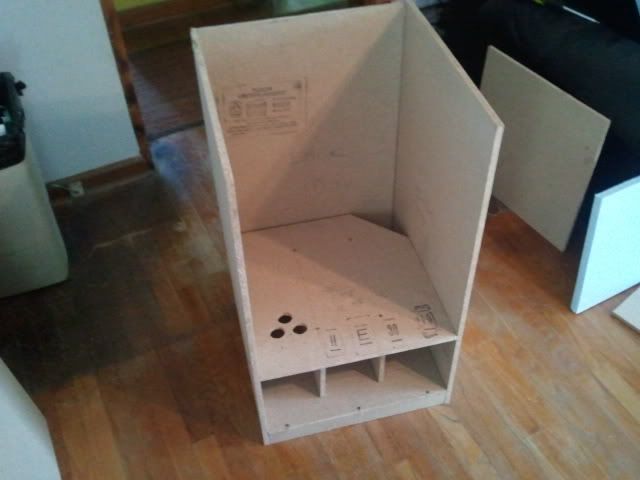
Building:
I really enjoyed building this, though it's not as finished and nice looking as other projects on here, I'm thinking I'm going to just trim the edges and let SWMBO paint it however she wants then call it a day. I do plan on having a "do over" towards the end of summer as I'm not very savvy with power tools and home carpentry, this was my first time building something up from scratch.
My "Google Sketchup" of the modified chiller showing the air circulation, the bottom 3 compartments are filled with ice packs then fed air by an attached fan (a home computer fan hardwired to a DC adapter), air circulates around the bottom chambers then up into the main chamber, then back down via a small triangular path on the back side:
My plans to get everything I need out of a single 4x8 sheet:
Wired up fan:
Labor (those are hops in the black buckets in the background, since this picture they have all grown well but the Cascade is INSANE. We're getting hops out of it this year when all it was really supposed to do is plant its roots):
Building: