I am going through my photos and am in the process of documenting our basement buildout this year. We started the year with an unfinished space full of junk and my woodworking shop. We built a workshop outside the house for my woodworking and for my wife who is a painter and makes stained glass. In its place, we put in a home brewery, bar, bathroom, guest room, home theater, desk area, rec room, exercise room and lots of storage. We designed the space ourselves and assisted the contractor with the buildout. In this thread, I will post pictures of the construction process. All the finished pics are in the thread in my signature. Sorry for all the pics - but when I was researching my build - the pics made ALL the difference to me!
JonyMac
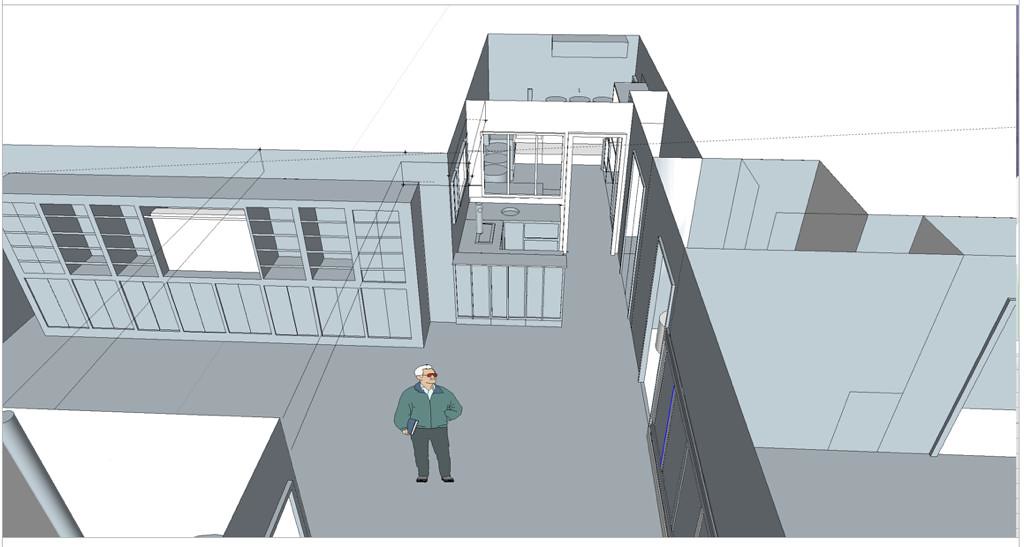
 1 by jonymac, on Flickr
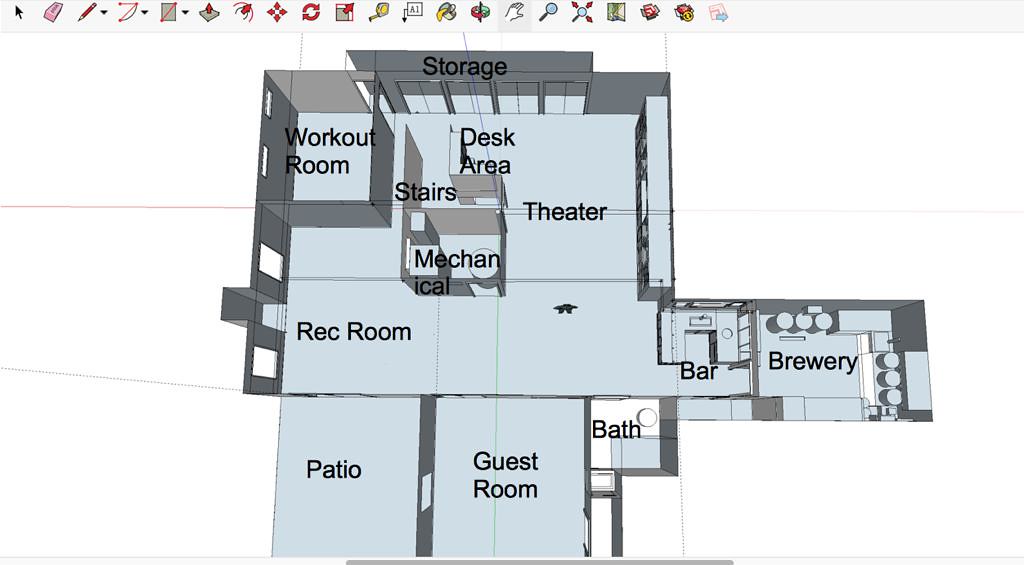
Overall view of the layout - I used Google Sketchup for this. The space is roughly 1800 square feet.
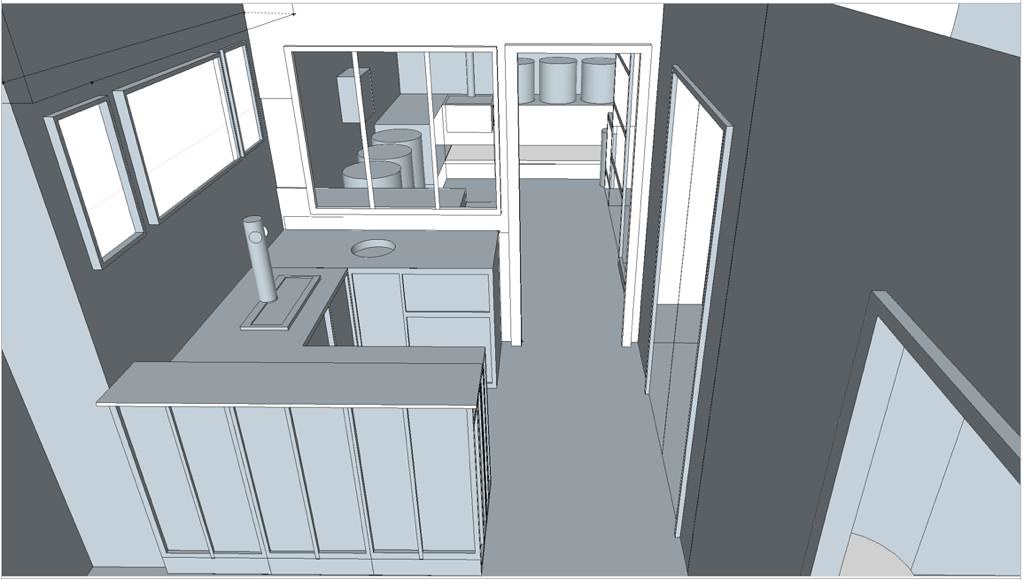
 2 by jonymac, on Flickr
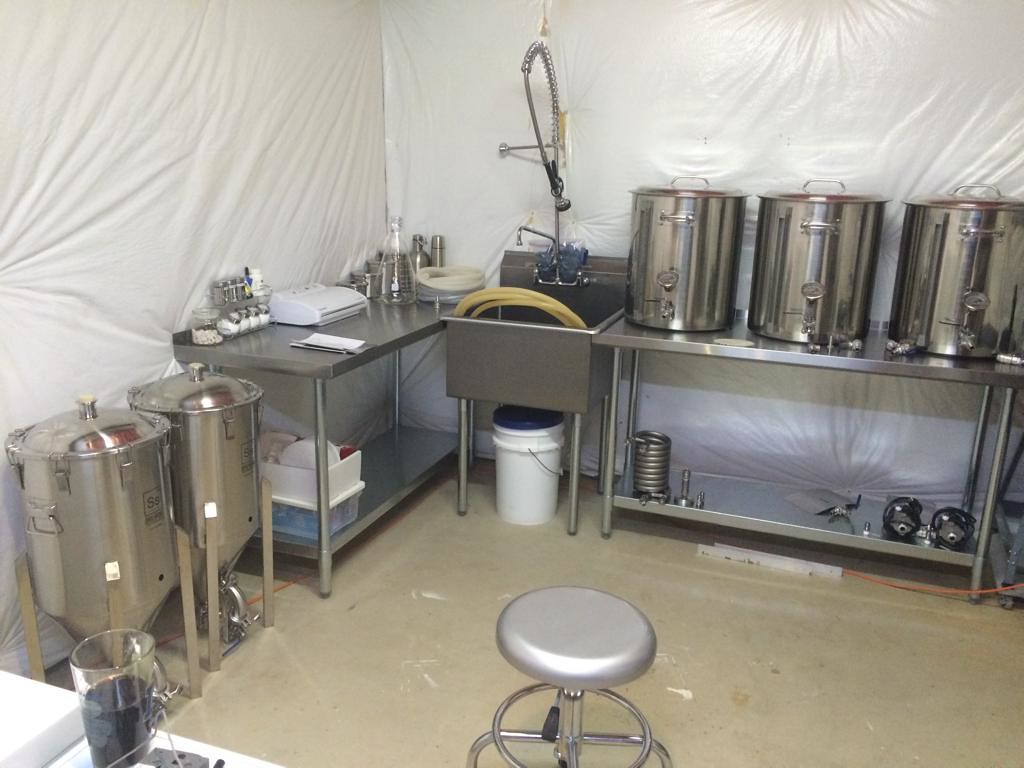
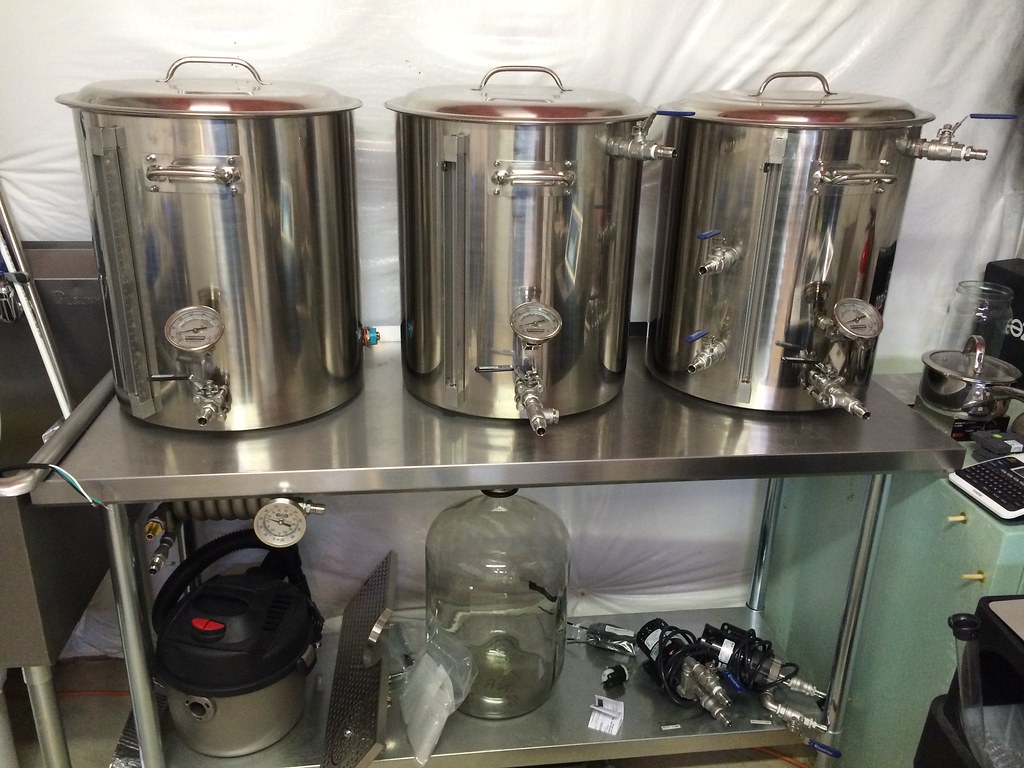
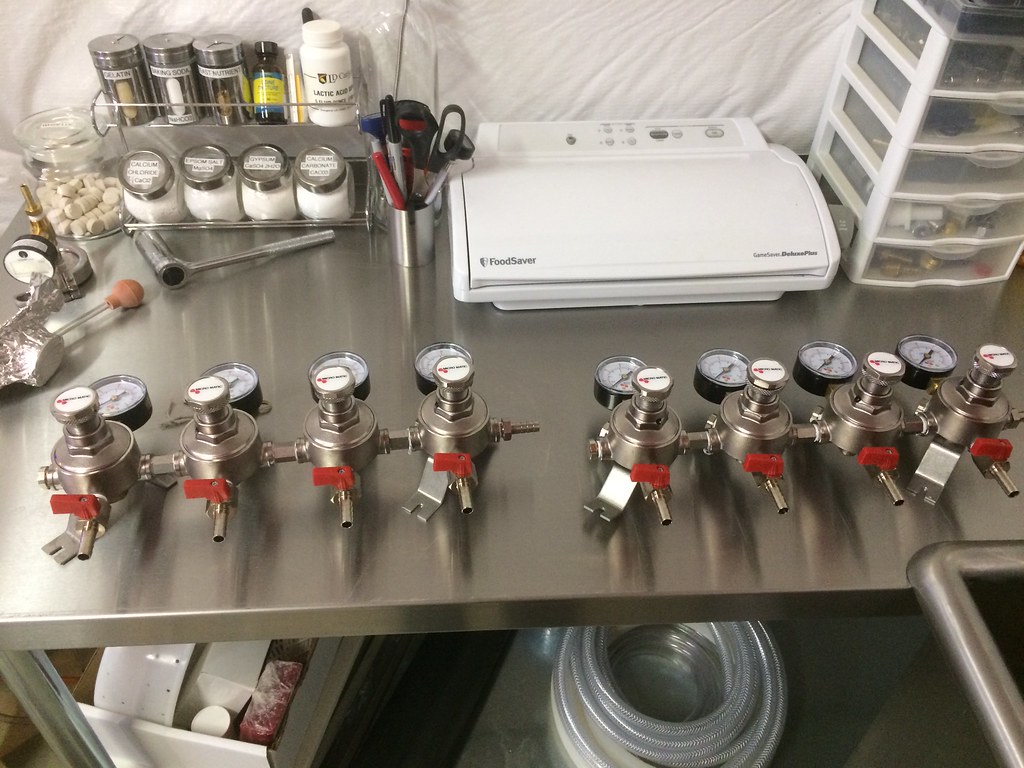
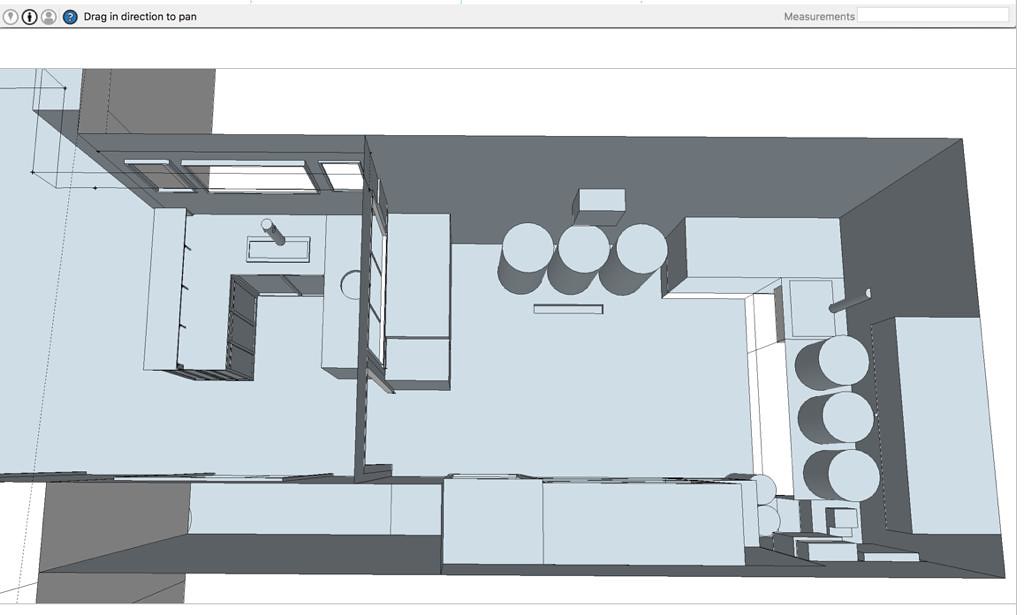
Brewery and bar layout - circles at top are conicals - circles to the right are kettles.
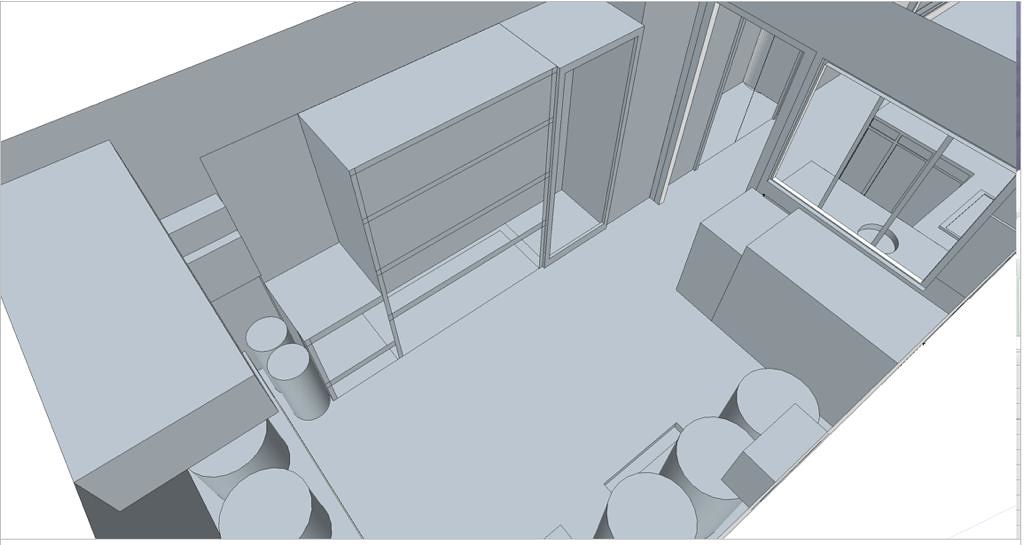
 3 by jonymac, on Flickr
View of the bar, brewery and theater builtins.
 4 by jonymac, on Flickr
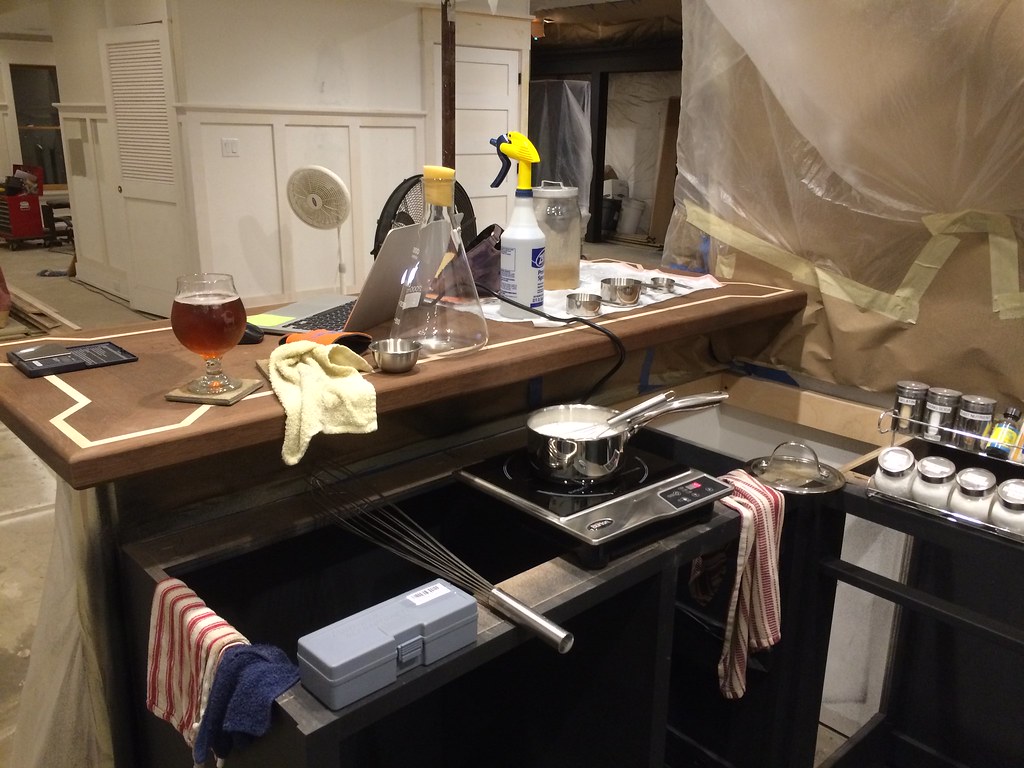
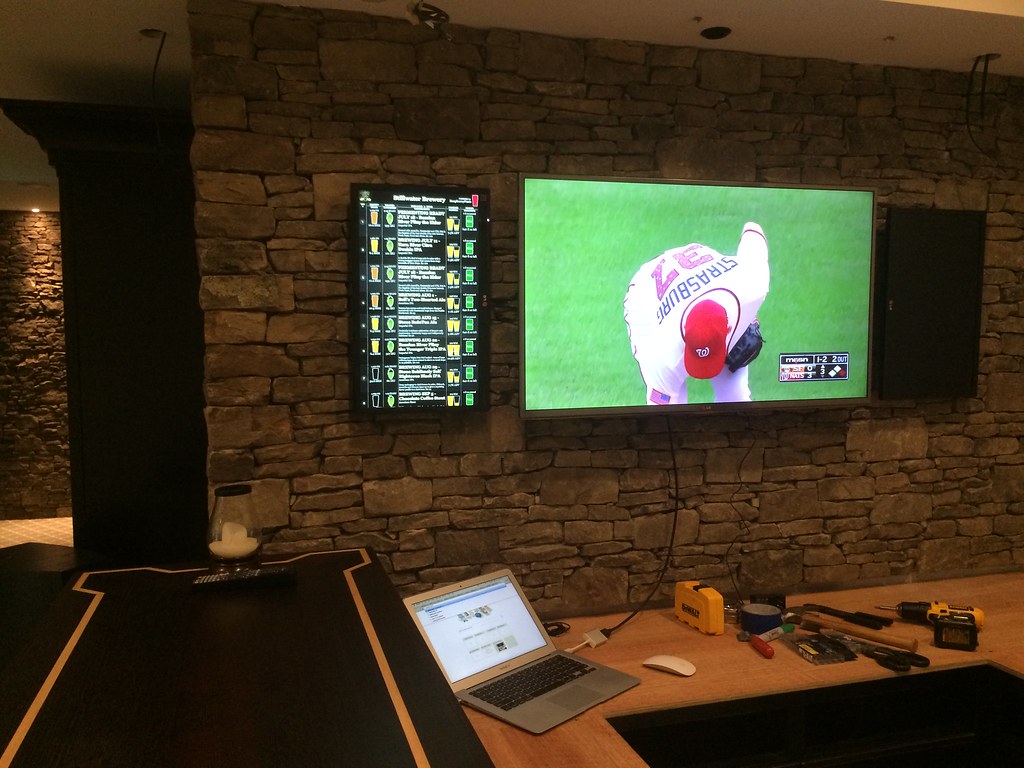
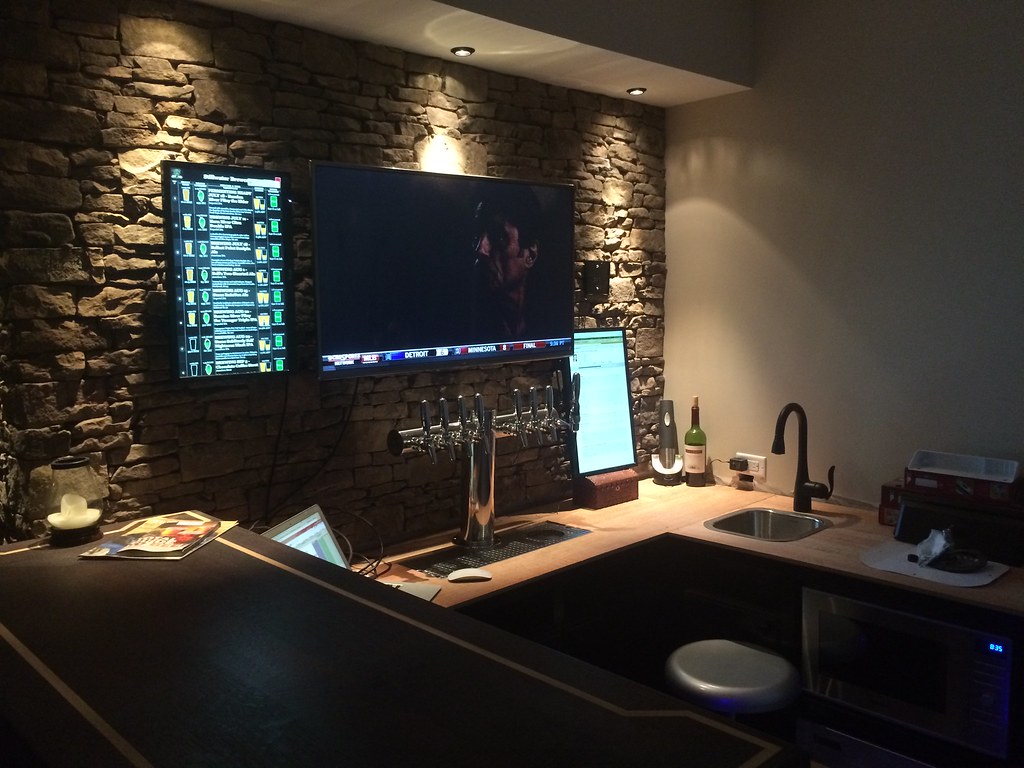
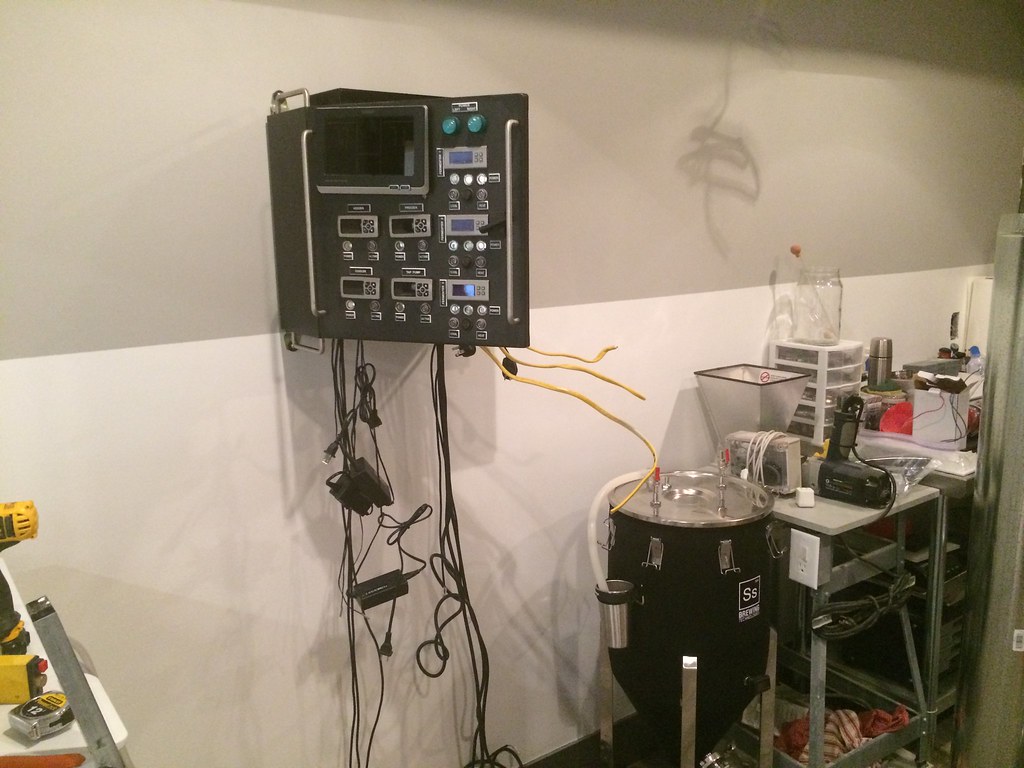
Closeup of the bar with 3 screens - 1 for raspberry pints tap board, 1 for sports, the last for brewing recipes
 5 by jonymac, on Flickr
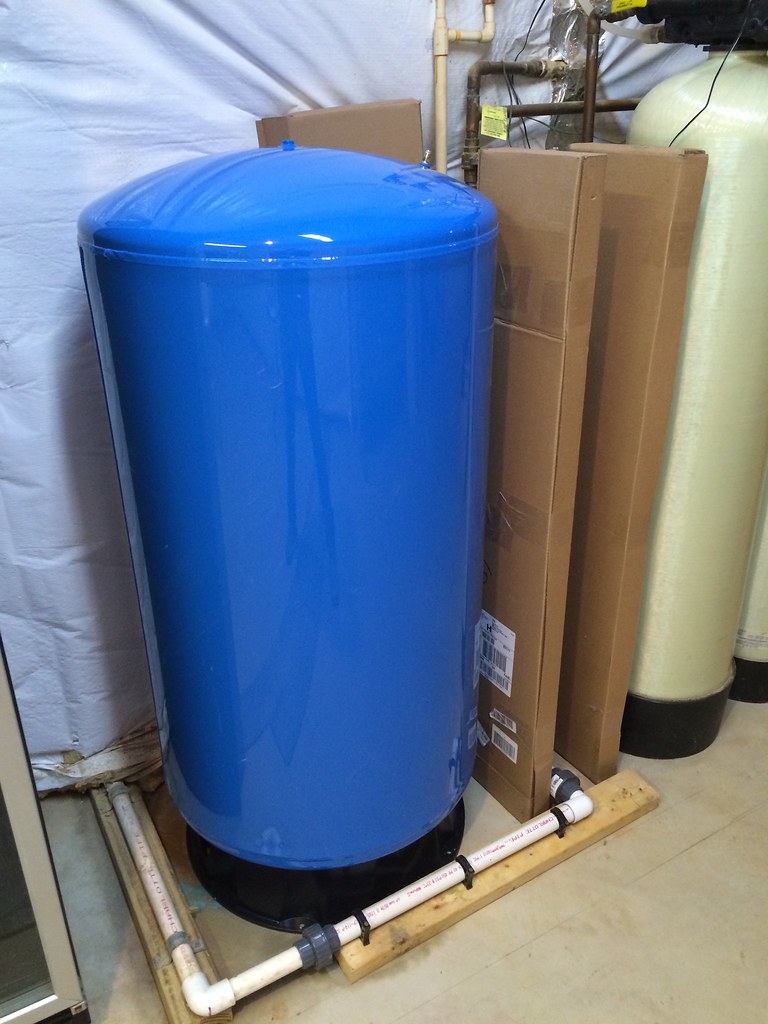
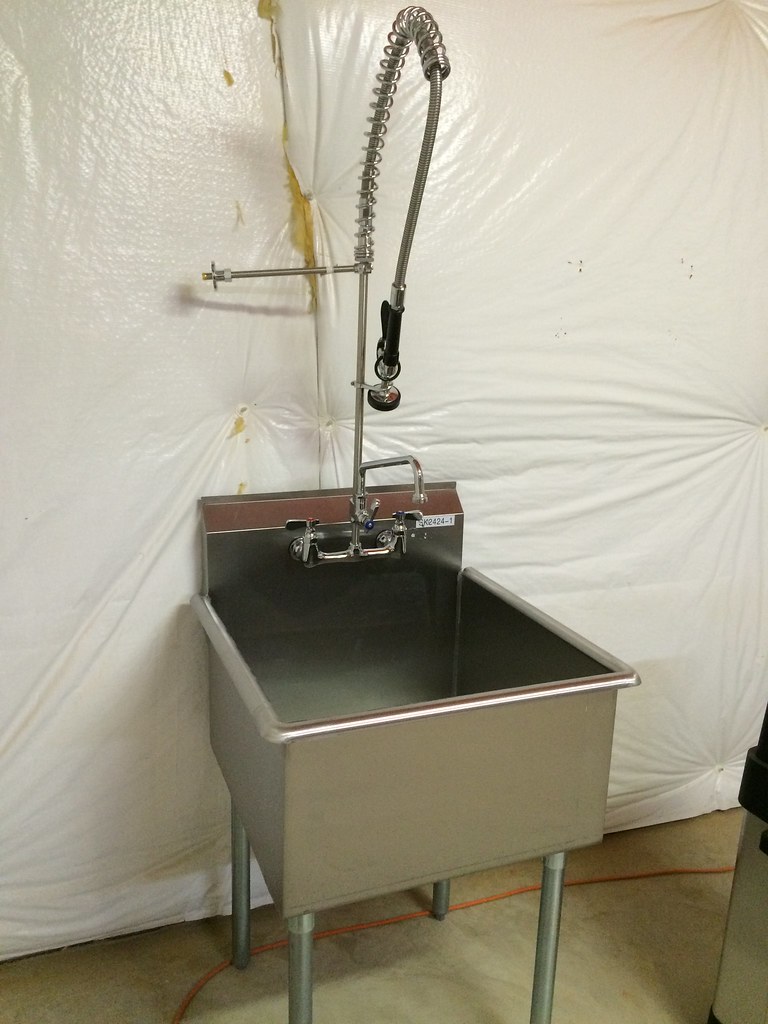
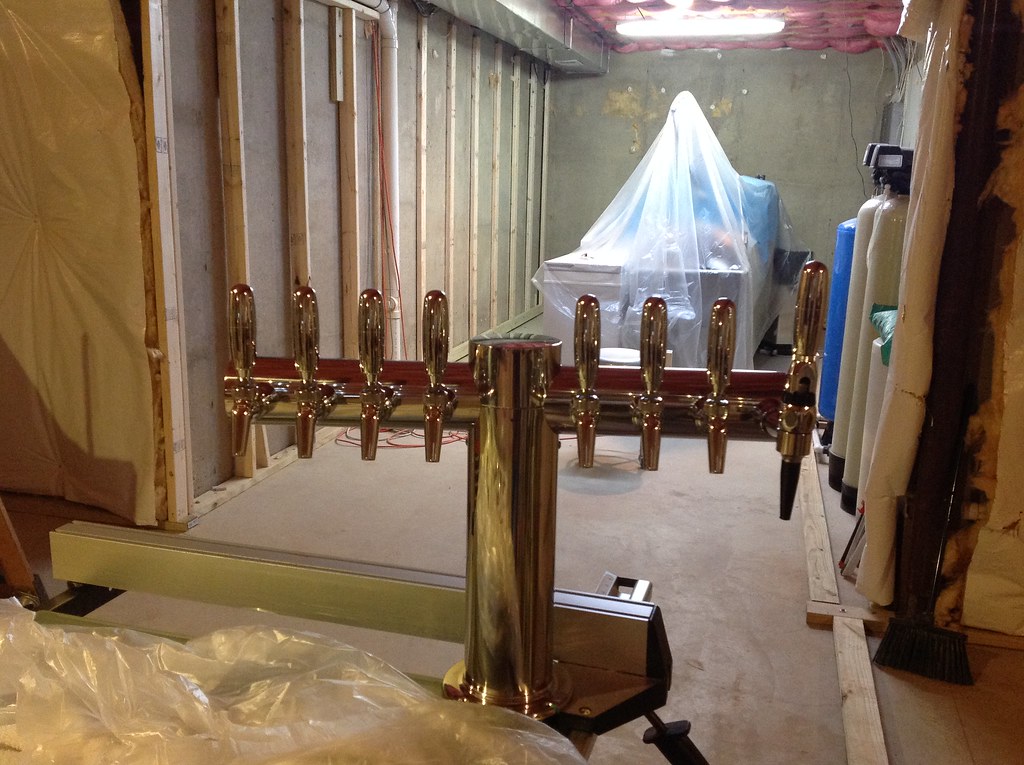
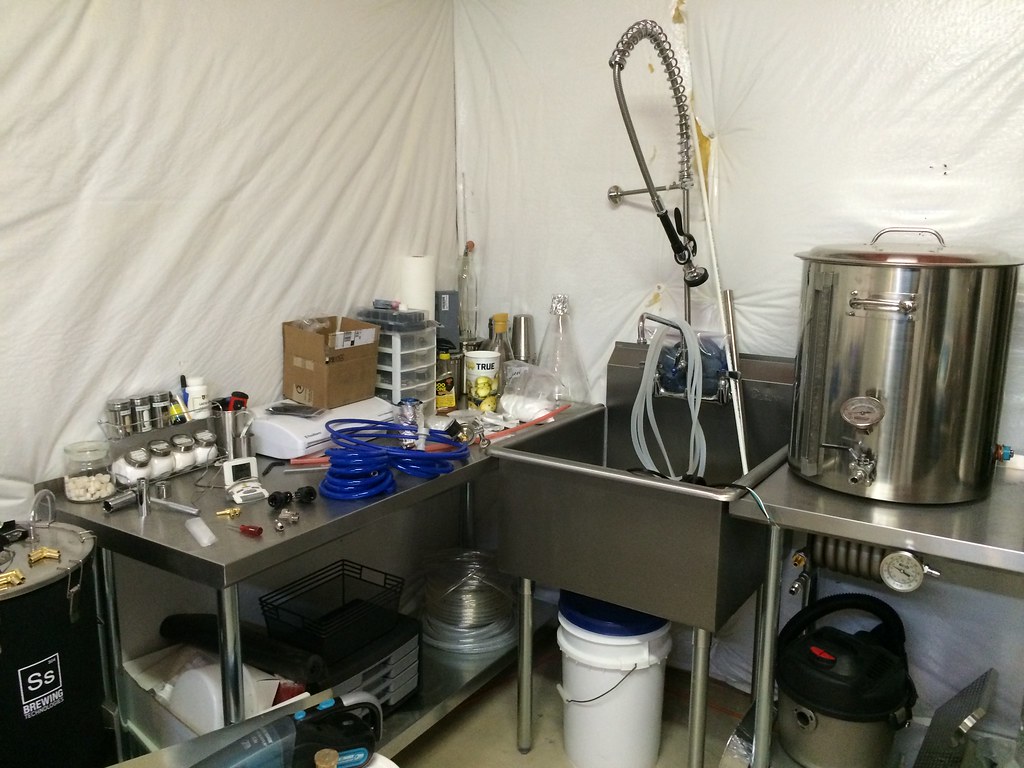
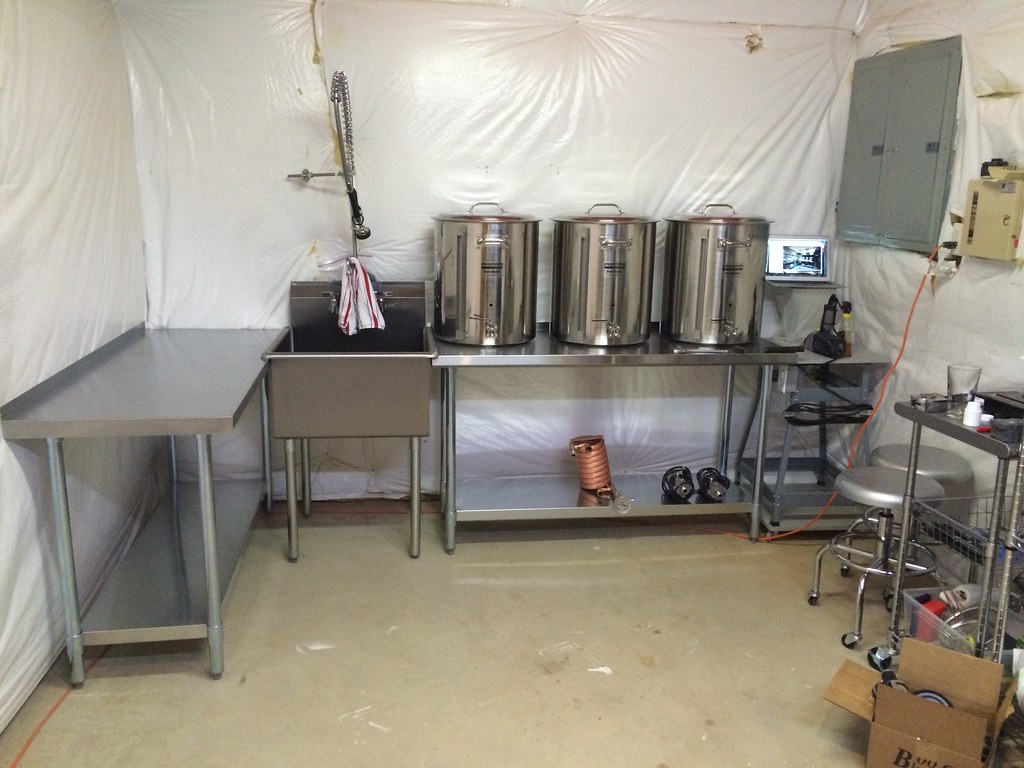
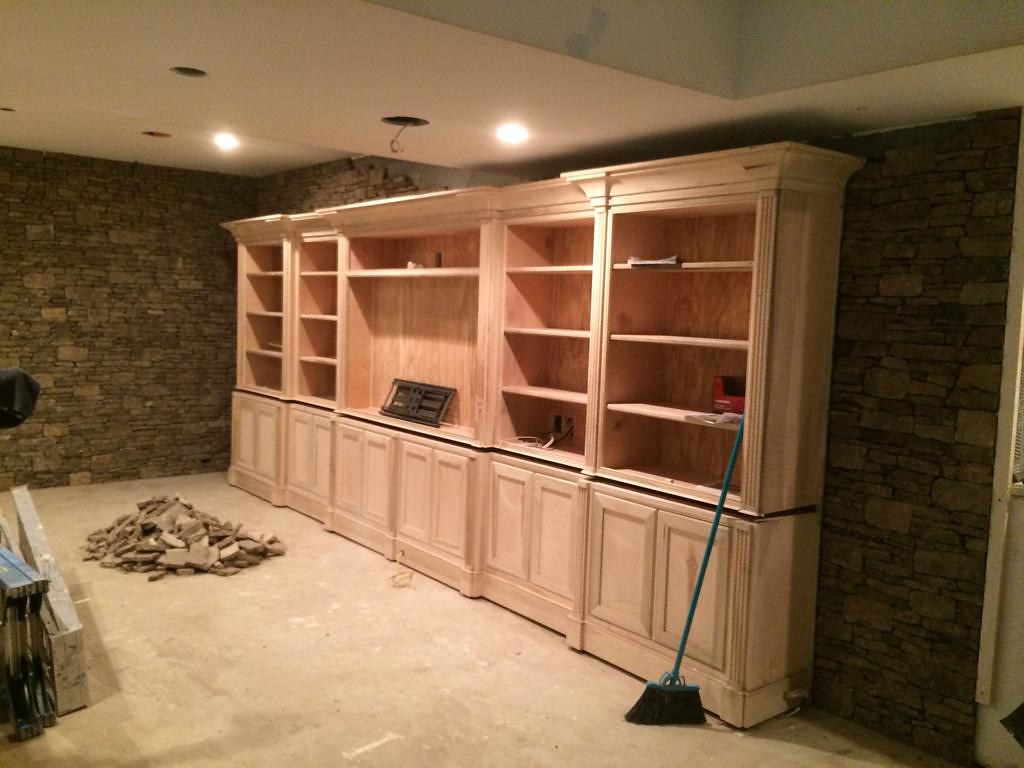
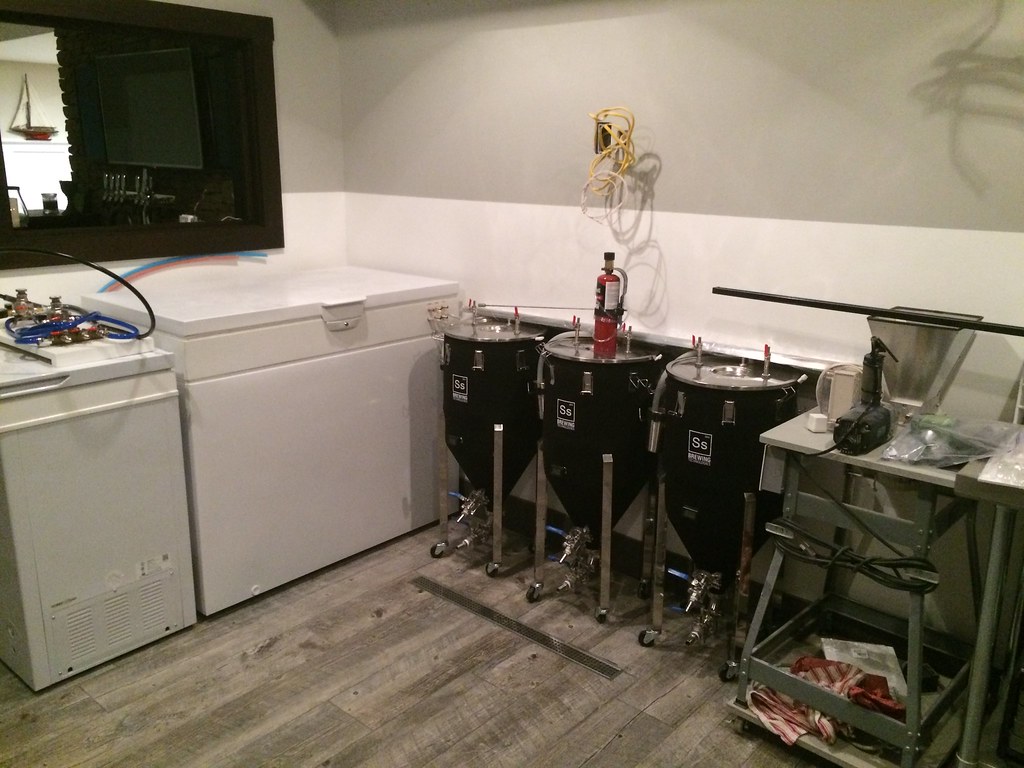
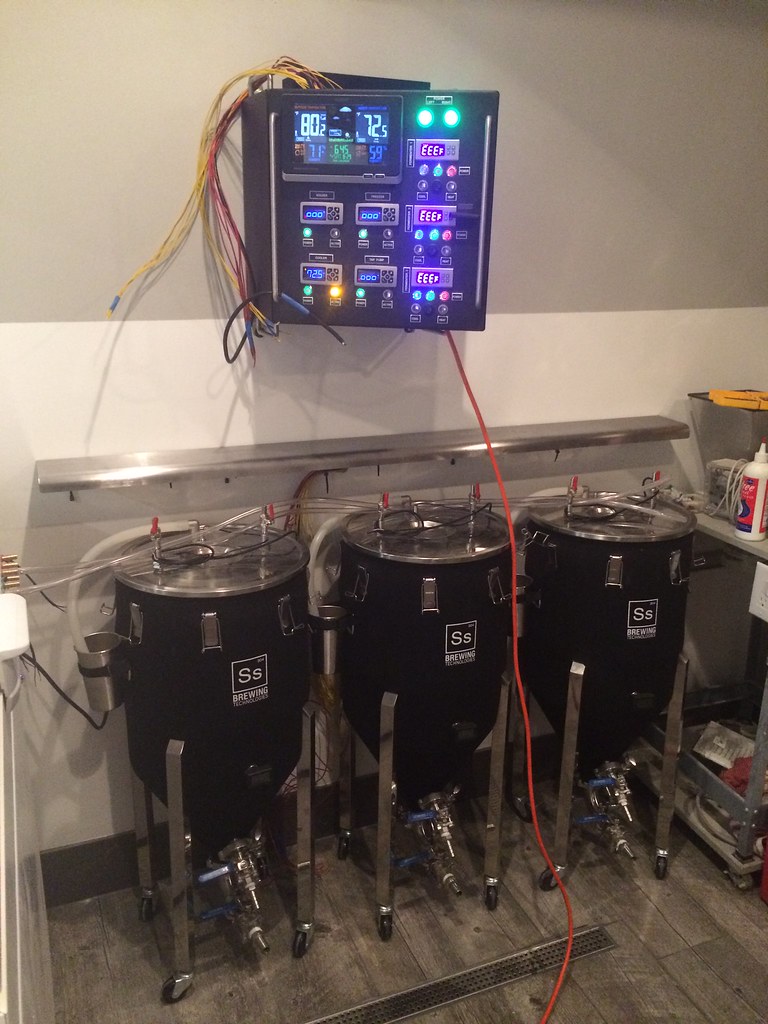
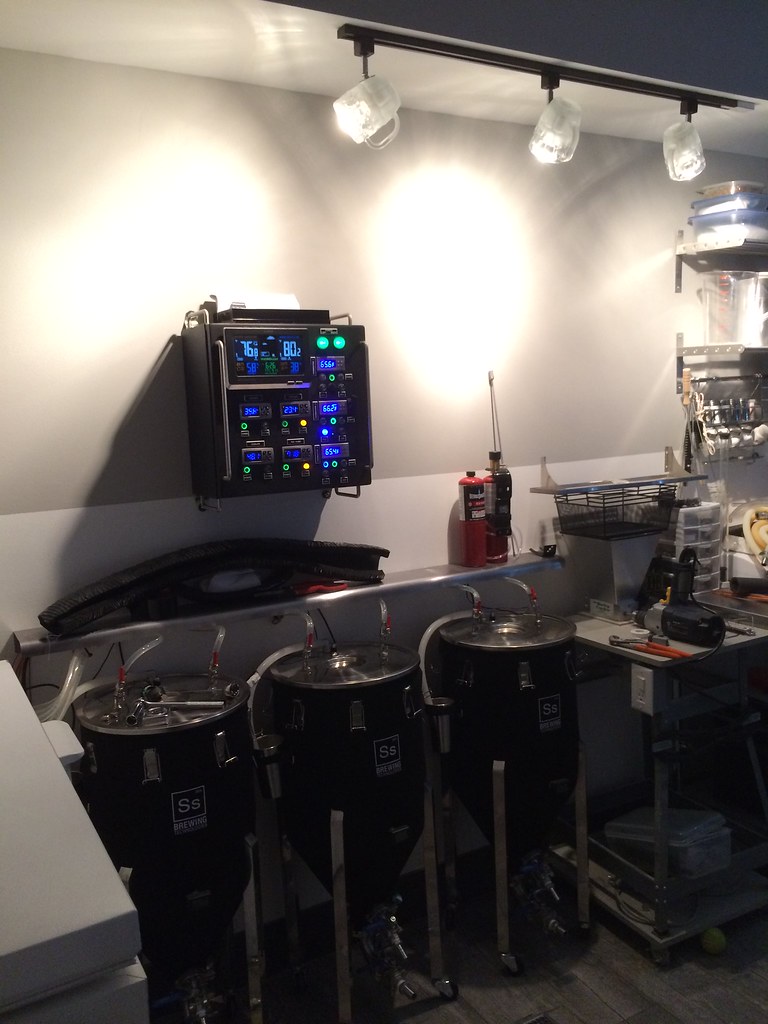
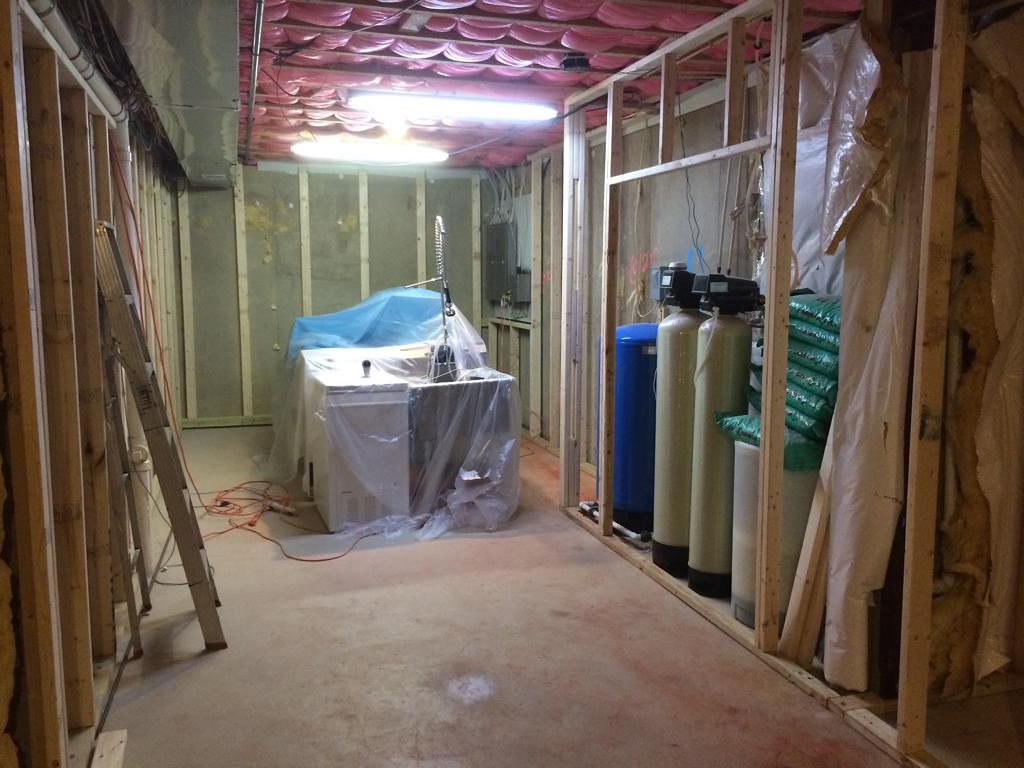
Brewery view of shelves, hood, cooler, keezer and freezer
 IMG_9053 by jonymac, on Flickr
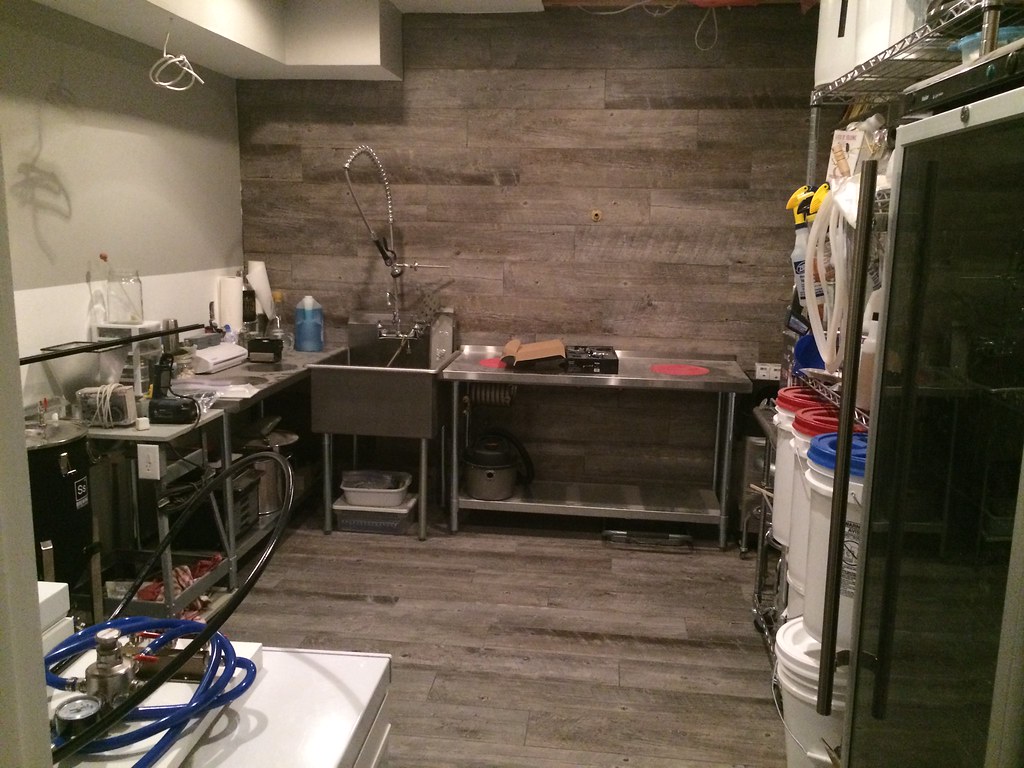
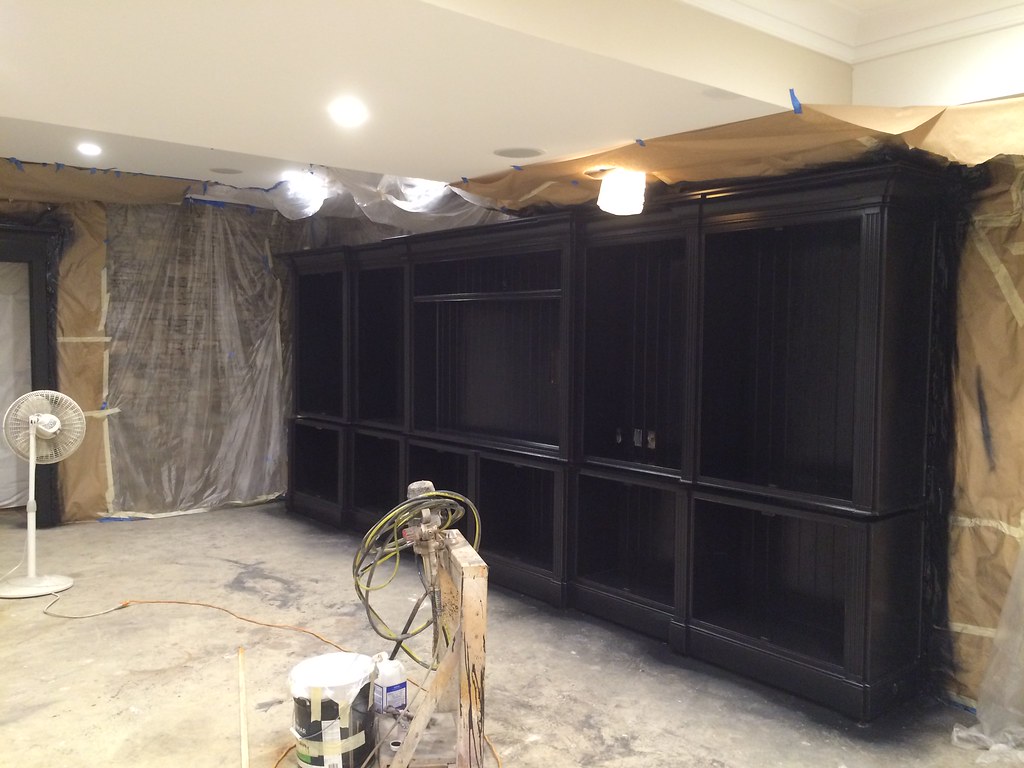
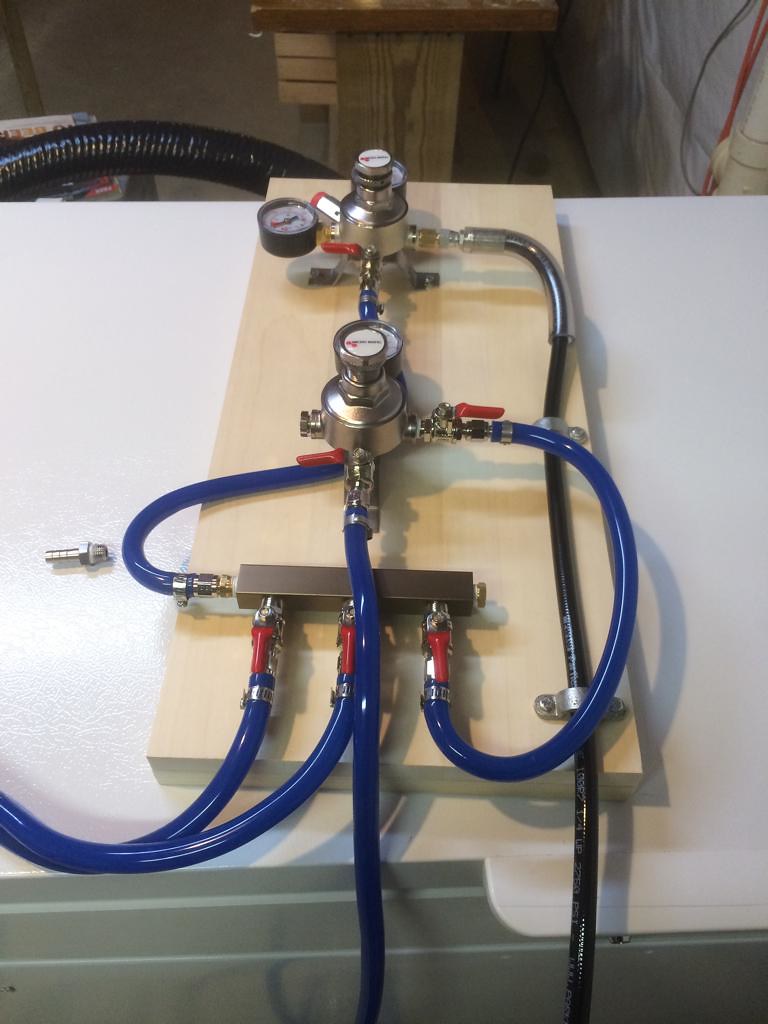
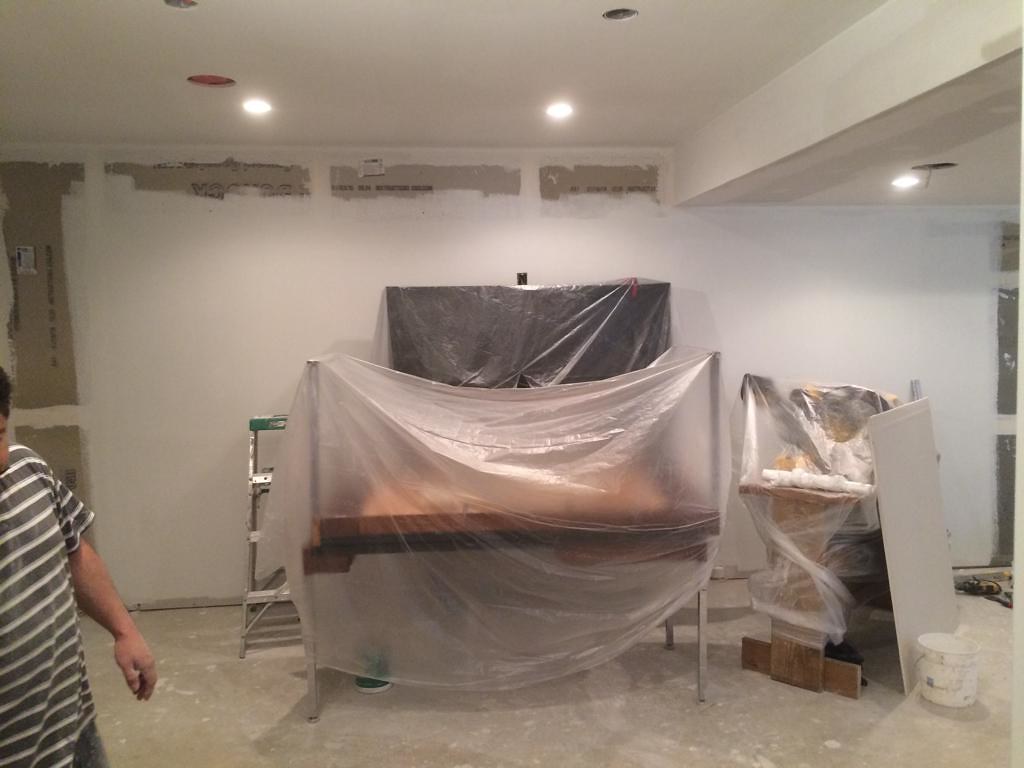
Bar and brewery getting prepped.
 IMG_8855 by jonymac, on Flickr
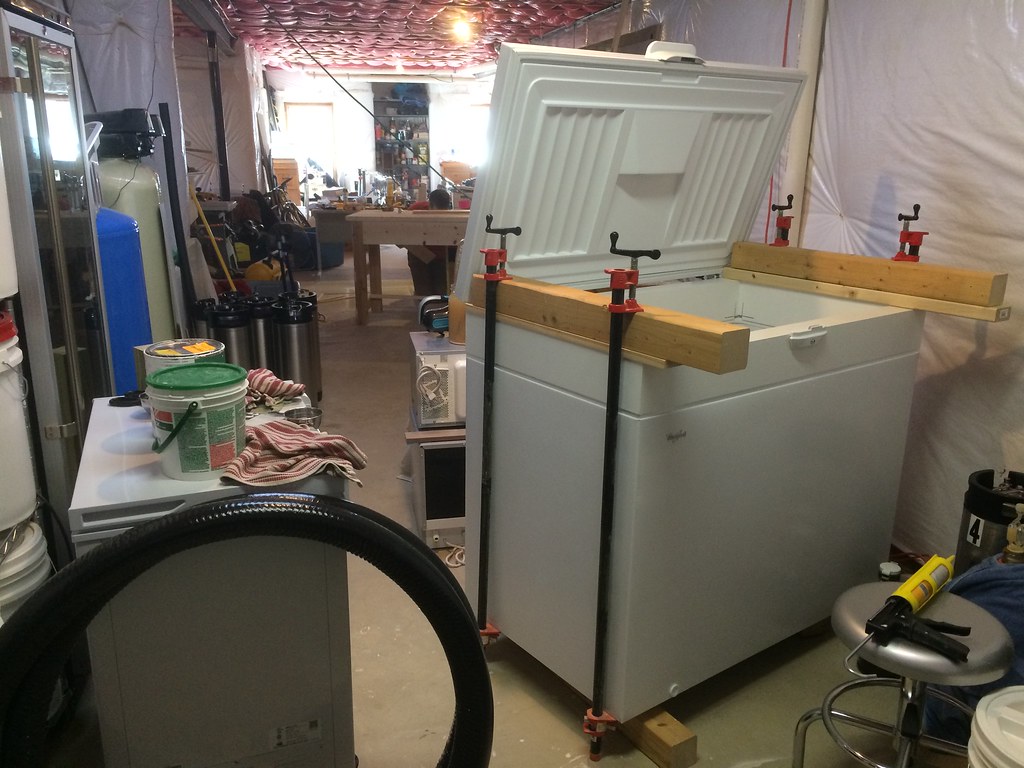
My keezer build where the bar will be.
 IMG_8951 by jonymac, on Flickr
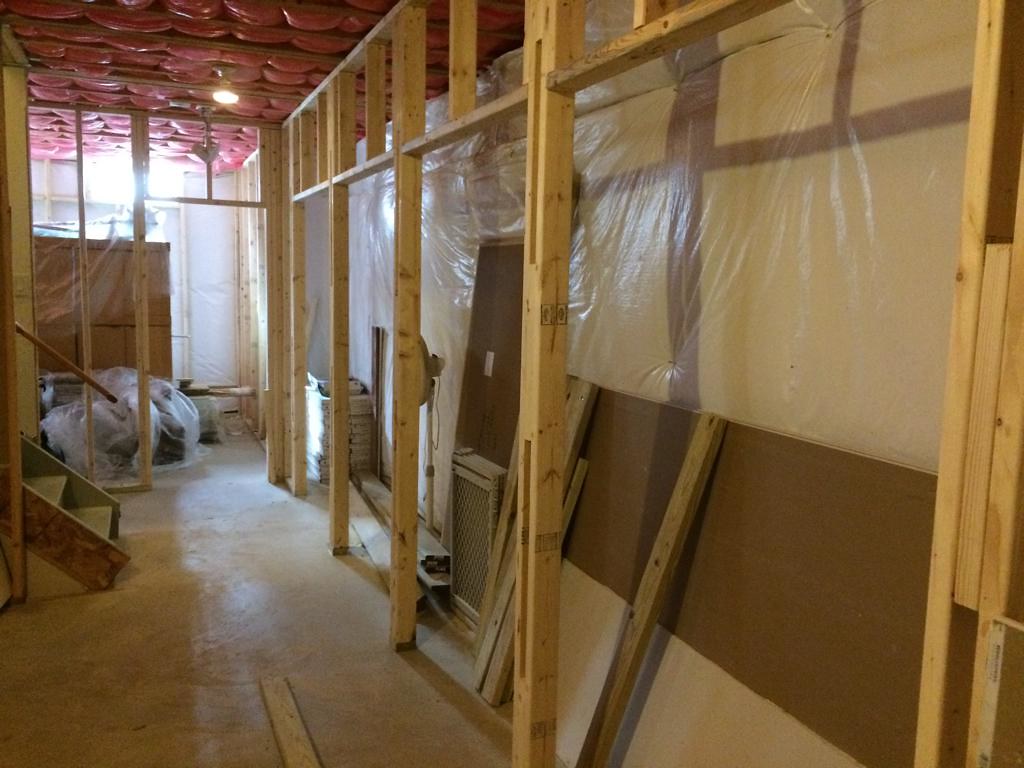
Studs go up.
 IMG_8903 by jonymac, on Flickr
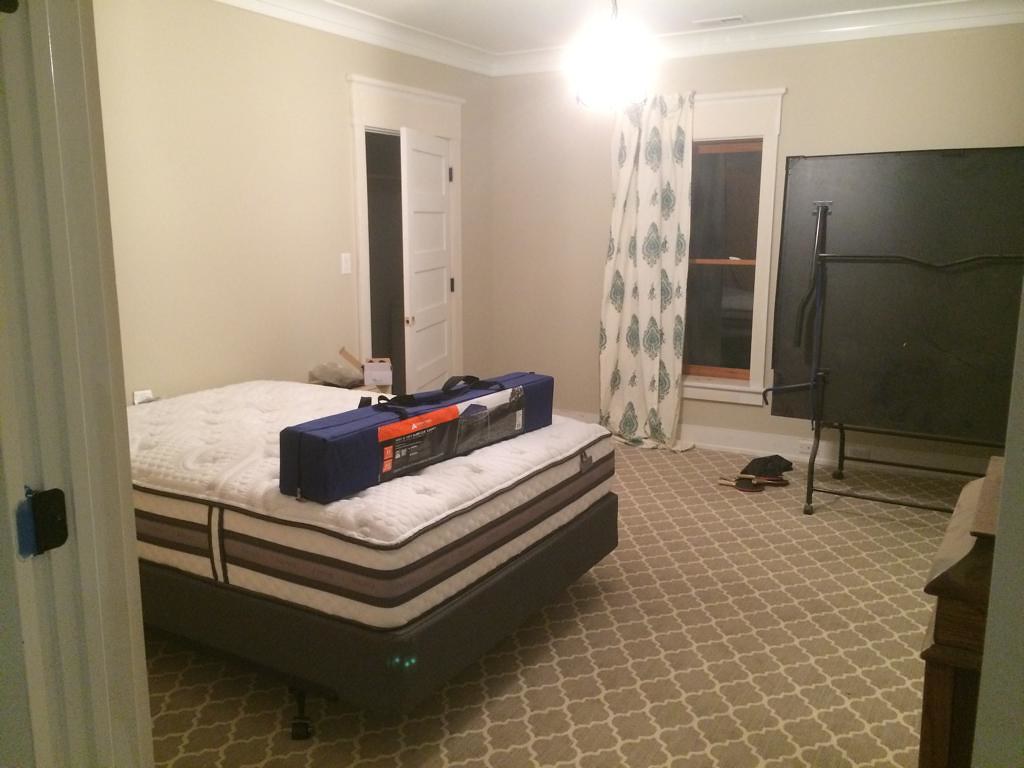
Guest bedroom.
 IMG_8963 by jonymac, on Flickr
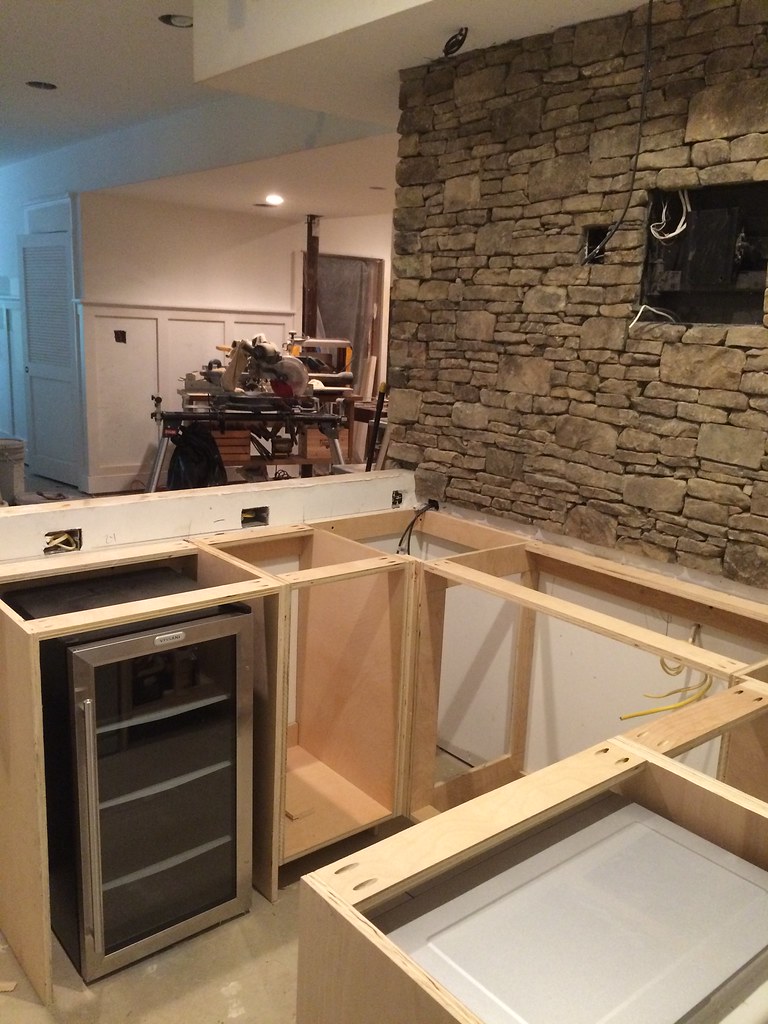
Brewery studs going up.
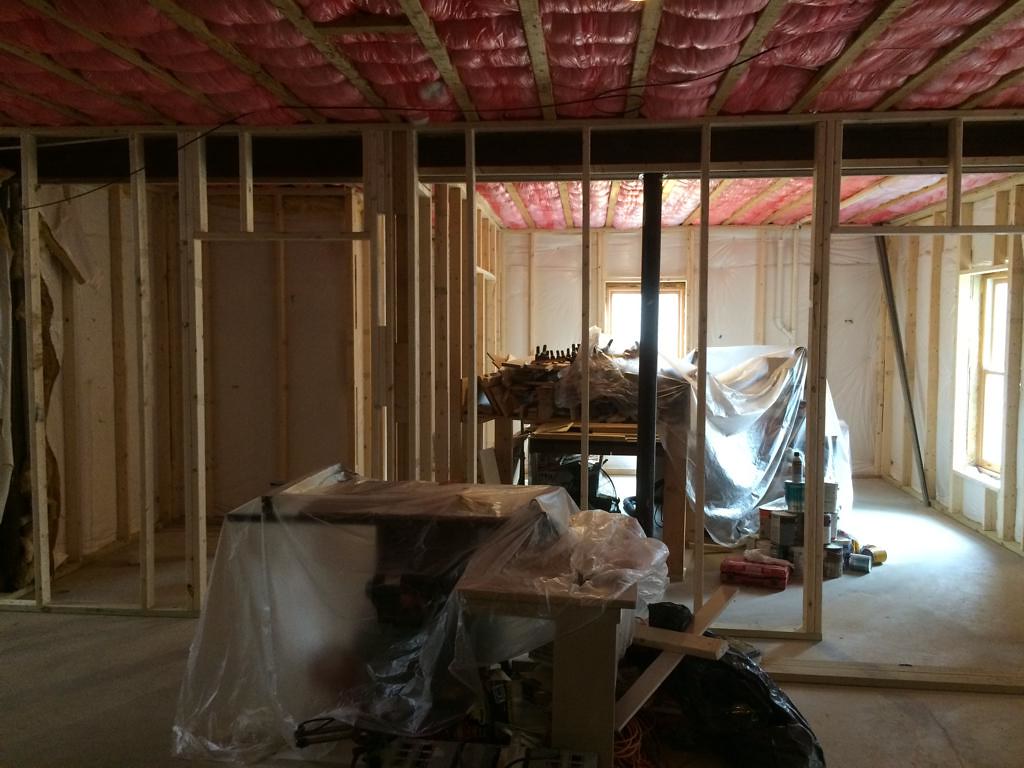 IMG_8952 by jonymac, on Flickr
Facing bedroom and bath.
 IMG_9116 by jonymac, on Flickr
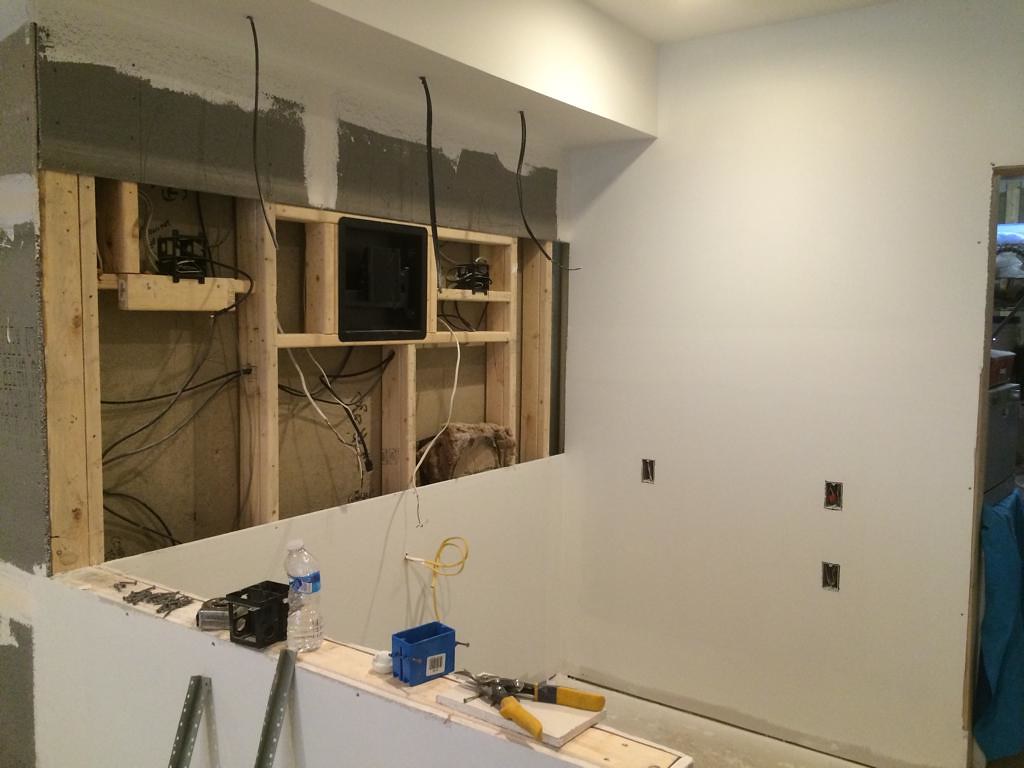
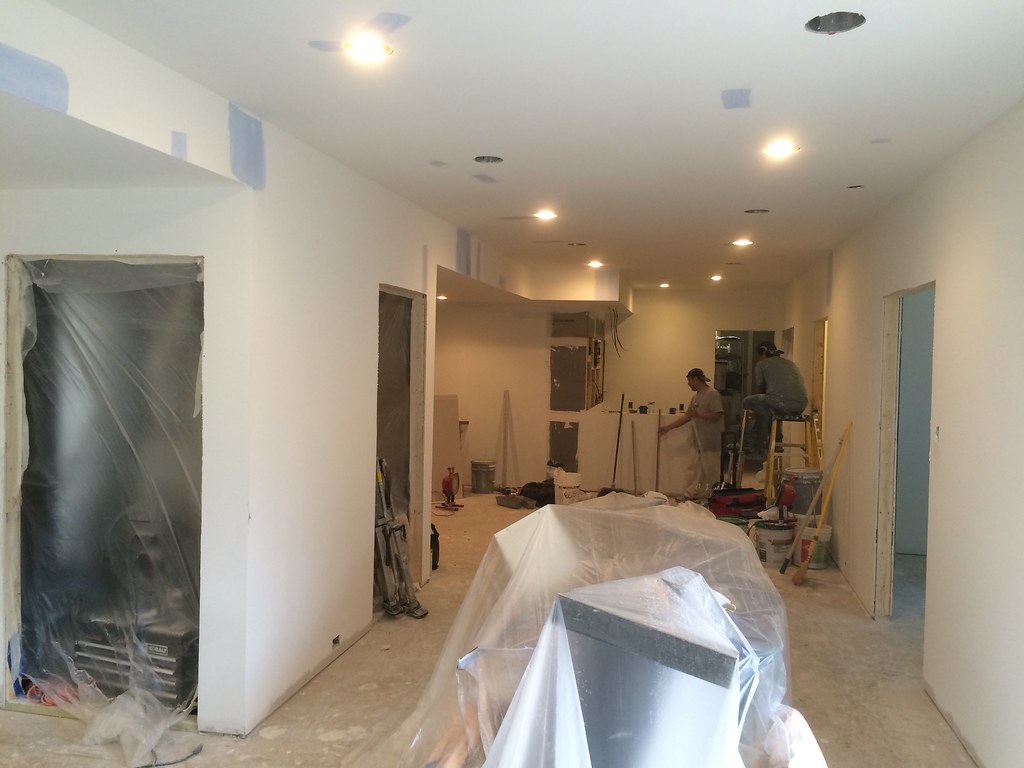
Theater room wall being drywalled.
 IMG_9111 by jonymac, on Flickr
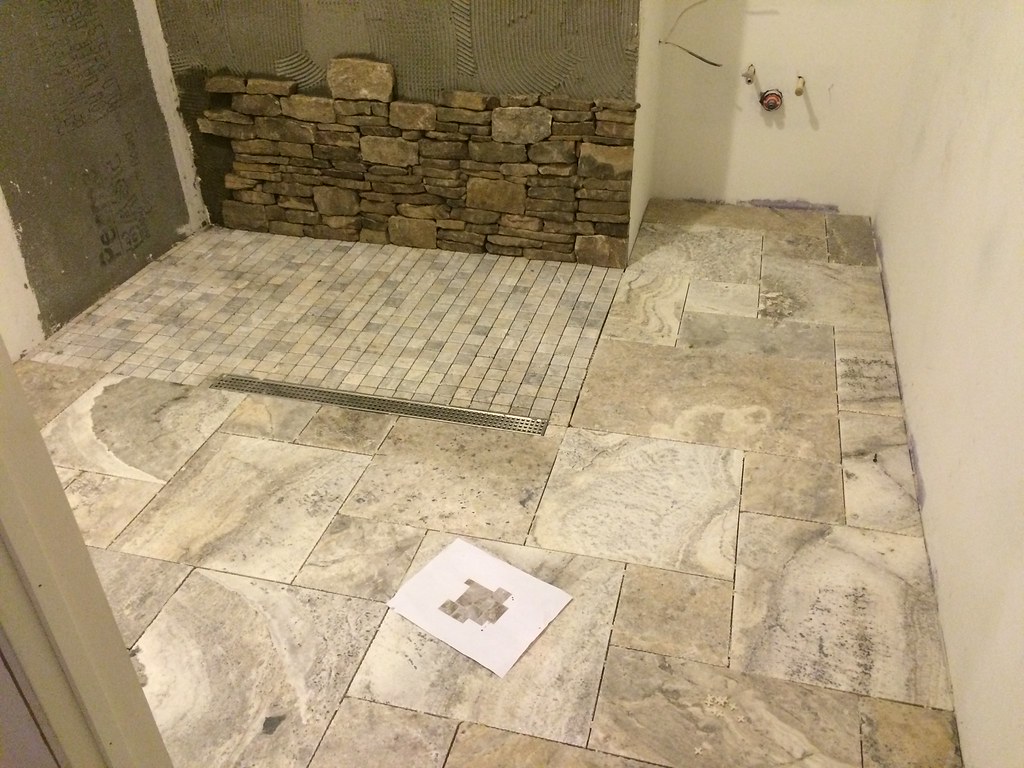
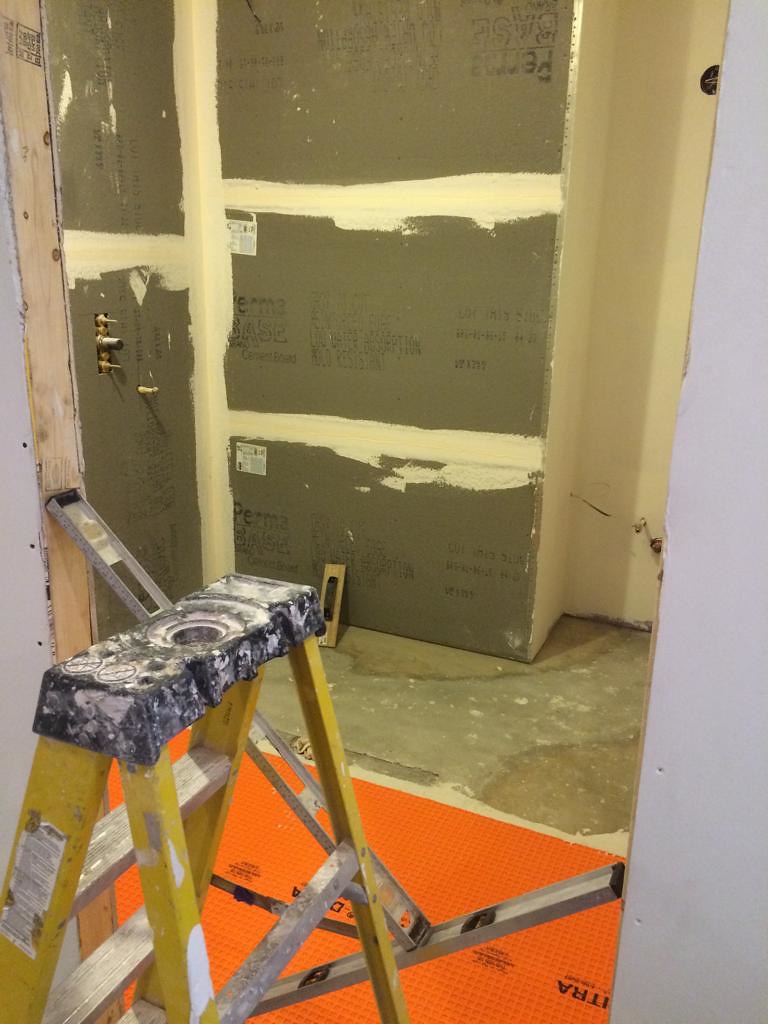
Bathroom greenboard.
 IMG_8968 by jonymac, on Flickr
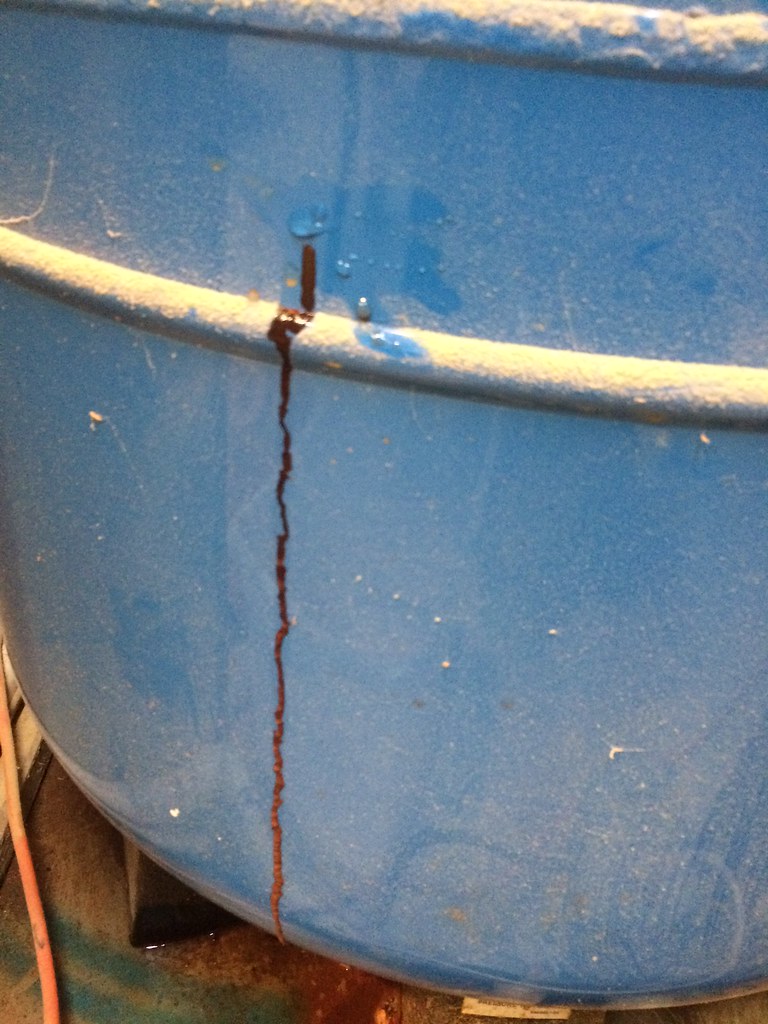
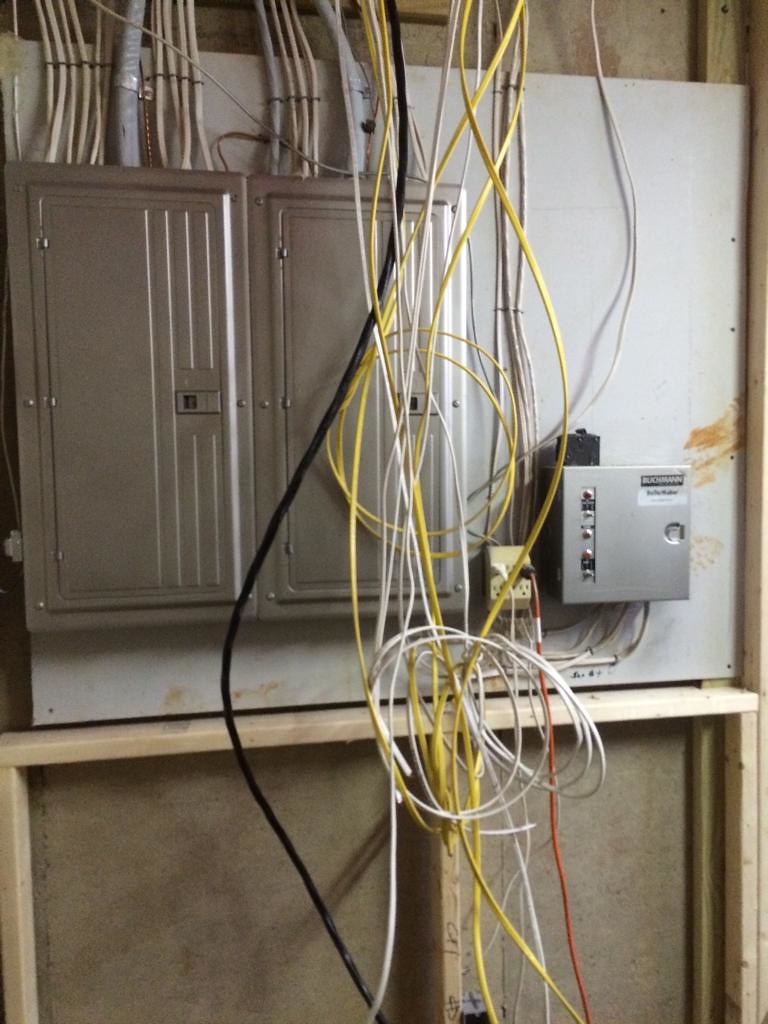
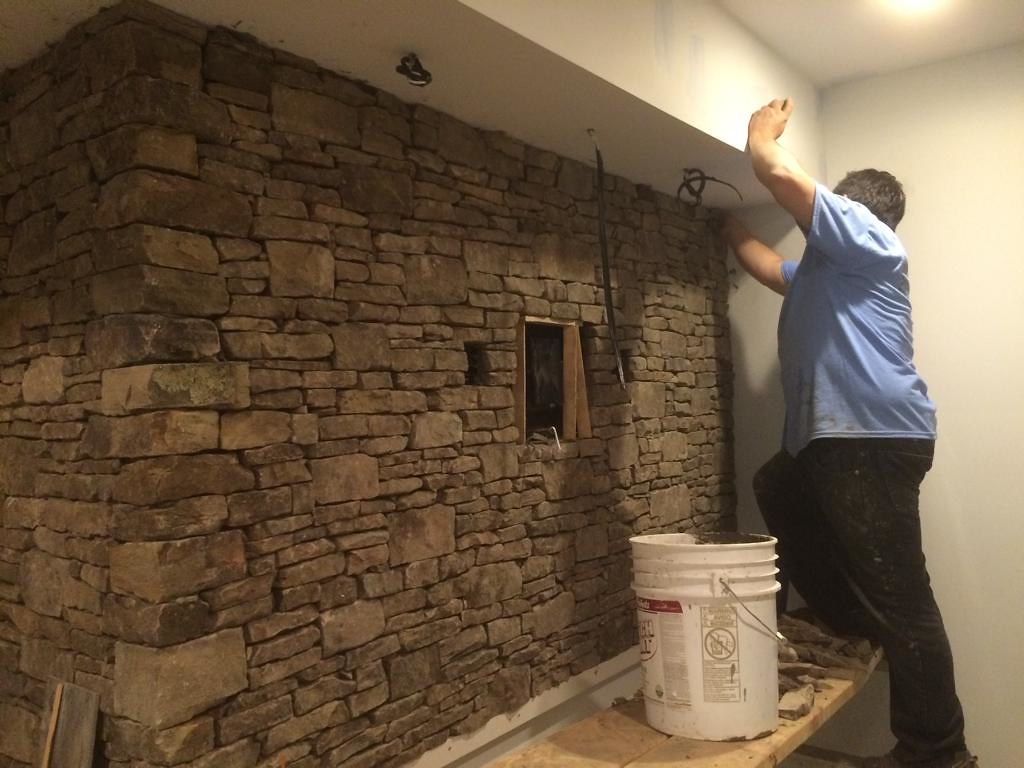
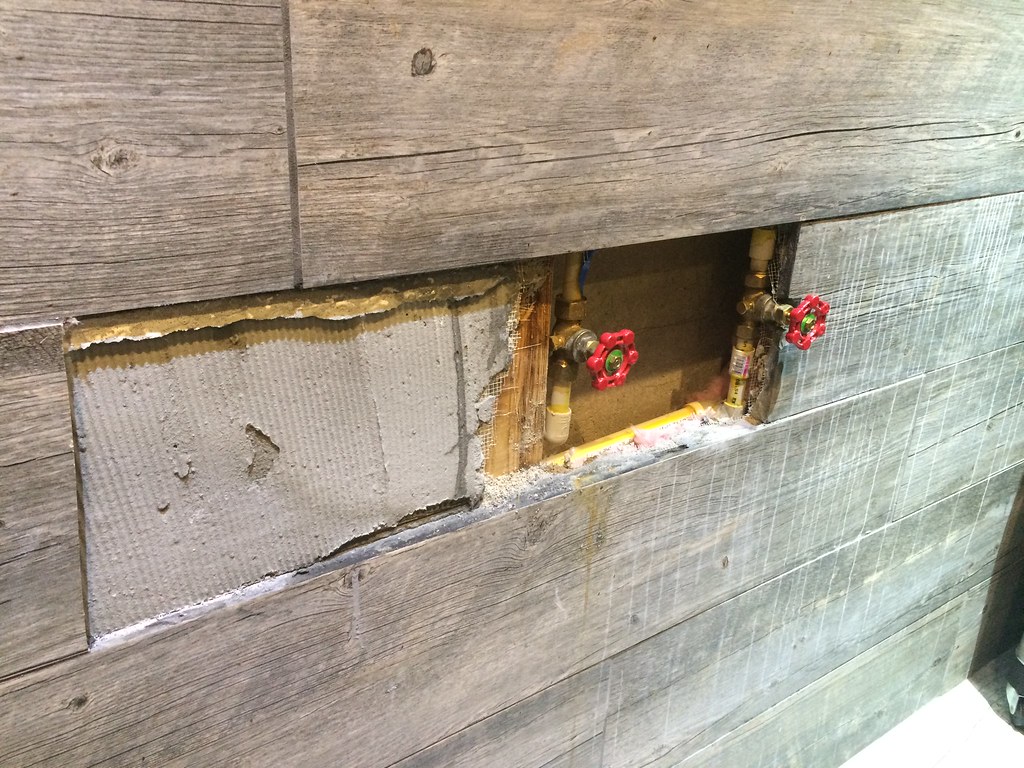
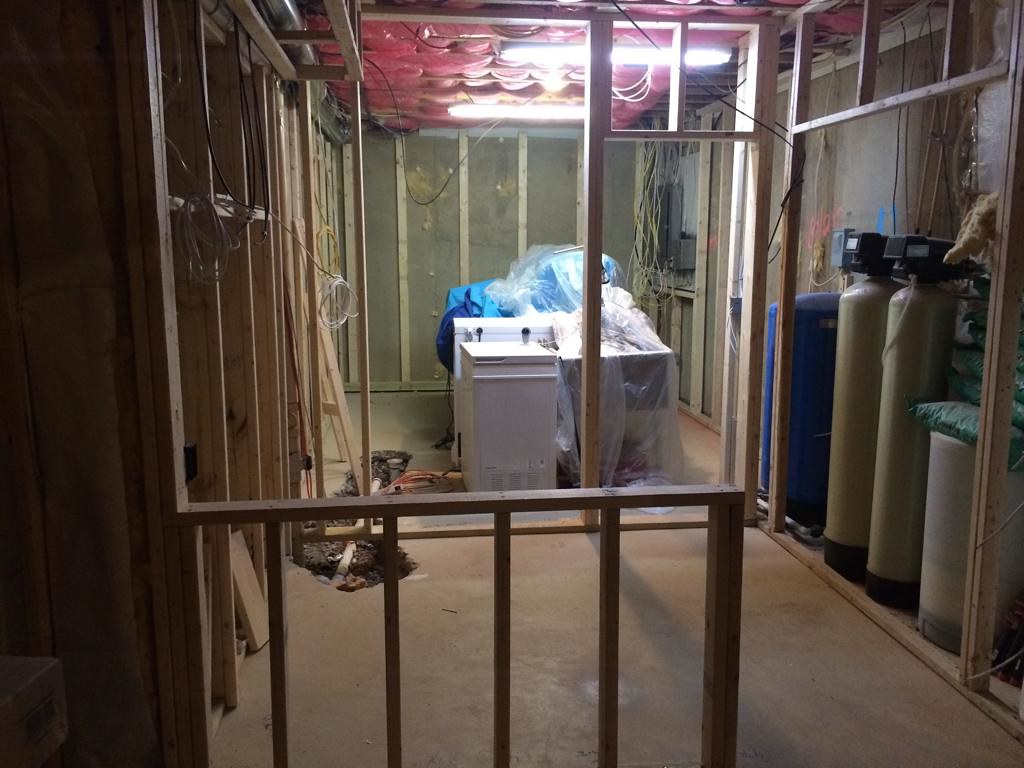
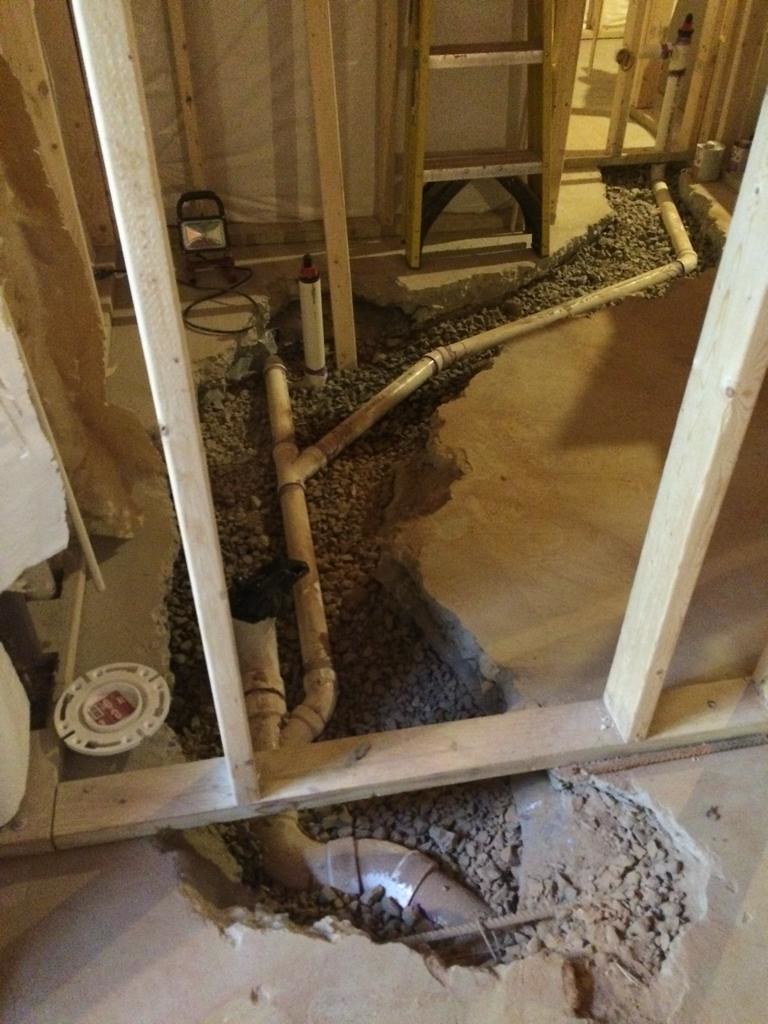
Had to jack hammer the floor for the bath and the brewery to install floor drains and move some plumbing.
 IMG_9095 by jonymac, on Flickr
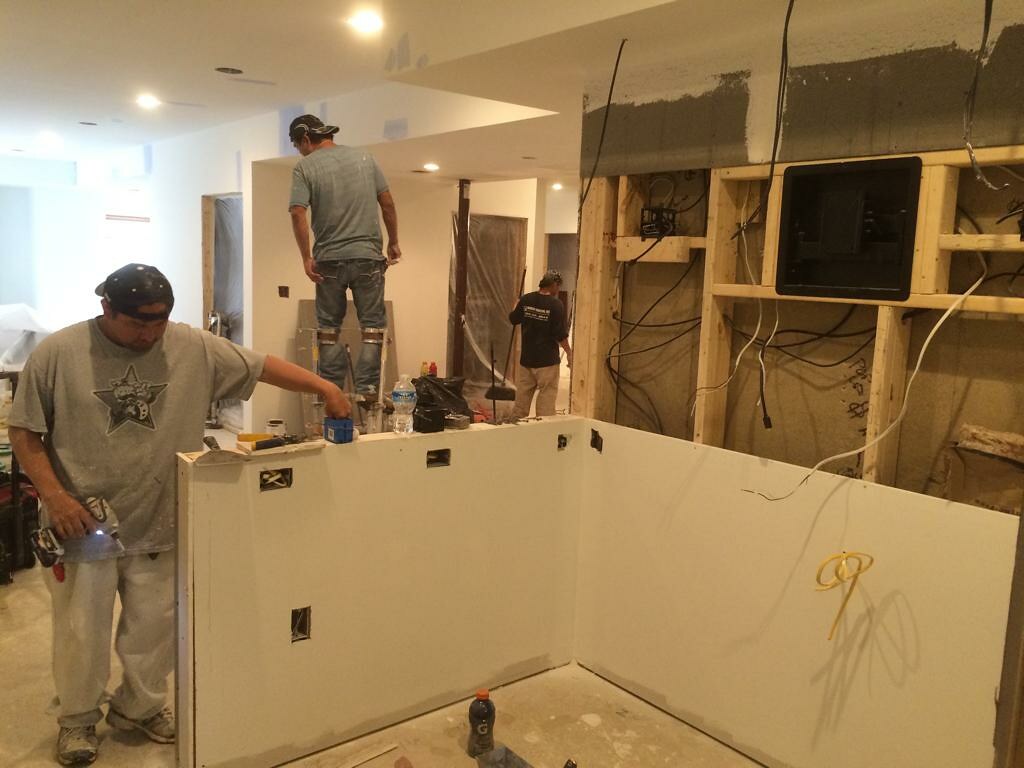
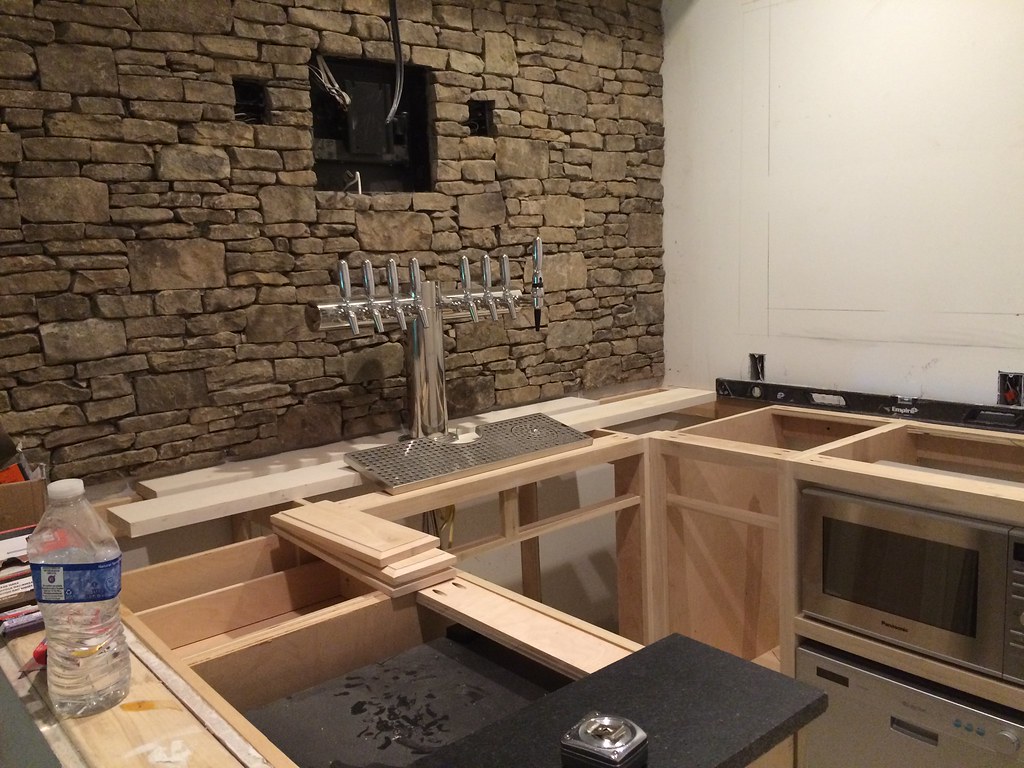
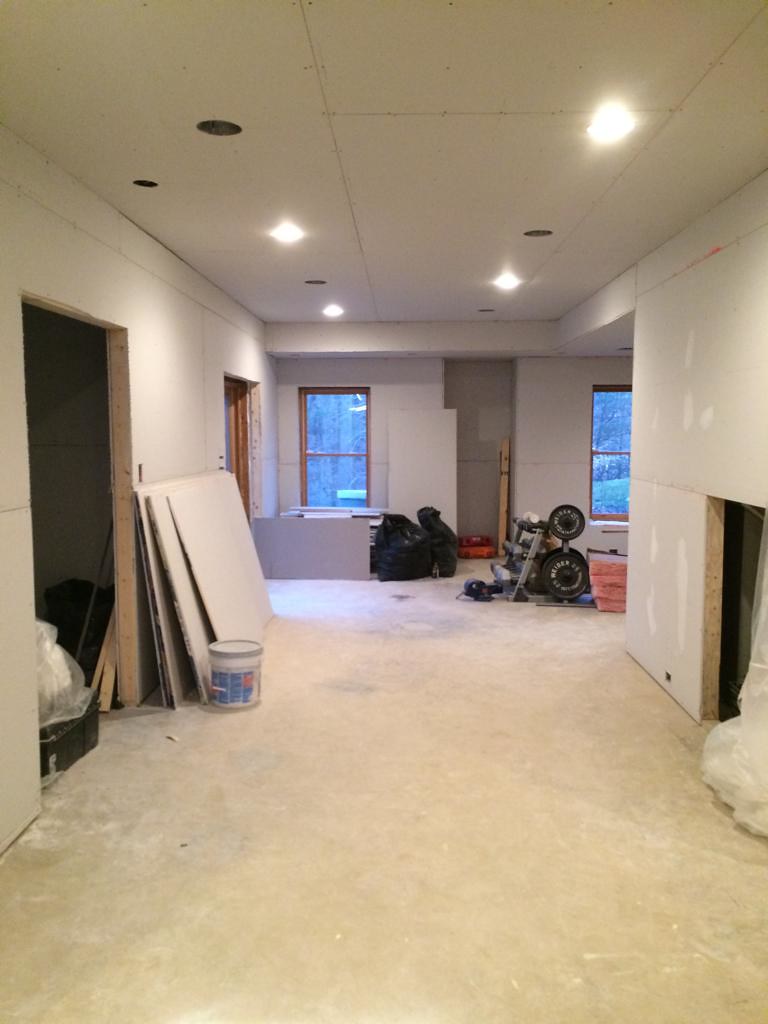
Looking from bar area towards rec room.
 IMG_9108 by jonymac, on Flickr
Looking towards bar and brewery from rec room.
JonyMac
1 by jonymac, on FlickrOverall view of the layout - I used Google Sketchup for this. The space is roughly 1800 square feet.
2 by jonymac, on FlickrBrewery and bar layout - circles at top are conicals - circles to the right are kettles.
3 by jonymac, on FlickrView of the bar, brewery and theater builtins.
4 by jonymac, on FlickrCloseup of the bar with 3 screens - 1 for raspberry pints tap board, 1 for sports, the last for brewing recipes
5 by jonymac, on FlickrBrewery view of shelves, hood, cooler, keezer and freezer
IMG_9053 by jonymac, on FlickrBar and brewery getting prepped.
IMG_8855 by jonymac, on FlickrMy keezer build where the bar will be.
IMG_8951 by jonymac, on FlickrStuds go up.
IMG_8903 by jonymac, on FlickrGuest bedroom.
IMG_8963 by jonymac, on FlickrBrewery studs going up.
IMG_8952 by jonymac, on FlickrFacing bedroom and bath.
IMG_9116 by jonymac, on FlickrTheater room wall being drywalled.
IMG_9111 by jonymac, on FlickrBathroom greenboard.
IMG_8968 by jonymac, on FlickrHad to jack hammer the floor for the bath and the brewery to install floor drains and move some plumbing.
IMG_9095 by jonymac, on FlickrLooking from bar area towards rec room.
IMG_9108 by jonymac, on FlickrLooking towards bar and brewery from rec room.


![Craft A Brew - Safale BE-256 Yeast - Fermentis - Belgian Ale Dry Yeast - For Belgian & Strong Ales - Ingredients for Home Brewing - Beer Making Supplies - [3 Pack]](https://m.media-amazon.com/images/I/51bcKEwQmWL._SL500_.jpg)