• Please visit and share your knowledge at our sister communities:
  • If you have not, please join our official Homebrewing Facebook Group!

    Homebrewing Facebook Group

Immersion Chiller Output Hose

Homebrew Talk

Help Support Homebrew Talk:

This site may earn a commission from merchant affiliate links, including eBay, Amazon, and others.

Guidry

Well-Known Member
Joined
Jan 16, 2009
Messages
645
Reaction score
36
Location
Denham Springs, La
Finishing up my IC and am planning on brewing and using it this weekend. All of a sudden something occured to me. From what I have read, and by logic, I understand that the water emmerging from the chiller, at least that the beginning will be very hot. My thought was to attach a length of hose to direct it out to the street. Can I use a regular garden hose for this, or will the heat be too much and cause the hose to fail?
 
Regular hose is just fine. I hook mine up to a sprinkler and water the lawn. by the time the water goes through the air and hits the ground it's plenty cool.
 
I found out just how hot the first bit of water running out of an immersion chiller is this last sunday. I placed the chiller in the wort and went over to the faucet and turned it on. I didn't turn the water pressure up enough so the slow running water that initially came out was scalding hot. Got a huge blister on my foot to remind me not to do that again.
My advice would be to turn the water on before you drop your coil into the wort; and make sure you have the pressure high enough so the exhaust isn't boiling hot. Enjoy being able to cool your brews in short time!
:rockin:
 
[...]My advice would be to turn the water on before you drop your coil into the wort[...]

The downside of that is you don't get the benefit of auto-magic sanitation of the IC that having it - drained - in the BK for the last 10-15 of the boil provides.

I typically brew bare foot for at least half the year. My advise - and practice - is to make sure the IC is well drained, hook it up to the hoses, stick it in the kettle, let it simmer for those 10 minutes - and then make sure the drain hose is secured in a non-threatening position before turning on the cooling water full blast...

Cheers!
 
Yikes Tripper! I've had spent grain wort drip through my shoes and that was too hot. Don't think I'd ever try that unless I'm armchair brewing (teaching noobies while imbibing).
 
Yikes Tripper! I've had spent grain wort drip through my shoes and that was too hot. Don't think I'd ever try that unless I'm armchair brewing (teaching noobies while imbibing).

It encourages extra care, that's for sure ;) But I did 187 gallons in 2011 and didn't scald a single tootsie :rockin:

Cheers!
 
The downside of that is you don't get the benefit of auto-magic sanitation of the IC that having it - drained - in the BK for the last 10-15 of the boil provides.

I typically brew bare foot for at least half the year. My advise - and practice - is to make sure the IC is well drained, hook it up to the hoses, stick it in the kettle, let it simmer for those 10 minutes - and then make sure the drain hose is secured in a non-threatening position before turning on the cooling water full blast...

Cheers!

+1

Be careful please! Hook the hoses up first then put your IC in your boiling wort. I have the 3rd deg burn scars to prove that not paying attention to that little factoid can get you hurt BAD. As dumb (no brainer) as that sounds, it is easy to forget when you get a few brews in you.

It's amazing how fast you sober up when you get hit with 212F water.
 
day trippr, good post. i agree you probably will cool the wort a few degrees if the IC is already running, (missing out on that boiling off of anything nasty from the IC) but damn i felt like an idiot. On the upside after I ripped my burning shoe and sock off to cease the scorching of my foot, I got to soak my burnt/barefoot in the runoff for the next 10 minutes.
At any rate, watch out, ****e gets hot!
:mug:
 
Regular hose is just fine. I hook mine up to a sprinkler and water the lawn. by the time the water goes through the air and hits the ground it's plenty cool.

I am about to invest in an immersion chiller and have been searching for this very answer. I was hoping this would be the answer since i live in drought ridden so cal and have a hard enough time watering my lawn
Between that and worrying about wasting water...
Thanks!
 
When I plumbed in the drain for my immersion chiller, I upgraded to a washing machine hose. I did destroy a garden hose over the long term - lost its rigidity and would kink during use.
 
In my small batch/high diameter IC the output water is very cold. I actually put my kettle in a bucket that sits in a sink and run the output into this bucket so that output water cools the kettle from the outside, too.
 
I am about to invest in an immersion chiller and have been searching for this very answer. I was hoping this would be the answer since i live in drought ridden so cal and have a hard enough time watering my lawn
Between that and worrying about wasting water...
Thanks!

I'm from same area . This is why when I made my IC i didnt put any fittings on the end . I just slip clear hoses on each end. One end is fed by a submersible pump in an ice chest full of ice water the out hose I collect the first bit that's super hot for cleaning then once it cools a bit I route it to dump into the ice chest .
 
My IC has an on/off valve at the input (that I added). I connect the input hose and turn on the water, but nothing goes through the chiller until I open that valve at the input connection.

For the output, I run a 10' hose to the driveway which I secure with a brick to make sure the runoff is directed away from the brewing area.

Drop the chiller in for sanitation with 10 mins left, at zero I turn off the burner, open the valve on the chiller input connection and I'm chilling. If I have a WP hop addition, I can easily shut the chiller water off right there to hold at a certain temp, then turn back on when the steep is complete.

Lately, based on comments here, I have experimented with saving off some of the runoff for cleaning. That works out very well.

IC's are so easy to use, I can't figure out why anyone who isn't doing large batches (where ICs are less optimal) would use anything else. Why futz with cleaning/clogging/not knowing what the inside looks like on a plate or counterflow chiller for a 5 or even 10 gallon batch?
 
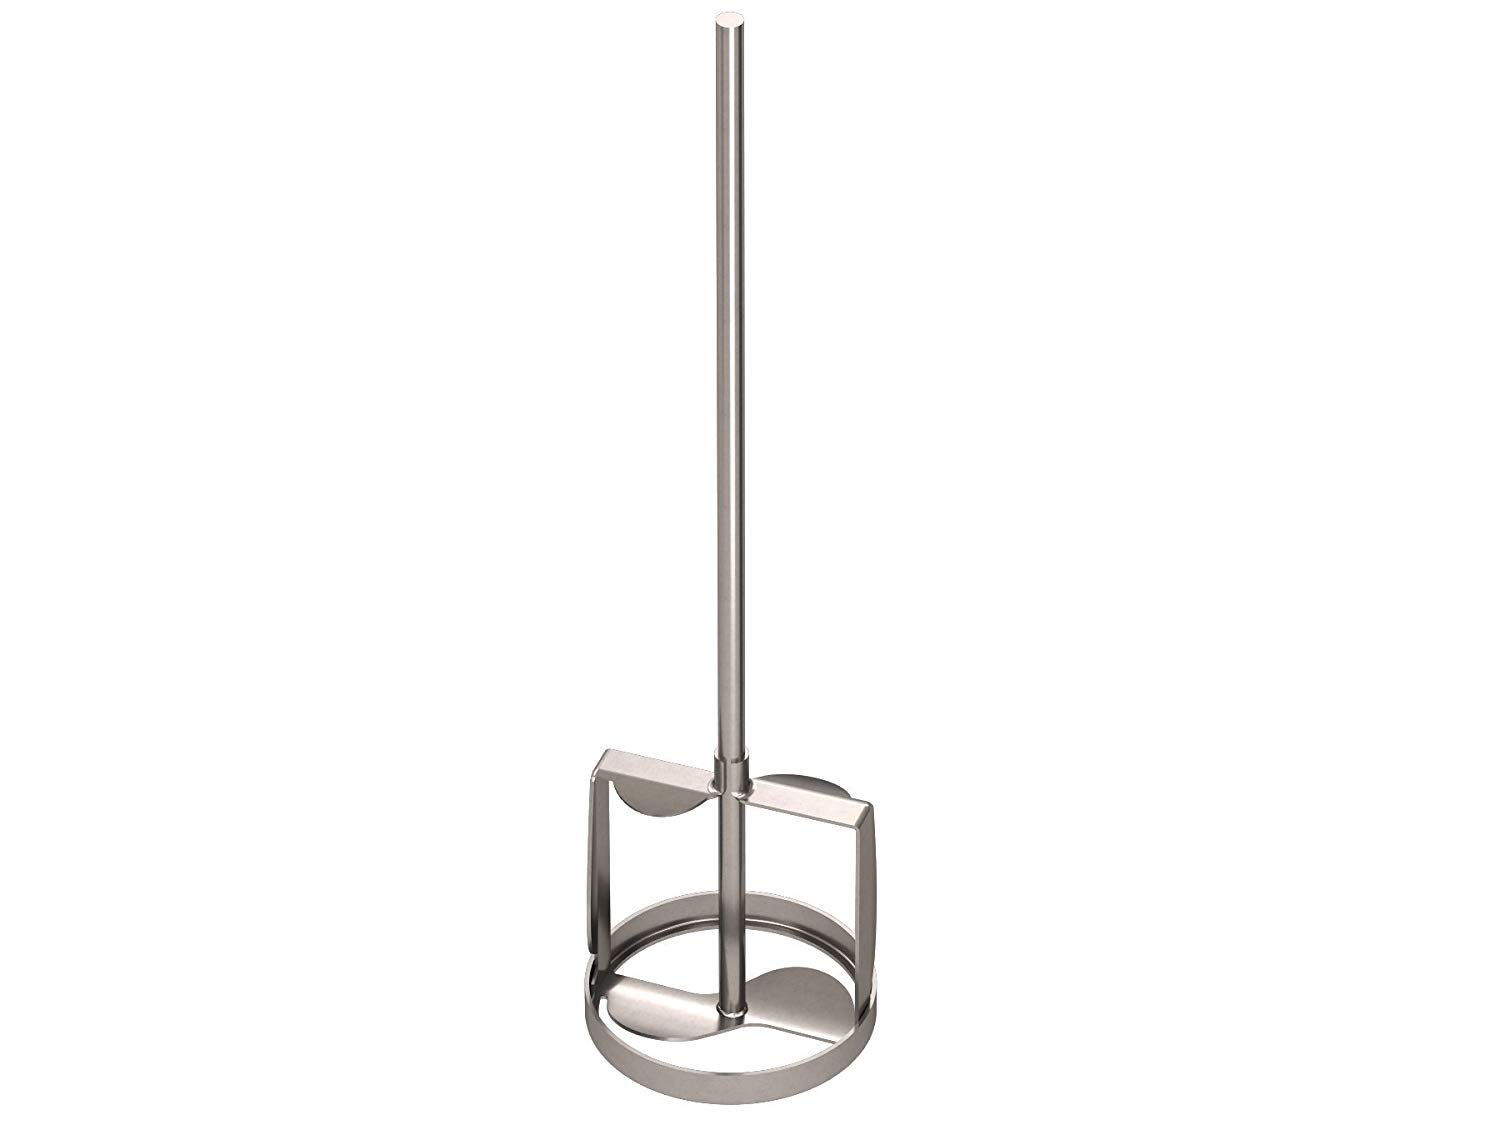
I bought a paint mixer years ago and use it with a cordless drill for both mashing in and stirring during chilling and for many other uses. https://www.amazon.com/15-180-Stain...s+paint+mixer&qid=1556052921&s=gateway&sr=8-4
paint mixer.jpg
 
I bought a paint mixer years ago and use it with a cordless drill for both mashing in and stirring during chilling and for many other uses. https://www.amazon.com/15-180-Stain...s+paint+mixer&qid=1556052921&s=gateway&sr=8-4
View attachment 623576
That's exactly what I was thinking. I see that a lot of people use pumps for counterflow to speed cooling. since I have a big family, and am in charge of mashed potatoes at Thanksgiving, i use the same setup for whipping up 20# of taters every year! ha ha!
I like the idea of using it tomash in also! cool...
How long does it take to chill your wort with that?
 
I have a Jaded Hydra IC so it takes about 10 minutes to go from 212 degrees to 80 degrees given my ground water temperature here in So. Cal. I use a 32 gallon trash can to capture the hot water coming from the outflow. It usually gets about 3/4 full before I stop chilling. I then throw my IC into the trash can full of warm water to soak. After the water has cooled, I use it to water my yard.
 
Last edited:
I have a Jaded Hydra IC so it takes about 10 minutes to go from 212 degrees to 80 degrees given my ground water temperature here in So. Cal. I use a 32 gallon trash can to capture the hot water coming from the outflow. It usually gets about 3/4 full before I stop chilling. I then throw by IC into the trash can full of warm water to soak. After the water has cooled, I use it to water my yard.

That's genius! I'm hitting Ace this weekend for a can.
 

Latest posts

Back
Top