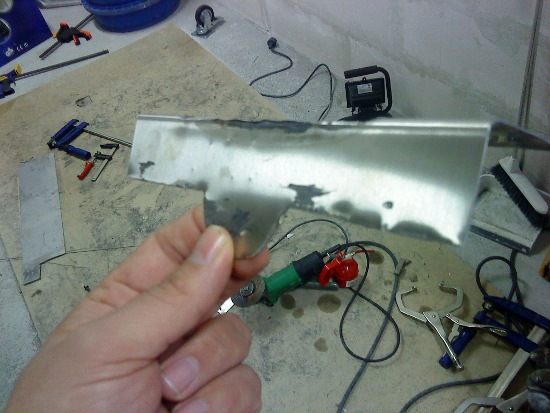
Latest addition to the brewing system is a plate heat exchanger. Not so much DIY as I got it from a fellow brewer. Took me about 30 seconds to decide that I would retire my huge IC.

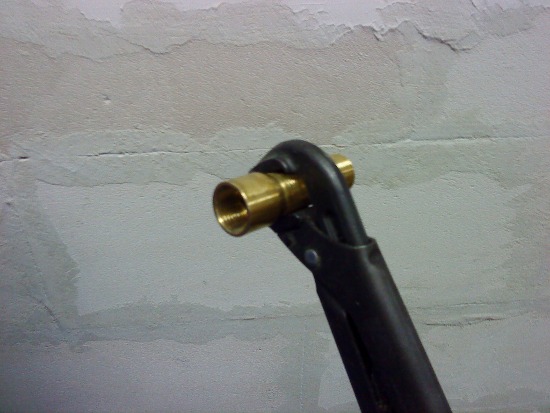
The heat exchanger has back ports for one of the flows (wort flow) that I will use to temp probe in temperature and out temperature (out temperature is really the only that I need) so I can regulate the chilling (tap water) flow.
Spec: 5000-7000 W/m² ºC
The heat exchanger has back ports for one of the flows (wort flow) that I will use to temp probe in temperature and out temperature (out temperature is really the only that I need) so I can regulate the chilling (tap water) flow.
Spec: 5000-7000 W/m² ºC


![Craft A Brew - Safale BE-256 Yeast - Fermentis - Belgian Ale Dry Yeast - For Belgian & Strong Ales - Ingredients for Home Brewing - Beer Making Supplies - [3 Pack]](https://m.media-amazon.com/images/I/51bcKEwQmWL._SL500_.jpg)


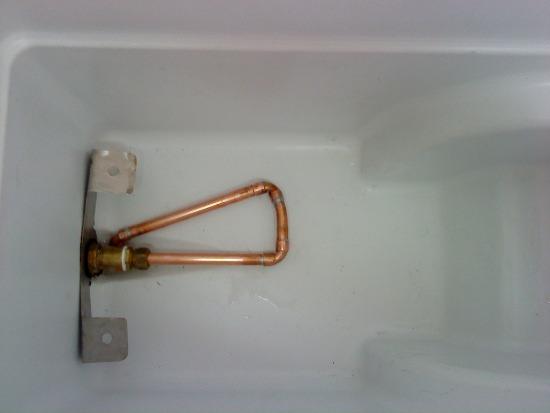
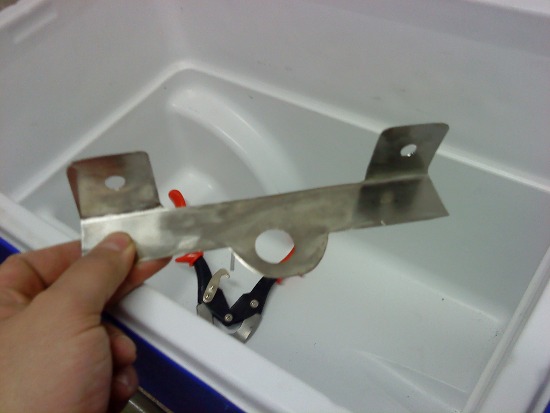
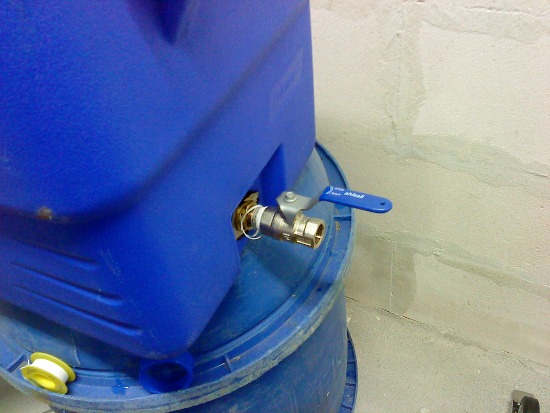
") that drains the MLT efficiently (low placed).
that drains the MLT efficiently (low placed).