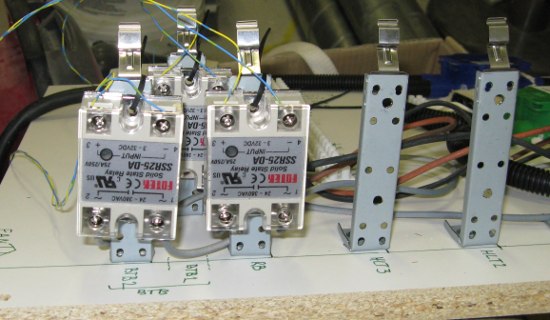
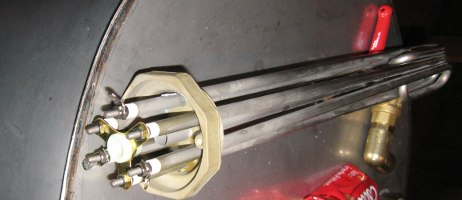
Are you going to be putting heat sinks on the SSRs?
Kal
+1. If you're passing 25A through a 40A SSR, you'll be generating some heat. I've seen hot SSRs stick closed... i.e. control voltage is cut, but the load stays energized due to it being too hot. The 40A SSR I have says to use a heatsink if the load is over 10A. You could probably mount all of the SSRs on a single heat sink easily enough.
btw, your accent reminds me of a friend of mine in Stockholm... and SSR stands for solid state relay. Keep up the good work! You obviously know what you're doing.
")


![Craft A Brew - Safale BE-256 Yeast - Fermentis - Belgian Ale Dry Yeast - For Belgian & Strong Ales - Ingredients for Home Brewing - Beer Making Supplies - [3 Pack]](https://m.media-amazon.com/images/I/51bcKEwQmWL._SL500_.jpg)

 no seriously that would actually be convienent