HOWTO - Make a BrewPi Fermentation Controller For Cheap

Homebrew Talk - Beer, Wine, Mead, & Cider Brewing Discussion Forum

Help Support Homebrew Talk - Beer, Wine, Mead, & Cider Brewing Discussion Forum:

This site may earn a commission from merchant affiliate links, including eBay, Amazon, and others.
Status
Not open for further replies.
Breaking news: "Buster" was just released. No, not your brother in law. This is Debian 10.

@day_trippr will watch and let us find all the potholes I'm sure. ;)

For BrewPi Remix users: The only issue I've noted so far is a small error (that can be ignored) when running doDepends - this is called on initial install as well as updating the packages.
 
Finished regression testing BrewPi Remix on Buster. Total of two failures:
  • Somehow a regex I used with sed in Stretch no longer works. Switched to pure bash and it's fixed (and backwards compatible). This only impacted multi-chamber installs and was a show-stopper
  • The CLI for pip was changed a bit where pip list --format=legacy no longer worked. Solved with a re-swizzle that's backwards-compatible but the original error is not a show-stopper
This is in the dev branch currently. I expect to be promoting this to master as soon as I can get back with @Thorrak on something I horked up. :)
 
After way too long working on this, I'm pleased to announce BrewPi Remix 0.5.3.0 / 0.2.12 Release!

The most significant improvements here that you will see are:
  • Support I2C LCDs - You can even have an LCD with no shield if that's how you want to go
  • Tilt Support
First install is as with other versions:
Code:
curl -L install.brewpiremix.com | sudo bash
Existing users of BrewPi Remix may upgrade with:
Code:
curl -L upgrade.brewpiremix.com | sudo bash
This must be run from within your /home/brewpi directory, or from each chamber directory in multi-chamber. After you have upgraded to 0.5.3.0 or above, you can subsequently use the following command because at/after this version it will update itself before running:
Code:
sudo /home/brewpi/utils/doUpdate.sh
Here's how it looks with Tilt:

BrewPi 0.5.3.0.png


Updates include:
  • Tools
    • Fix TZ detection
    • Fix user removal logic
    • Created backup script
    • Added restore functionality
    • Add support for Tilt
    • Flash beta firmware when using non-master branch
    • Skip wifi check when not using wifi
    • Prevent running installer as root
    • Major refactoring of code
    • Support Raspbian Buster
    • Moved repo to 'brewpi-remix' org
  • Scripts
    • Update Logmessage.h to match new Firmware
    • Added support for ESP8266 controllers (untested)
    • Removed Spark logic
    • Cleanup include files
    • Add multi-chamber support to updateFirmware
    • Add --shield (-h) to updateFirmware to allow switching shield type
    • Add --beta (-b) to updateFirmware to allow flashing pre-release Firmware
    • Significant improvements to doWifi
      • Remove false positives
      • Turn off WiFi power management
    • All Bash scripts now uses functions for portability
    • Added support for I2C shield type
    • Fixed temp defaulting to C when controller is in F
    • Fix for bounce on restart
    • Fix utils/testTerminal.py to allow it to be used to communicate with controller (been broken a long time)
    • Add logic to update the update script first
    • Support Raspbian Buster
    • Moved repo to 'brewpi-remix' org
  • WWW
    • Change default board to Uno
    • Fixed temp defaulting to C when controller is in F
    • Added an auto-refresh (2 mins) for chart
    • Tilt support
    • Stomped many Java errors which caused some noise when debugging
    • Added stubs for future iSpindel/Tiltbridge integration
    • Added new config page (future use)
    • Support Raspbian Buster
    • Moved repo to 'brewpi-remix' org
  • Firmware
    • Add support for I2C display (than you @Thorrak!)
    • Add I2C shield type (pin changes)
    • Add firmware auto-naming to PlatformIO compile
    • Add an additional actuator pin
    • Move LCD reset timer to config.h
    • Change reset timer to one hour
    • Add check on startup for rotary encoder being pulled low. If so, the LCD backlight timeout is disabled
    • Change LCD backlight timeout to 60 seconds
    • Update to atmelavr 1.14.0 from 1.13.0
    • Allow disabling backlight blanking via jumper on shield
    • Moved repo to 'brewpi-remix' org
  • Printed Circuit Boards
    • Added Rotary Encoder breakout (thank you @gromitdj!)
    • Added Shield Breakout
    • New RevC/I2C Selectable Shield v1.3.1a (thank you @CadiBrewer and @day_trippr!)
      • Four-Pin I2C header
      • Parallel LCD is now two banks of 6 rather than a straight 20-pin
      • Rotary encoder header
      • Breakout board support via RJ45
      • Door switch pins
      • Alarm pins
      • LCD backlight configuration jumper
      • LED headers (two wires each for heat and cool)
      • Re-order relay header to match relay pins
  • Userdocs
    • Initial release of BrewPi Remix docs
    • Re-release of Legacy docs for Legacy users
If you want to use the I2C there are two important things you need to keep in mind.

  1. I2C support is a separate firmware image and only available in version 0.2.12. Firmware 0.2.12 requires BrewPi Scripts/WWW v0.5.3.0
  2. You MUST select "A0" on the One-Wire selector for I2C, or "A4" for RevC
I've also created a large number of redirects from brewpiremix.com to make it easier to remember/find things:
I hope you all will get some use out of this.
 
Last edited:
Thanks, Lee! BrewPi Remix is the one for me! Though I am trying out those ESP8266 things.
 
You can use BrewPi Remix with the ESP8266 (not completely tested but it at least connects.) I have one sitting here next to me. :D
 
I'm a little bit confused about the BrewRemix. Is it a improved version (and seemingly, easier to install?) of the DIYBrewPi, but still using the same parts?
 
I'm a little bit confused about the BrewRemix. Is it a improved version (and seemingly, easier to install?) of the DIYBrewPi, but still using the same parts?
Fair question and thanks for asking! I know trying to get information around here is like taking a sip of water from a firehose. So many of us have been through the conversation over years we forget how to provide an entry point for a newer person.

Probably the best overview is on the README on the GitHub for BrewPi-Tools-RMX.

But, yes, easier to install. As a matter of fact one could not simply install BrewPi Legacy anymore on current Raspbian versions. That's how this started. Then I started fixing other things, adding features, it never ends. :)

The support for hardware is backwards-compatible for the same functionality. The firmware has been updated in a few places, and for instance one may now use an LCD without having to create or use a shield (although it makes things a lot easier for all other things.)
 
Ah, gotcha! I was going to refer the Wiki to a friend that wants to build a proofer that can do cold and warm temperatures, but when I checked on it, I saw the mention of BrewRemix and this is where the confusion started, as it wasn't really clear how it started and if it's an improved version.

Thanks for the quick response!
 
Ah, gotcha! I was going to refer the Wiki to a friend that wants to build a proofer that can do cold and warm temperatures, but when I checked on it, I saw the mention of BrewRemix and this is where the confusion started, as it wasn't really clear how it started and if it's an improved version.
Yeah the Wiki was made so that "information could be updated ... " yeah was never updated. So I posted a note there. I've created updated documentation, about 200 links (listed in the release post above) and we get to build on the community here. It's definitely the place to start for your friend, send him on over!

You mean proofer like a baker? Great, now I'm hungry. :)

Yeast is yeast - should work fine.
 
Yeah, like a bread proofer (and apparently also as cheese cave, since some temperatures can be very close), which requires warm temperatures depending on your goals and etc. My friend is starting his sourdough journey, so.... I thought, well, why not?

I'm also reading the BrewRemix documentation, lots of new stuff!
 
Received my new Raspberry Pi 4B+ today. Very nice kit if you get all their bits and pieces. Of course you don't need the kit, but I bought it anyway to see how it was. For a new Pi user it has everything needed except for the monitor:
  • Raspberry Pi 4 4GB Complete Starter Kit - 32GB Storage - $119.95
    • Raspberry Pi 4 Model B with 1.5GHz 64-bit quad-core ARMv8 CPU and 4 GB RAM
    • CanaKit USB-C Power Supply with Noise Filter (UL Listed) specially designed for the Raspberry Pi 4 (5-foot cable)
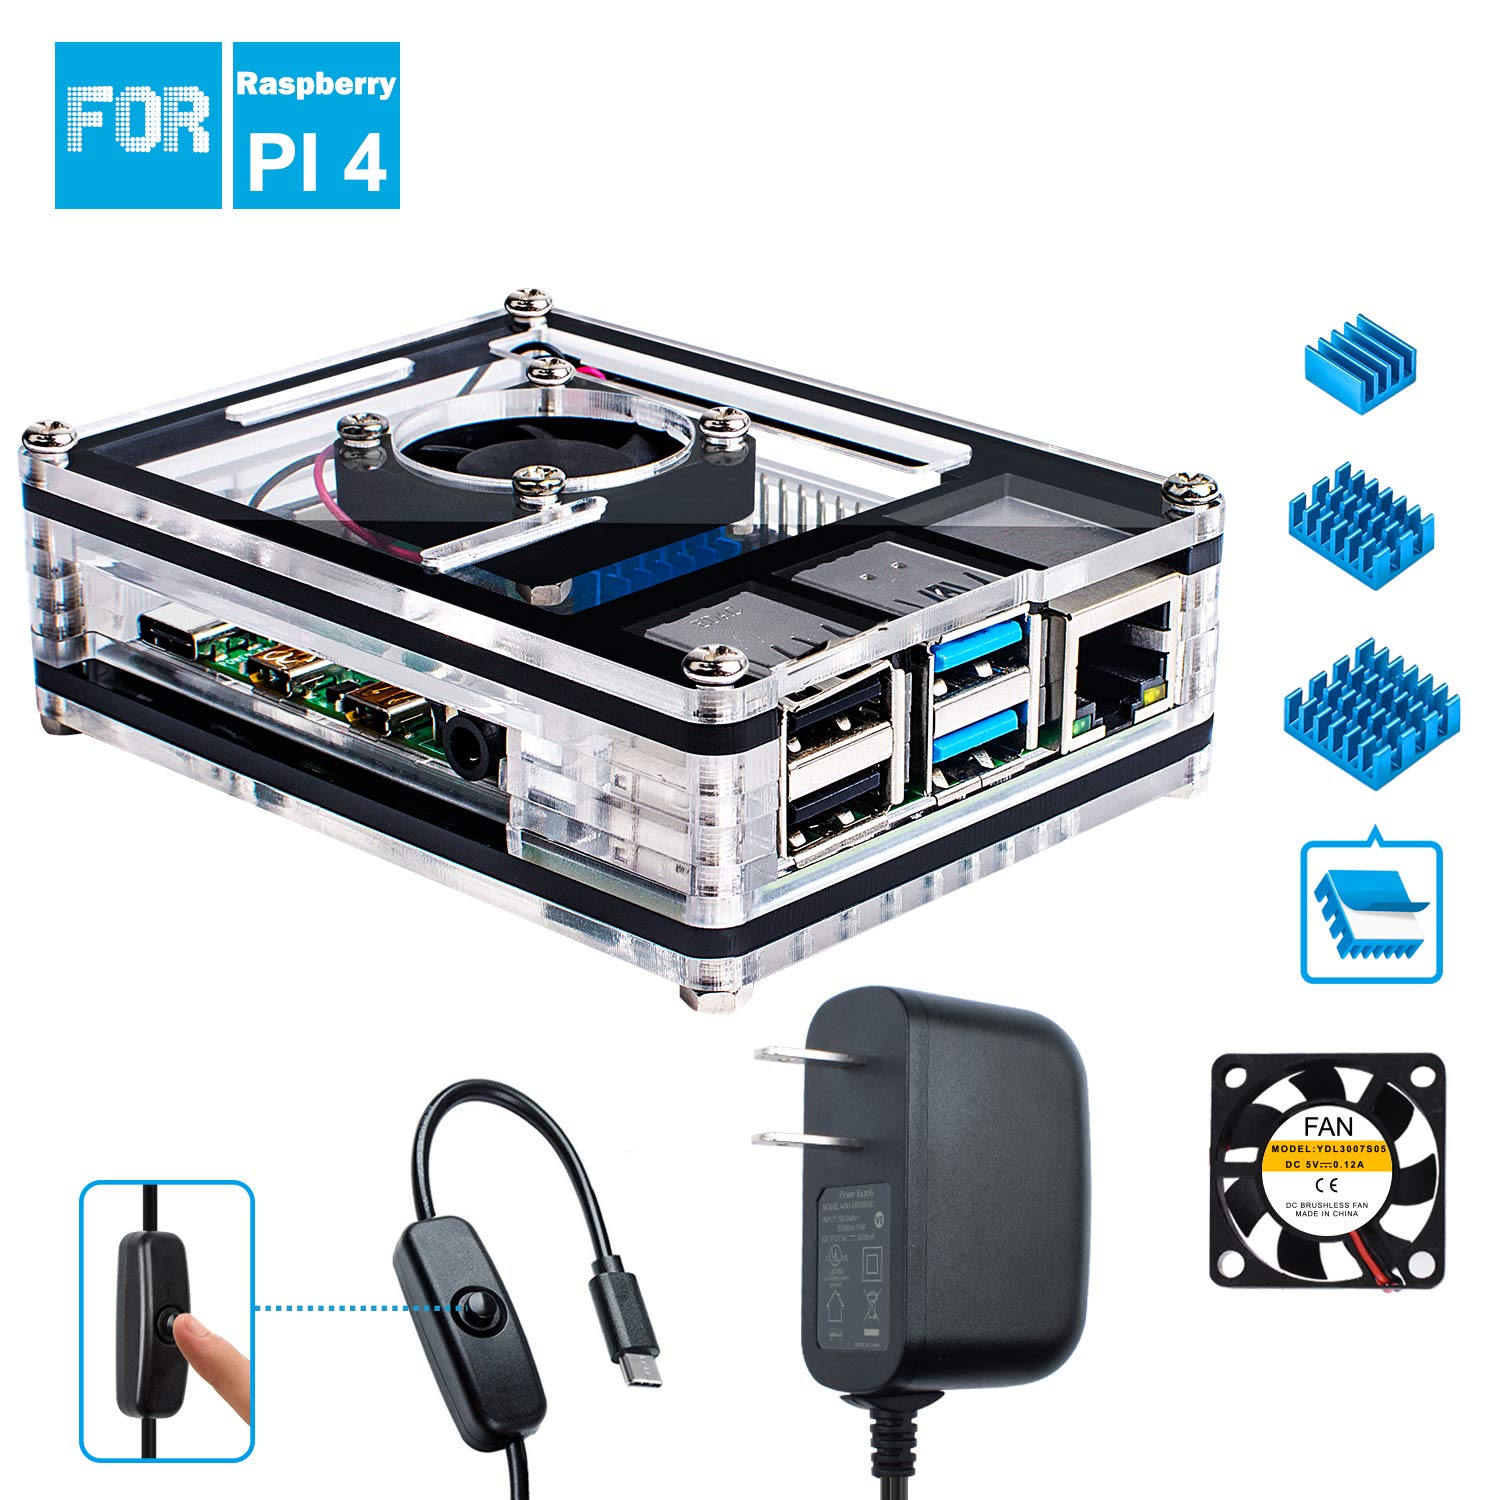
    • Official Raspberry Pi White/Red Case
    • Set of 3 Aluminum Heat Sinks
    • Official Raspberry Pi Keyboard
    • Official Raspberry Pi Mouse
    • Micro HDMI to HDMI Cable (6-foot cable)
    • SanDisk 32GB Class 10 MicroSD Card with NOOBS
    • USB Card Reader Dongle
    • CanaKit Quick-Start Guide (the one shipped was for the 3B+, here is the new one)
  • CanaKit Raspberry Pi 4 Pi Switch (USB-C) - $5.95
Note: New power supplies are needed. The RPi 4B+ uses a USB-C power connector and requires a 3A power supply. I also read something about some strangeness with the USB-C connector on the board which may not be 100% compatible with all supplies. Going to have to see how that part turns out.

I sprung an extra $5.95 for the power switch since I really like the convenience of the switch on the cable, and the aftermarket has not caught up offering the 3A supply with USB-C and switch (yet.)

So, $125.90 for a complete usable desktop computer really (plus monitor) ... that's not bad.

The kit is expensive if you are used to buying just the board. I don't see those on Amazon just yet. The Raspberry Pi 4 Basic Kit (board, power supply, heat sinks, guide) is $49.95 from Canakit which gets it down to where the 3B+ was. That's the 1 GB model; the 2 and 4 GB models would be $59.95 and $69.95 respectively. I've always liked Canakit's quality as well.

The box is nicely packed:

1-IMG-7624.JPG


And all the bits and pieces individually and appropriately packaged:

1-IMG-7625.JPG


... except for the board itself which was weird. It was in the cardboard box with no static bag. Weird. Anyway, the case is new since the Ethernet and USB have changed sides:

1-IMG-7629.JPG


And the entire setup has a nice aesthetic if you are into that sort of thing:

1-IMG-7630.JPG


Need a red and white monitor now. I'm sure it's coming. :)

Other than that, the experience is the same as you'd expect, with some added oomph from the processor and memory additions. The board is also POE capable with an additional hat, making it an interesting home automation candidate.

There it is, figured some of you would be interested in seeing it.
 
fwiw, by all accounts the unmodded case is a death sentence for the 4B, which really needs a fan (there are already "how to's" on how to mod the case for a fan).

Got Remix running on it yet?

Cheers! ;)
 
fwiw, by all accounts the unmodded case is a death sentence for the 4B, which really needs a fan (there are already "how to's" on how to mod the case for a fan).
No fan on this case, and it does not seem too hot. I'll bust out the infrared thermometer after coffee.

Got Remix running on it yet?
But of course! :)

Only a couple small Buster-related things I had to squash.
 
Release: BrewPi Remix Security / Bug Fix Release 0.5.3.1
  • Security
    • WWW
      • #9 - Escape special characters
      • #8 - Restrict file upload
    • Script
      • #45 - Hide .git from browser
      • #44 - Change BEERSOCKET security from 777 to 660
  • Bugs
    • Script
      • #50 - Wifi power management setting not working
      • #43 - No timestamp in stderr.txt
      • #34 - CSV file format
      • Fixed online version of doUpdate.sh
      • Fixed file read error in temperatureProfile.py
      • Fixed git-core always trying to install (been replaced by git)
    • WWW
      • #31 - Beer Profile display
      • #30 - No data graph
    • Tools
      • #23 - Warning about apt CLI
Existing users of BrewPi Remix 0.5.3.0 or above may upgrade with:
Code:
sudo /home/brewpi/utils/doUpdate.sh
Users with version prior to 0.5.3.0, or if you do not know your version, use the following:
Code:
curl -L upgrade.brewpiremix.com | sudo bash
This must be run from within your /home/brewpi directory, or from each chamber directory in multi-chamber.
 
Last edited:
Breaking (literally) news:

Python 2.7 support was dropped from mainline GitPython (which we depend upon) in dac619e and with the version 2.1.12 release. I've created a fork of GitPython which is current with 2.1.12 and reverts only those changes eliminating stated compatibility for Python 2.7. My fork is expected to remain static with the 0.2.12a release.

BrewPi Remix has been patched as of e58acc5 so both devel and master branches are fine. This does hasten my need to move to Python 3 which is not an inconsiderable task.

If it's not one thing it's another!
 
fwiw, by all accounts the unmodded case is a death sentence for the 4B, which really needs a fan (there are already "how to's" on how to mod the case for a fan).
No fan on this case, and it does not seem too hot. I'll bust out the infrared thermometer after coffee.
As with all such things, Dave was right and I was ....in error. That sounds better than "wrong." :D

Running stress I was easily/quickly able to get the CPU over 80°C. Under 20 seconds I'll bet. I even have heat sinks on. As expected in such a condition, the processor throttled down. So my fast, expensive Pi 4 became less powerful than my Pi 3.

I checked out a couple of the case mods people have been talking about to add a fan to the "official" Pi Foundation case. While I really like that case, the mod will not work with heat sinks.

Off to Amazon to find a solution!

I have a few Miuezi cases on my other Pi's and I really like them. The instructions are even very good (if you like Ikea.) I grabbed this one for $16.99 (which includes a switched power supply and heat sinks) and just put it together.


Idling now my CPU hovers around 36-37°C in a 21°C room. Running stress again, I get to 47.0°C in about 20 seconds and there it seems to stay.

ETA: In the time it took to write this, the CPU seems to have settled in at 52-53°C.

So, my recommendation is now to buy the bare board, this case (or one like it) and whatever other small pieces you need separately. I do like the colors of the case, keyboard and mouse from the Pi foundation though, so maybe I'll mod this case for my next Pi (with no heat sinks.)
 
Going to throw a random question into the mix here - haven’t been back in a while honestly since the first pages of this thread and my set up is still running strong. Issue is I have upgraded (changed) my wireless hardware and need to update the WiFi settings on the brewpi. I’m not having any luck finding info on how to do this anymore. Is it antiquated and needing upgraded or is this an easy thing to do and I’m just not finding it? Thanks - any help is appreciated.

// maddox
 
If you did your build back when this thread was young than you're most likely running on Raspbian Wheezy, in which case you should be able to fix your wifi configuration by editing /etc/wpa_supplicant/wpa_supplicant.conf and entering the new credential info.

As an example:

Code:
ctrl_interface=DIR=/var/run/wpa_supplicant GROUP=netdev
update_config=1

network={
    ssid="youraccesspointnamegoeshere"
    psk="yourwifikeygoeshere"
    proto=RSN
    key_mgmt=WPA-PSK
    pairwise=CCMP
    auth_alg=OPEN
}

Cheers!
Awesome - appreciate it! This got me further than i was! Brewing at the moment but plan to fiddle with that file and see where I get. Cheers.
 
Awesome - appreciate it! This got me further than i was! Brewing at the moment but plan to fiddle with that file and see where I get. Cheers.
Am I high, or did your user name just change?

Anyway, that will get you attached to a new WiFi axccess point. If you need to mess with a static IP (to which I am fundamentally opposed) you will find that configuration in /etc/network/interfaces. That's asuming you are on Wheezy like @day_trippr said. To check which version you are on, use the lsb_release tool:
Code:
pi@brewpi:~ $ lsb_release -da
No LSB modules are available.
Distributor ID: Raspbian
Description:    Raspbian GNU/Linux 10 (buster)
Release:        10
Codename:       buster
If you don;t have that tool, check the /etc/issue file:
Code:
pi@brewpi:~ $ cat /etc/issue
Raspbian GNU/Linux 10 \n \l
The release numbers and corresponding names are:
  • The next release of Debian is codenamed "bullseye" — no release date has been set
  • Debian 10 ("buster") — current stable release
  • Debian 9 ("stretch") — oldstable release
  • Debian 8 ("jessie") — oldoldstable release
  • Debian 7 ("wheezy") — obsolete stable release
  • Debian 6.0 ("squeeze") — obsolete stable release
  • Debian GNU/Linux 5.0 ("lenny") — obsolete stable release
  • Debian GNU/Linux 4.0 ("etch") — obsolete stable release
  • Debian GNU/Linux 3.1 ("sarge") — obsolete stable release
  • Debian GNU/Linux 3.0 ("woody") — obsolete stable release
  • Debian GNU/Linux 2.2 ("potato") — obsolete stable release
  • Debian GNU/Linux 2.1 ("slink") — obsolete stable release
  • Debian GNU/Linux 2.0 ("hamm") — obsolete stable release
 
No username change here Lee.

Thank you both - Lee and day, noting that I was probably on wheezy (which I was) got me halfway there. That little tidbit and this link https://www.datenreise.de/en/raspberry-pi-setting-up-wifi-edimax/ got me there.

Appreciate the quick responses btw. Super helpful. Obviously my set up is on an old build, do you recommend I upgrade? I’m going to dig through all of the pages in these threads and see what I can glean myself but wanted the short answer. I mean my OG setup works great, its running right now thanks to you both. So cheers!
 
The new releases are "supported" in that someone here is actively enhancing/supporting the code. This was originally needed because the OG will no longer install on current releases of Debian/Raspbian. The version of Raspbian you are on is very old, arguably not secure, etc.. For some this is reason enough to upgrade. For me, it is for instance, but I'm paranoid. :p

So, nothing says you can't continue till it dies. Make sure you have a good backup! If you have it exposed to the Internet I guarantee it's hackable though.

Um, let's see ... Tilt is supported in the new versions, as is an LCD which does not require a shield (I2C). Lots of other fixes but if you are "happy" now, those are the biggies.
 
No username change here Lee.

Thank you both - Lee and day, noting that I was probably on wheezy (which I was) got me halfway there. That little tidbit and this link https://www.datenreise.de/en/raspberry-pi-setting-up-wifi-edimax/ got me there.

Appreciate the quick responses btw. Super helpful. Obviously my set up is on an old build, do you recommend I upgrade? I’m going to dig through all of the pages in these threads and see what I can glean myself but wanted the short answer. I mean my OG setup works great, its running right now thanks to you both. So cheers!
https://www.brewpiremix.com/brewpi/
 
All good stuff - thx! I’ll ride this build out until it gets squirrelly on me and then just do a rebuild to the latest version and upgrade the works. ‘Predicate the info gents.
 
What I would do:
- create two backup SD cards of the running system. On Jessie, Stretch and probably Buster, there's a built-in SD Card Copier utility that comes with the desktop manager that works great. On Wheezy I use rpi-clone. It's a command line program and works great as well...
- Test each of the backup cards (as in boot off them) then tuck them away for safe keeping.

Now you can try pretty much anything you want while maintaining your lifeline.

fwiw, I'm still running the system (and its backup clone) that controls my keezer and three ferm chambers and my tap list manager on Wheezy because it works, and frankly I regard these systems as glorified toaster ovens. No reason to upgrade as there's no value added there...

Cheers!
 
Fair question and thanks for asking! I know trying to get information around here is like taking a sip of water from a firehose. So many of us have been through the conversation over years we forget how to provide an entry point for a newer person.

Probably the best overview is on the README on the GitHub for BrewPi-Tools-RMX.

But, yes, easier to install. As a matter of fact one could not simply install BrewPi Legacy anymore on current Raspbian versions. That's how this started. Then I started fixing other things, adding features, it never ends. :)

The support for hardware is backwards-compatible for the same functionality. The firmware has been updated in a few places, and for instance one may now use an LCD without having to create or use a shield (although it makes things a lot easier for all other things.)

Hi LBussy,

I'm also a new starter in brewing and for me all this information is a bit to much to read at this moment. I was currently working on trying to make my own temperature controlling system until I found out about BrewPi and BrewPi Remix. As you are far far ahead in this process it looks stupid to continue with mine. But after reading the first information there is a question that comes up and I could not find an answer in all your documentation: 'Why using an Arduino for reading the temperatures and controlling the 2-Channel Relay Module?'
You can easily control the DS18B20 sensors or a 2-Channel Relay Module directly from the RaspberryPi GPIO.
Or am I missing something?

Regards,

Wim DM.
 
Hi LBussy,

"Why using an Arduino for reading the temperatures and controlling the 2-Channel Relay Module?"
You can easily control the DS18B20 sensors or a 2-Channel Relay Module directly from the RaspberryPi GPIO.
Or am I missing something?

Regards,

Wim DM.

I know this thread is daunting, but it has been covered. As well as on the official BrewPi forum. The arduino is much more stable than the Raspberry Pi and will continue to control the chamber, even if the Pi crashes or freezes up. If you are interested in eliminating the arduino, you would want to use the Brewpiless branch that @pocketmon created.

Edit: Actually, I think BrewPiLess was created to run completely on an ESP8266, without the Pi or the Arduino. But i believe there is a Pi only version somewhere.
 
Last edited:
I know this thread is daunting, but it has been covered. As well as on the official BrewPi forum. The arduino is much more stable than the Raspberry Pi and will continue to control the chamber, even if the Pi crashes or freezes up. If you are interested in eliminating the arduino, you would want to use the Brewpiless branch that @pocketmon created.

Edit: Actually, I think BrewPiLess was created to run completely on an ESP8266, without the Pi or the Arduino. But i believe there is a Pi only version somewhere.

Donnie,

thanks for the quick reply. I can confirm that the RaspberryPi is not stable although I do not have any experience with the arduino.
But it makes sense now for me!

Regards,

Wim DM
 
Last edited:
Status
Not open for further replies.
Back
Top