• Please visit and share your knowledge at our sister communities:
  • If you have not, please join our official Homebrewing Facebook Group!

    Homebrewing Facebook Group

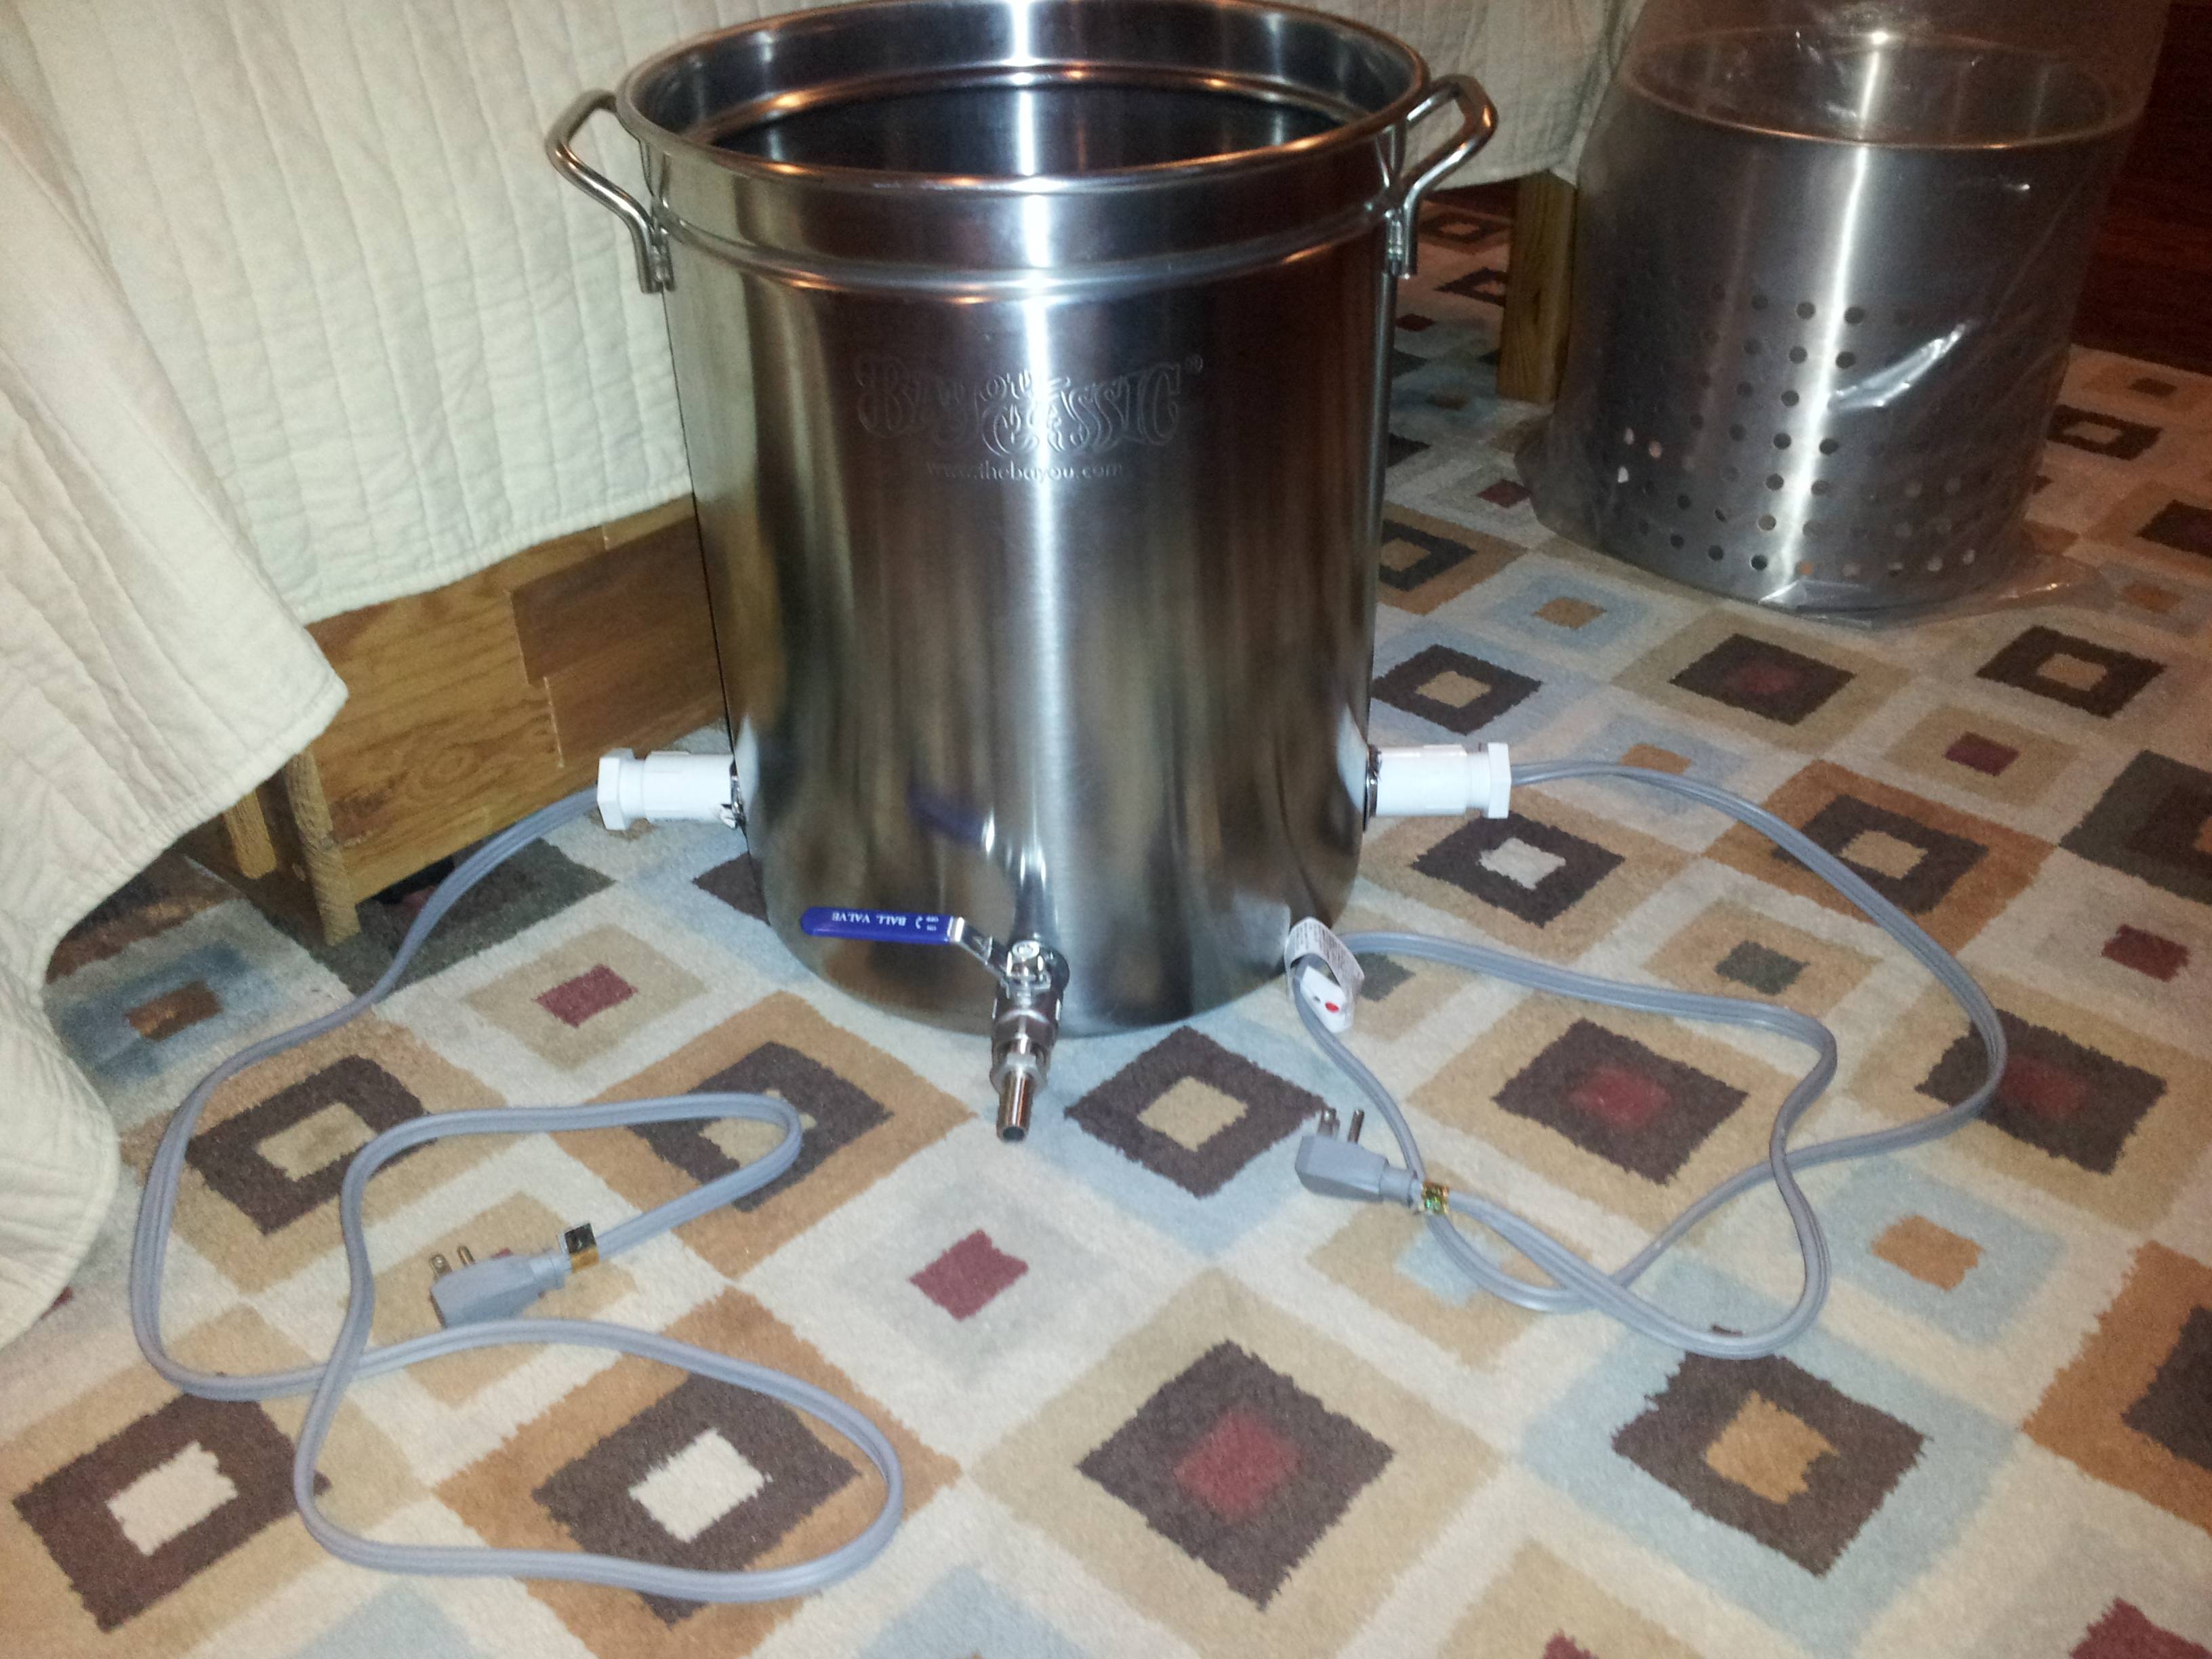
How to build a 5 gal, 110v eBIAB kettle

Homebrew Talk

Help Support Homebrew Talk:

This site may earn a commission from merchant affiliate links, including eBay, Amazon, and others.
I have a rather dumb question. Well maybe not, well see.

So, I'm thinking of attaching my element this way and was wondering about grounding the element. If I don't want to solder the wire (because I don't have the tools available) could I just screw in a any old screw and attach the grounding wire to that on the inside. In most conduit boxes it looks like the grounding is just a screw on the inside, can I just recreate this or am I probably going to kill myself?

The kettle and the element should both be grounded for a three wire gfci outlet w/ ground, some attach a ground screw to the kettle to do this.

There are also 2 wire gfci's that function without ground, caution should be used....I know nothing about them only that they exist...
http://www.coopersafety.com/product...=Shopping&utm_campaign=ShoppingCom&sid=104086
 
And I suppose if I only have access to one 20A circuit, there's nothing I can do? Some apartments I've been looking at for next year are a little older so I may call and ask about the circuitry. I'd assume they've got at least 2 20amp circuits per unit, but I'm not really sure..

I would be surprised if an apartment were not to have at least 2, 15 amp circuits, which could power 2 elements at 1500w each which is adequate for 5 gal batches.

Many apartment brewers also use a 1500w e-kettle or heatstick in conjunction w/ the stovetop to boil 5 gal. batches fwiw, several ways to skin the cat.
 
I noticed you use 2 separate elements but only control one with the PID. Is the PID smart enough to notice this and not drastically overshoot temps? I'm working on a simlar setup and keep debating whether to use the PID to control both elements or just one.

Also curious how you handle the boil. Do you run both elements then? In my experience one 2000w element does not provide a sufficient boil for a 5 gallon batch.

Also great thread on the build of the controller. It's nice to see not everyone needs or wants to replicate Kal's amazing yet expensive panel.

Thanks,
Ty

I run both elements to get the water up to strike temperature faster. If I am doughing in at say 158, I will unplug the non-PID element about 3 or 4 degrees before target so I don't overshoot, and let the PID element get me there.

During the boil I unplug the PID completely, and run both elements wide open straight into the wall receptacle.

I love Kal's setup, but I also like some hands on approach to brewing.
 
Awesome thanks!

Also I just got my pvc fittings and elements, my 1" threaded coupling will not fit over the black part of the elements, did you use threaded/slip fittings? or threaded all the way through?

It is a threaded/slip coupling. Sorry, I'll edit the OP.
 
Awesome build !

I've got two questions for people using this exact setup

1) what do you do to get rid of all the water vapor when boiling ? I do 5 gallons batches and the pre-boil amount is like 7-8 gallons which is too heavy to put on a stovetop I think.

2) I have an aluminium pot, how could I attach the ground wire to the pot ? Soldering won't work obviously.
 
Has anyone done 1 gallon batches in this set up? I am very very interested in this set up, but would like to be able do different sizes...
 
If anyone else asked this question, I missed it. It looks like you bent the elements to keep them from touching. I didn't know you could do that. Did you in fact bend the elements? Did you do any research to make sure you could, or did you just do it? Has it caused any problems. (This is my research before I bend my element)?
Thanks

I've bent mine, too. Just go slow, don't use something like pliers, rather try using pvc pipe or something you can slide over it and gently bend it.
 
Ordered my supplies last night! Excited to get started on this build. Thanks for your in depth how to. Hopefully start the PID next week as well.
 
After working on it for a while today....

Finished!

azqZoHi.jpg
 
Your build post got me out of the kitchen and into my man cave. I do extract brews. I used a single 2000w 120v element on a 5gal brew pot. I only need to heat and boil so no need of a controller. I used a 2 gang box with a GFI outlet and on/off switch. My fist brew day with the e kettle went perfect ! :mug:


If you can successfully solder it, it should be perfectly effective. I think it's more common to attach with a screw, though, and that makes it much easier to remove later (for whatever reason you might want to).
 
How effective is soldering the ground wire to an aluminum pot?

I squeezed mine in between the union. Several batches in and still going. I am going to upgrade to a 8 gal pot to do full 5gal boils though.
 
How effective is soldering the ground wire to an aluminum pot?

For my grounds, I tried to squish the wires underneath the washer, then soldered it and then covered it in epoxy to protect the connection. Works fine thus far.
 
Quick question. I plan to add one 1500w element to my existing keggle propane brew rig. Just for a little extra heating power and to help maintain the water temp while I recirculate the mash through my ghetto herms coil.

Here's my problem. I already have to wrap my sight glass and lower ball valve with foil to avoid burning the rubber off the handle and having the water boil in the sight glass, (the heat from the burner comes up the sides of the keggle).

Since I plan to put the 1500w element a little higher on the keggle it shouldn't get AS hot but I was thinking of modifying this build to use a stainless steel coupling and cap instead of the pvc thats suggested.

http://www.amazon.com/dp/B003GSKXW8/ref=biss_dp_t_asn do you guys think the element will fit the same into this coupling as the pvc coupling?

What do you guys think? (This probably isn't a quick question)
 
Last edited by a moderator:
It looks really great, makes me want to switch from propane to electric! How much did ti cost altogether? (Without the big pot)
 
This is exactly the level of complexity that I was looking for - does what I want without being overly difficult or expensive. I definitely will add the PID controller. I have brewed 68 all grain batches over the last few years in the "traditional" turkey fryer/mash cooler manner. I want to move indoors and eliminate some of my equipment. BIAB and this unit looks to be my answer. Thanks for taking the effort to document and publish your project - it is appreciated!:)
 
It looks really great, makes me want to switch from propane to electric! How much did ti cost altogether? (Without the big pot)

If I remember correctly, I have $200 in the rig including the pot.

This is exactly the level of complexity that I was looking for - does what I want without being overly difficult or expensive. I definitely will add the PID controller. I have brewed 68 all grain batches over the last few years in the "traditional" turkey fryer/mash cooler manner. I want to move indoors and eliminate some of my equipment. BIAB and this unit looks to be my answer. Thanks for taking the effort to document and publish your project - it is appreciated!:)

No problem. :mug:
 
I can't wrap my head around one thing..... How do you conduct your chill? With the elements down there an IC would be difficult to use. As you said, you need roughly 2.5 gallons to cover the elements... so that leaves space to chill around half the final volume. I'm keenly interested in this bit of information
 
Since I haven't actually done this yet, I 'assume' that I would simply immerse the IC in the liquid, perhaps hook it onto the sidewall somehow so it wouldnt touch the elements and just give it a stir while chilling. There's also the possibility that I would use a 'flow' chiller...i forget the actual name.
 
I can't wrap my head around one thing..... How do you conduct your chill? With the elements down there an IC would be difficult to use. As you said, you need roughly 2.5 gallons to cover the elements... so that leaves space to chill around half the final volume. I'm keenly interested in this bit of information

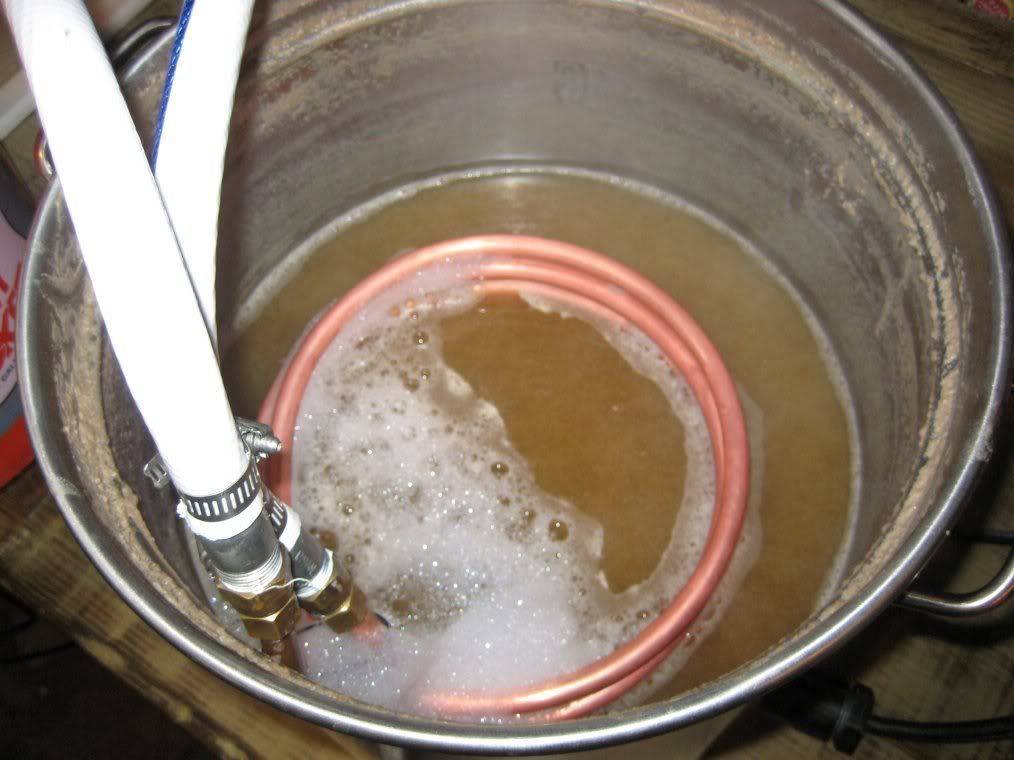
I just put the IC in, and let it sit on the elements. Been doing that since the beginning, and no problems yet. I do stir the wort around with a sanitized spoon for some circulation.

Picture103.jpg
 
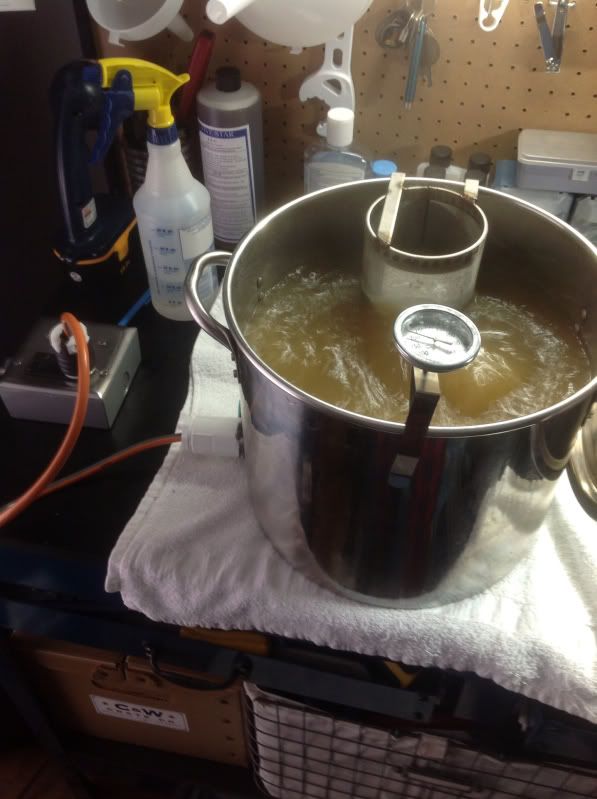
I've finally had the time to "finish" my system. I've installed and plumbed my March pump. All I need now is a plate chiller.

IMAG0267_zps2bc058e3.jpg


IMAG0284_zps9d4c1872.jpg


IMAG0299_zpsa4ac93ca.jpg
 
Back
Top