• Please visit and share your knowledge at our sister communities:
  • If you have not, please join our official Homebrewing Facebook Group!

    Homebrewing Facebook Group

How to add permanent volume markings to a kettle (illustrated)

Homebrew Talk

Help Support Homebrew Talk:

This site may earn a commission from merchant affiliate links, including eBay, Amazon, and others.
Thanks to this thread, I now have an etched kettle! Granted, the 7 is backwards but it ads flair. LOL
:mug:
 
Turned out pretty well. I was originally thinking about putting numbers on but I think I'll leave just the graduation marks. If I can find some small numbers I may do it later. I know the top mark is 18 gallons and that works just fine. I used a set of mini jumper cables that I made for my motorcycle tool kit a few years ago. They worked well. The gator clips held the positive and negative terminals just fine. I taped each on so they wouldn't come in contact with each other.

IMG_20151227_160657848.jpg
 
Does anyone have photos of the inside of a keggle that was etched?

It was harder to etch, I upgraded to an 18v laptop power supply and that sped things up significantly. Since you have to burn through the surface treatment it is much harder to get a consistent look like you would with polished SS.

nYnYtGo.jpg
 
Finished this on my 10 gallon ALUMINUM pot! Turned out pretty good. Although there's no way I'm getting 10 gallons in this thing :/.

I ended up using the 12v power supply from my stir plate. That worked fantastic.


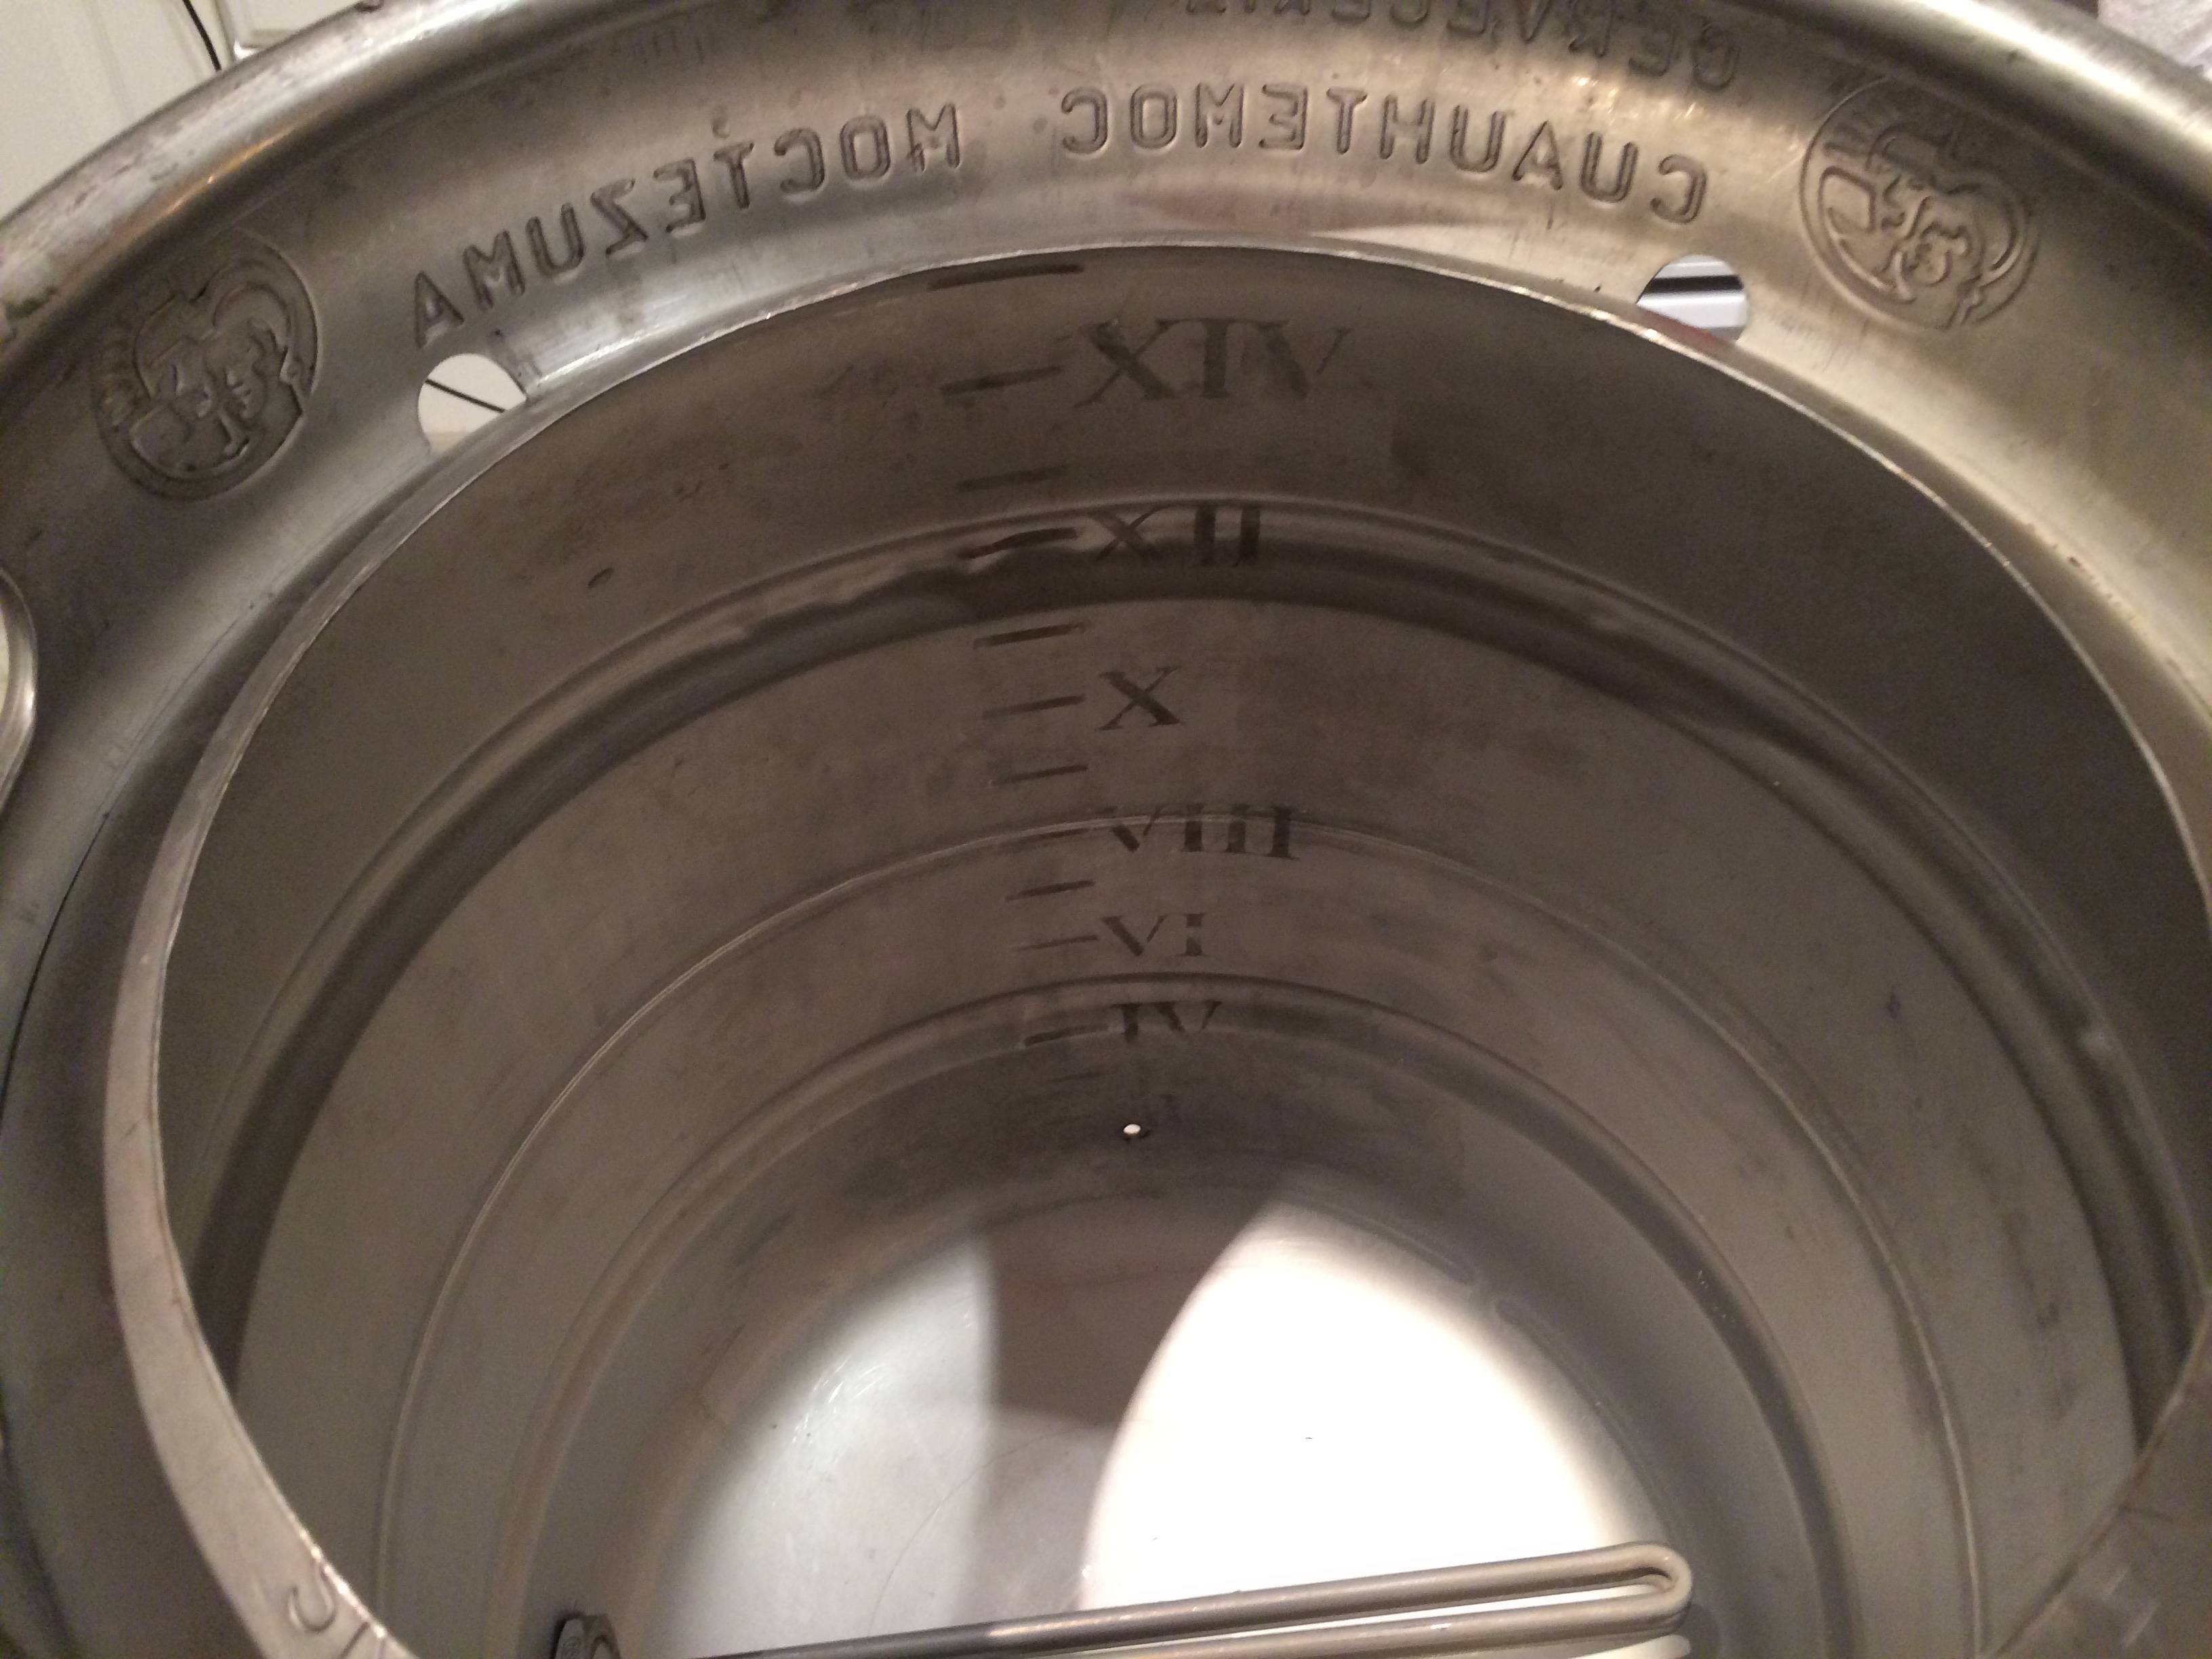
View attachment 333341View attachment 333342View attachment 333343View attachment 333344

Let us know if you're etching lasts past a few brew days. I didn't do this to my aluminum pot because it was my understanding that the aluminum would just cover the etching back up with an oxide layer.
 
Finished this on my 10 gallon ALUMINUM pot!
Although there's no way I'm getting 10 gallons in this thing :/.
View attachment 333344

Your project did come out great BUT I have to point out that based on the picture that one of two things is true:
1) you don't have a 10 gallon kettle
2) you messed up and mismarked it.
 
Your project did come out great BUT I have to point out that based on the picture that one of two things is true:
1) you don't have a 10 gallon kettle
2) you messed up and mismarked it.

Believe me I measured it at least 4 times with different 1 gallon jugs to compare. Turns out its not a full 10 gallon pot.

And I'll be sure to let you guys know how it still looks after a few brews.
 
Would this wire (that I cut from and old phone charger) work if i used the smaller split end on a 9 volt battery and the opposite end with the larger split on the q-tip and pot?

Yup.

You can also take a look around your house for a wall charger that has 9 volts (to save your batteries). I found an old remote control car charger was 9V and worked as well as the batteries, but my old 18V laptop charger was WAY faster!

I used a wire like yours, and taped the "battery" ends into and onto the charger plug with masking tape. Worked fine and I can still use the laptop charger when I'm not etching.

Good luck.


Great idea! Thanks for the info!
 
I spent over an hour, carefully measuring and marking my kettle. Mixed the vinegar / salt solution, wired the 9v battery, dipped the Q-tip in the solution, tested it against the underside of the kettle nothing. I tested the wiring with my voltmeter and it reads 9.2v, I even made sure to take the reading from multiple places in the kettle to make sure I had good continuity. Tried again. Nothing.

What gives? I mixed 1/4 cup vinegar with 1/4 tsp of salt. Should I have used more salt?

I go with as much salt as I can get to dissolve in the vinegar. I typically have a few grains too much and they just knock around in the bottom of the little bowl.

For me it's probably 1/4cup vinegar to 1 tablespoon of salt
 
I spent over an hour, carefully measuring and marking my kettle. Mixed the vinegar / salt solution, wired the 9v battery, dipped the Q-tip in the solution, tested it against the underside of the kettle nothing. I tested the wiring with my voltmeter and it reads 9.2v, I even made sure to take the reading from multiple places in the kettle to make sure I had good continuity. Tried again. Nothing.

What gives? I mixed 1/4 cup vinegar with 1/4 tsp of salt. Should I have used more salt?

Didn't work for me either - I tried two 9v, then I took my battery charger out of the garage - it puts out 12 volts, at higher amperage - WOW -

I think an old phone charger wall wart is going to be the best and easiest solution for most folks.
 
Many modern small electronics chargers may not be up to the task as they put out very little power. You're basically shorting out the supply through the solution, and their output voltage probably drops to near zero as soon as you you 'complete the circuit'. The 12v charger puts out AMPS vs their Milliamps. Laptop chargers will work well too as they also put out amps.
 
Tried again. This time, I mixed 1/4 cup vinegar to 1 tablespoon of salt. Still nothing. The only difference I noticed was that if I held the q-tip to the pot for more than a couple of seconds, it would make what looks like a scorch mark but it wipes away clean. I'm about to give up on this.
 
Tried again. This time, I mixed 1/4 cup vinegar to 1 tablespoon of salt. Still nothing. The only difference I noticed was that if I held the q-tip to the pot for more than a couple of seconds, it would make what looks like a scorch mark but it wipes away clean. I'm about to give up on this.

If the solution on the Q-Tip isn't bubbling and hissing when you put it against the pot, then either your connections aren't good, or you don't have enough power. A quick test is to take the Q-Tip off your wire and tap it to the pot near where you're etching. It should spark visibly.

Check to make sure the wires aren't coming loose, and that the distance between where the pot is connected and the Q-Tip isn't too big.
 
Tried again. This time, I mixed 1/4 cup vinegar to 1 tablespoon of salt. Still nothing. The only difference I noticed was that if I held the q-tip to the pot for more than a couple of seconds, it would make what looks like a scorch mark but it wipes away clean. I'm about to give up on this.

Check your polarity.
 
Check to make sure the wires aren't coming loose, and that the distance between where the pot is connected and the Q-Tip isn't too big.

^^^^THIS^^^^^

Make sure that u keep the distance between where the wire is connected to the pot and where you are working with the Qtip very close
 
Back
Top