Hop Quesadilla

Homebrew Talk - Beer, Wine, Mead, & Cider Brewing Discussion Forum

Help Support Homebrew Talk - Beer, Wine, Mead, & Cider Brewing Discussion Forum:

This site may earn a commission from merchant affiliate links, including eBay, Amazon, and others.

milldoggy

Well-Known Member
Joined
Mar 30, 2008
Messages
2,895
Reaction score
285
Location
Collegeville
I have been using a hop spider for a while, but I wanted to go free range with my hops. I like the hop stopper and a DIY kind of guy. A big thanks to TomRep who build one the other day and provided guidance.

Parts: Stainless Mesh 28x28 .01 wire size 24"x24"
http://www.mcmaster.com/#85385T407

Stainless wired .015, got this from TomRep, not sure where he got it.

1 lid to your pot ~12 inches.

Tin snips
Pliers
Needle Nose Pliers
Sharpy
hacksaw
wormclamp
Beer to drink

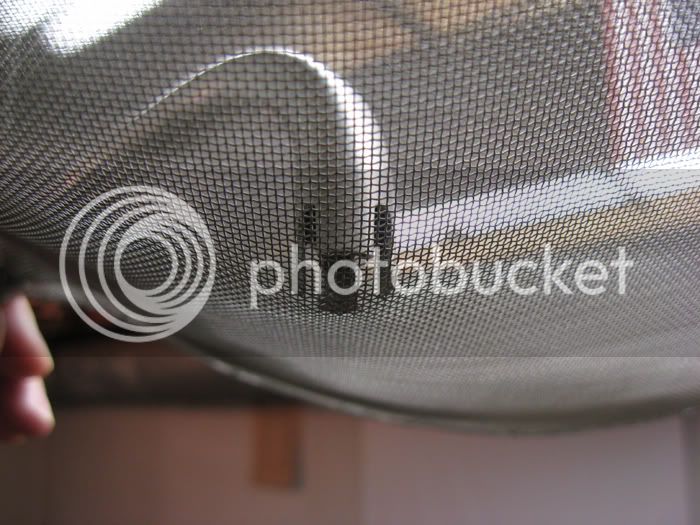
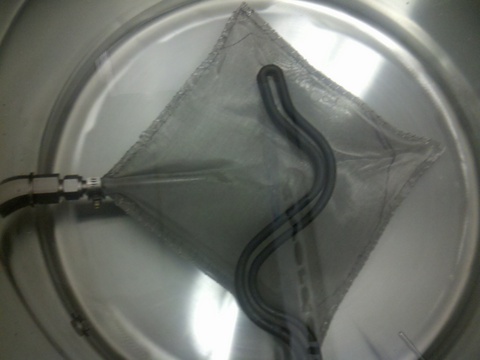
First, fold the mesh Corner to Corner to make a large triangle. Then take your lid and place it close to the fold. This will give you the outside corner for the spout. I used a sharpy and drew a line around the lid, but stopped near the outside corner, making sure to leave enough for your drain tube. I then cut most of the circle out. I left it folded when I cut it. I left the fold intact also. I then took a pair of pliers and folded about an 1/8 of an inch over. I did a few spots around the circle first to hold the form, then worked my way around. I folded it to a 90 all the way around then went and flattened it out. I then repeated this, so edge is 6 ply. This stiffened it and made a nice edge. I then used the wire to sew the edge. I started with the spout and made sure my diptube fit. I spaced my threads like 1/3 to 1/2 inch. Once done, I had a copper dip tube and notch the pick up part, so if the screen sucked tight, wort still could flow.

Concept.png


2012-02-16_18-21-17_612.jpg


2012-02-16_18-30-51_226.jpg


2012-02-16_18-31-06_250.jpg


2012-02-16_18-51-58_190.jpg
 
I tried this once. Clogged immediately and has been sitting in my 'random brewing supplies' bin ever since. Used pellets.

Good luck
 
Pheonix- you used too small of a mesh. I just did an ipa with about 11 oz of hops for a 10 gallon batch and had No clogging. They were all pellets. Flow was slow from the pump, but that was it. I used the same mesh as milldoggy. Oh and the wire he used to sew it was bought from mcmaster-carr. I can get the part number if anyone is interested (unless he has it posted above. On my phone, can't tell).
Tom
 
I have a pair of pants that need to be mended. I will bring them by the next time.

It looks nice Mike. Keep us updated with a brewday "after" pic.
 
GermanRockIt,
Ha, if you would inspect my threading skillz closer, I dont think you want me to sew up your old man pants. I will post some after pics. I think the saison I am doing this weekend calls for around 4 oz of hops for 10g.
 
TomRep said:
Pheonix- you used too small of a mesh. I just did an ipa with about 11 oz of hops for a 10 gallon batch and had No clogging. They were all pellets. Flow was slow from the pump, but that was it. I used the same mesh as milldoggy. Oh and the wire he used to sew it was bought from mcmaster-carr. I can get the part number if anyone is interested (unless he has it posted above. On my phone, can't tell).
Tom

Mine was the same size
 
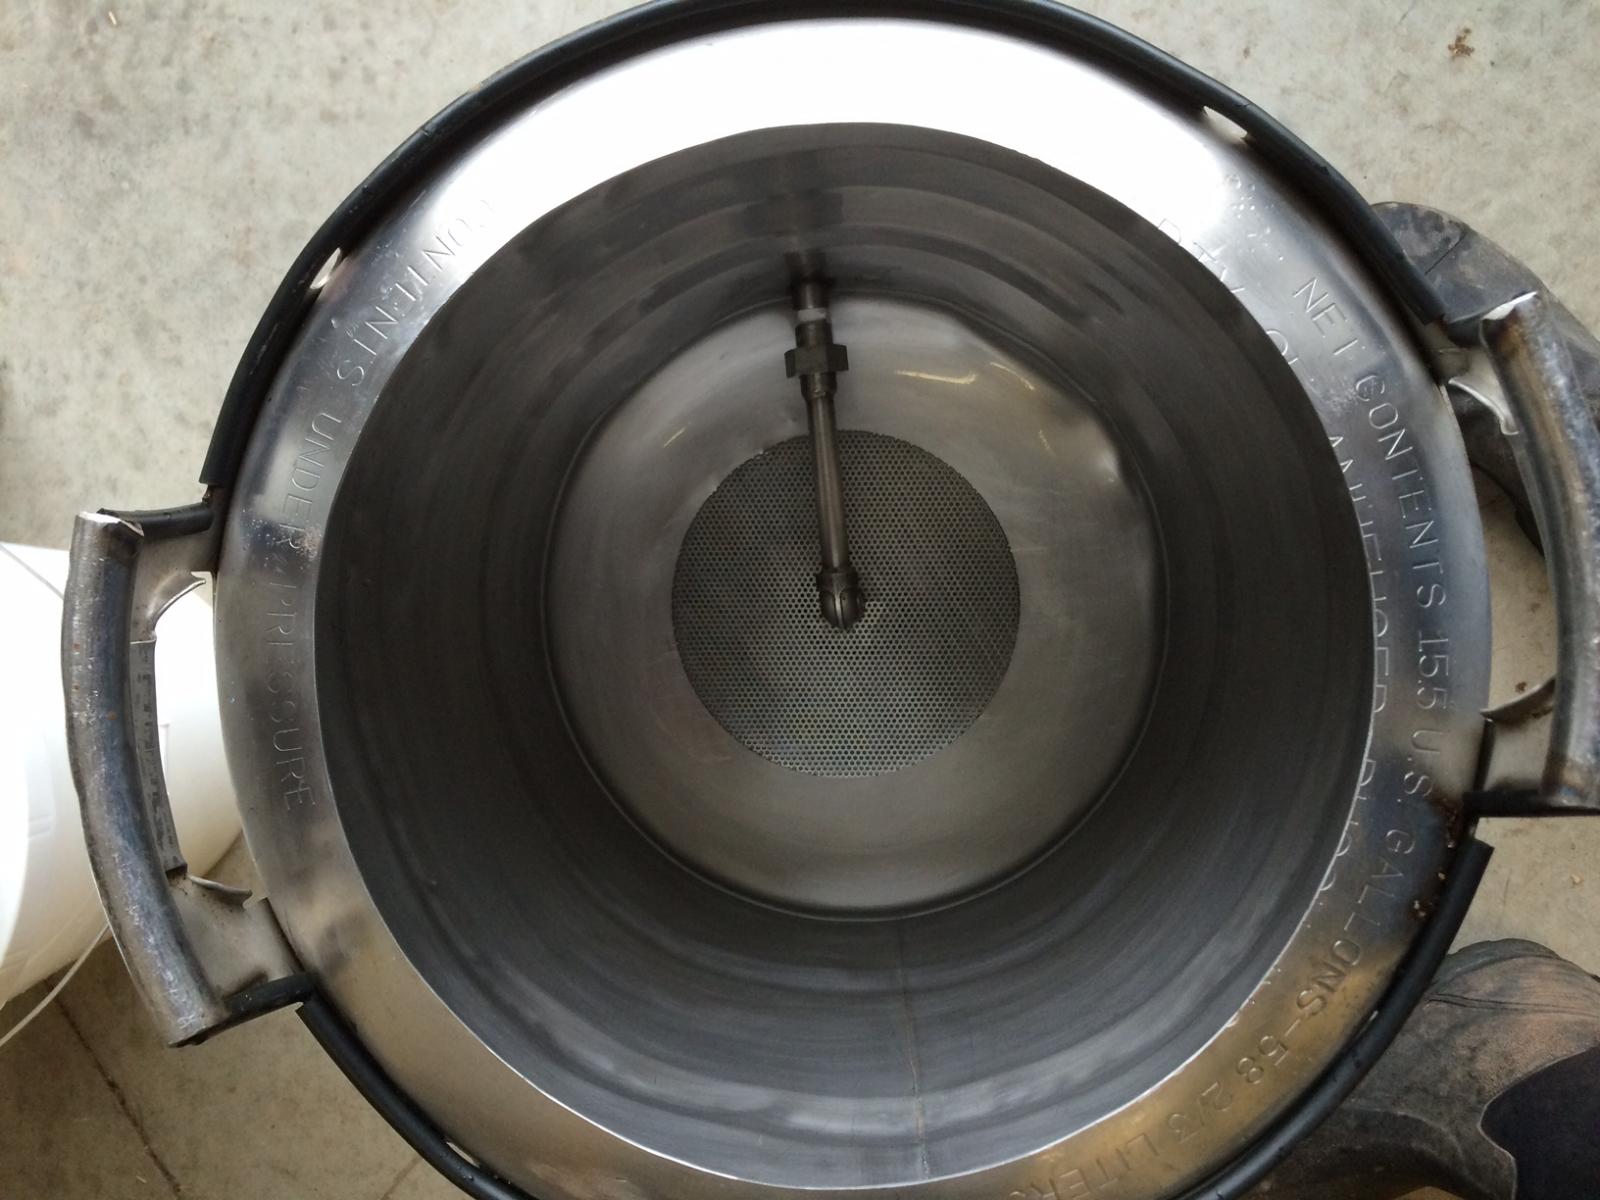
:off:how do you keep the inside of your boil kettle so clean and shiny? i scrub the cr@p out of my keggle and it wont ever come up like that.
 
bigbopper said:
:off:how do you keep the inside of your boil kettle so clean and shiny? i scrub the cr@p out of my keggle and it wont ever come up like that.

Funny, I just boiled pbw and scrubbed it the day before that pic. I use those green scratchy pads.
 
I built one back in the fall and have had no problems. Did an IPA awhile back with about 14oz of hops and had no issues. The flow slowed but never stopped. Suprisingly, I do not even have my diptube "notched" as much as I have seen others in the past.
 
:off:how do you keep the inside of your boil kettle so clean and shiny? i scrub the cr@p out of my keggle and it wont ever come up like that.

I think the trick is to immediately clean after boil. Just adding PBW and water isn't going to work. I also apply BarKeepers Friend on occasion to keep the SS properties up to par.
 
Could you instead plan to make it approximately 15" diameter? Or do the pieces of mesh not permit it? I was just curious about making one that would take up most of the bottom of my kettle
 
I thought about that after installing this. If you made it the size of the bottom, then indented it where the pickup tube went in. The shape would be almost like pacman. The hop pacman would be an interesting experiment.
 
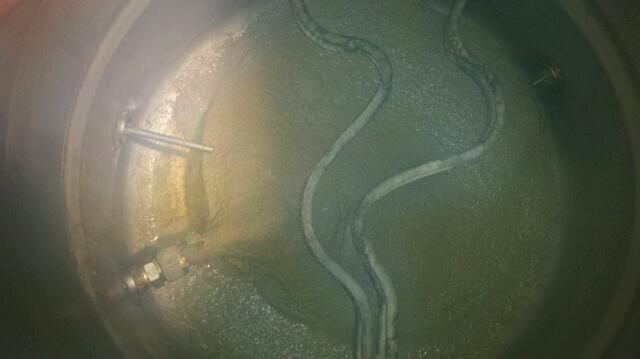
Had a good day brewing. The stopper worked really good. I had good flow through the recirc and transfer. I had the valve about 1/2 open. I lost suction when the level of wort dropped below the sides. I do recall Kal saying you have to slow the flow down when the hopstopper is exposed, so I will try this next time. Also, I think my dip tube was to long. It was pressing hard on the bottom screen, creating a sharp fold, on the sides of the fold, the hops were like glue. I think this prevented wort to flow to the tube. I cut it about 1/2 " shorter and will report back.

Here is what I brewed
17 pils
3 wheat
1 carapils
1 flaked wheat

2 oz calyspo 60
1 oz mt hood 30
1 oz mt hood 15
2 oz coriander ground 10
1 oz bitter orange peel 10
1 oz lemon peel 10

1.5 lbs dextrose at flameout
1 lb maltose at flame out

Yeast
5 gallons got Bug Country Ecy 20
5 gallons went onto all brett b and brett l yeast cake
 
The beer is fermenting hard. This morning the bug country was blowing off, had to clean the blow off bucket. The brett b/l yeast cake was rocking when I got home tonight. The brett b/l is on the right.

ForumRunner_20120219_200320.jpg
 
Oh, my insulation for my probe feel into the blow off bucket, hence the dive glove over the temp probe :)
 
I built one of these and got to try it yesterday and wow this thing worked amazingly! thank you for the information and the how too! You should mention to wear gloves though...lol I cut myself a lot trying to do this.

here is mine in action

Hop_quesadilla.jpg
 
Brewed three batches on it. I have to say at first I was not sure if I liked it, but I figured how how to best use it and I am extremly happy. The trick is to slow it to a trickle when the level drops below the edge. You need a pump also. I don't think gravity along will not keep the flow going. You can watch the hose going to the pump flood slowly, but with the output of the pump at a trickle, the pump does not run dry. This let's you drain the kettle all the way dows. I also have been whirlpooling with my return line when I sanitize my cfc. This seem to build up the hop material on top of the hop "flounder as my wife called it yesterday". Right now my dip tube is in the center, but with the size of the flounder, I might run the dip tube to the far side, so it is pulling more from the edge.
 
I built a couple of these over the years and I have to agree with milldoggy on having to slow the flow at the end. Remember that once the mesh is completely encased in a layer of hop dust, the interior is an isolated chamber that the pump needs to pull from. It takes time for wort to migrate from outside to inside so the last thing you want to do is pull the wort out too fast or you'll destroy your pump prime by sucking air. Once the wort hits the level of the top of the mesh, slow the flow to barely a trickle.
 
I actually collapsed my hop stopper last brew day when pumping from the BK. The hop stopper is still fine, but it has some creases in the mesh from the suction. I had the flow turned down, but apparently my Little Giant is powerful enough to collapse it even with a reduced flow. What a pain in the ass. I'm so sick of BK draining/hop filtering issues that I'm going to build a huge filter out of wire mesh that will hang in the BK. There's a thread here somewhere... I'll use that in conjunction with my hop stopper. I'm brewing mostly hoppy pale ales now, so I need a better solution.

Turning the flow down to a trickle worked for me a the very end, but I'm not happy doing that. I want to be able to let it rip as fast as my counterflow chiller can chill.
 
I built one of these and got to try it yesterday and wow this thing worked amazingly! thank you for the information and the how too! You should mention to wear gloves though...lol I cut myself a lot trying to do this.

here is mine in action

Hop_quesadilla.jpg

This just sold me. Thank god I found this thread. Thanks Milldoggy!
 
The beer is fermenting hard. This morning the bug country was blowing off, had to clean the blow off bucket. The brett b/l yeast cake was rocking when I got home tonight. The brett b/l is on the right.

And wow... Glad I saw these PVC connectors. Many thanks to this thread!


By the way, what size PVC elbows did you use?
 
Haputanlas said:
And wow... Glad I saw these PVC connectors. Many thanks to this thread!

By the way, what size PVC elbows did you use?

3/4 cpvc. I think cpv has a dif od than pvc. They work great and make cleaning/soaking easier. That is 1 in vinyl. For BB, I use a 3/4 drill bit(spade or hole saw, maybe I used smaller can't remeber) and cut a stopper. Let's me use 1 in blow off on BB.

I just started using oxyclean free and amazed how well it cleans the blow off tubes.
 
So brewing last weekend, found a trick to manage flow near the end. If you use silicon hose, watch the hose from the bk to the pump. You can see the liquiid in it. When you can see air in the tube and the wort trickling down it, slow the pump till it starts building up. So use the space in the tube as a way to manage the flow when it slows.

I also build a new dip tube. Instead of the bottom of the tube being straight down and slotted, I put a T on it with two small pieces. The smooshed down the two small pieces to allow the level to go lower. This way there are two channels into the tube and it faces sideways, not sure how it will work, but will let everyone know. I had to put the T in the stopper, then slide in the dip tube and snug fit them. I put an oring on the dip tube so it made a tight fit where the t slide on.
 
milldoggy said:
So brewing last weekend, found a trick to manage flow near the end. If you use silicon hose, watch the hose from the bk to the pump. You can see the liquiid in it. When you can see air in the tube and the wort trickling down it, slow the pump till it starts building up. So use the space in the tube as a way to manage the flow when it slows.

I also build a new dip tube. Instead of the bottom of the tube being straight down and slotted, I put a T on it with two small pieces. The smooshed down the two small pieces to allow the level to go lower. This way there are two channels into the tube and it faces sideways, not sure how it will work, but will let everyone know. I had to put the T in the stopper, then slide in the dip tube and snug fit them. I put an oring on the dip tube so it made a tight fit where the t slide on.

I was thinking about using a T also, let me know how that works out
 
Horrible pic, but I think the tee drained better. I only used 4oz of hops today though. My site guage was a tad above 12 and I pull 5.75 in each carboy. The flow seem restricted during the whirl. I could not crank it at full blast. I also notice some really hard build up by the tube when I was cleaning. I think the difference is that this tube is real close to the bottom, pressing almost. I looks like having to close to the bottom, restricts flow and causing things to gum up in there. So going to cut it shorter next week and see if flow is better. My guess is the stopper likes some clearance underneath it, so if you are getting bad flow with one, try shorting your dip tube.

13351305230780.jpg
 
Milldoggy,

Do you have slots in your dip tube like this?

IMG_5340s.jpg


Edit- Never mind. I see that you put a T inside.
 
Tried a new dip tube, more clearance under it. Not sure it was any better. Initial flow was great. I gravity feed most of the wort. Just did not suck down to the level I was expecting.
 
I made this following with some info I got from Bobbym. I just made it square to give me a little more coverage. It works perfect, I'm very happy with it. I went through the same learning curve you are and do exactly what your doing now by slowing it down at the end.

2011-04-28_18-17-01_986.jpg


2011-04-30_15-22-25_509.jpg
 
I made this following with some info I got from Bobbym. I just made it square to give me a little more coverage. It works perfect, I'm very happy with it. I went through the same learning curve you are and do exactly what your doing now by slowing it down at the end.

I dub thee Trub Pillow.......no no....Trub Assassin....because it puts trub to sleep....and you use pillows when you sleep....? :tank:
 
Back
Top