goofiefoot
Well-Known Member
I'd like to share my experience with High Gravity supply, so I'm starting this thread fresh my last thread, mostly for future reference, and ease of search by company name:
Original thread for reference
I sold my 3-vessel propane brew rig to fund an all-electric system. I have a dedicated 50A circuit left over from my kitchen remodel, and will be dropping a new box into the garage for this system and to run a welder (not at the same time, of course).
I'm in the middle of a complete garage overhaul, with the goal of having more room to brew, plus build, weld, work on automobiles, etc. All of this is coming together, and once my dad helps me drop the 240V in, I should be able to get this up and running.
I've been eyeing the High Gravity system in its base form for some time, as it ticked most of my boxes. I knew I wanted an all-in-one system, and BIAB should work for my needs. I hope to save some time during brew day, so knew I wanted as much power as possible to speed heating times, and I wanted the capacity to brew 10-gallon batches.
Looking over the list of parts included standard on the kit, and realizing I might want to add or change a few bits, I called Dave to check on customization options. He pointed me to the non-pot version of the kit, and told me they'd build it, ready to assemble and use, with whichever kettle, pump, ports I wanted. It was then I realized I could truly get exactly what I wanted - more capacity, more power, more options.
Based on Dave's input, I put together an order:
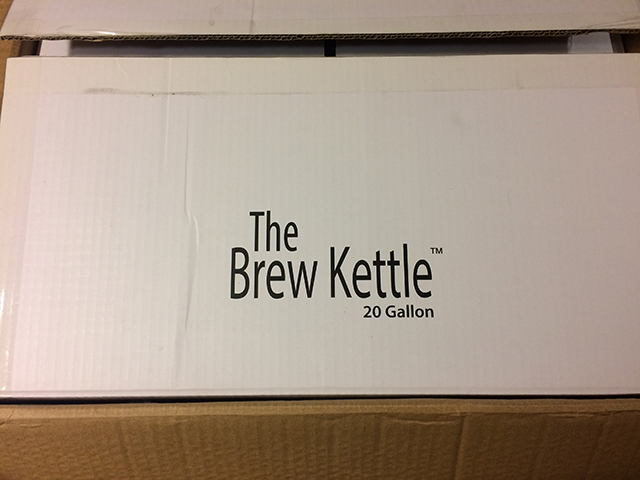
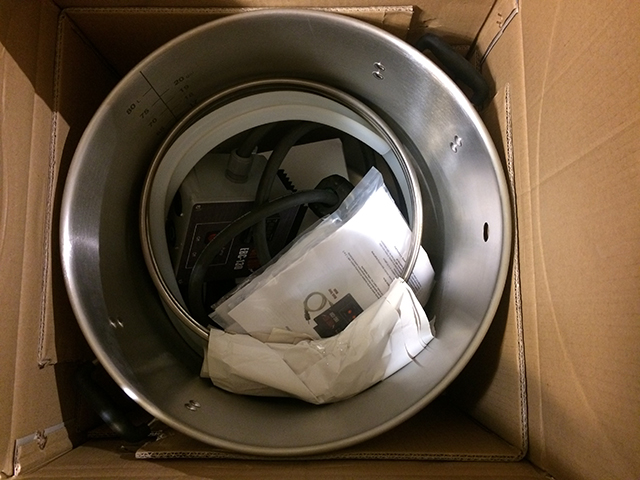
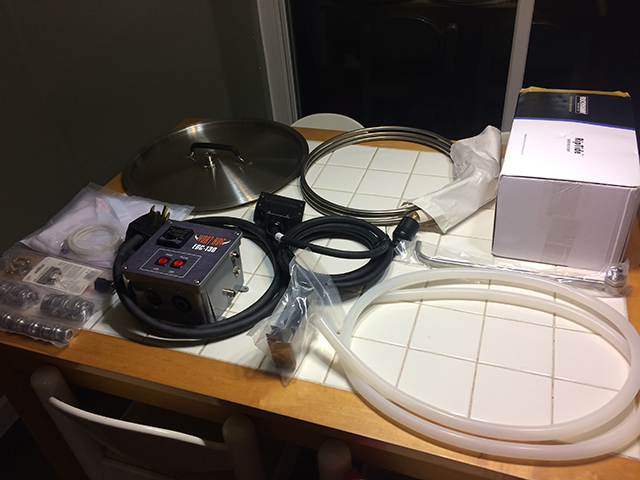
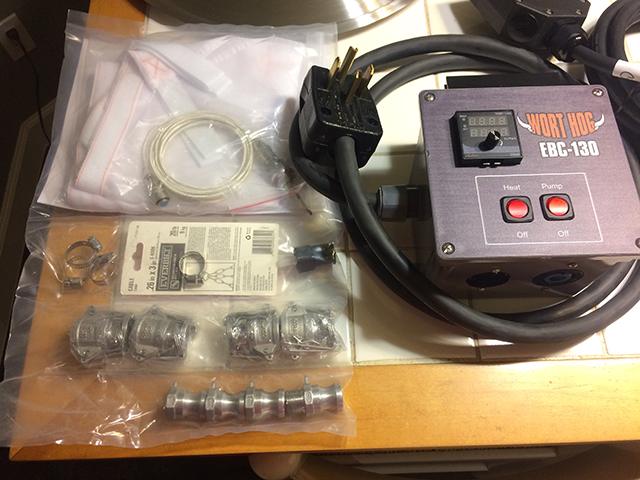
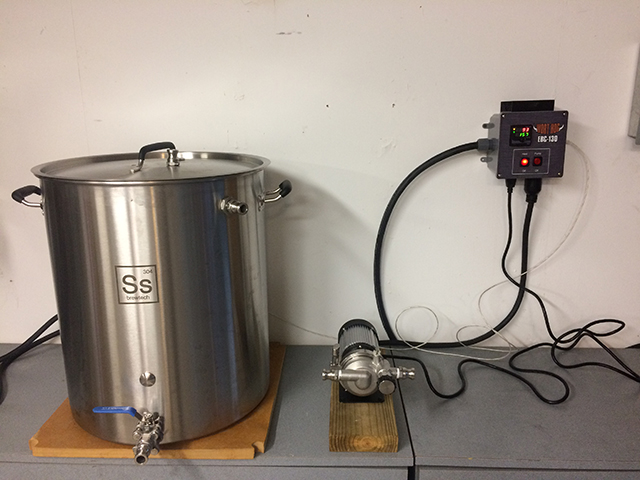
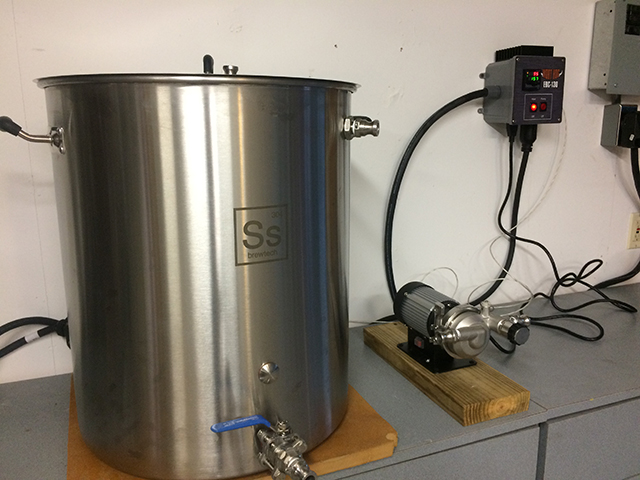
Electric BIAB 240V System (without pot)
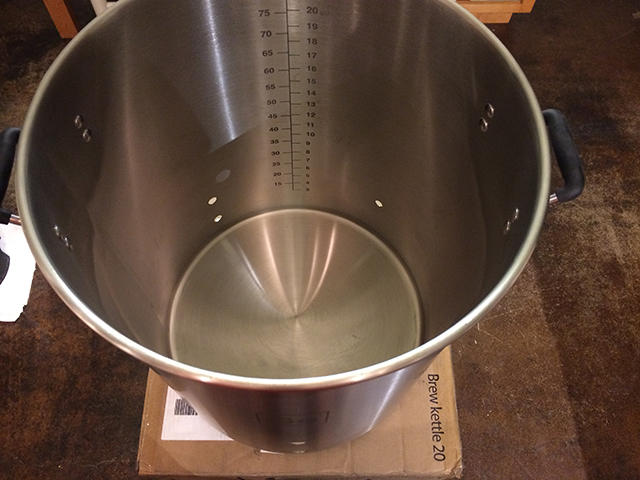
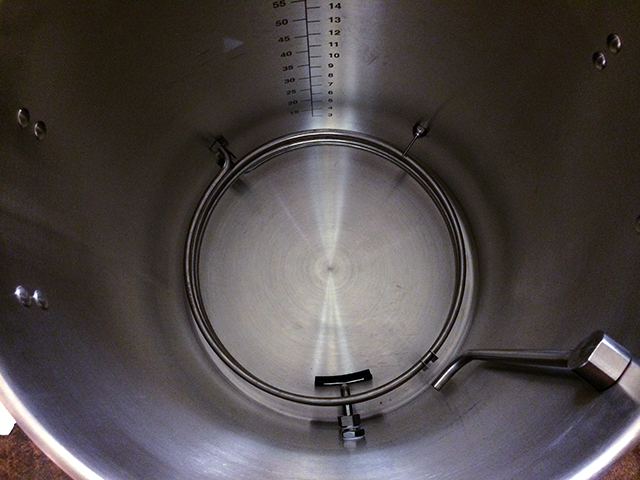
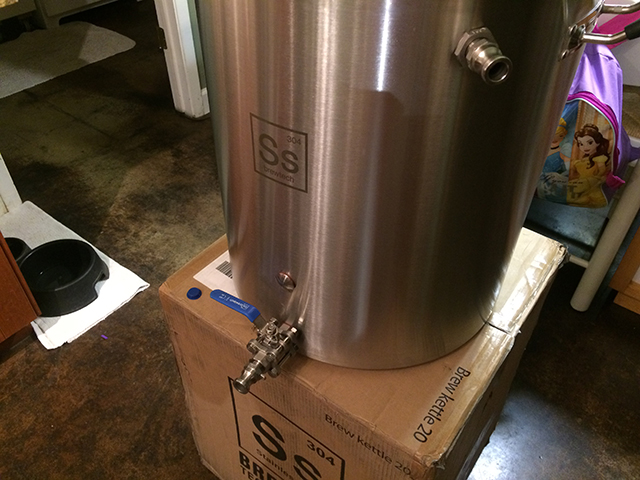
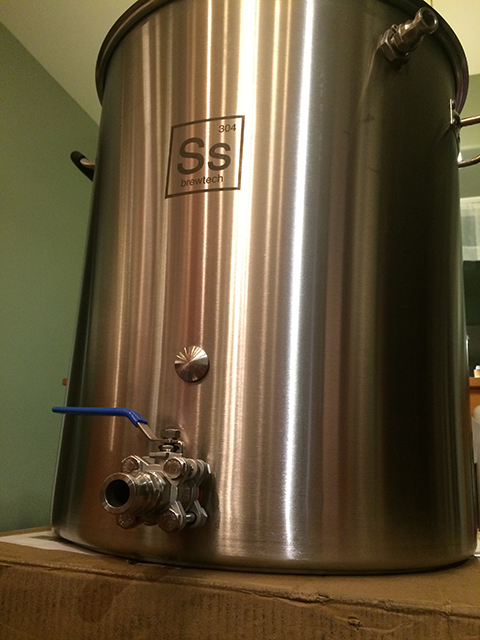
20 Gallon SS Brewtech Kettle
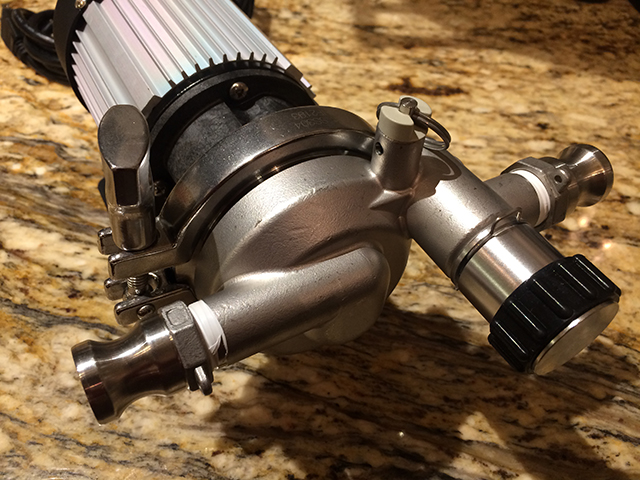
Blichman Riptide Pump
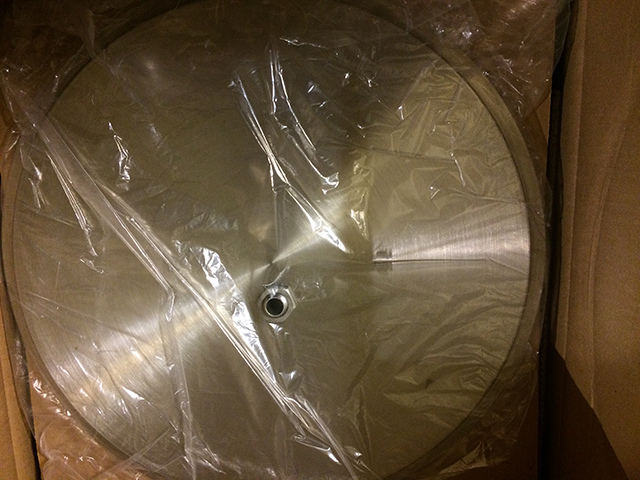
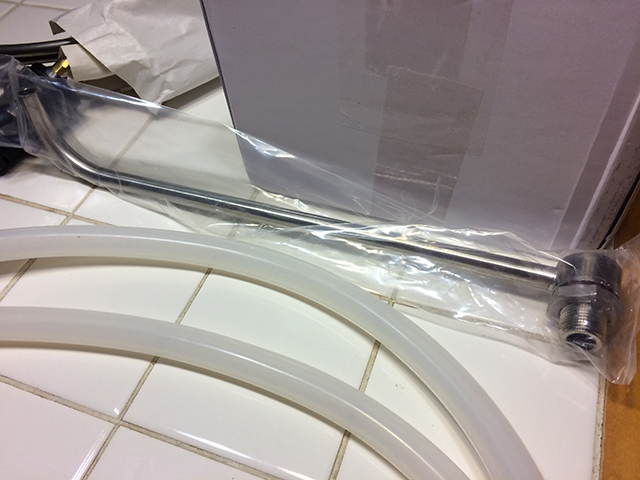
SpinCycle 14" Whirlpool Return
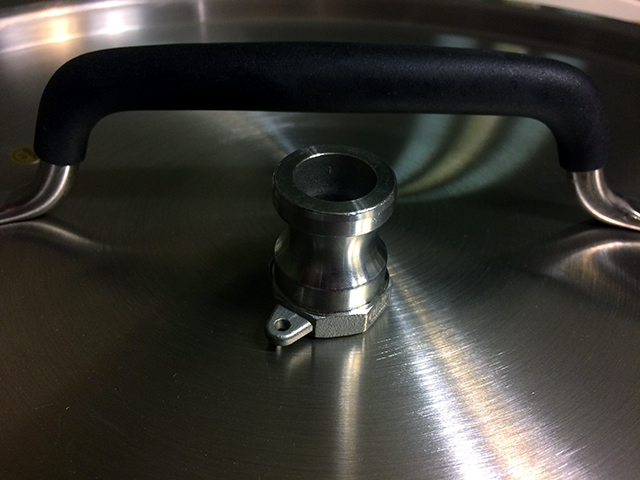
I also indicated I'd like SS camlock connectors, rather than the polysulfone connectors included with the kit. I sent the list over to Dave to confirm it all made sense, then placed my order. The team had the system built, shipped and on my doorstep very quickly, all for just a few hundred dollars more than the base system.
Original thread for reference
I sold my 3-vessel propane brew rig to fund an all-electric system. I have a dedicated 50A circuit left over from my kitchen remodel, and will be dropping a new box into the garage for this system and to run a welder (not at the same time, of course).
I'm in the middle of a complete garage overhaul, with the goal of having more room to brew, plus build, weld, work on automobiles, etc. All of this is coming together, and once my dad helps me drop the 240V in, I should be able to get this up and running.
I've been eyeing the High Gravity system in its base form for some time, as it ticked most of my boxes. I knew I wanted an all-in-one system, and BIAB should work for my needs. I hope to save some time during brew day, so knew I wanted as much power as possible to speed heating times, and I wanted the capacity to brew 10-gallon batches.
Looking over the list of parts included standard on the kit, and realizing I might want to add or change a few bits, I called Dave to check on customization options. He pointed me to the non-pot version of the kit, and told me they'd build it, ready to assemble and use, with whichever kettle, pump, ports I wanted. It was then I realized I could truly get exactly what I wanted - more capacity, more power, more options.
Based on Dave's input, I put together an order:
Electric BIAB 240V System (without pot)
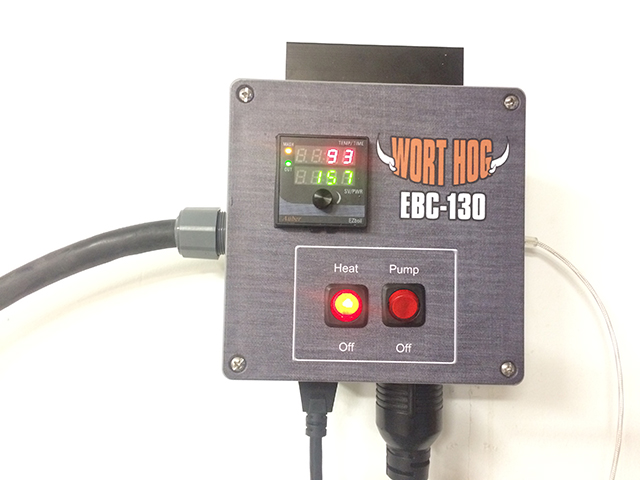
- Controller: Wort Hog EBC-130
Power Cord Plug Type (Required): 4 Prong Plug (NEMA 14-30P)
Power Cord Length (Default is 6'): 6 ft. Standard
Pump: Use own existing pump
BoilCoil Size: BoilCoil 20 5000W
20 Gallon SS Brewtech Kettle
Blichman Riptide Pump
SpinCycle 14" Whirlpool Return
I also indicated I'd like SS camlock connectors, rather than the polysulfone connectors included with the kit. I sent the list over to Dave to confirm it all made sense, then placed my order. The team had the system built, shipped and on my doorstep very quickly, all for just a few hundred dollars more than the base system.