• Please visit and share your knowledge at our sister communities:
  • If you have not, please join our official Homebrewing Facebook Group!

    Homebrewing Facebook Group

Having lots of trouble getting wires to secure in 63A contactors.

Homebrew Talk

Help Support Homebrew Talk:

This site may earn a commission from merchant affiliate links, including eBay, Amazon, and others.

Ntwkdsnr

Well-Known Member
Joined
Oct 4, 2014
Messages
62
Reaction score
11
Location
San Diego
I was wondering if someone can help me out. I'm wiring up a control panel. The issue is that I can't get the wires to secure tightly in the 63A contactor terminals. I'm cranking them down but as soon as there is a bit of movement, the wires just slide right out.

I'm using 10AWG stranded electrical wire. Are these designed for solid gauge wire???

The wire flattens out and slides right out.

Any thoughts?

Thanks,
Ed
 
A 63 amp contactor uses terminals that should be large enough to accept a 2 or 4 AWG conductor, which is roughly 4 or 5 times the diameter of a 10 AWG wire.
Without seeing a picture, my guess is the terminal is too large to secure the wire you are using.

Just curious, why are you using that large contactor with such relatively small wire?
 
You can solder the stripped end to make it solid, then the screw should bite better. You could also crimp a connector of some sort onto the end and screw to that (a butt crimp might work nicely).

That contactor is probably designed to take 4 or 6 gauge wire which would fill the opening much better instead of flattening and slipping.
 
Another option for using small wires with large terminals is to strip the insulation back twice the normal amount and then fold the wire over double before inserting it in the terminal.
Beardedbrew suggests soldering the wire, but I have heard that due to solder being soft, the terminal may loosen over time.
A crimp connector is a viable option though if you can find one that fits properly.
 
Thanks Processhead and BeardedBrews,

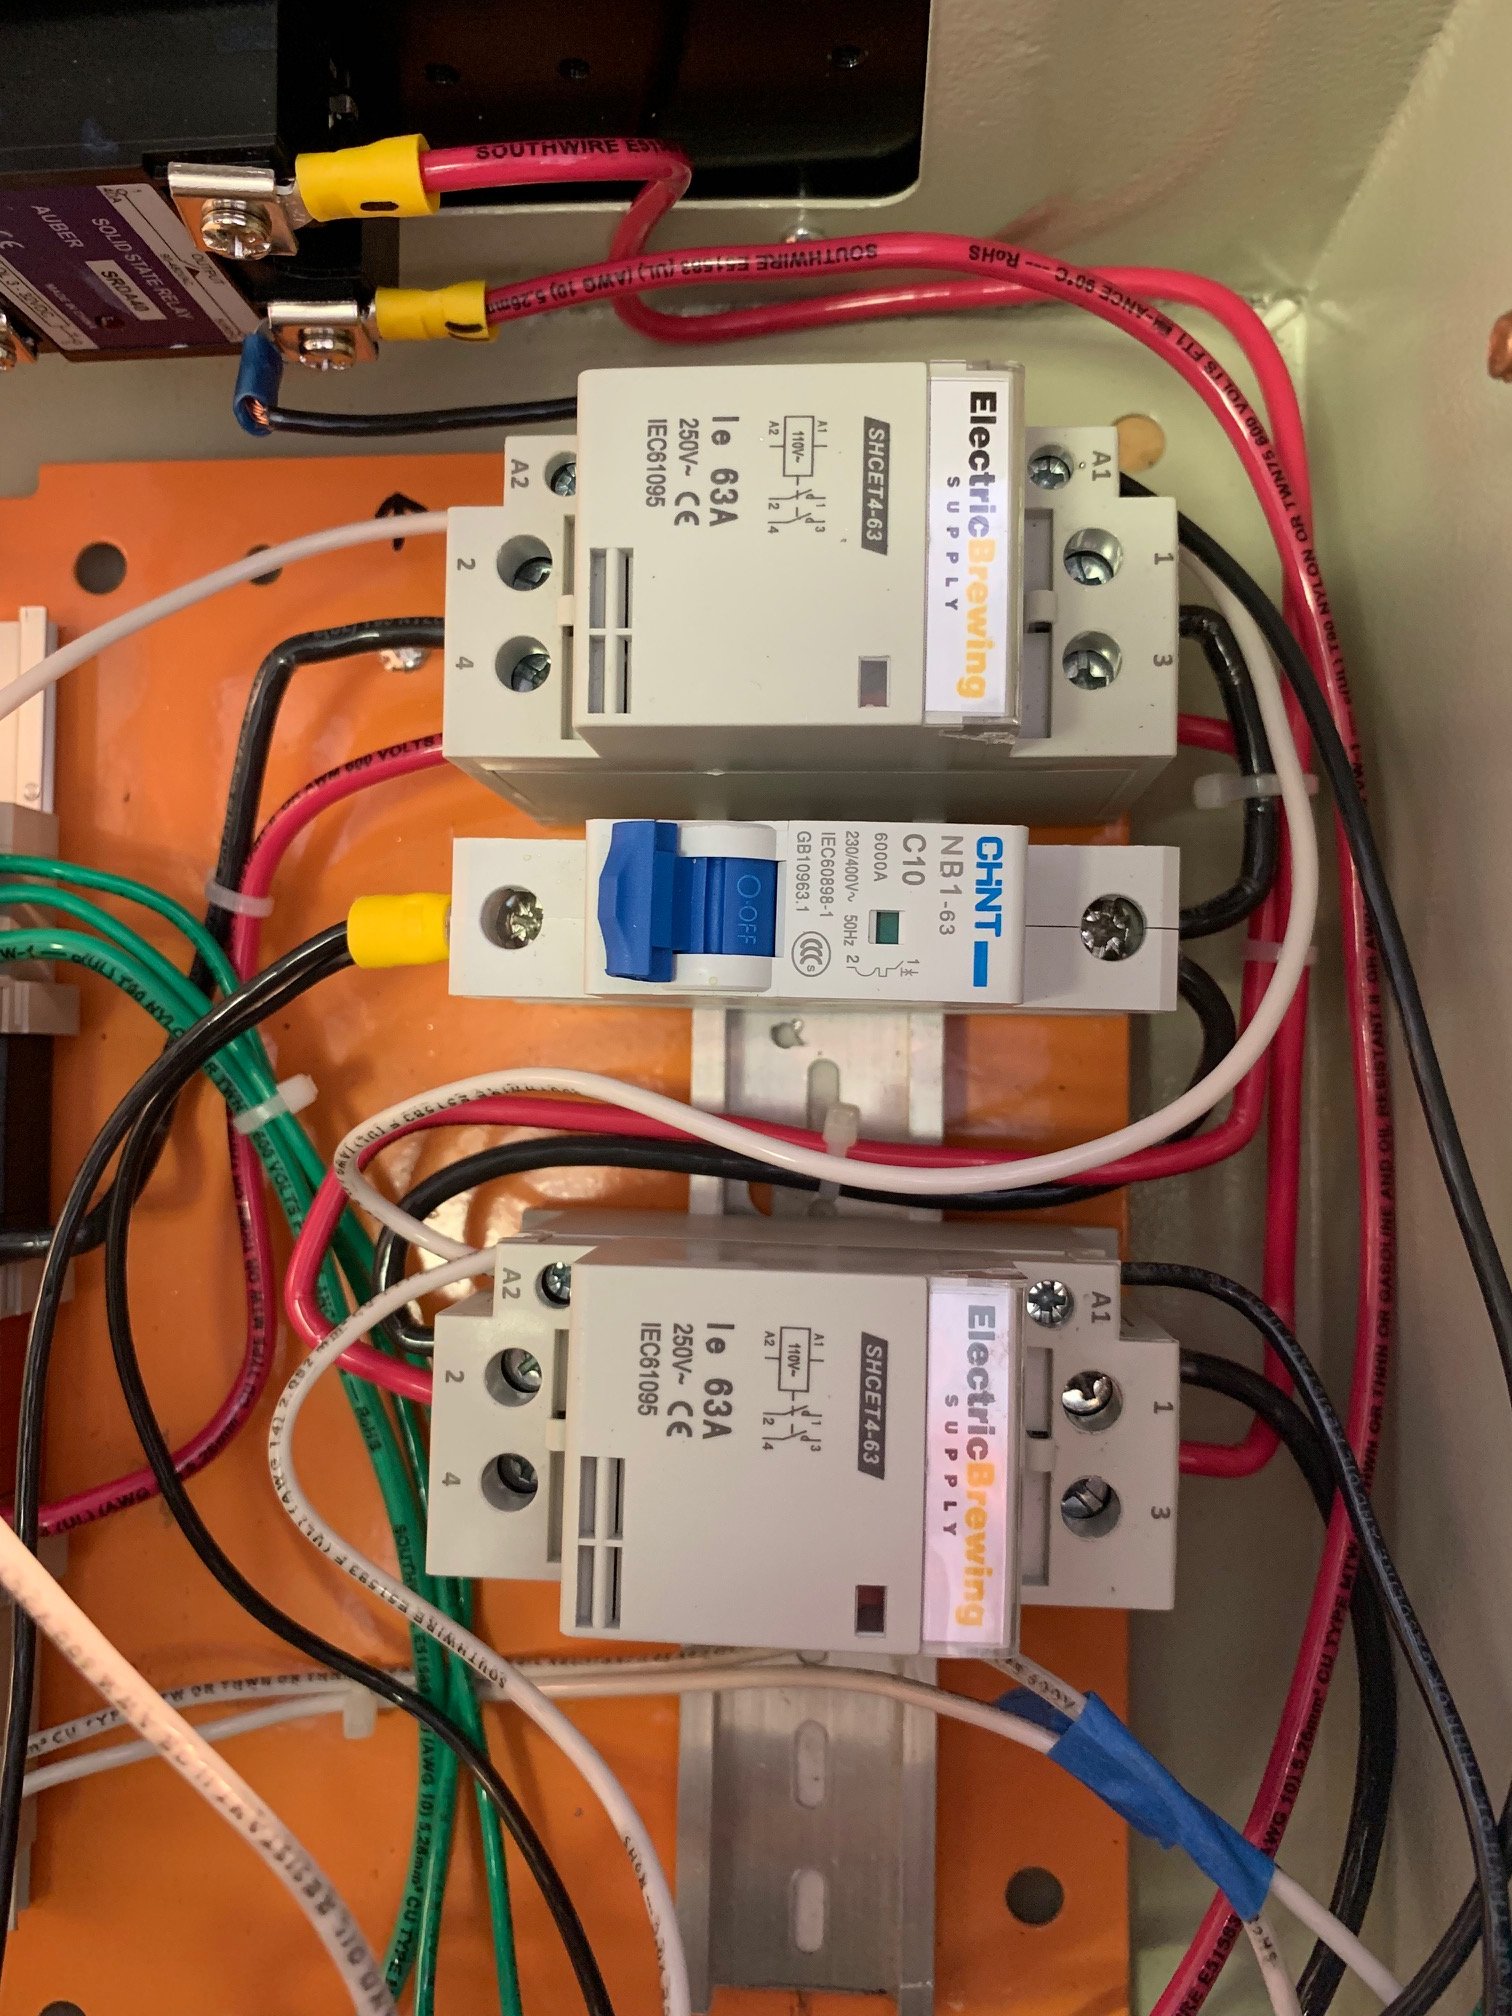
I tinned the stripped ends. The result is much better now. They cinch down real tight. I'll post a pic up of what I'm working on. It is just a RIMS 240v 30 Amp control panel. I didn't opt for a kit, rather purchased everything separate because I want the option to turn it into a full electric brewing panel in the future.
Ed
 
Contactors.jpg
 
little worried though... those look like they can slide back/forth. I have my DIN all next to each other with those end pieces to stop them from moving. I guess it's not likely that they get jostled; but those look like they may be vertically mounted so they'll slide down over time.
 
little worried though... those look like they can slide back/forth. I have my DIN all next to each other with those end pieces to stop them from moving. I guess it's not likely that they get jostled; but those look like they may be vertically mounted so they'll slide down over time.

Actually, I wasn't happy with the way my first panel was coming out. I tore it all down and started over with a horizontal lay-out. I also ordered more DIN blocks and end protectors. :) I think this will work much better.

Ed
 

Attachments

  • New_layout.jpg
    New_layout.jpg
    569.2 KB
little worried though... those look like they can slide back/forth. I have my DIN all next to each other with those end pieces to stop them from moving. I guess it's not likely that they get jostled; but those look like they may be vertically mounted so they'll slide down over time.

When using DIN system components, you should be using end-blocks with set screws at each end of the rail or any place you you have open space on the rail.
This is the way you minimize movement of parts on the rail.
You can also get filler blocks for the open spaces on the rail. That way you only need the set screw blocks on either end of the whole rail.
This is a safety/reliability issue, you really don't want components on the rail moving around for any reason.

Thanks Processhead,

I have reconfigured the DIN components and wiring as shown in my last photo. I'm using the end blocks that can be locked down now.
My final version is much more organized.
-Ed
 
Back
Top