No, you'll need an external controller. I don't think I've heard of anyone successfully fiddling with the coarse adjustment screw on this freezer, but I might be wrong. Your best bet is to check out the "ebay aquarium temperature controller" thread, you can put together a controller for $30 or so if you're comfortable doing a little wiring.
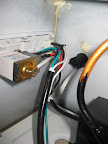
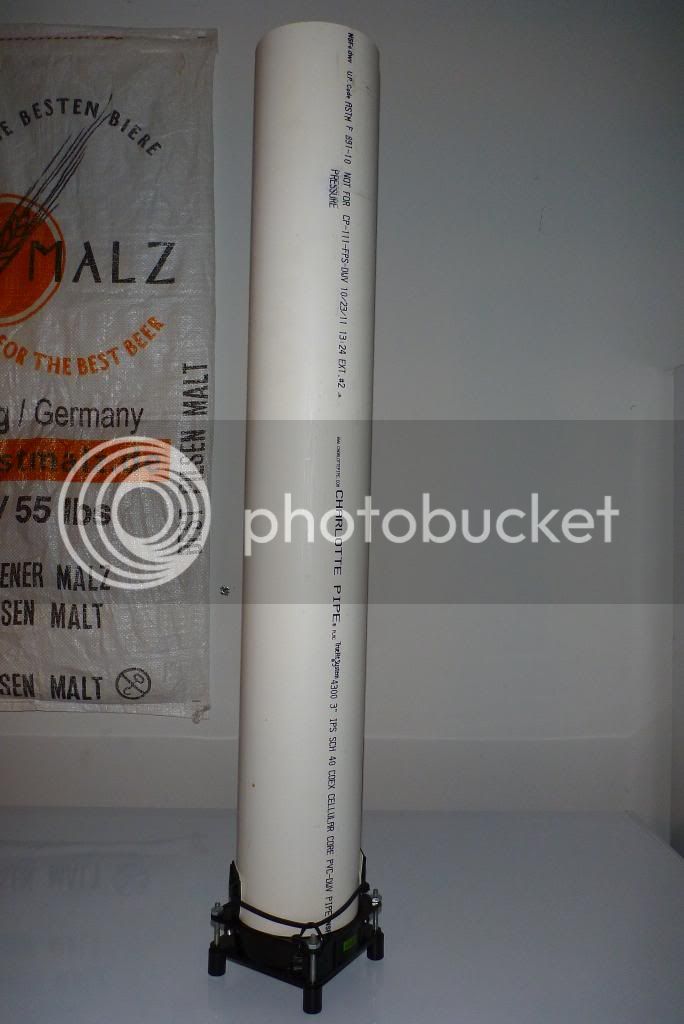
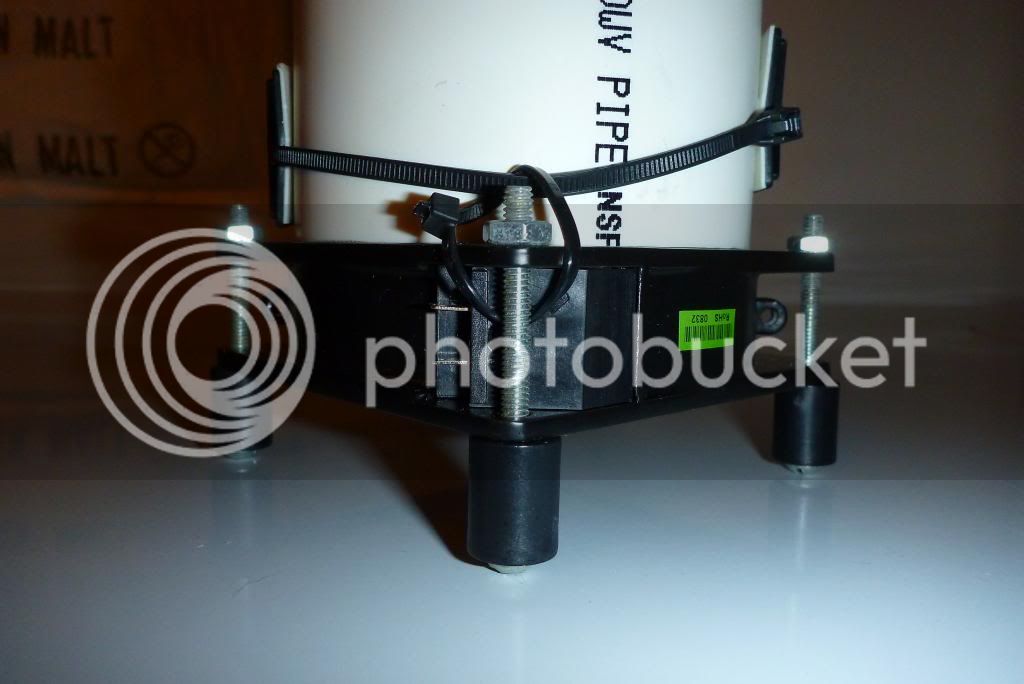
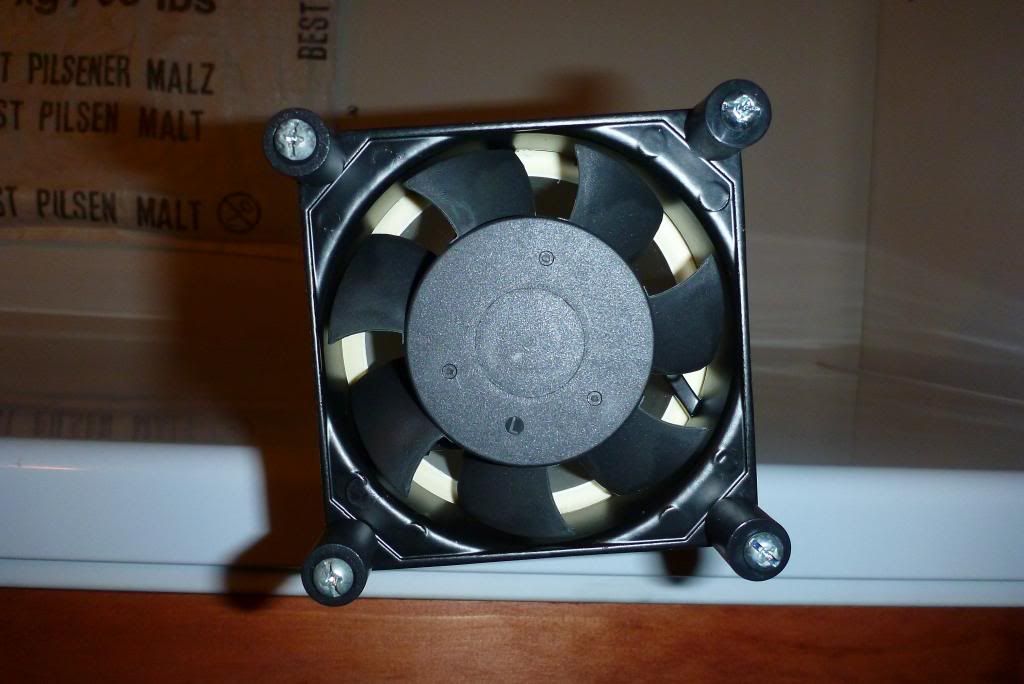
A fan or blower isn't necessary, but it's a very good idea. It'll make sure lines don't get too warm, the shanks/faucets stay cold, the kegs are at the same temperature, etc. You can use a recovered PC muffin fan (or buy one for a couple bucks) and an old 5-12V DC power supply (aka wall wart) from a cell phone, cordless phone, etc.


![Craft A Brew - Safale BE-256 Yeast - Fermentis - Belgian Ale Dry Yeast - For Belgian & Strong Ales - Ingredients for Home Brewing - Beer Making Supplies - [3 Pack]](https://m.media-amazon.com/images/I/51bcKEwQmWL._SL500_.jpg)